"Know your limits," warns Ben Harrison, a marketing rep for DeWalt in Winnipeg recently to showcase new tools and offer construction tips for yard projects.
"You don't want to take on something that you're not comfortable with and have it end up costing you lots of lost time and money."
Harrison, a tool specialist whose favourite rock band happens to be Tool, is a sheet metal worker by trade, but he has spent quite a few summers building wood decks, helping his father, a carpenter.
Safety, Harrison emphasizes, is the most important aspect to any home improvement job. Whether it's getting the proper equipment like safety goggles or consulting with experts at your local hardware store, it can be literally a matter of life and limb, he says.
A good place to start off safely is at the City of Winnipeg's planning, property and development department. There, you can find guidelines about how to safely construct just about any major home improvement project that requires permits.
Decks less than two feet high (60 cm), which will not have an enclosed structure (i.e. screened-in), do not require permits, but all other decks do.
"Decks have to be built with live loads of 40 pounds per square foot on live load," says Jay Kent, a carpenter with Home Depot, who teaches courses on backyard projects. "If you get a heavy snowfall and your deck collapses and the insurer comes by and asks what happened, you probably didn't get a building permit and won't be getting a cheque."
In other words, unless you are very experienced in carpentry, don't design the deck all by yourself. You might have an idea of size and basic design, but when it comes to structure, it's a matter of safety and longevity.
Harrison says many local hardware stores offer design services to help you figure out how to safely construct a deck and how much material is needed.
As for materials, first off, decide what type of wood will suit your needs and price range best. Pressure-treated wood is chemically treated to resist weather and pests.
"It doesn't require being treated with sealant, but a lot of people aren't happy with the colour choices -- light green or brown," says George Clement, resident deck expert at RONA in St. James.
He suggests if you want to stain it to wait about a year, and don't expect to get the exact colour because the wood already has a greenish hue from being treated.
Also keep in mind also that a 10-by 12-foot deck would need about $600 worth of pressure-treated lumber.
Cedar is another choice that does not require treatment, but it is costlier -- about 30 per cent more in price than pressure-treated wood.
Clement says it also tends to turn greyish-black hues as it ages and needs to be sealed every couple of years if you want to maintain its original colour.
A low-budget option is untreated wood. This requires more attention with regard to preservation. Consult the lumber expert at the hardware store to find the right treatment instructions for the right wood, Harrison says, adding a good rule of thumb is applying sealer once a year.
Another option is composite lumber made of recycled plastic. This requires no treatment, but it is almost double the price of pressure-treated wood.
"It will last forever, but it can't be used for structural support," Clement says, adding pressure-treated wood is used for that duty.
Regardless of your choice, though, always remember to order extra materials because even the best handymen make mistakes.
"They just don't show you them on TV shows," Harrison says.
Once you've got the permits, the plans and the materials, it's time to start building. Be sure to set aside enough time to finish the project without being rushed. The less help and experience you have, the more likely it is that you'll take far longer than you expect, Harrison says.
The right tools can really help cut down on time. Cordless power tools are easier to use, but you may have to pay more for a better-quality power tool for added durability and battery life, Harrison says.
It's best to have a motorized miter saw for precision cuts at different angles. A regular circular saw will do, but making precise cuts will take more time.
If you are attaching the deck to your foundation, you'll need a hammer drill/driver. "This will hammer the drill bit into the concrete rather than it just spinning and going nowhere," Harrison says.
Most weekend warriors already have a lot of the tools to get the job done. If you've just bought a new power tool, however, be sure to read the manual, heed the safety advice and practise.
"Take some scrap wood and try making cuts first," he says. "You can't just expect to pick it up and be an expert."
Measure everything three times and cut once. It's a rule that applies to all trades, Harrison says, and it saves materials, time and headaches.
Posts for decks four feet (1.2 m) or less in height only need surface pads for support. The amount of posts and pads needed depends on the size of the deck and length of the joists and beams.
Decks higher than four feet require piles or pier foundations that extend at least the depth of frost penetration, which is at least six feet (1.8 m). It might be prudent at this point to seek professionals to drill the holes and pour the concrete.
Another option, Clement says, are metal ground anchors that extend as deep into the ground as concrete piers, but they are less labour-intensive.
"Most people are building a deck in an already landscaped space so pouring concrete involves bringing in heavy equipment and ripping up some of the yard," Clement says, adding the anchor -- designed to be hand-drilled into the ground -- can be installed with very little disruption to the surrounding landscape. (Don't forget to call Manitoba Hydro to mark gas and electricity lines.)
The city planning and permits department can tell you how many posts you'll need and how far they should be spaced apart. The same advice holds true for the spacing and number of beams, which lay across the posts, and joists that form the frame of the deck.
When laying the deck boards atop the joists, be sure to get them as tight as possible when using pressure-treated lumber.
"Pressure-treated wood is soaked in a chemical to protect it from pests and will dry out and shrink over a period of two years," Kent says. "If you leave gaps, you'll soon have even bigger spaces between the boards."
He also suggests using double-galvanized steel fastener, including nails and screws, because the copper-based chemical in the treated wood will not corrode them.
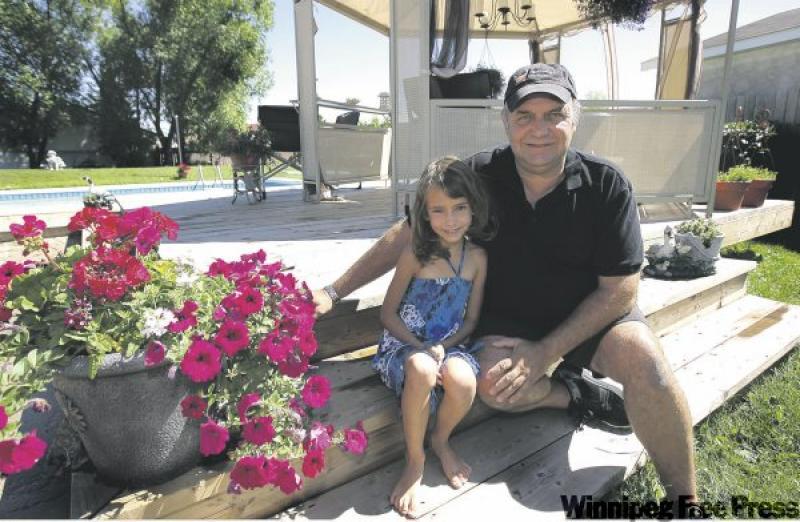
Overall, decks can be as simple or as complex as you want. It can be a simple square frame of joists covered with deck boards or it can be multi-levelled and screened-in with built-in benches and light fixtures.
"Really there are just so many variables with design that you should seek expert advice first," Harrison says.
"Don't be afraid to ask someone for help." Then again, don't be afraid to do it yourself either. "The best way to do it is to get in there and start doing it yourself, and learn."
Where to get advice and help
MOST hardware stores have deck experts who can help you plan out and design your project. They are often familiar with city permit guidelines and what materials work best for Manitoba's less-than-ideal conditions (hot summers, cold winters).
SEVERAL books are available for advice, including 1001 Ideas for Decks and Deck Planner: 120 Outstanding Decks You Can Build.
WEBSITES are another good resource. Try HGTV's webpage or www.ideas-for-deck-designs.com for tips. Both Home Depot and Rona also have webpages dedicated to advising how best to start a deck project.
AMONG the most important steps with any large project is consulting with the City of Winnipeg's planning, property and development department. Make sure you have the right permits. Otherwise, your project may violate the building code, which might mean you'd have to tear the structure down. Go to www.winnipeg.ca/ppd/permits.stm for more information about rules and regulations.
TOOLS FOR THE JOB:
A list of items needed to build a deck
Motorized miter saw: makes precision cuts quickly; good ones start at $300 and up.
Impact driver: lightweight and versatile; good for doing repetitive actions -- like tightening bolts or inserting deck screws. Start at about $80.
Hammer drills: used to drill into concrete, metal or just about anything; necessary if you're planning to attach a deck to the concrete foundation of your home. Start at about $60.
Hammer: if you're using nails, need we say more?
Level: important to ensure the structure is level. If it's not, all measurements will be off and the finished work will not only look like it was made by a team of monkeys, it will likely be unsafe.
Framing square: it's essential for making right angles and ideal for marking out the distance between joists.
Tape measure: if you need to ask why, you may already be in over your head.
Safety: goggles protect your eyes against flying splinters from the saw; earplugs prevent damage to your ears from power tools; hammer drill, for instance, hits 113 decibels and can damage your eardrum after 15 minutes of non-stop exposure without protection.