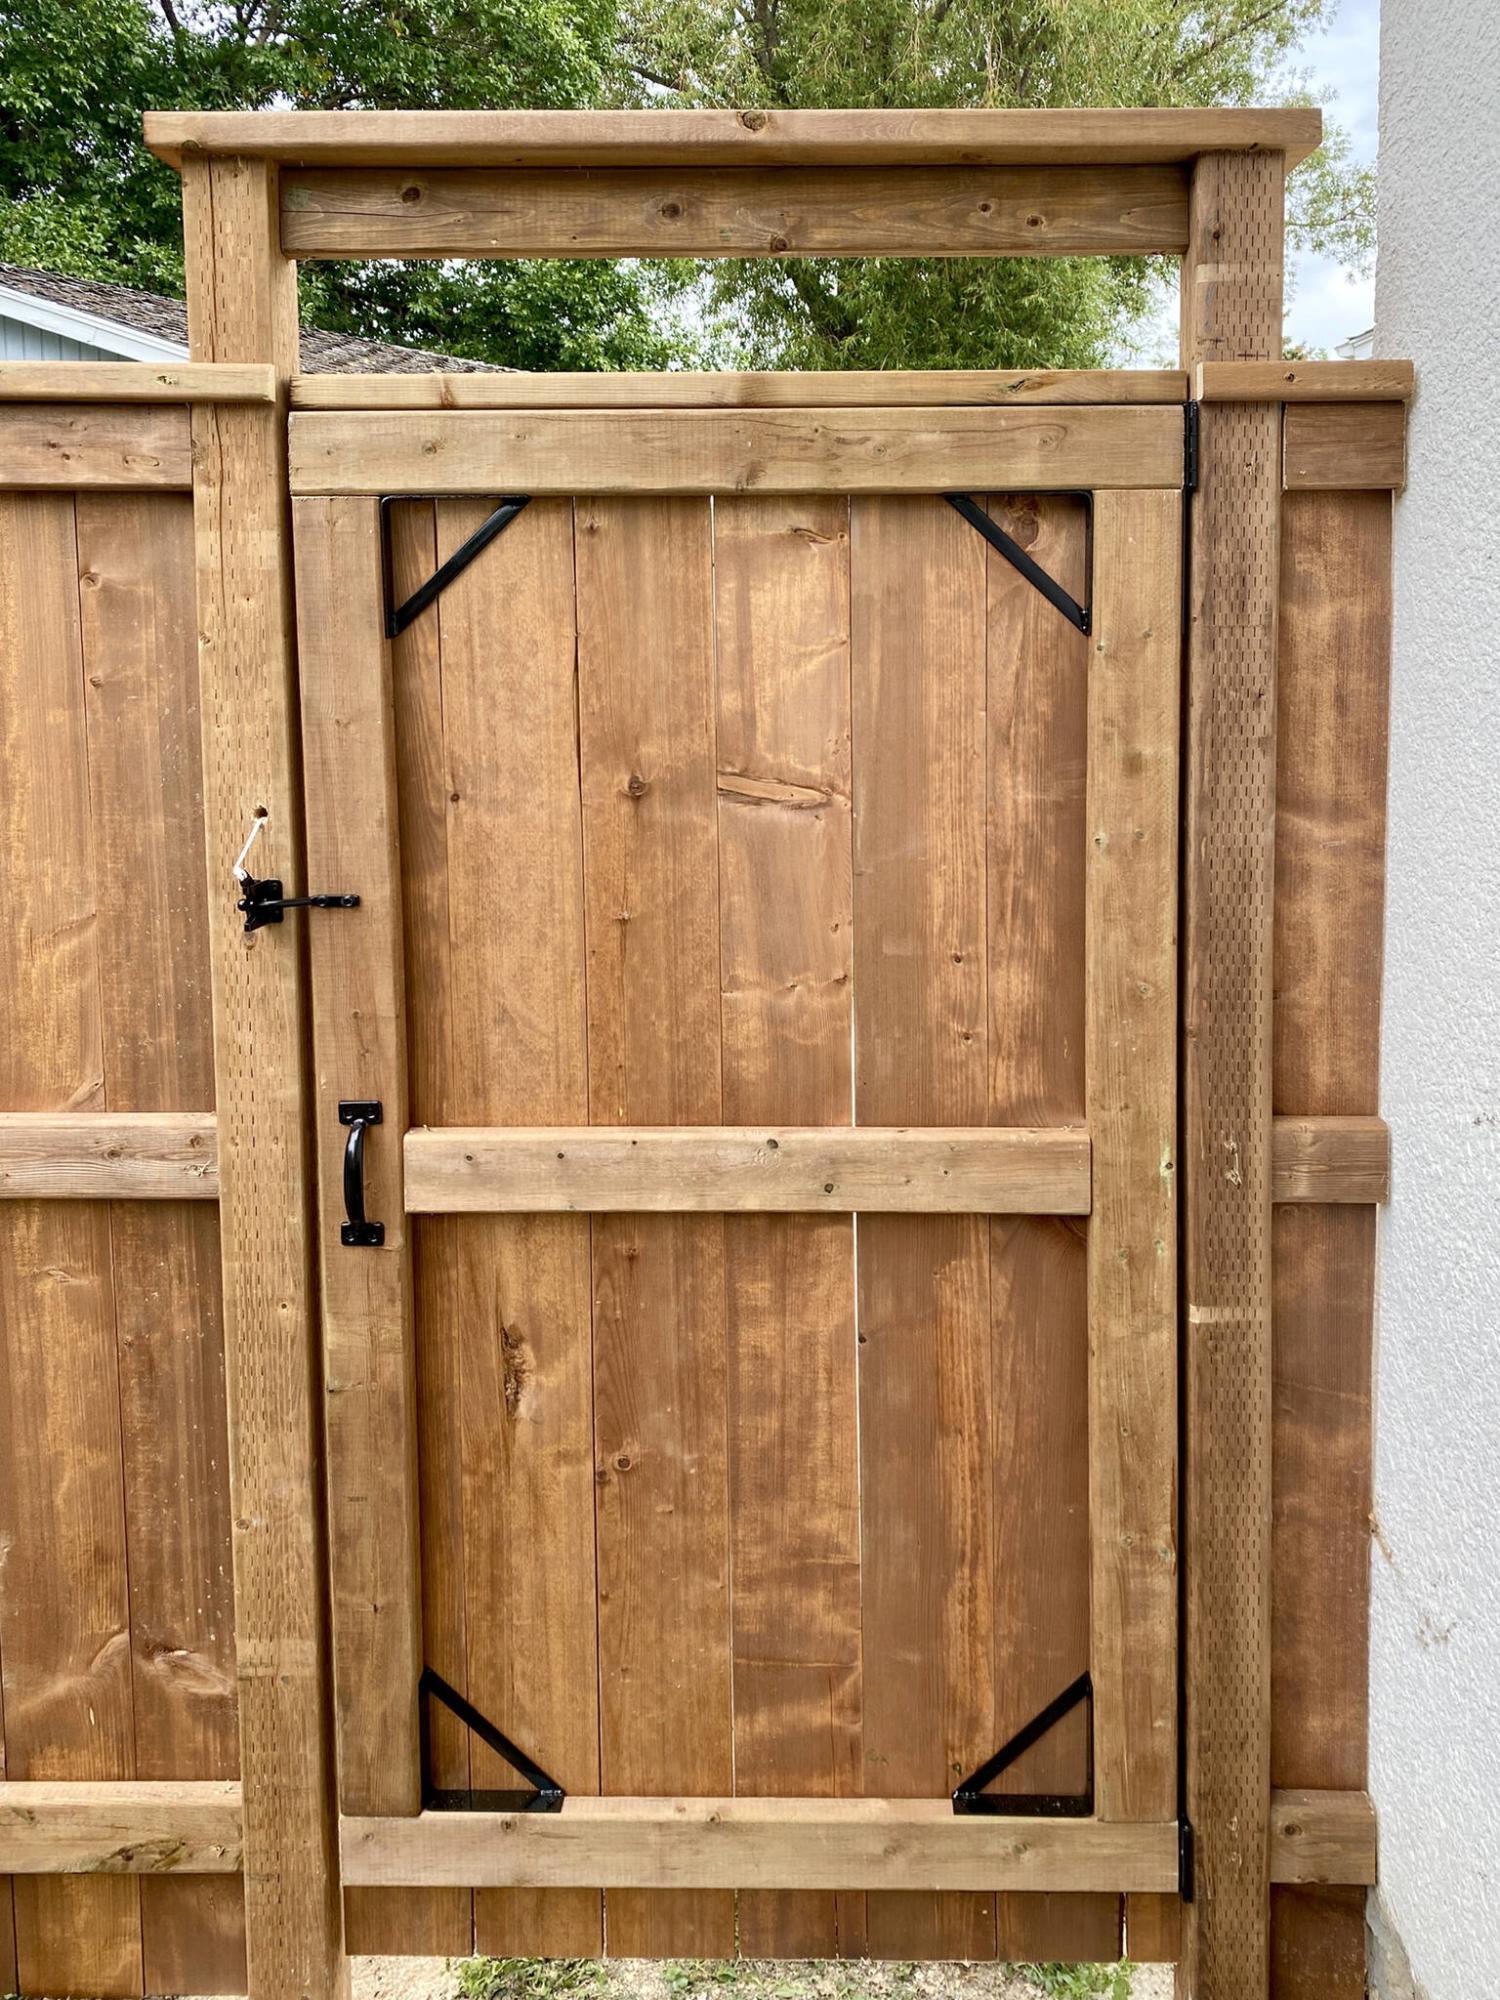
The custom gate was built on site using pre-fab hardware that will ensure it stays sturdy.
Existing post holes were re-drilled using a handheld digger with an eight-inch auger bit.
During a recent backyard deck upgrade and partial fence replacement project, the homeowners forgot to include one other section of fence that needed to be replaced. Luckily it was a fairly short section and I was able to squeeze the job into my summer schedule.
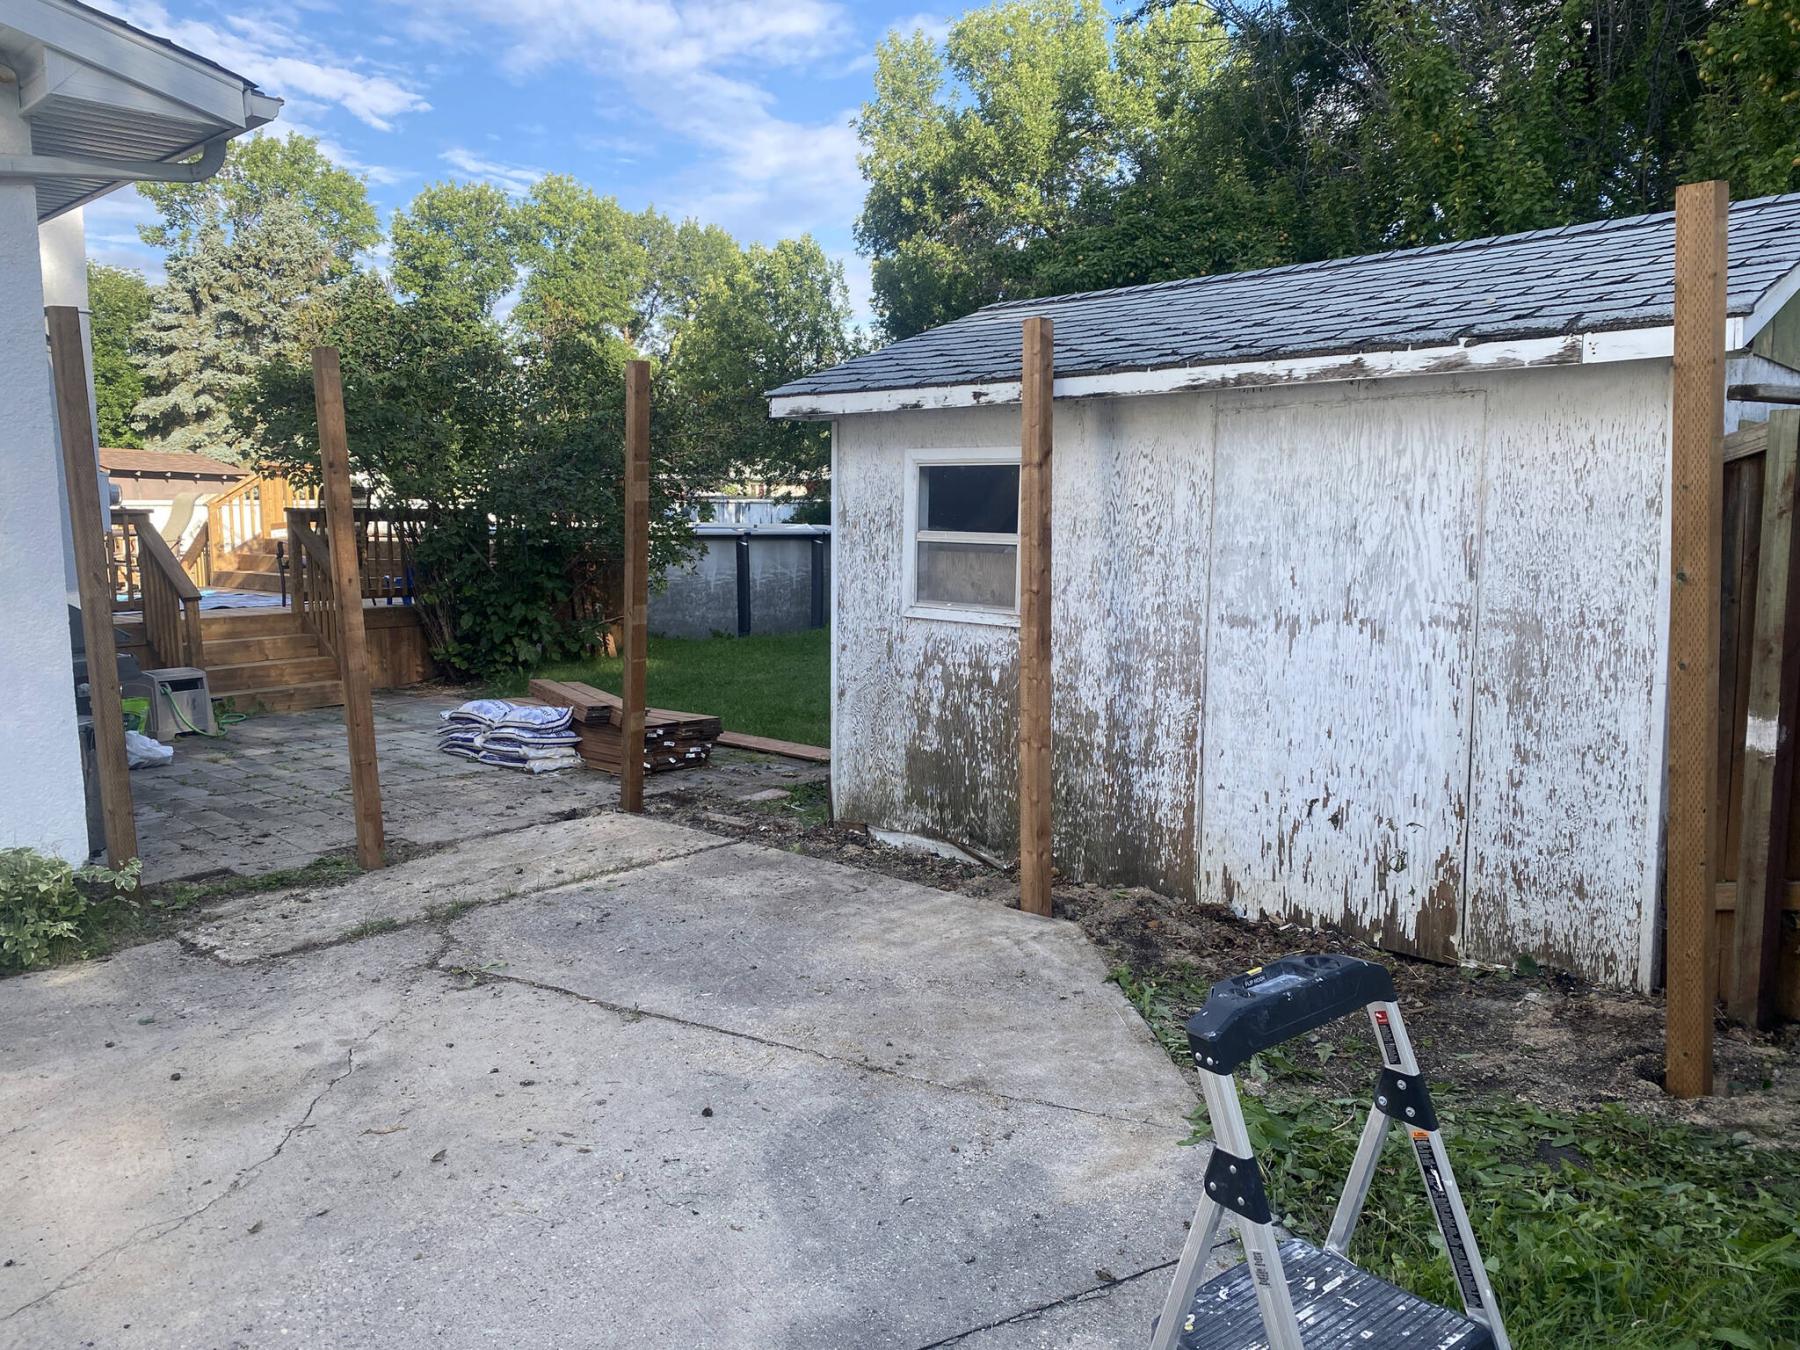
To get the project done as efficiently as possible, I once again co-ordinated with a landscaping crew. I’ve learned from experience that the fence-building process is greatly expedited if the post holes are pre-drilled before my arrival. In this instance, however, I had to dismantle the section of old fence before the new post holes were dug. So, I arrived early the day the landscaping crew was scheduled to do their work, and luckily the old posts came out without issue.
Using a handheld post-hole digger and an eight-inch auger bit, the team systematically re-drilled the five post holes to a depth of roughly 42 inches. The outermost hole was a bit tricky, in that the old fence continued from that corner towards the backyard — a section that was not being replaced. So, we temporarily moved the leg of older fence away from the outermost hole. Once the holes were dug, that post was immediately set to level and secured using quarter down limestone gravel. Then we re-attached the old fence section to the new post.
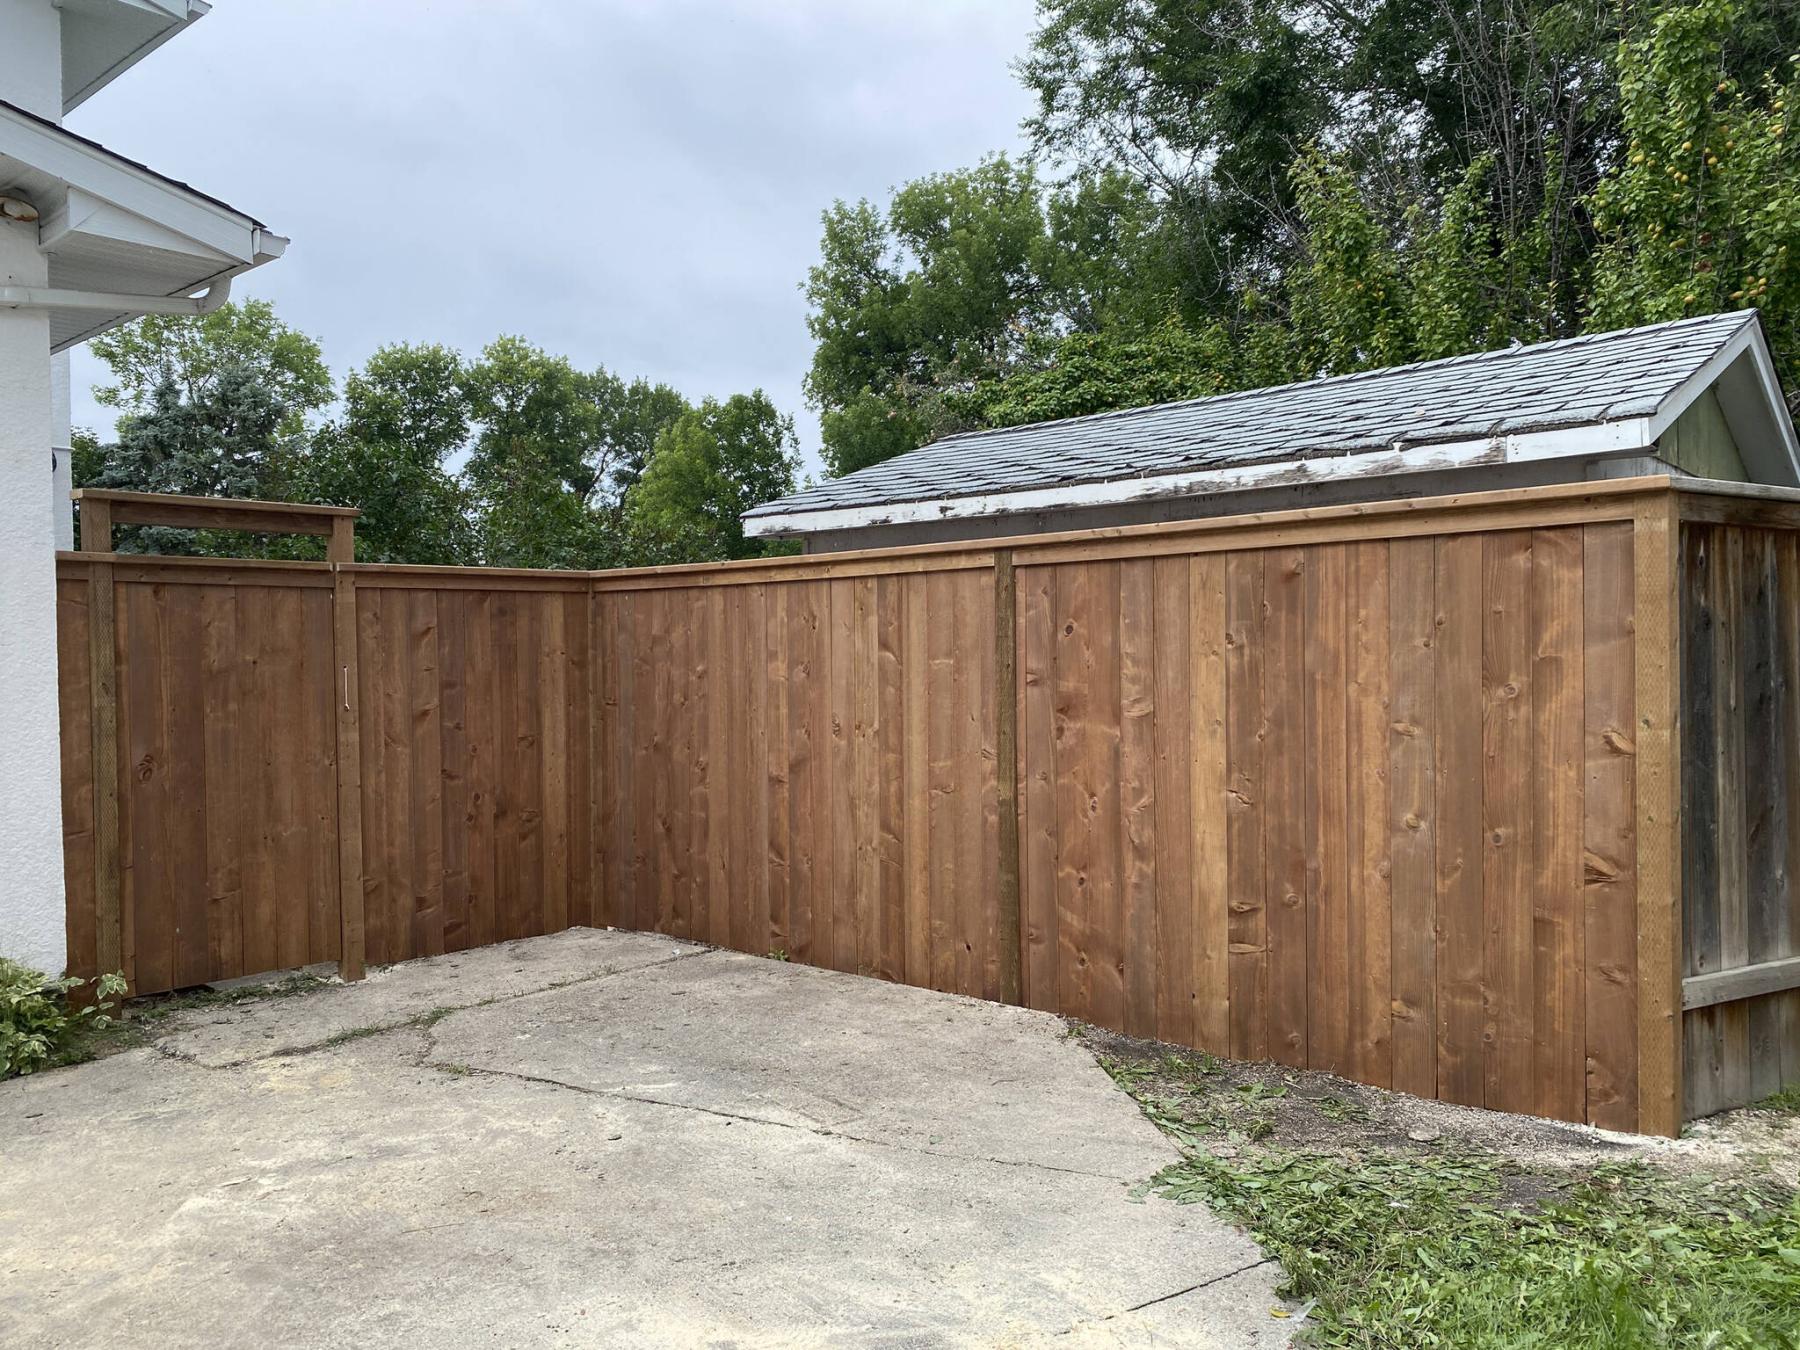
Using a stringline, the elevation was marked along the top of the other new posts and the tops were cut off, except for the two set roughly 12 inches higher to create a threshold for the 36-inch-wide gate. Each post was set using limestone gravel. A 2 x 6 cap was created along the back section that pivots roughly 90-degrees toward the gate area, which also has a 2 x 6 cap at a higher elevation to ensure the gate remains rigid over time, during the swinging action of opening and closing. With the caps in place, the upper, middle and lower 2 x 4 horizontal supports were added between the posts, creating the sections upon which the 1 x 6 fence boards could be affixed. To mimic the previous fence section replacement, the 1 x 6 boards were mounted along the exterior of the fence frame, showcasing the main framework inside the fencing.
The gate was built to meet the opening of the gate posts with roughly a half-inch clearance on either side. Additional 90-degree hardware was added to strengthen the gate, including pre-mounted hinges for easier installation. Lastly, the latch and handle were mounted, with a string-pull latch on the gate’s exterior.
The whole job only took five hours from start to finish. Now, when you look at the house from the street, it is bookended with great new fencing.