PHOTOS BY Marc LaBossiere / Free Press
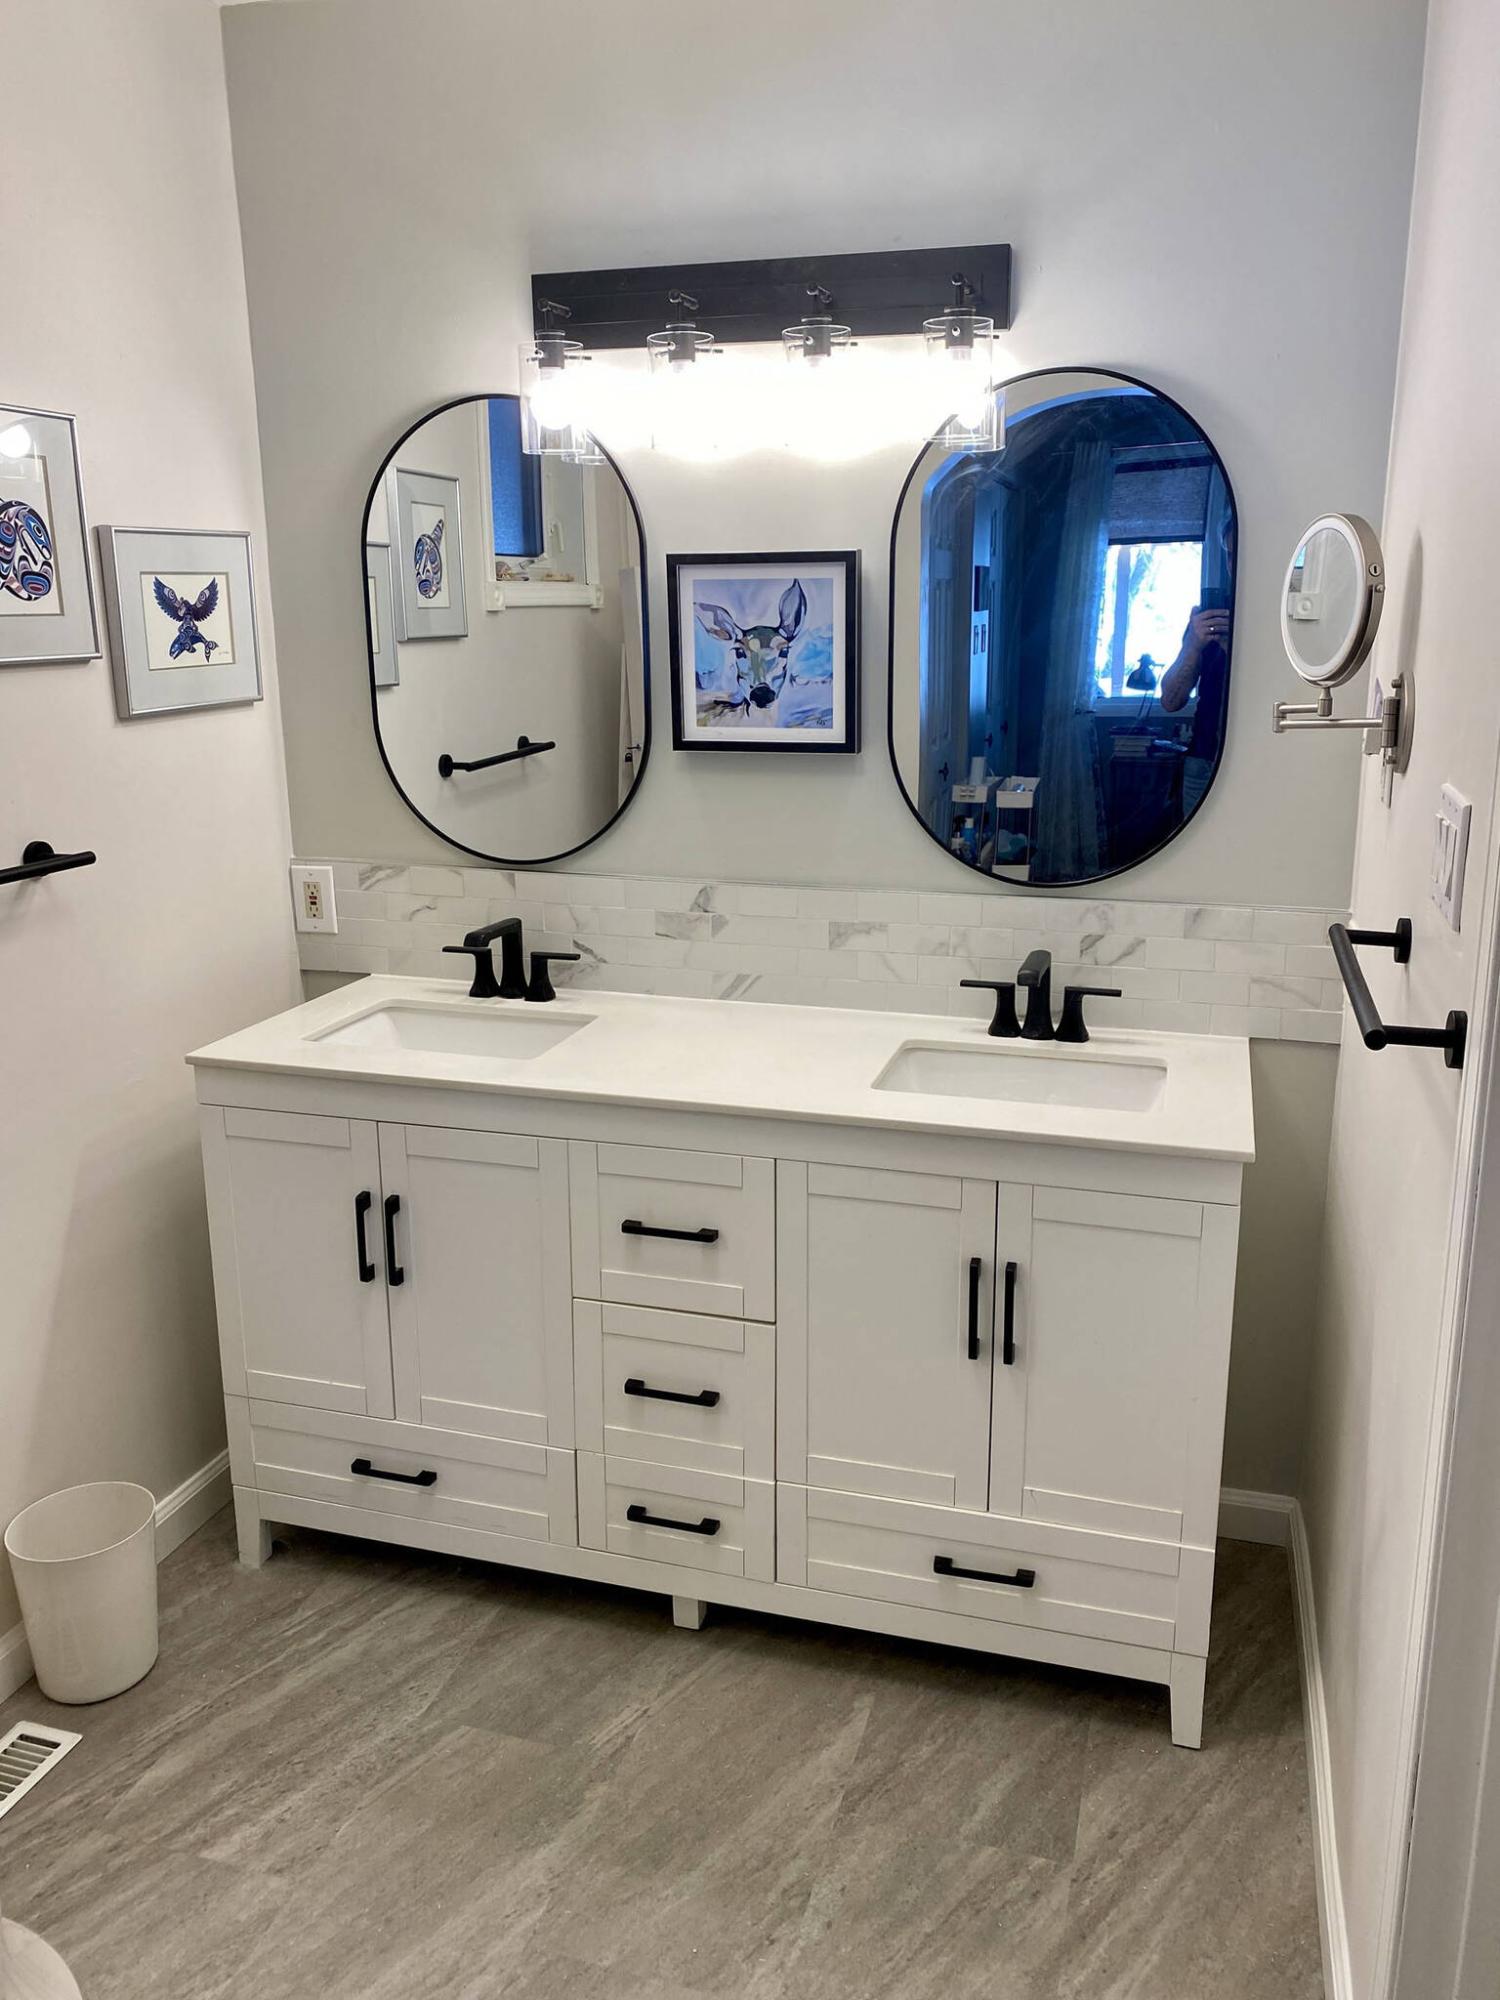
Although repurposed, the existing vanity gets new life with the introduction of a tiled backsplash above, and black features throughout.
Marc LaBossiere / Free Press
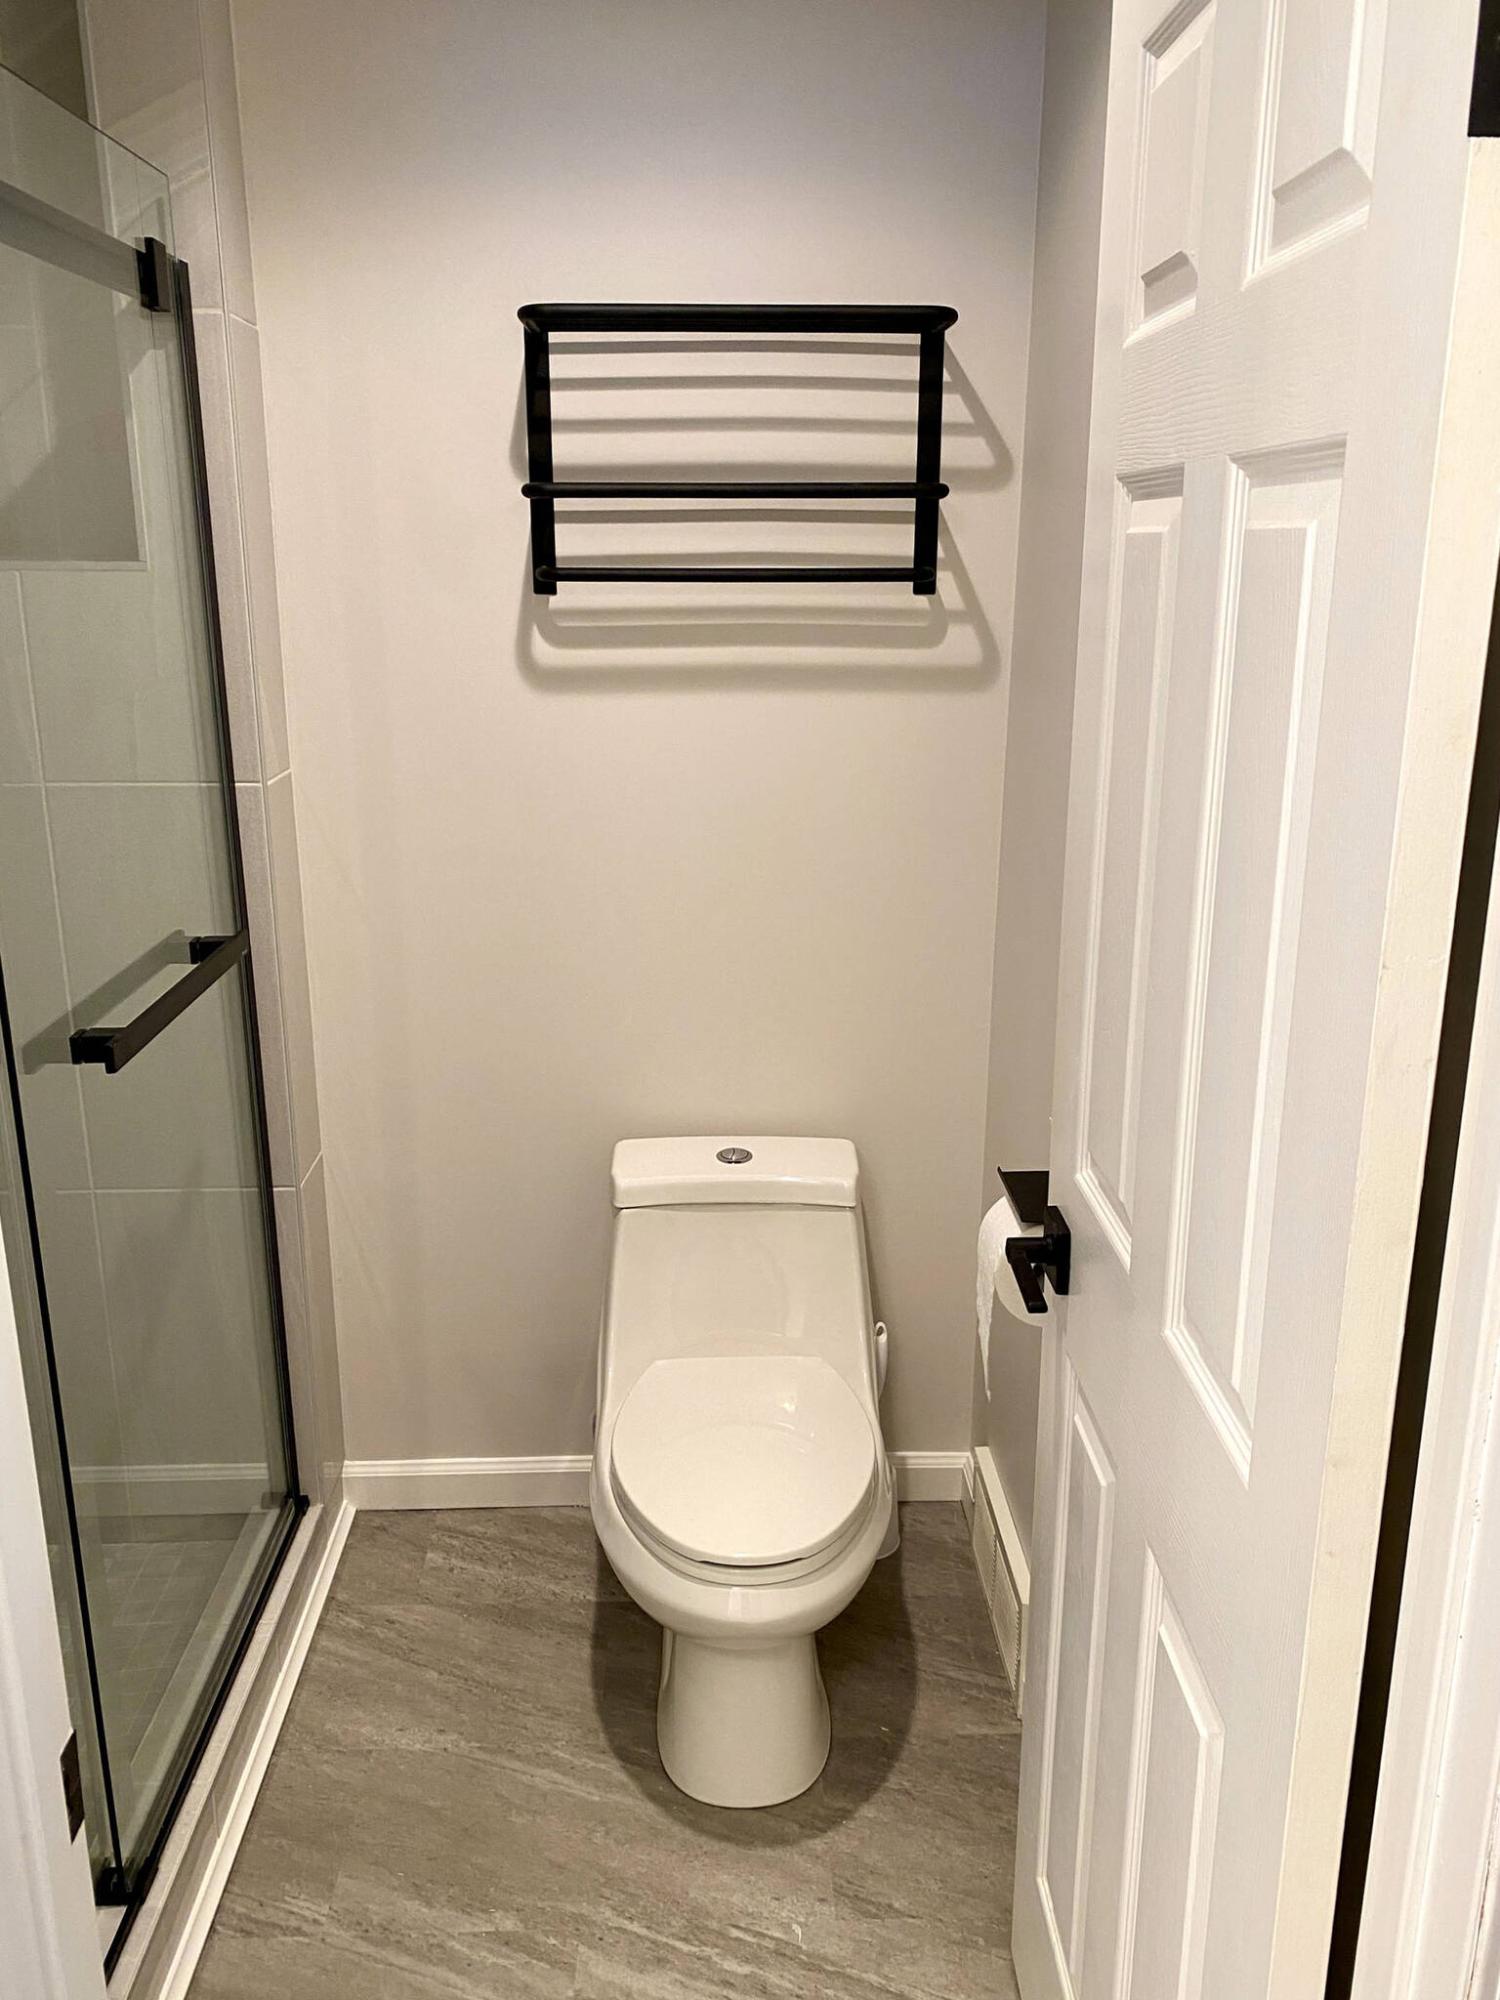
Repositioning the toilet to the far wall provides ample room for a full-length shower stall.
Marc LaBossiere / Free Press
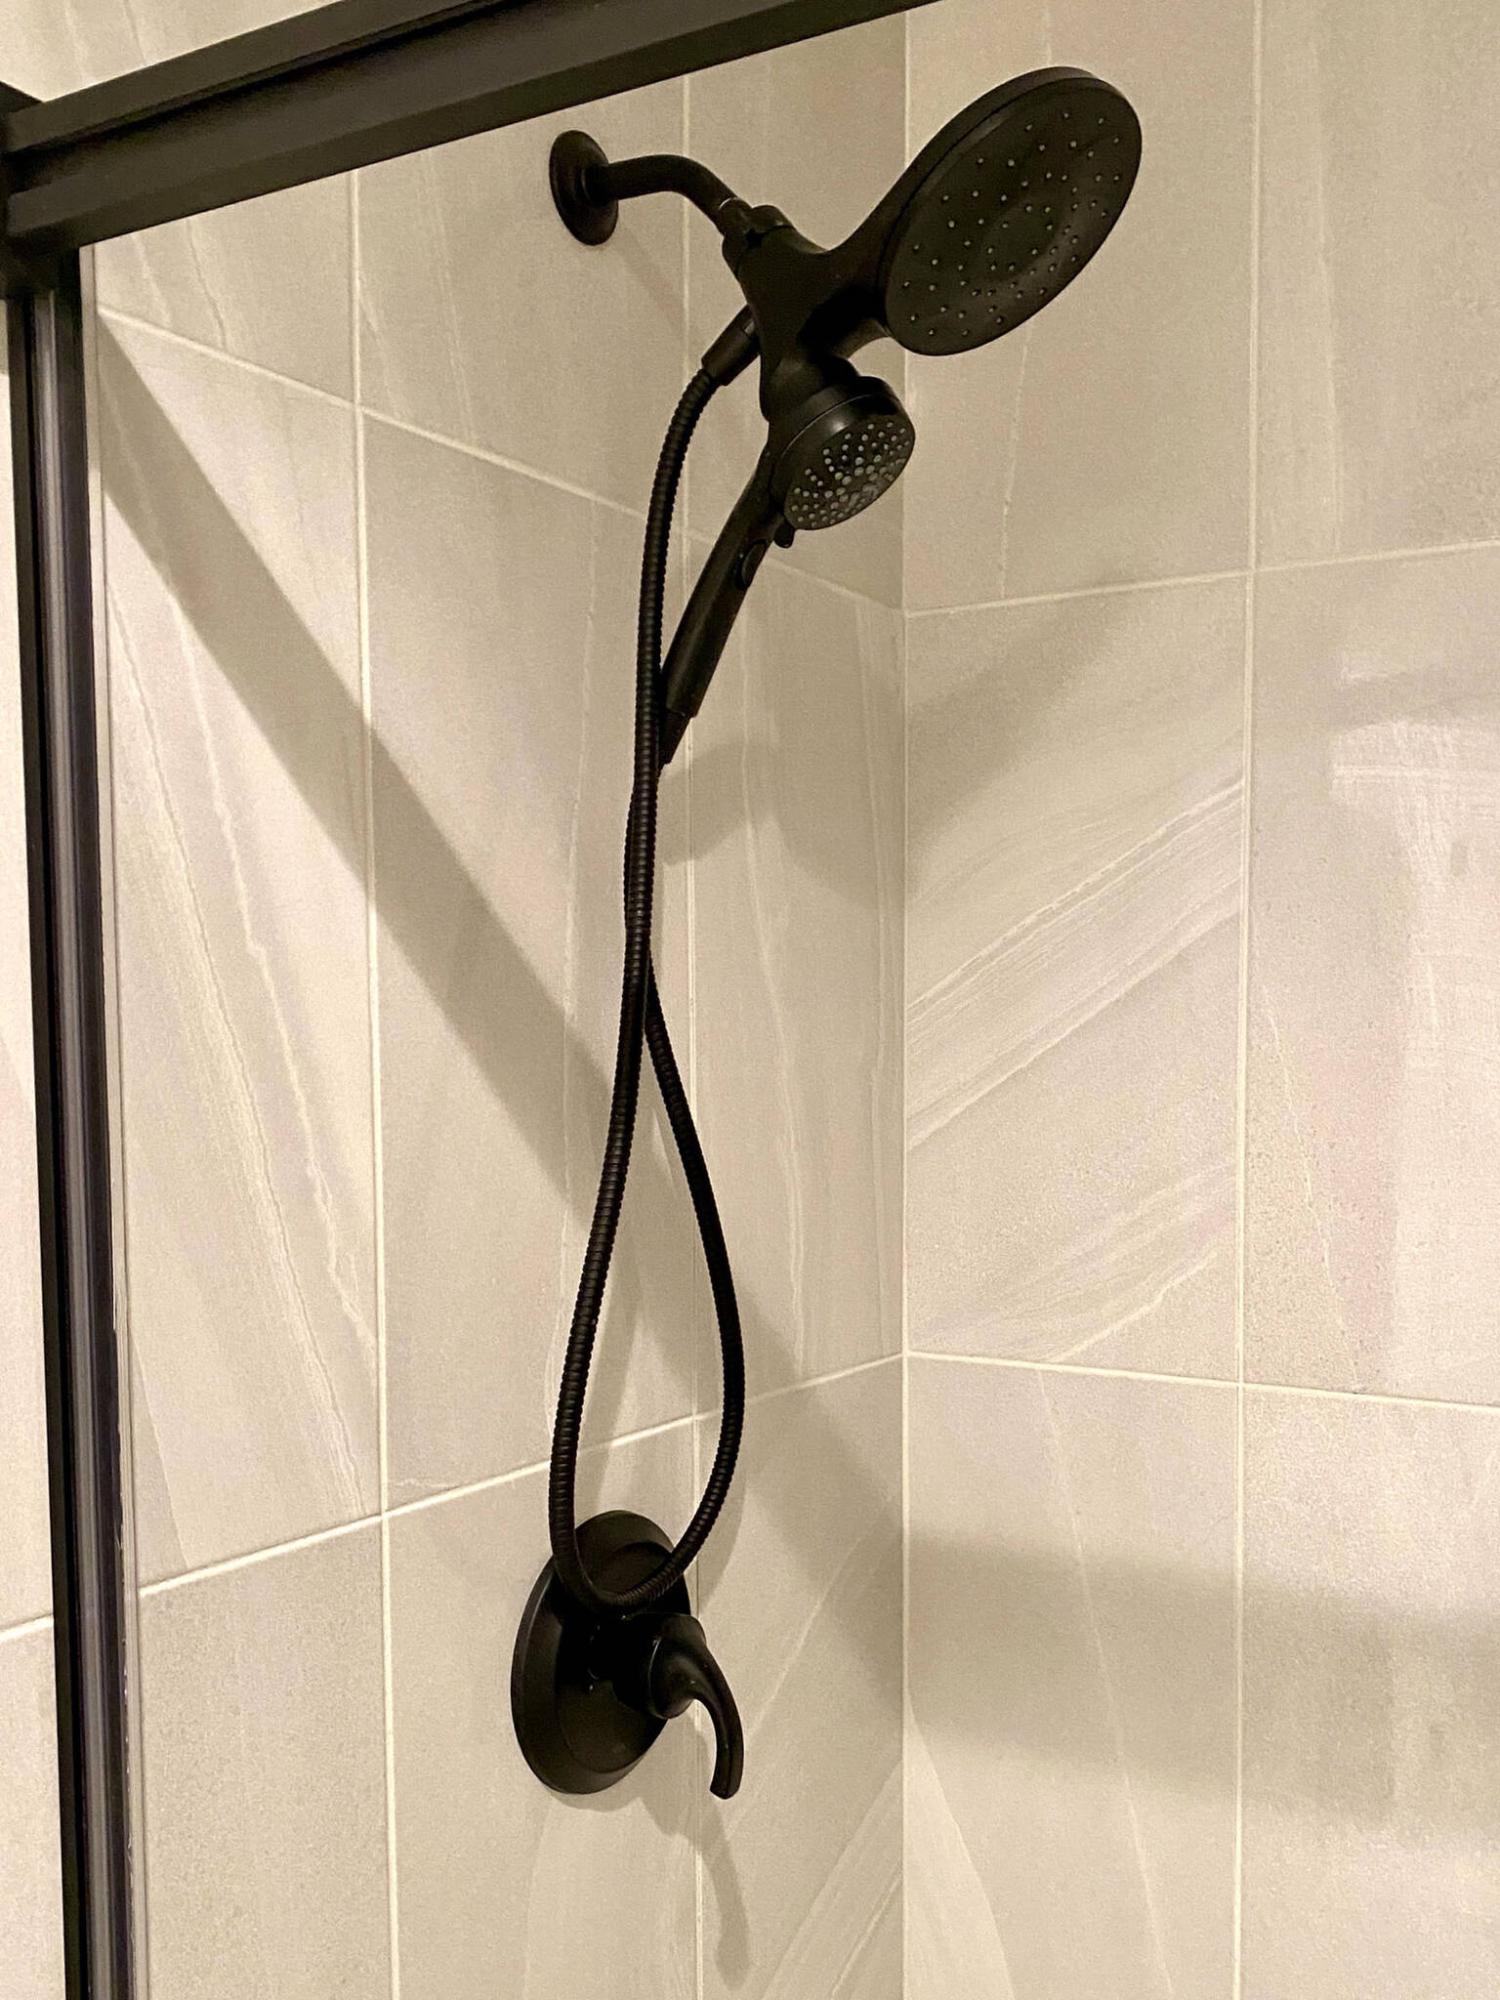
A black shower head and faucet were chosen to match other elements of the remodel, in bold contrast to the walls and flooring.
Marc LaBossiere / Free Press
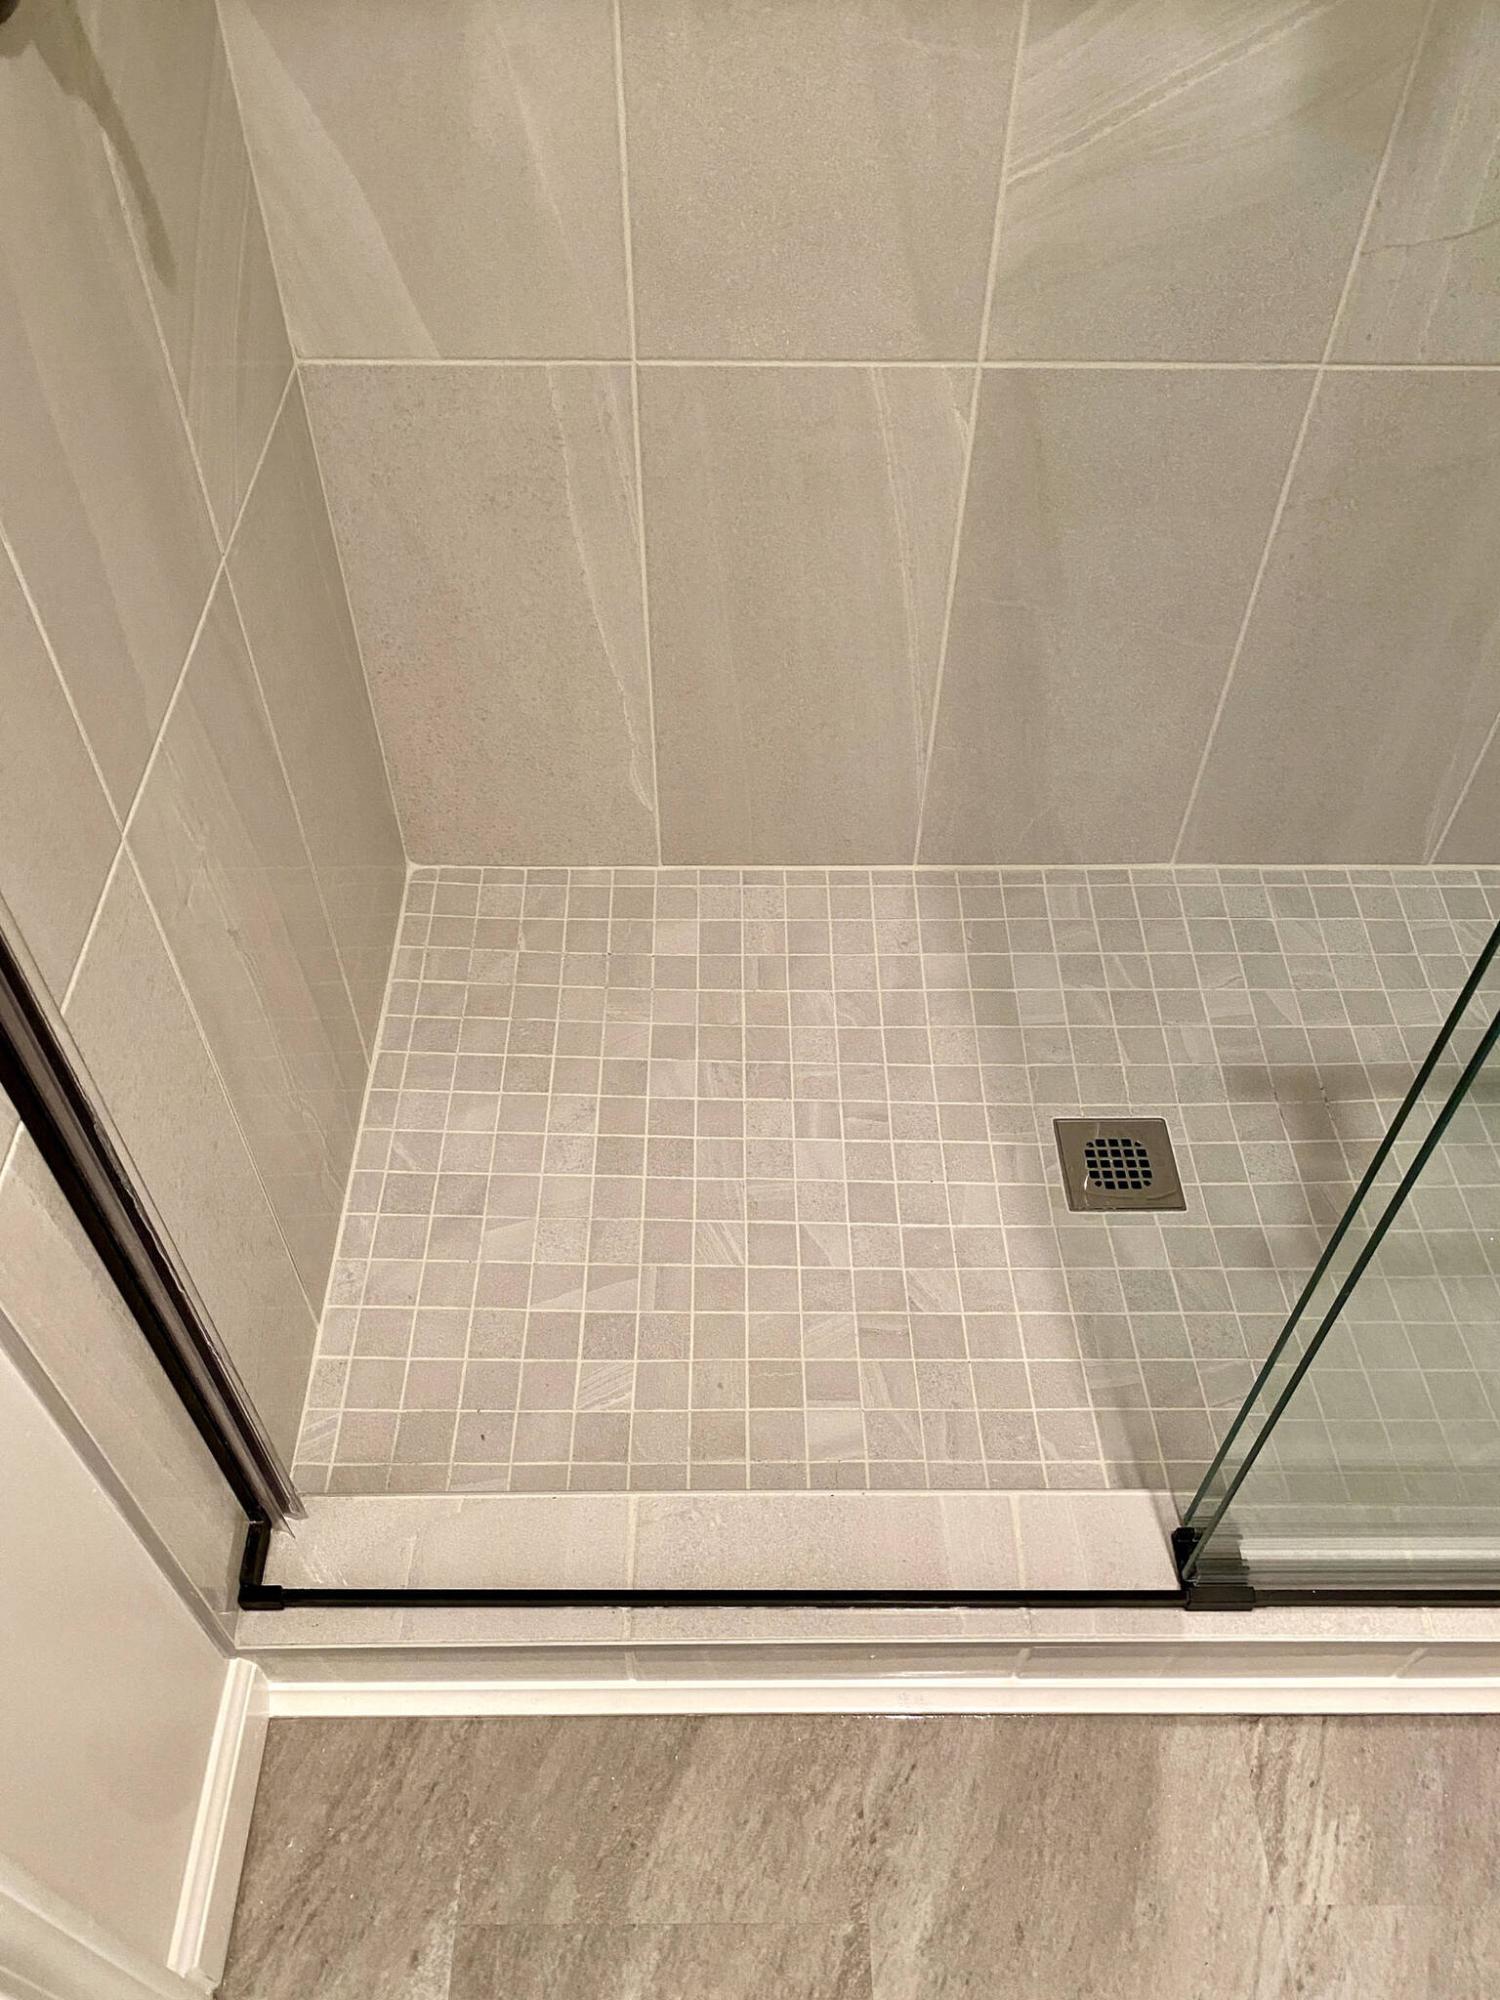
The two-by-two mosaic tile of the shower base matches the 12-by-24-inch tile of the shower stall walls.
Marc LaBossiere / Free Press
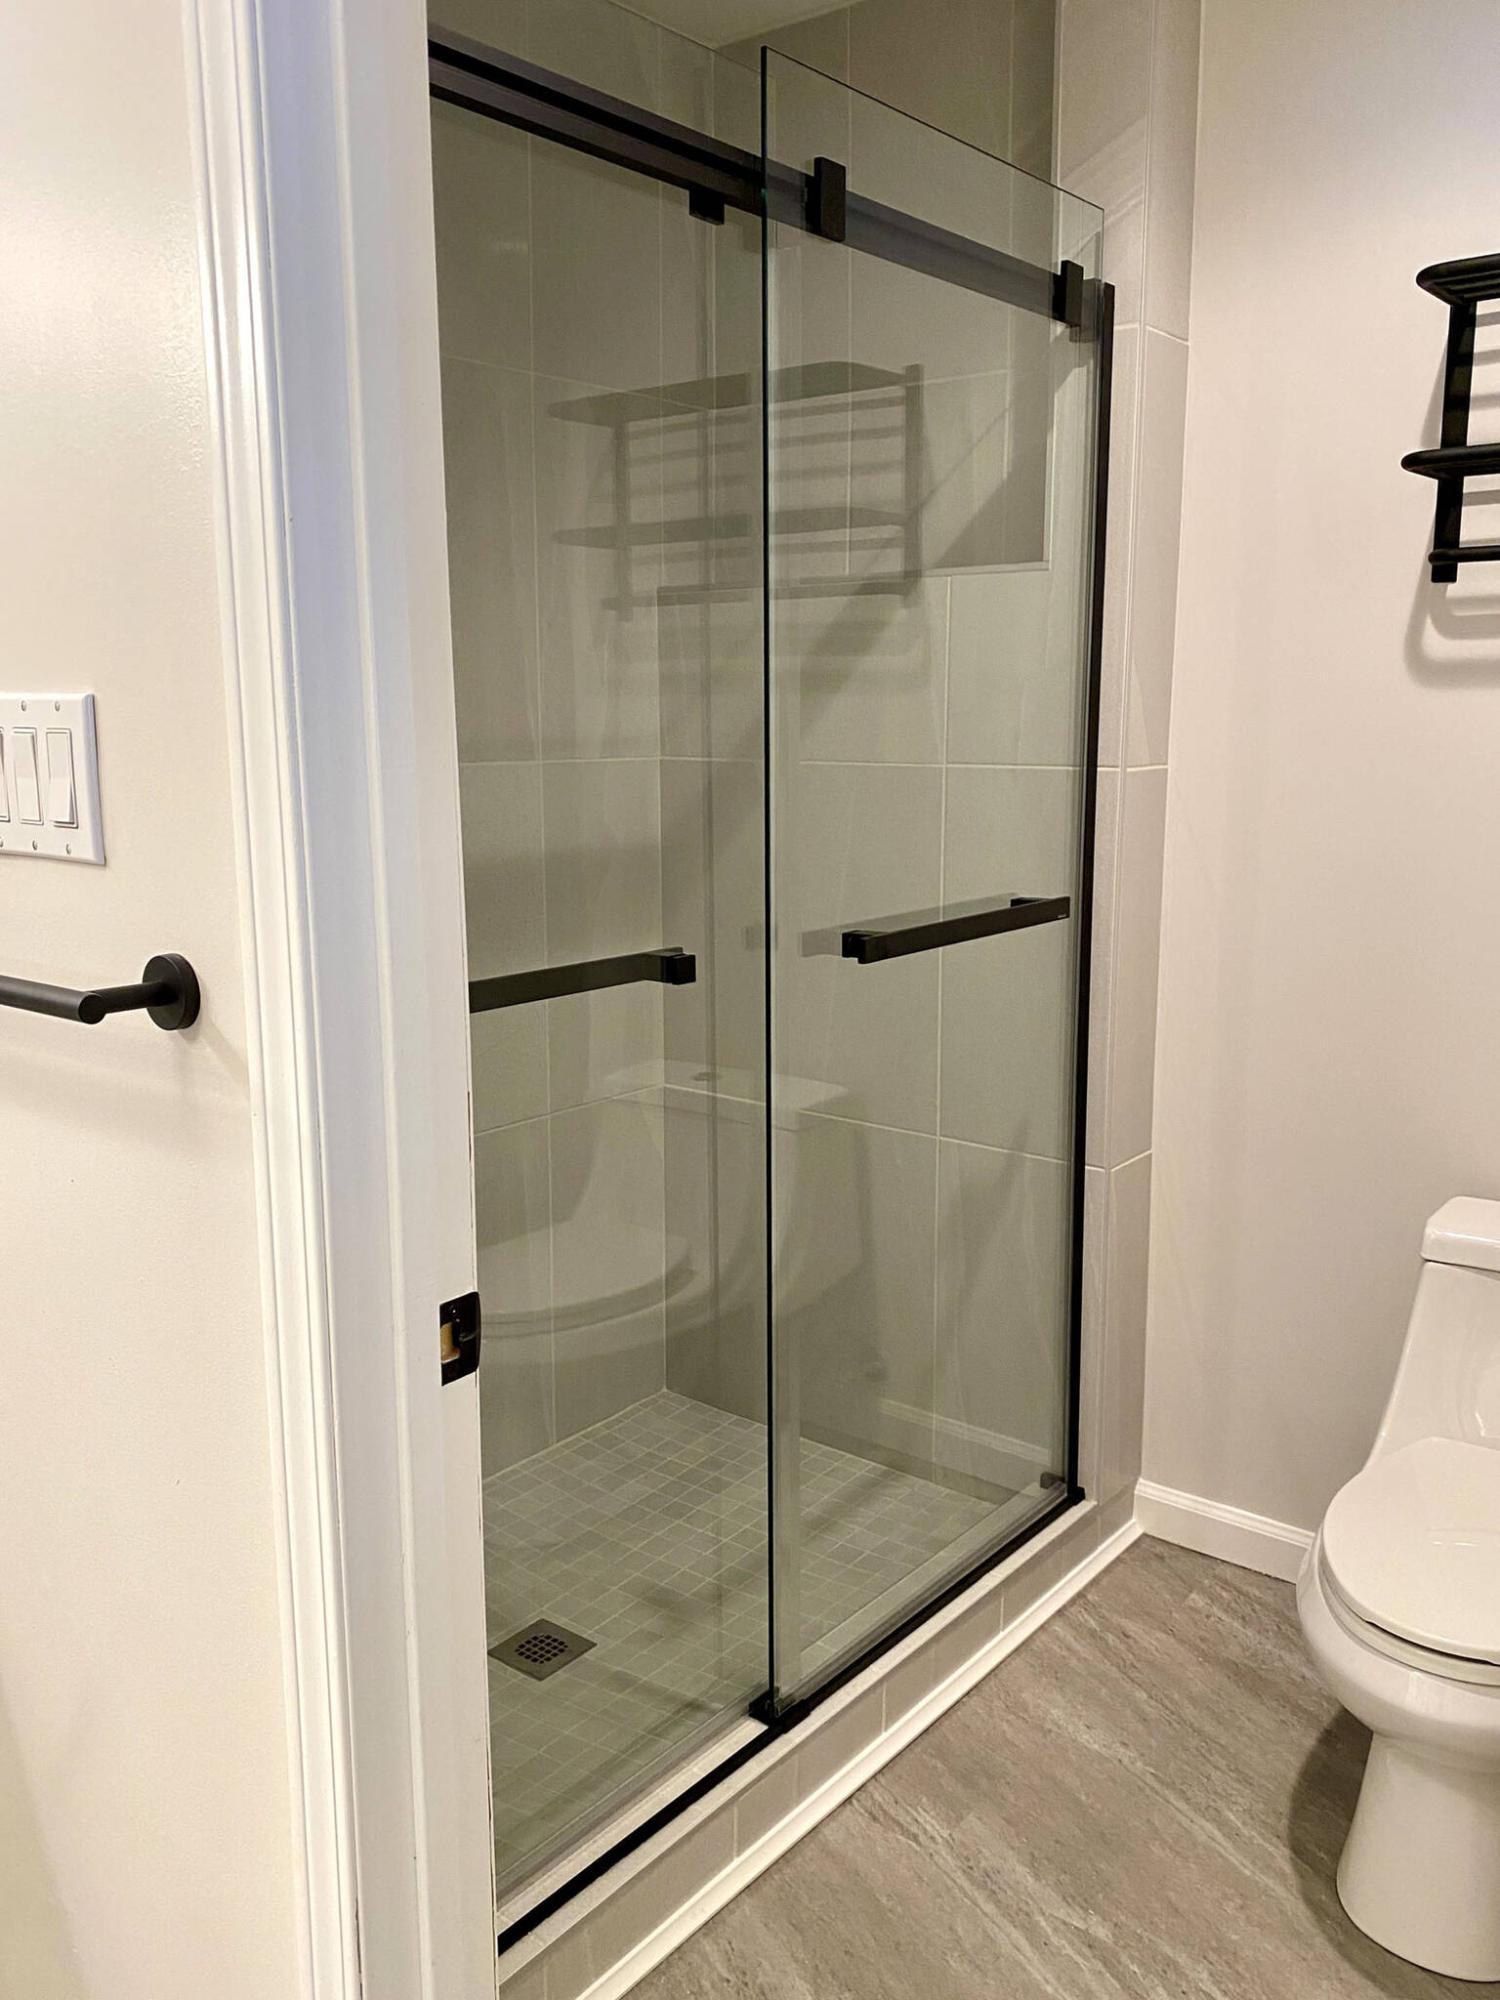
The newly introduced full-length shower stall is fitted with a barn-style, glass sliding door detailed in back trim.
A bathroom upgrade can sometimes be as straightforward as the replacement of towel bars, sink faucets and lighting fixtures. However, more in-depth scenarios involve tearing everything out, down to the studs, and starting completely from scratch. In most cases, however, a project falls somewhere in between, much like the first bathroom renovation I encountered this year.
The ensuite bathroom for this recently completed renovation is adjacent to the homeowners’ master bedroom whereby the double sink vanity faces a doorless entryway, next to the shower and toilet room that has a bathroom door.
Although much of the existing vanity area would remain the same, the current corner shower stall had proven to be inconveniently sized for the space, because the toilet was positioned next to it. This ill-conceived combination rendered a large area of the space useless. As such, the redesign would make for a better use of space by repositioning the toilet along the opposite wall, allowing the introduction of a full-length shower stall.
Before getting underway, the full scope of the project was ascertained. Beyond the reconfiguration of the shower-room amenities, both areas would also receive new vinyl flooring throughout. And while the shower stall was being tiled, a new backsplash would be introduced along the back wall of the double-sink vanity. The design concept encompasses light greys to blend with the existing off-white wall colour, with black features throughout for a bold contrast.
Once the old corner shower stall was dismantled and removed, the existing toilet was also dismounted. The first task involved the reconfiguration of the rough plumbing to accommodate the full-length shower stall drain, as well as the new location for the toilet flange.
After cutting back the old ABS from the current locations, the new drain placement for the shower was tied into the existing two-inch ABS, and the repositioned toilet flange was adapted to the existing three-inch ABS stack in the crawl space below the house. Once the drains were tested, a cold-water feed was mapped towards the new toilet location, while the hot and cold feeds for the new shower stall were adapted along the close wall.
With the plumbing fully prepped, the shower stall framing was addressed. To maintain a standard length allowing for an off-the-rack sliding shower door (which greatly reduces potential costs), the back wall of the stall was build out to the 60-inch mark, with a small shelf introduced at a 48-inch elevation.
To tackle the shower base, the curb was created by using three stacked two-by-fours on the flat. A section of three-quarter-inch plywood was then cut to fit within. A single two-by-two was then added along the inner perimeter to create enough elevation for the tapered base, which is essentially the three-quarter-inch ply cut from every corner toward the drain location. Extra support was added at the midway point of each “pie-piece” section and the entire base was secured to the existing sub-floor.
Before tiling could begin, the base was sheathed with Schluter waterproof cloth and pre-fab corners. The stall walls were then sheeted with mould-resistant drywall and all seams were sealed using high-bond silicone.
Once the base was dry and cured, tiling could begin. The homeowners chose a light-grey, nearly white marble-esque 12-by-24-inch wall tile, with matching two-by-two-inch mosaic tile for the base. All inner and outer 90-degree corners received a brushed-nickel edging for clean line throughout. Once the vanity backsplash was tiled using a two-by-four-inch offset mosaic, all tiled areas were grouted using a snow-white coloured, resin-based grout.
As the grout was allowed to cure, my attention shifted to the flooring. A vinyl plank with under-pad was chosen, with a 12-by-24-inch dimension much like the shower stall tiles. On the floor, however, the plank would be installed in a centre-offset pattern. Although the shower room would prove easy enough, the flooring in the vanity area would be set without dismantling or moving the existing vanity, which was being preserved during the project. As such, a process of using wedges and levers was established to raise the vanity where required to allow proper installation of the vinyl flooring beneath the vanity, without removing it from the area. Once this was achieved, the continuation of the vinyl into the shower room was as they say, “a piece of cake.”
The remaining tasks proved exciting and expeditious. The shower stall was populated with the new black shower head and faucet, and the barn-style sliding glass shower door unit was installed. The new black vanity light and room lighting fixtures were mounted, as were the various black towel racks and toilet paper dispenser.
Once the white PVC baseboards were installed along the perimeters of both areas, the tops were sealed with white silicone while the bottom edge along the vinyl floor received clear silicone. Finally, the new toilet was set atop the repositioned flange as the conclusion of this ensuite bathroom remodel.
Although the double-sink vanity area received primarily minor esthetic updates, the shower room overhaul truly maximizes the available space of that room, providing better functionality along with a beautified look.
The mild greys and whites arrayed along the walls and for the flooring provide a soothing background for the bold features in black, evenly dispersed throughout both areas. This bathroom upgrade will no doubt provide blissful experiences for many years to come.
RenoBoss.Inc@outlook.com