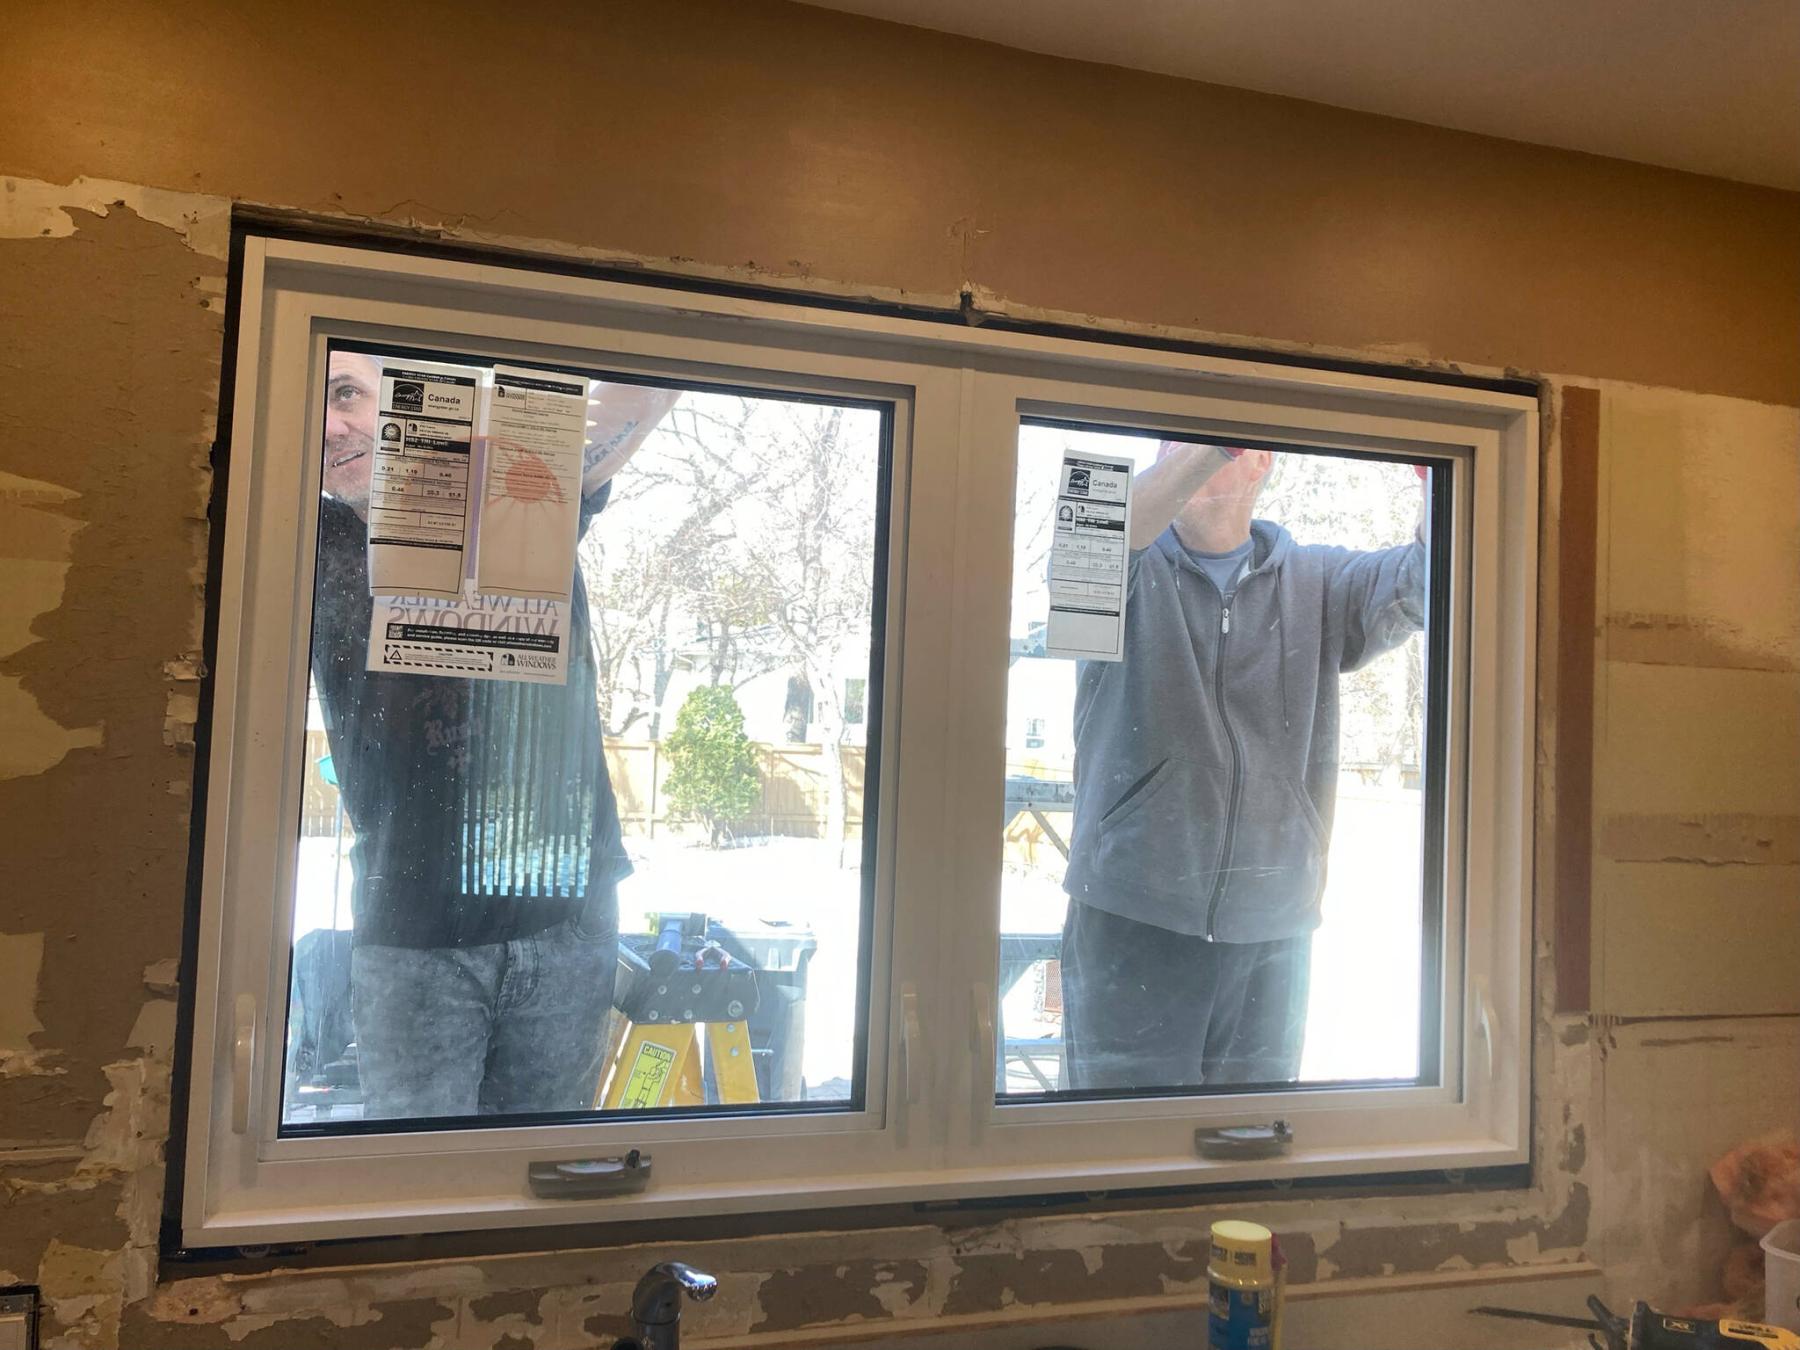
Marc enlisted the homeowner to help hoist the new window into place.
Now that spring is in the air (or seemed to be briefly a few days ago), a beautiful morning was chosen to implement one of the isolated tasks of a current kitchen upgrade that involved breaching an exterior wall – the replacement of the kitchen window.
It had been two months since the new double-awning window had been ordered. Despite having taken precise measurements, how well would the new window fit into the existing rough opening?
Window replacement is somewhat easier than creating a new window location. The introduction of a window involves a much larger work area to accommodate a new lintel, as well as the required rough vertical and lower rough framing to support the new window. Furthermore, there are often times services such as electrical, plumbing and even ventilation elements that may require redirection. When simply replacing an existing window with a new one of same size, the rough opening is already there. However, that’s not to say there won’t be any minor hurdles to overcome.
Despite ordering the new window based on both the interior frame and exterior brickmould measurement of the existing window, there can sometimes be a placement offset simply because the old and new windows are manufactured in different ways. Often, old wooden-framed windows would have standard brickmould on three sides, with a flat sill along the bottom. A window built in this manner creates vertical offset, resulting in a lower windowpane placement whereas a window with brickmould around all sides will center the windowpane within the rough opening.
At the current jobsite, the old double-awning window did indeed have a flat sill along the bottom. And because thew window had been installed when the house was built, it was clear that the window was in before the stucco was implemented along the exterior. In order to preserve the integrity of the stucco along the perimeter of the old window’s brickmould, the old window frame was carefully cut away in small sections using a reciprocating saw. And for the most part, this approach worked quite well. Other than a few little chips of stucco that came off with the brickmould, the status of the stucco along the rough opening was in great shape.
Before placing the new window into the breach, it would be necessary to shim the lower side of the new window to compensate for the flat sill of the old window – the retrofit brickmould of the new window along the bottom edge would sit too low otherwise. However, the overall measurement of the exterior brickmould of the new window was precise to within an eighth of an inch, regarding the old window’s brickmould plus flat sill length and height, respectively. As such, it was a certainty that the new unit would fit snuggly into the rough opening, and stucco. After a few calculations, it was determined that the rough opening required an extra inch-and-a-half lift to center the new window within the breach. To accomplish this, a 2×4 was mounted along the lower portion of the existing rough-framing, and the entire opening was sealed with tuck tape to prevent moisture build-up.
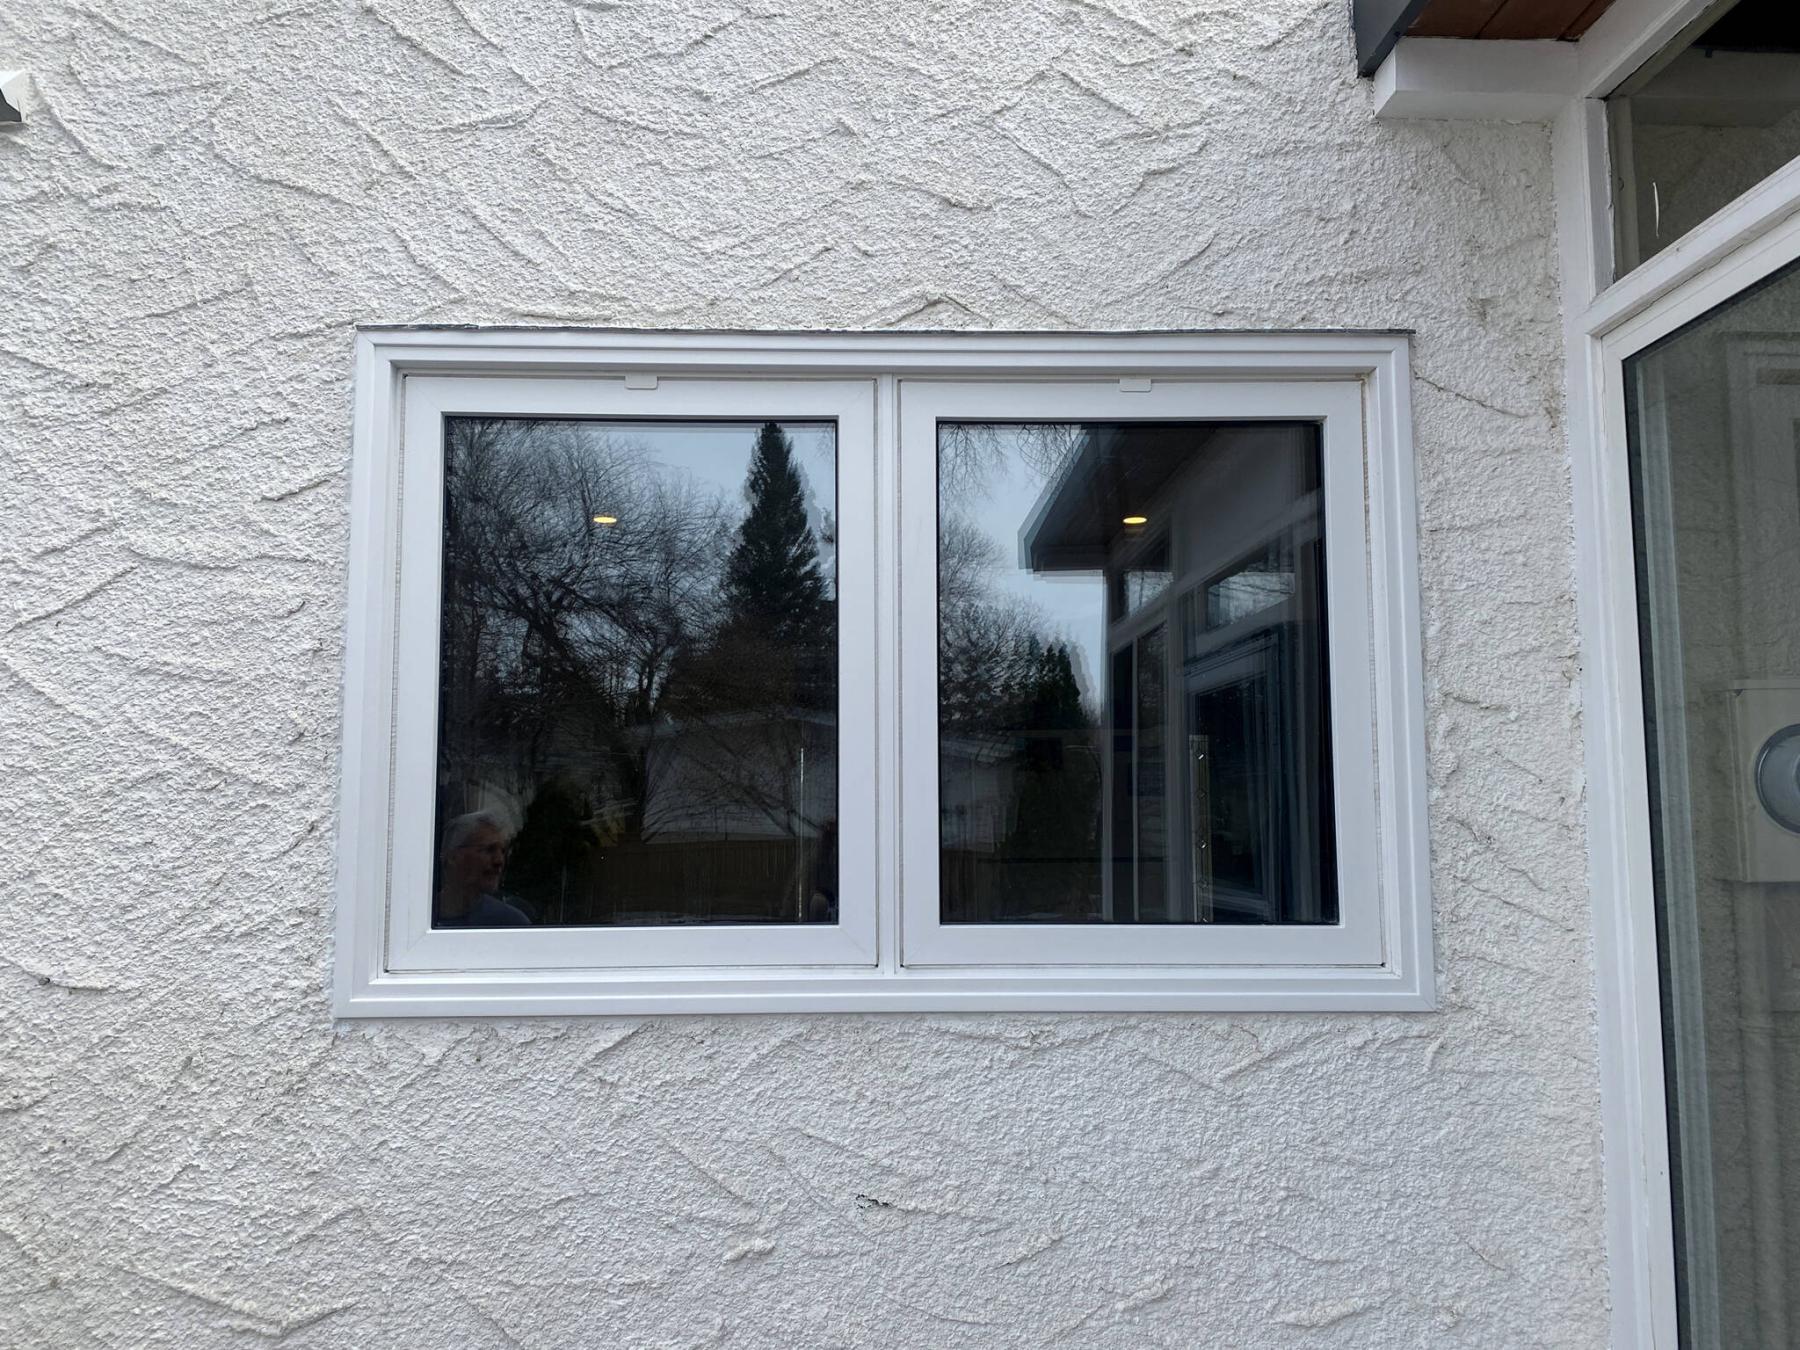
With the opening prepped, the homeowner and I carefully hoisted the new double-awning window into position, using the rough opening reveal within the larger cut area along the stucco as a guide until the window was at the proper elevation, and simply popped the bottom edge of the window into the hole. While the homeowner held the window in place at the top of the unit, the window was leveled from the inside using small shims, ensuring the brickmould was centered left to right, and top to bottom, recessed into the existing stucco on the outside. With the window in the proper placement, the removable decorative PVC strips along the outer edges of the new window’s brickmould were temporarily removed, and the window was secured to the rough frame using four, three-and-a-half inch screws. The PVC strips were then snapped back into place – the window was in!
From the interior, insulation was inserted into the gaps between the window’s jamb and the rough framing. Expandable foam was also used where required. As a final step to prevent unwanted airflow along the window jamb, tuck tape was again used to seal the window jamb along the entire perimeter. Along the exterior perimeter of the window’s brickmould, white caulk was used to fill the quarter-inch gap between the brickmould and the stucco, working the caulk to resemble stucco where possible. The flashing along the top of the old window was left in place and caulked as well, allowed to continue to redirect water from the top of the new window unit. The new window fit perfectly within the old cavity, proving once again the importance of precise measurements.
There is always an element of uncertainty when implementing a retrofit window. Despite taking all necessary measurements, and factoring in every conceivable possibility, there’s always a chance something may have been overlooked. In this case, things turned out well. The only glitch was the width of the window jamb was a quarter-inch too skinny. And it wasn’t because of anything obvious – this house had been drywalled with two layers of three-eighths drywall, as opposed to the new standard of half inch, realized only when demolition began, well after having ordered the new window unit. As such, the remedy is simple – the interior jamb will be built out using a quarter-inch flat moulding before the casings are installed. Honestly, this is an extremely minor hurdle in the grand scheme of things. And once the kitchen is completed, no doubt an easily forgettable little hurdle.
RenoBoss.Inc@outlook.com