Photos by Marc LaBossiere / Winnipeg Free Press
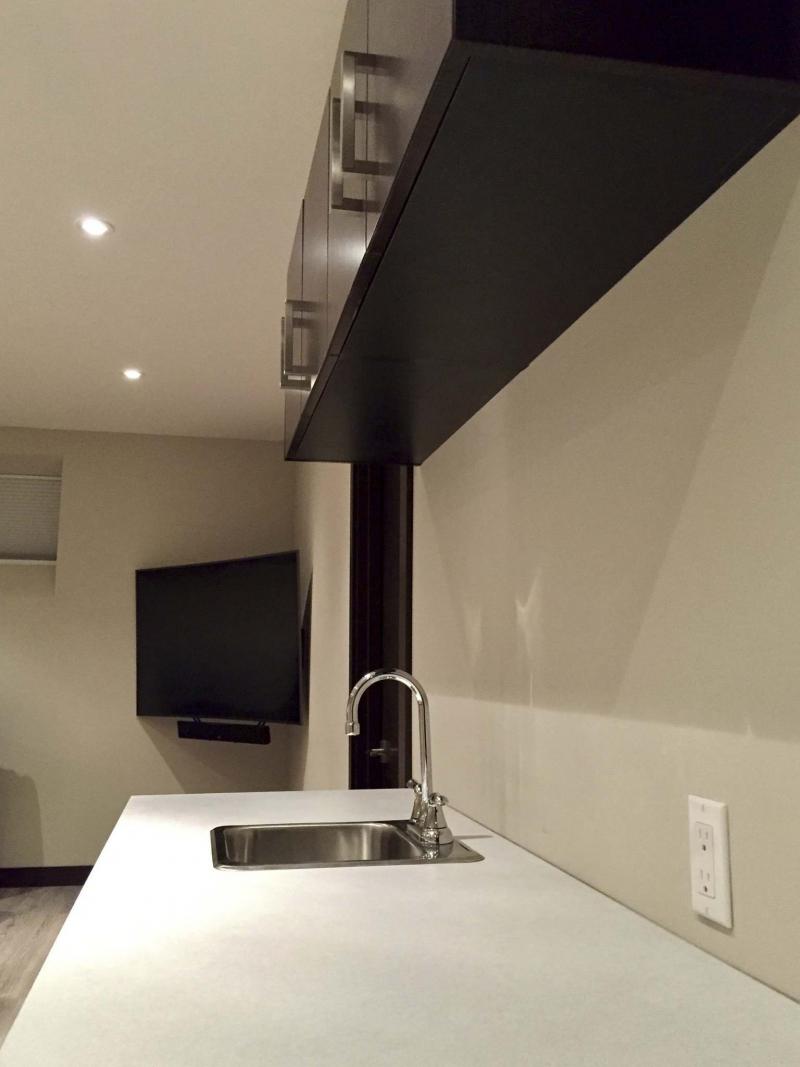
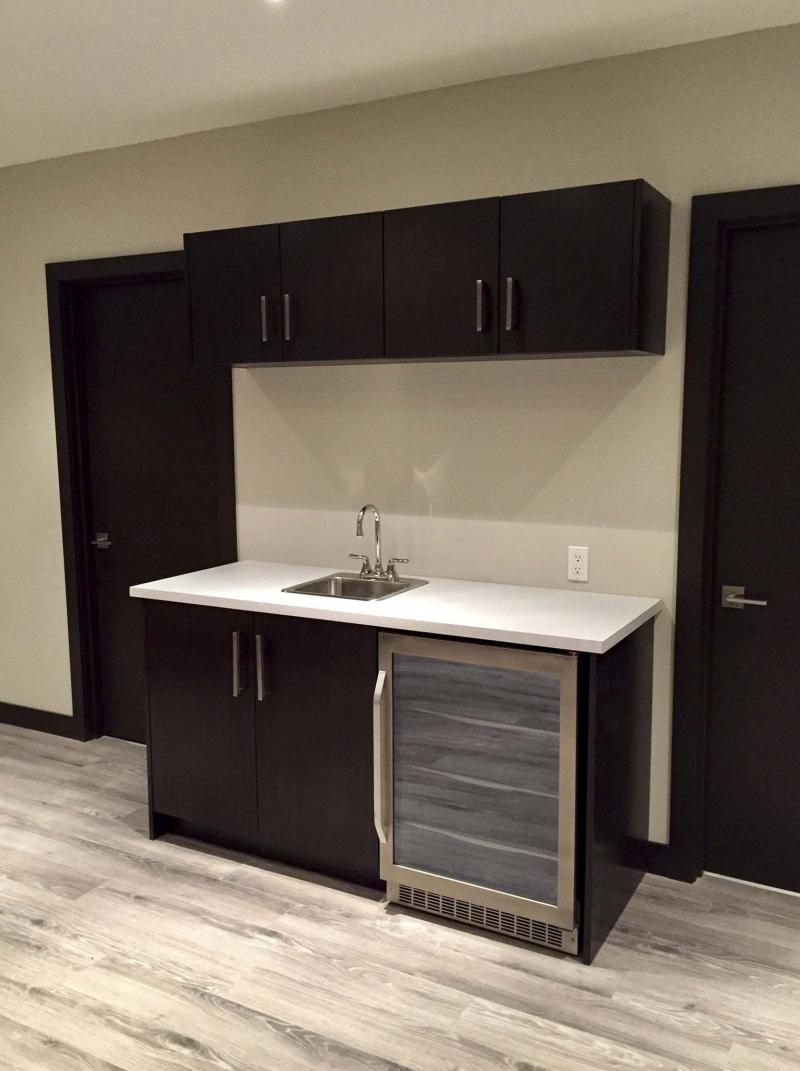
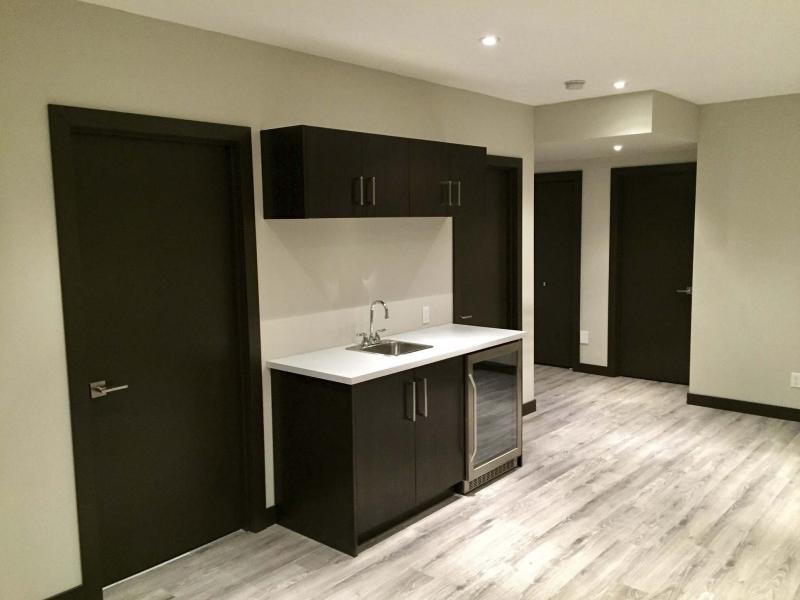
Upon completion, this wet bar brought an entire basement renovation together — it was the true finishing touch on a difficult project.
After spending upwards of 10 to 12 weeks on one job site, converting often what is an empty shell into a functional and visually appealing space, it is sometimes the daily victories that provide the greatest sense of accomplishment.
When potential clients ask me "what exactly do you do?" my answer recently has been simply "from studs to finished" — and I always hope the insinuation is understood, because it’s a long list to go through.
On site, at a 1,200 sq ft lower-level project in Sage Creek last summer, it truly was a project from studs to finished.
The lower level was a barren cave of concrete, awaiting a design. A total of five rooms was requested. As such, the walls were choreographed to create the following spaces: a main rec room, an oversized three-piece bathroom, a mechanical room, a large bedroom and the workout room, which is adjacent to the stairwell, and boasts a 15-foot-high ceiling. Once all the electrical, plumbing and ventilation was sorted out, the drywall, taping and mudding stages rounded out the first six weeks of workload.
The walls and ceiling were then painted, and a light-grey wood-grain laminate was chosen as the flooring throughout.
It was during the laminate installation process that the wet bar cupboards and the countertop were ordered for my client — timing is everything and requires pre-planning. Based on where the rough openings had been placed for the bathroom and mechanical room doors, I had a pretty good idea how much space there would be for the wet bar; cupboards and countertops, when custom-ordered, can take anywhere from four to six weeks and sometimes even longer.
My Sage Creek client, Don Kennedy, had requested that a wet bar be included somewhere in the rec room. Because the bathroom (and shower stall within) was adjacent to the rec room, I suggested for ease of installation that the rough plumbing for the wet bar be positioned opposite the shower stall wall, which houses the shower faucet. And so it was done in this manner. The wet bar would essentially look like a kitchenette, but it is what was requested and would serve the purpose.
While awaiting the manufacturing of my cupboards and countertop from Richard at Cabinet Corner, I continued the renovation process. The entry and closet doors were hung and painted, the baseboards and casings were pre-painted and then installed and I made a variety of other finishing touches to each of the rooms.
Tiling the shower stall walls and floor consumed a good chunk of time from that point onward.
The vanity, sink faucet, shower faucet, and six-foot custom glass barn-style sliding shower door rounded out the final steps in completing the bathroom.
It was about then that I received the call from Richard at Cabinet Corner — the cupboards were ready. It was perfect timing.
Richard was kind enough to offer to deliver them directly to the job site, which allowed me to ready the area. Now — provided my measurements were accurate, the wet bar countertop would nearly fill the six-foot gap between the bathroom and mechanical room doors, allowing roughly two inches between the side edges of the countertop and casings of the doors on each side.
Once the cupboards were on site, the installation began.
The colour of the cupboards chosen mimics the trim theme throughout the lower level. The upper cupboards consist of two separate 33-inch wide units, each with two 16.5-inch cabinet doors. They were mounted to the wall at the same height as the horizontal top casings of the room doors, on either side. The lower cabinets, ordered at 34-inches wide, combined with the 28-inch wide wine fridge (factoring in slight gaps on either side of the fridge) to be placed on the right side of the lower cupboards, would equal the 66-inch width of the upper cabinets.
Fascia boards of the same colour were installed on either of the upper cabinets and to the left of the lower cabinet. On the open side, to the right of the wine fridge, another fascia board was set into place and attached to the back wall with "L" brackets, along the inside of the board. The fridge was positioned and the countertop was set atop the lower cupboards.
Once the exact placement of the bar sink was established, the hole was carefully cut with a jigsaw and the sink was fastened to the counter from below. The hot and cold water feeds and drain were connected to the sink — and boom! We have a wet bar!
The countertop was fastened with particle board screws and the kick plates were attached at the base of the lower cupboards. The final task was to drill the holes for the cupboard handles and install one handle on each of the cupboard doors.
The rough plumbing aside, the wet bar was totally installed in one day — and what a difference it made. The rec room finally looked finished.
It was this smaller project within a BIG project that really gave me a sense of accomplishment. It tied everything together.
It was time to celebrate!
Too bad the wine fridge had not yet been stocked…
BossEnterprise@outlook.com