MARC LABOSSIERE / FREE PRESS
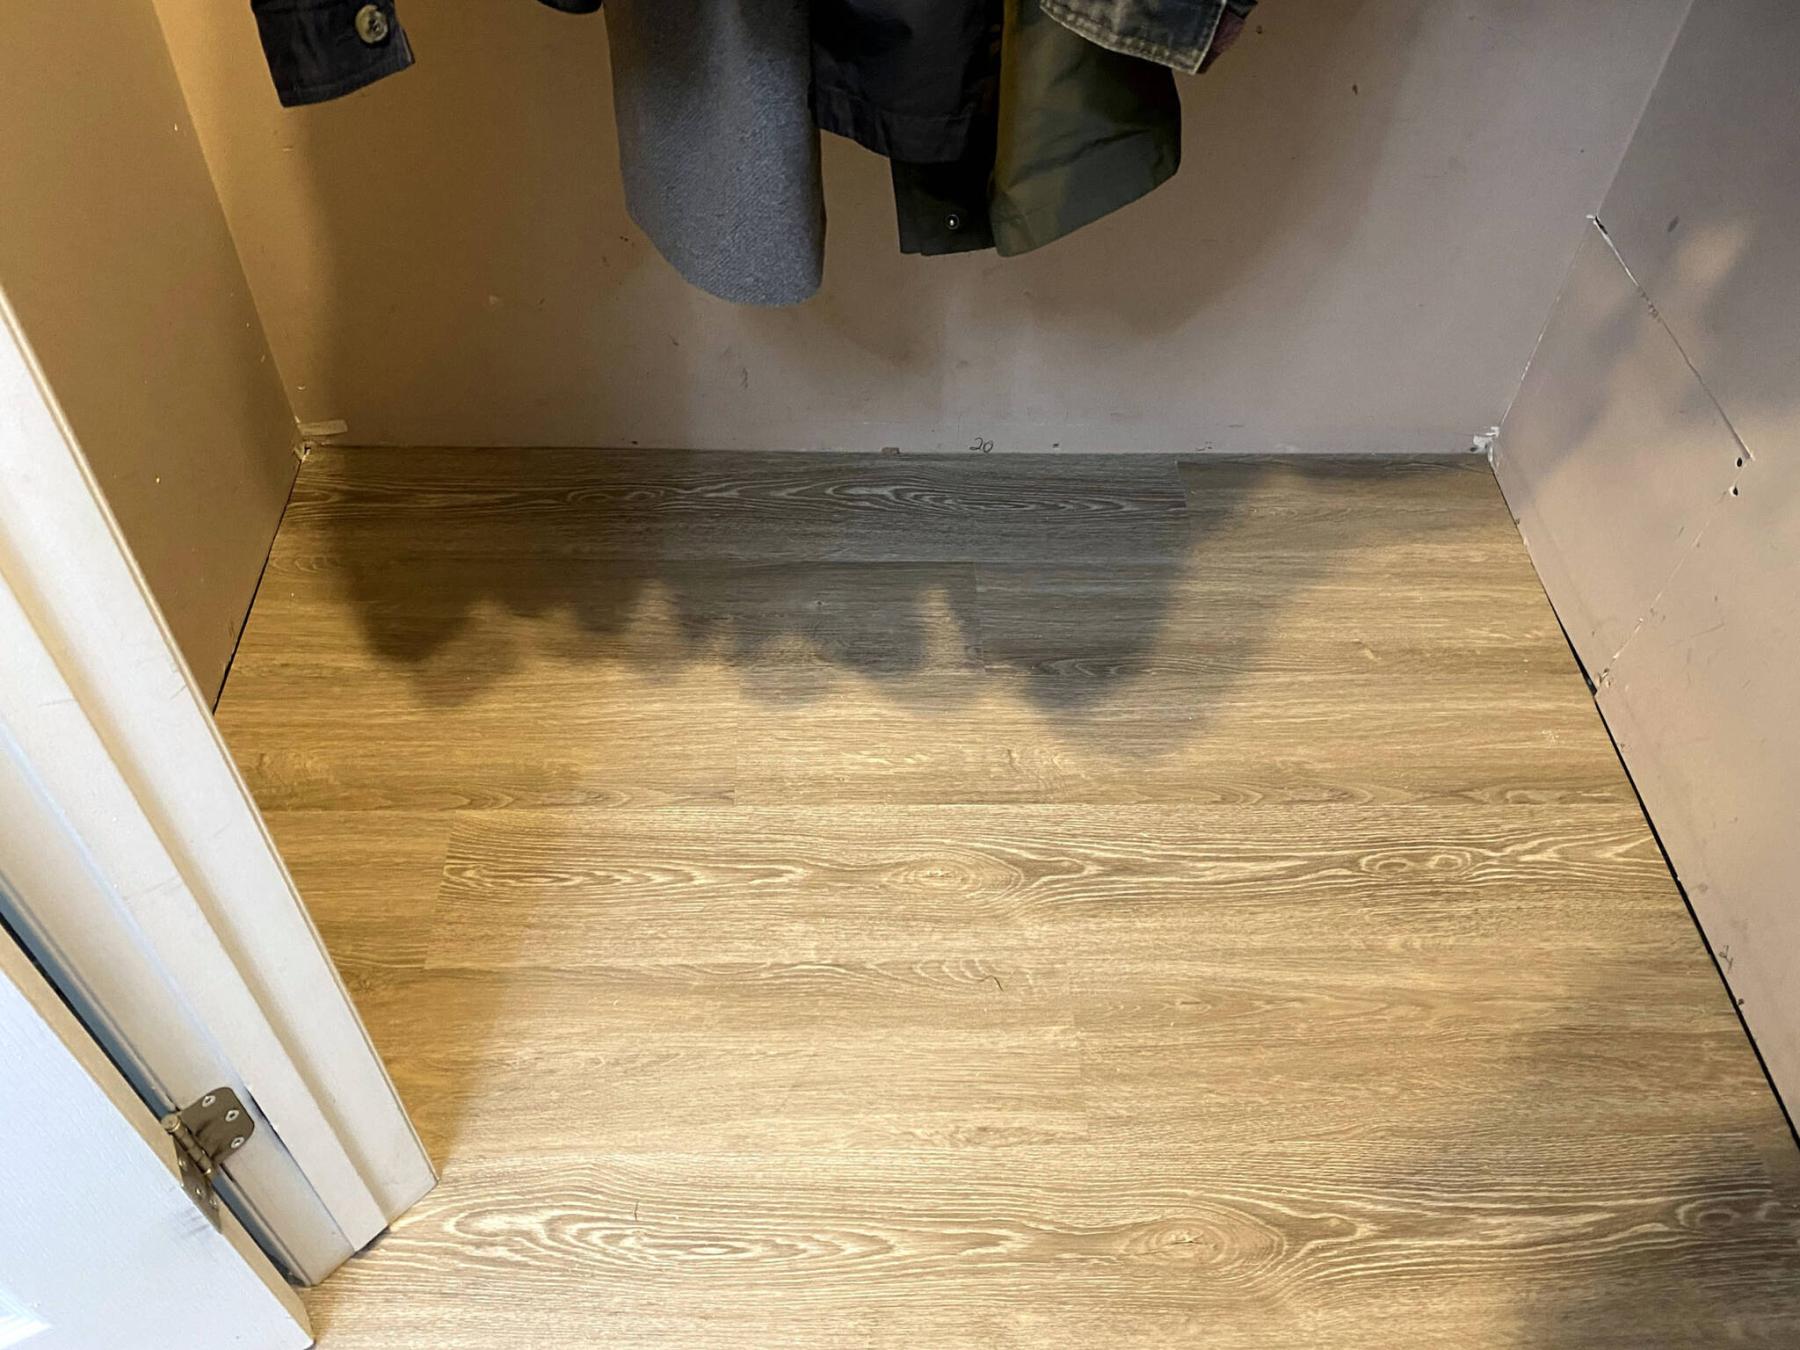
Once the last full row of vinyl plank reaches the far edge of the entryway set at a 45-degree angle, the entire closet can be completed.
MARC LABOSSIERE / FREE PRESS
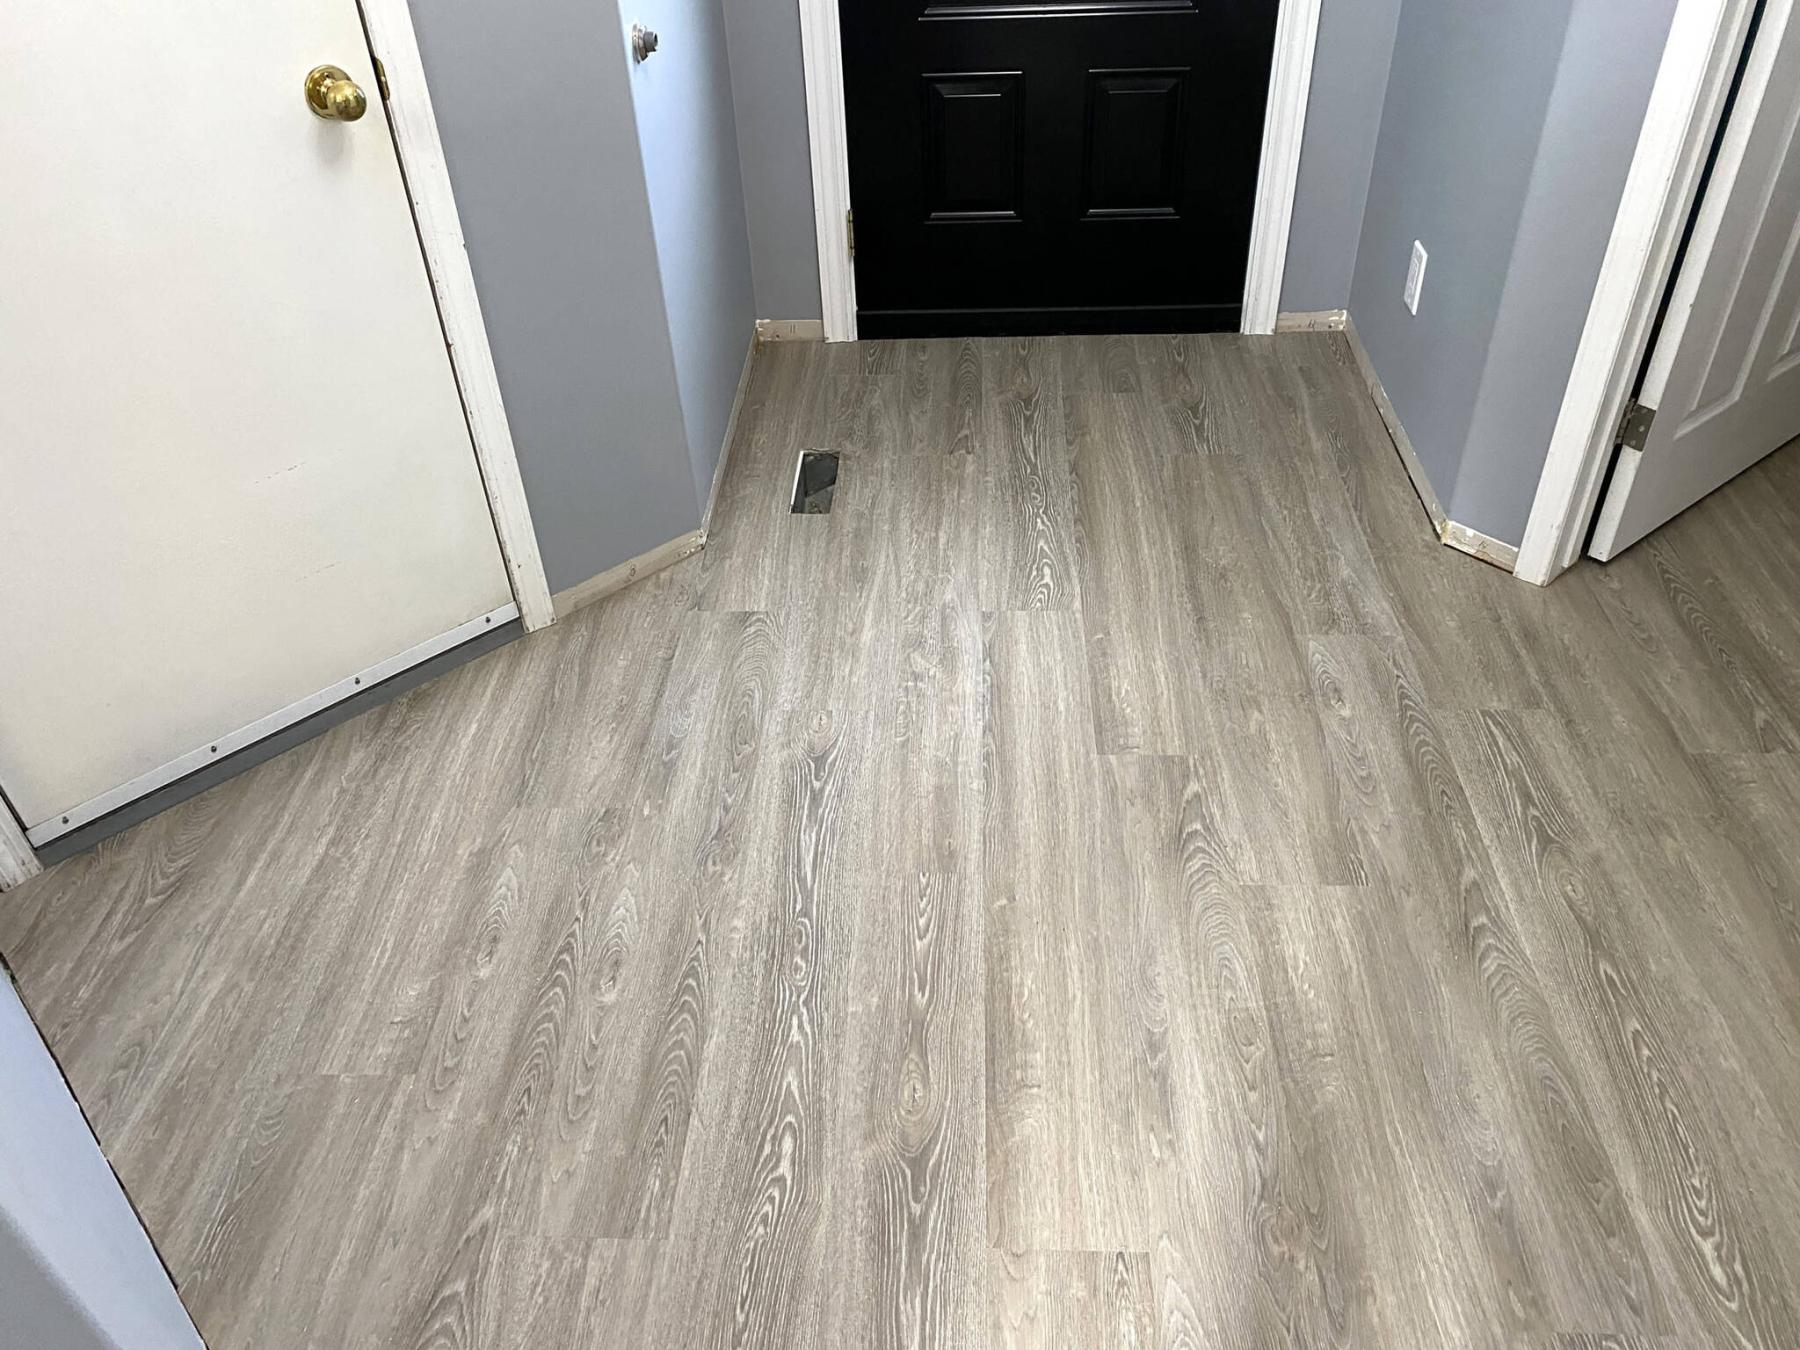
The rows of vinyl plank are established perpendicularly with the front entry door and steps to the upper level, in spite of the 45-degrees angles.
MARC LABOSSIERE / FREE PRESS
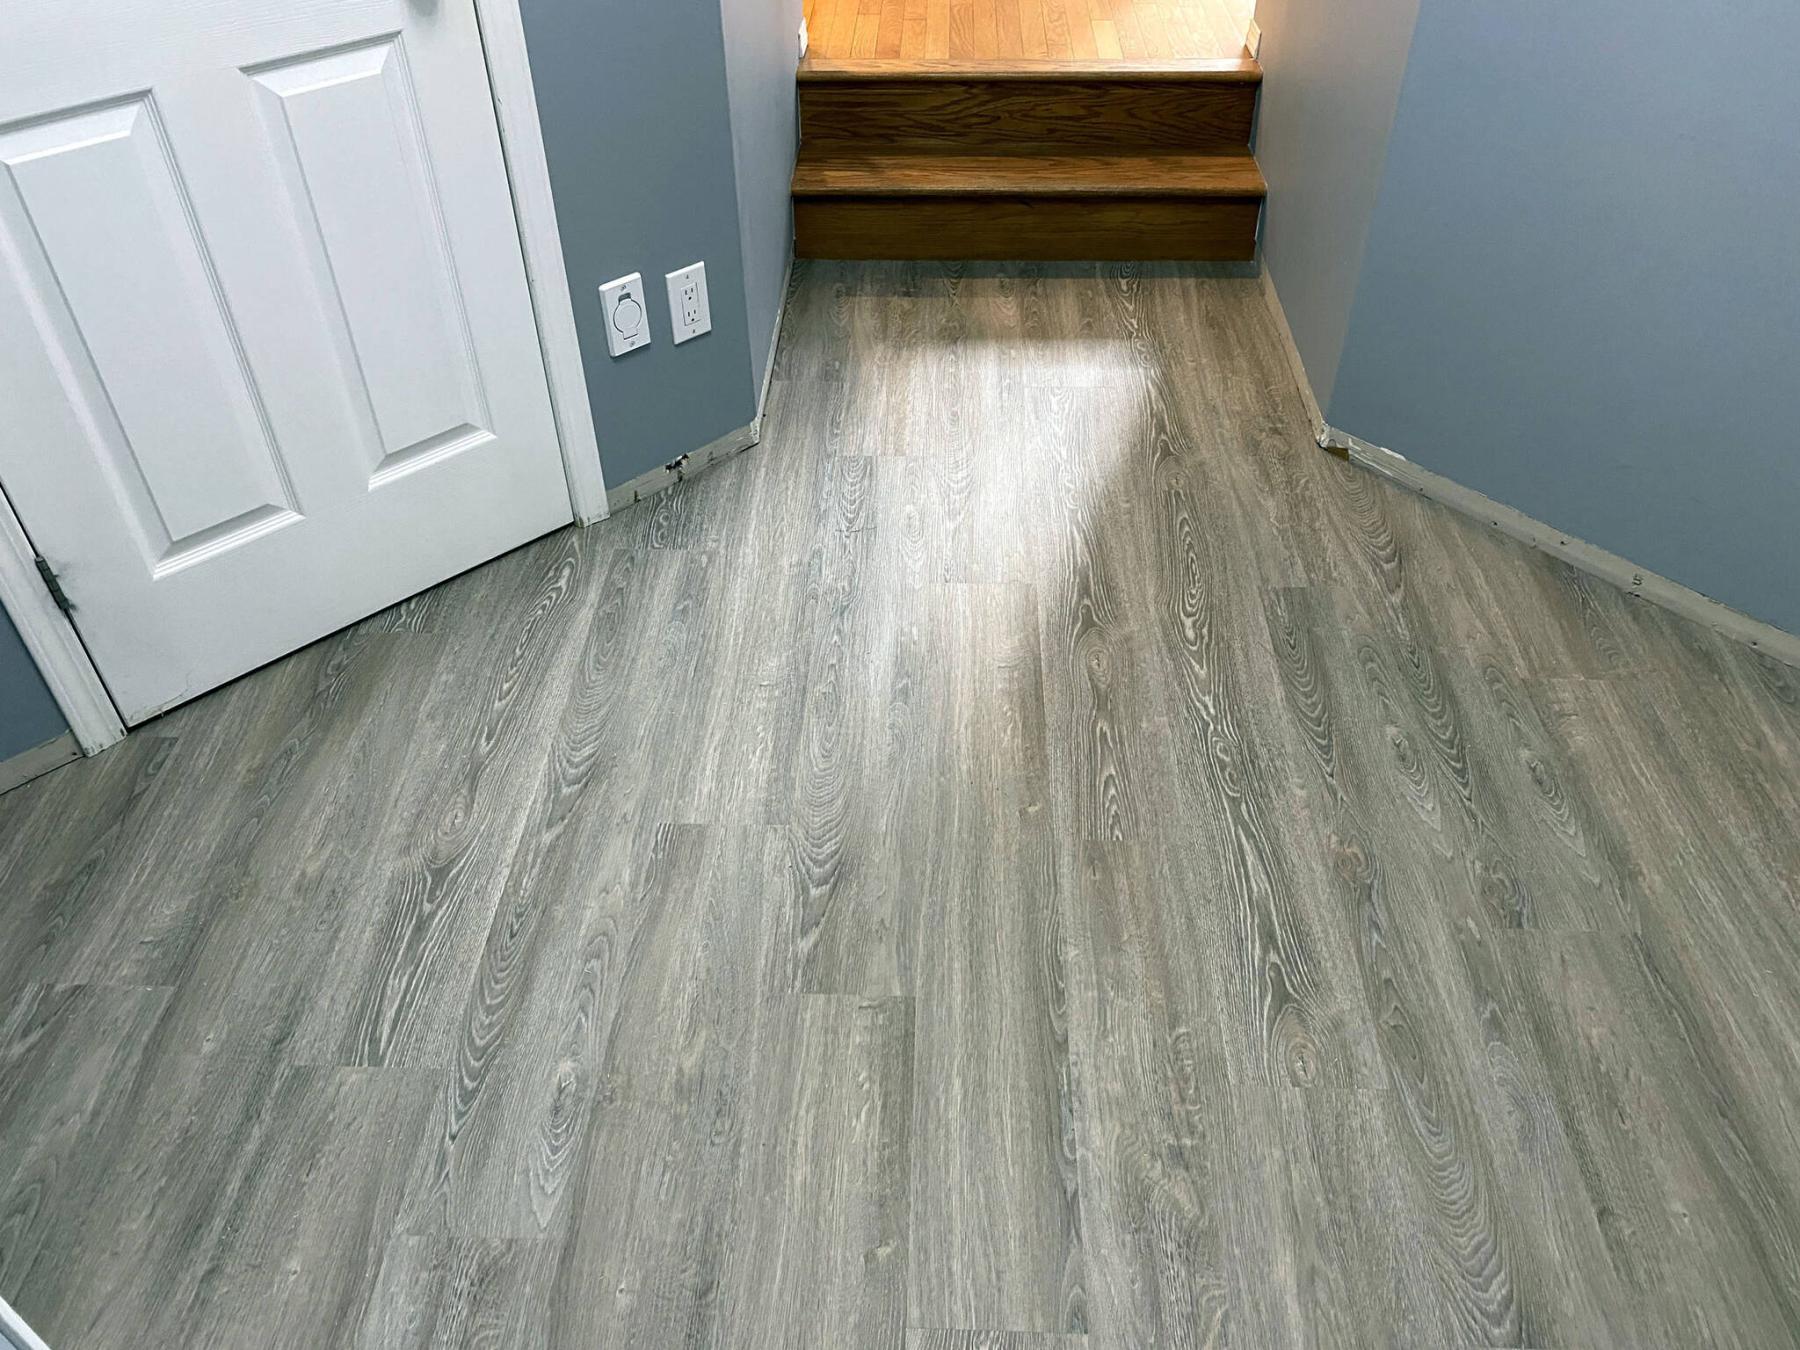
Vinyl plank set in this manner leads you towards the steps up to the higher level.
Amongst of slew of other tasks, homeowners at a recent job site expressed a desire to update the outdated square-tile “look” that greets visitors upon entering their home’s front door and into the main-floor bathroom and closet before reaching the double-step to the upper level.
Having recently upgraded the kitchen flooring to a grey-tone premium vinyl plank, a similar vinyl-plank product was chosen for this project. Due to the nature of the space, the shape and dimensions threw up a few hurdles along the way.
Most vinyl plank “click” products can be installed quite efficiently. Once the initial row is in place, and adjusted parallel to the neighbouring wall, subsequent rows can be installed with relative ease.
In this scenario, the decision was made to simply install the new vinyl atop the existing ceramic tile, which provides a very solid foundation for the vinyl. Although the ceramic tile could have been removed, the added steps to thoroughly clean the sub-floor and subsequently address any damage caused by the tile removal process would have unnecessarily increased the project timeline, for little to no gain.
The foyer area in the house is set at 45-degree angles along all walls, whereby the front entry door and two-stair step up to the higher level are aligned with the main orientation of the house. As such, the initial row of vinyl was established with the far end perpendicular to the steps, leading back towards the main entry door.
Once that first row was in place, the next row was installed to maintain rigidity of the rows. Working backwards, the 45-degree angled area at the garage-door entrance was completed. The next full-length rows of vinyl were then installed along the main walkway area, completing the entire section from front door to higher-level steps. This then allowed the continuation of vinyl into the closet (also set at a 45-degree angle).
Once the closet flooring was finished, the final area involved the main floor bathroom, which required additional preparation.
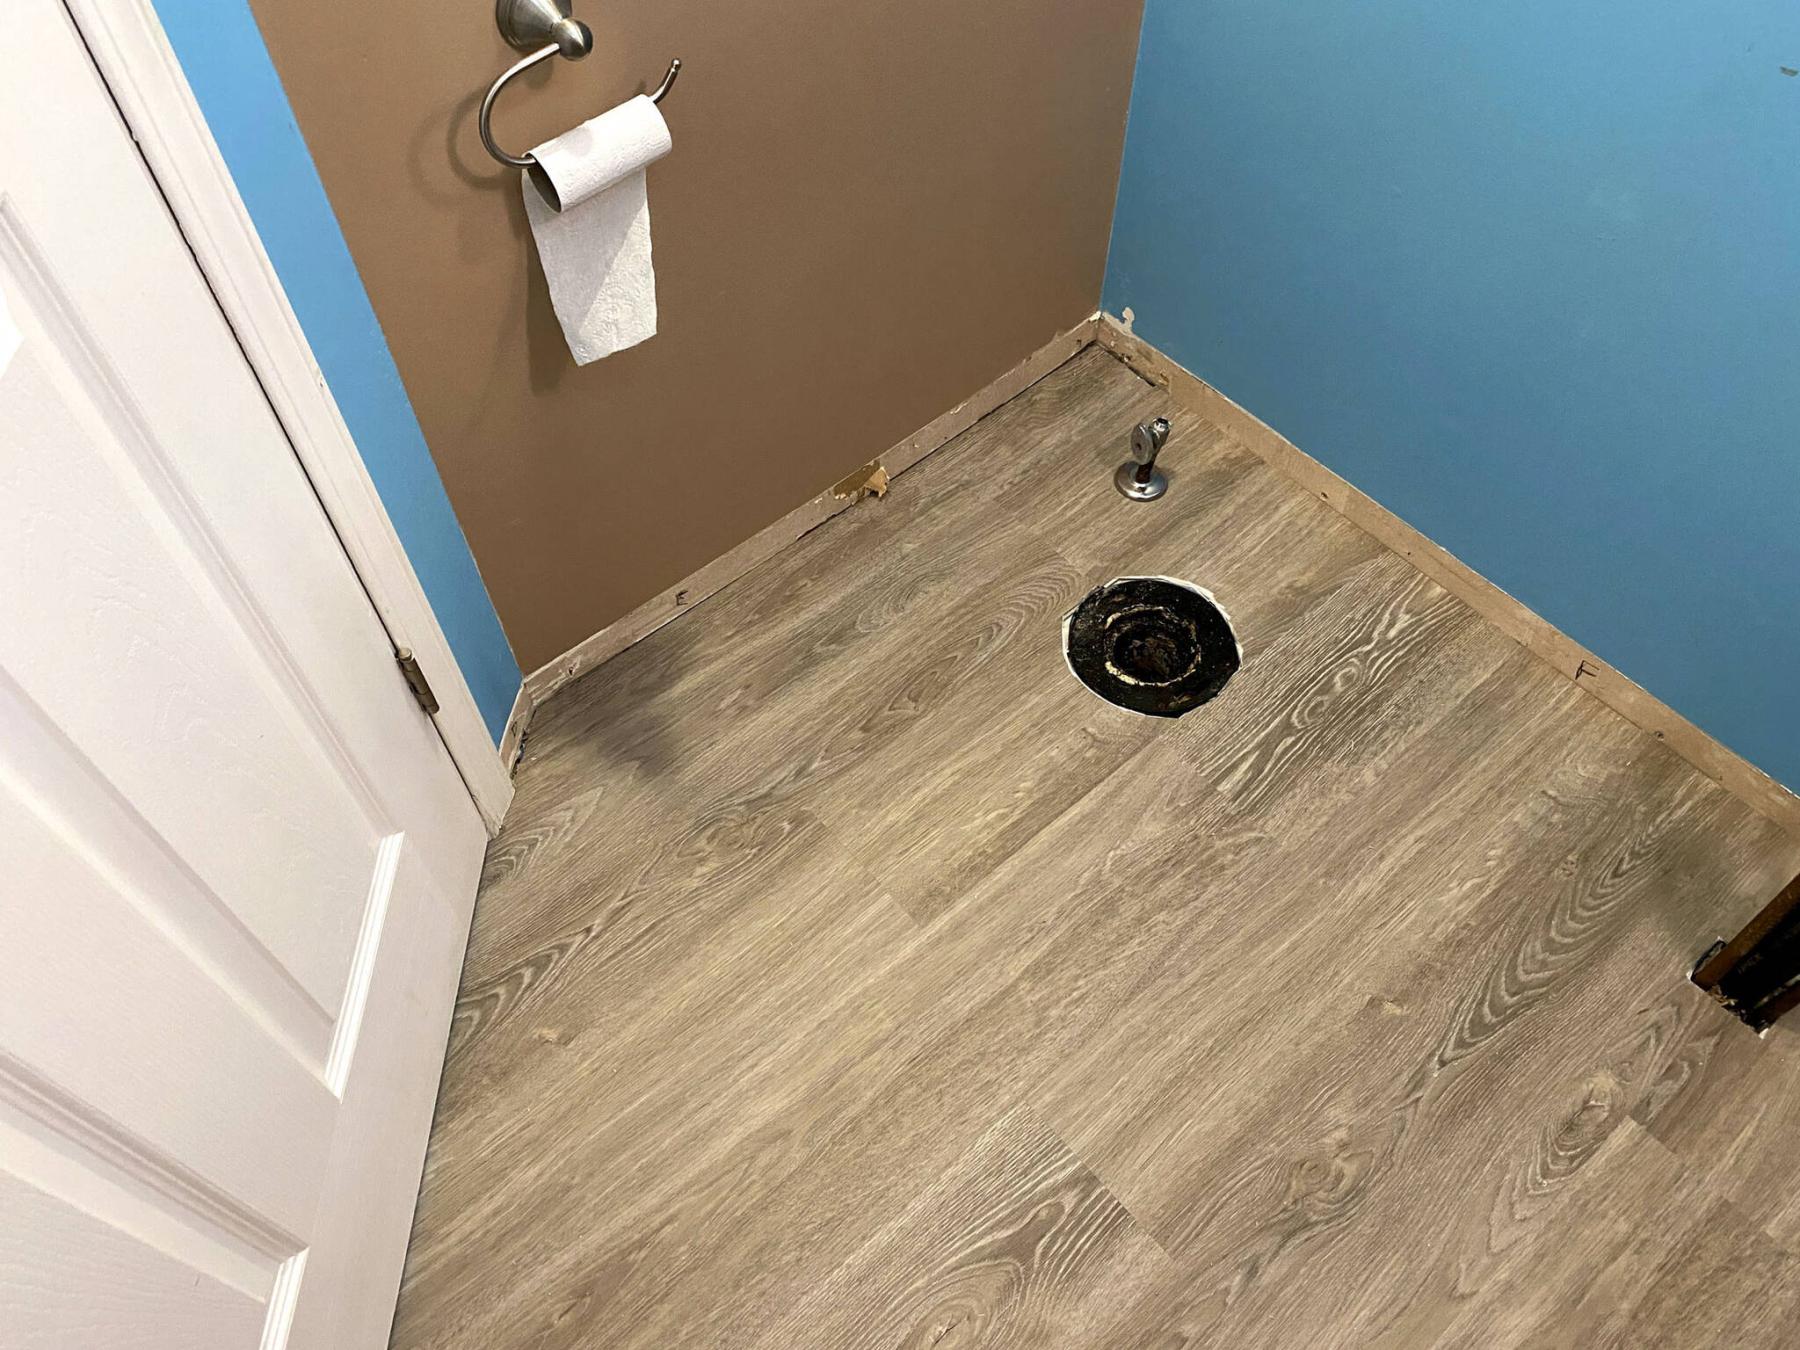
The bathroom is the final room set at a 45-degree angle to the main flow of vinyl flooring. However, the bathroom amenities first had to be removed to accommodate the new vinyl. As such, the existing toilet was dismounted from the floor flange, and placed temporarily in the garage.
Due to the confined space in this corner bathroom, a pedestal sink was installed in lieu of an obtrusive vanity cabinet. Once the pedestal below the sink was dislodged and removed, the sink basin itself was then unfastened from the wall after the water feeds and drain were temporarily disabled.
With the space void of amenities, the vinyl installation process continued until the area was completely addressed, with the necessary cut-outs to accommodate the toilet flange and plumbing feeds, as required.
Throughout the entire process, an oscillating tool was used to cut the bottoms of every door jamb and accompanying casings to accommodate the slightly higher floor elevation once the vinyl was installed. By doing this, the vinyl is neatly tucked below the jambs and casings, rendering a clean and professional result.
This vinyl installation project proved to be quite tricky along the 45-degree-angles, primarily because the “click” process of vinyl plank requires the far side of a plank to lift in order to properly click it into the adjacent plank along the floor.
As you can imagine, there were several areas that created the need for unconventional approaches to achieve this successfully. Luckily, years of experience in vinyl-plank flooring installation have armed me with tricks of the trade that always allow me to get the job done. No matter, it always feels good once a flooring job has been completed, despite the sometimes frustrating hurdles along the way.
RenoBoss.Inc@outlook.com