Marc LaBossiere PHOTOS / Free Press
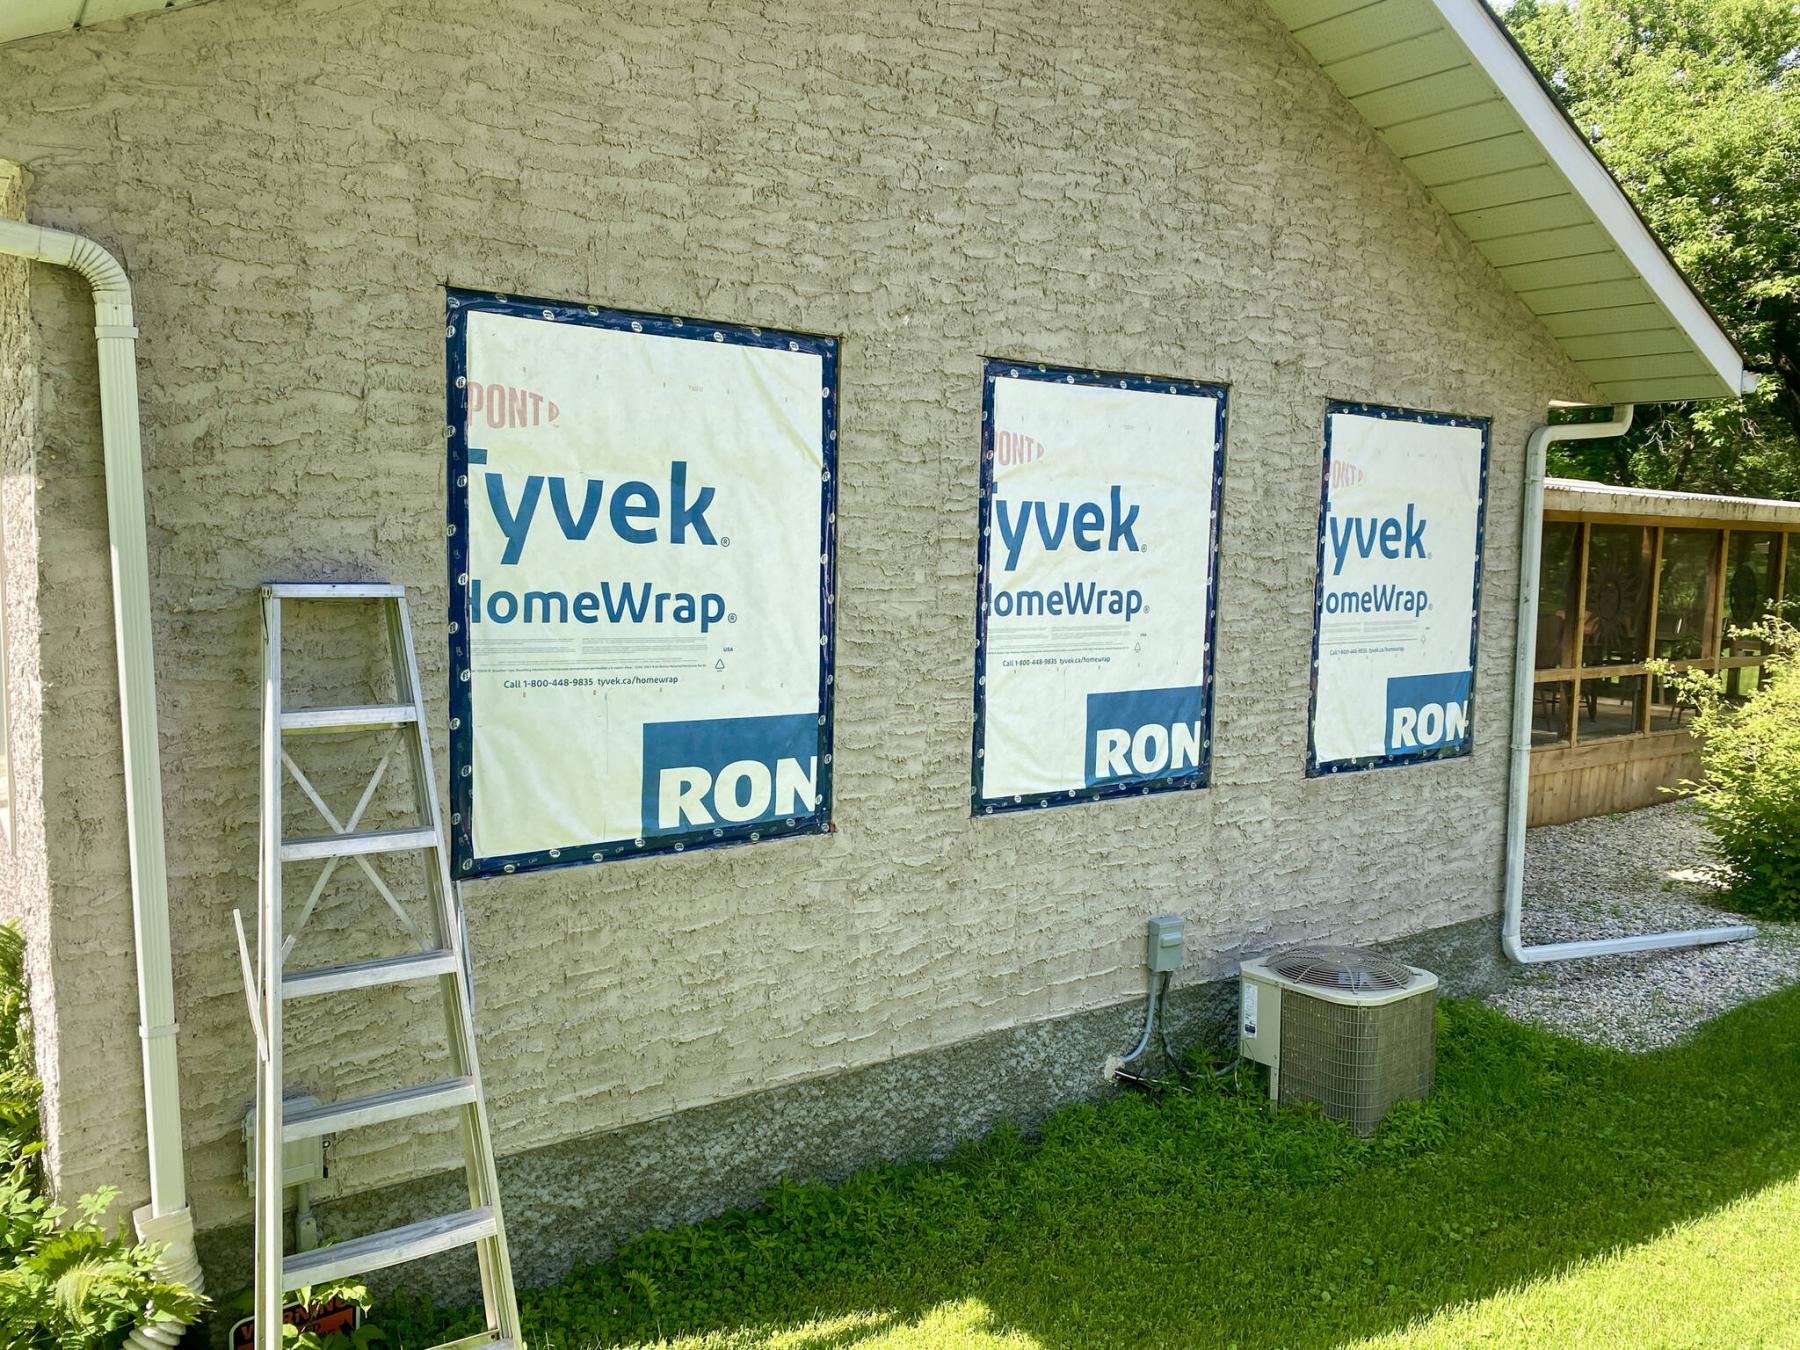
The old openings were left unfinished, sealed with Tyvek until a decorative solution was reached.
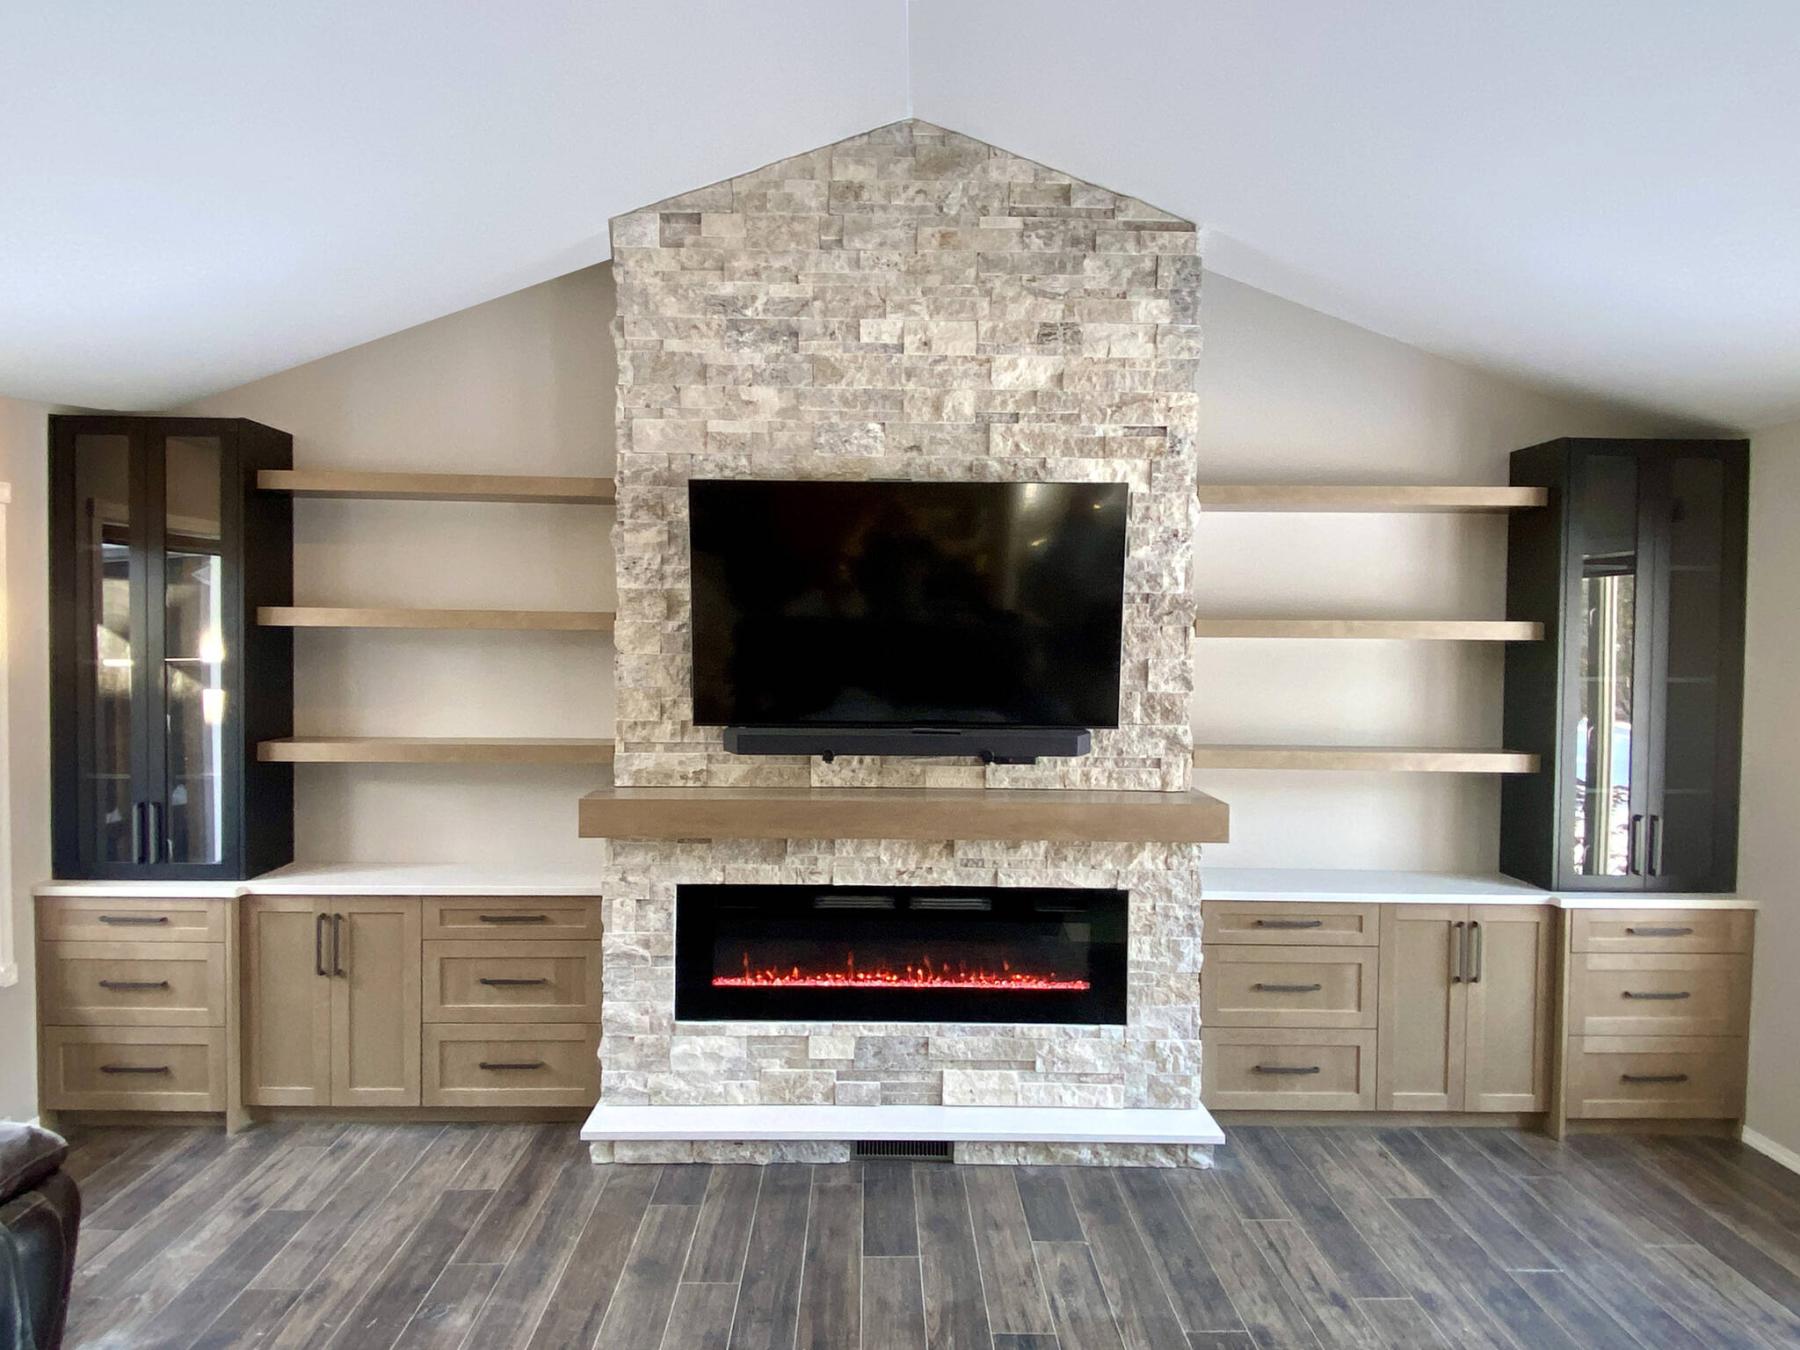
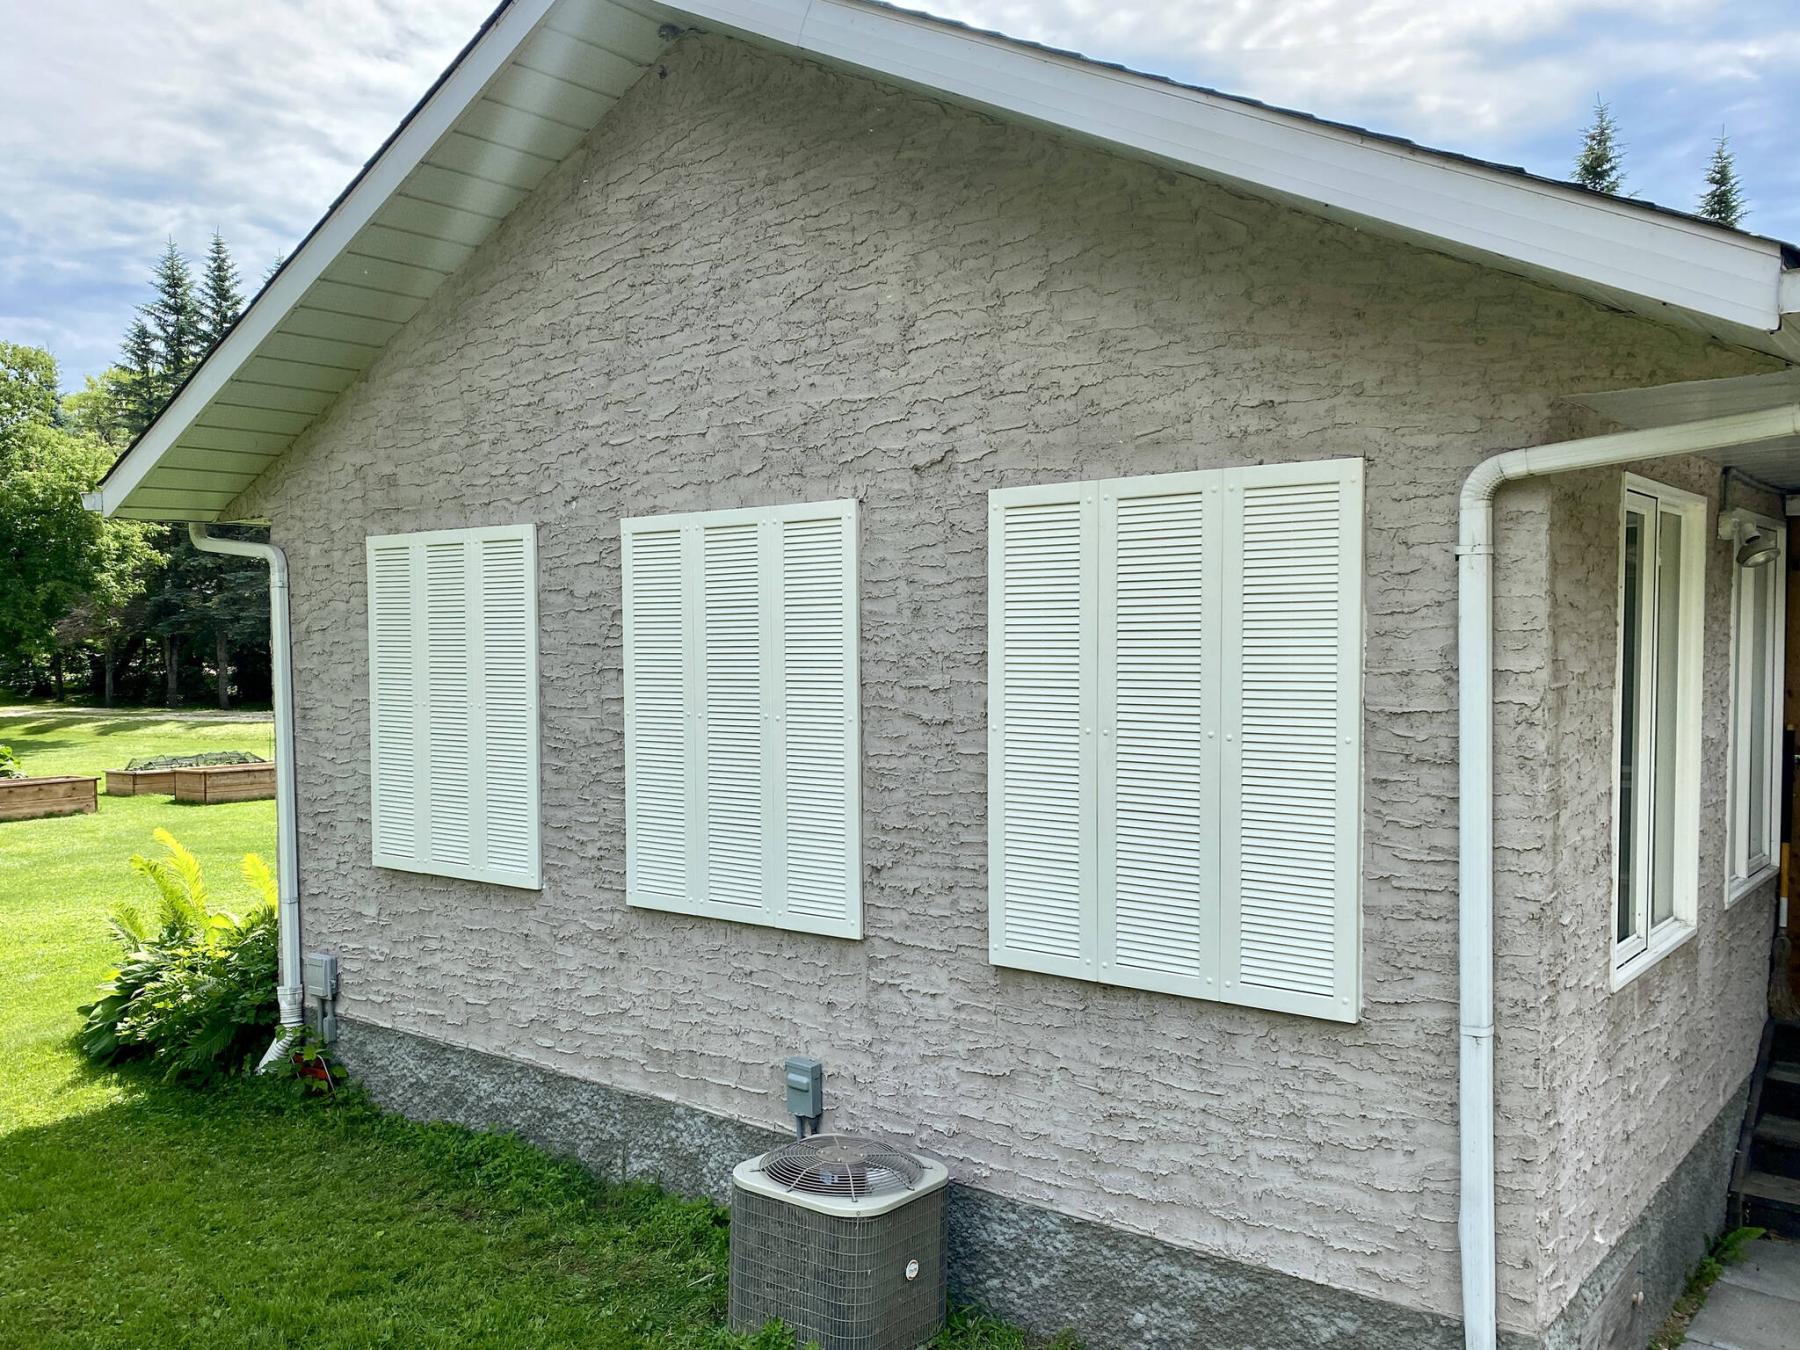
Where three windows once existed, a grand feature wall now captivates.
Marc LaBossiere / Free Press
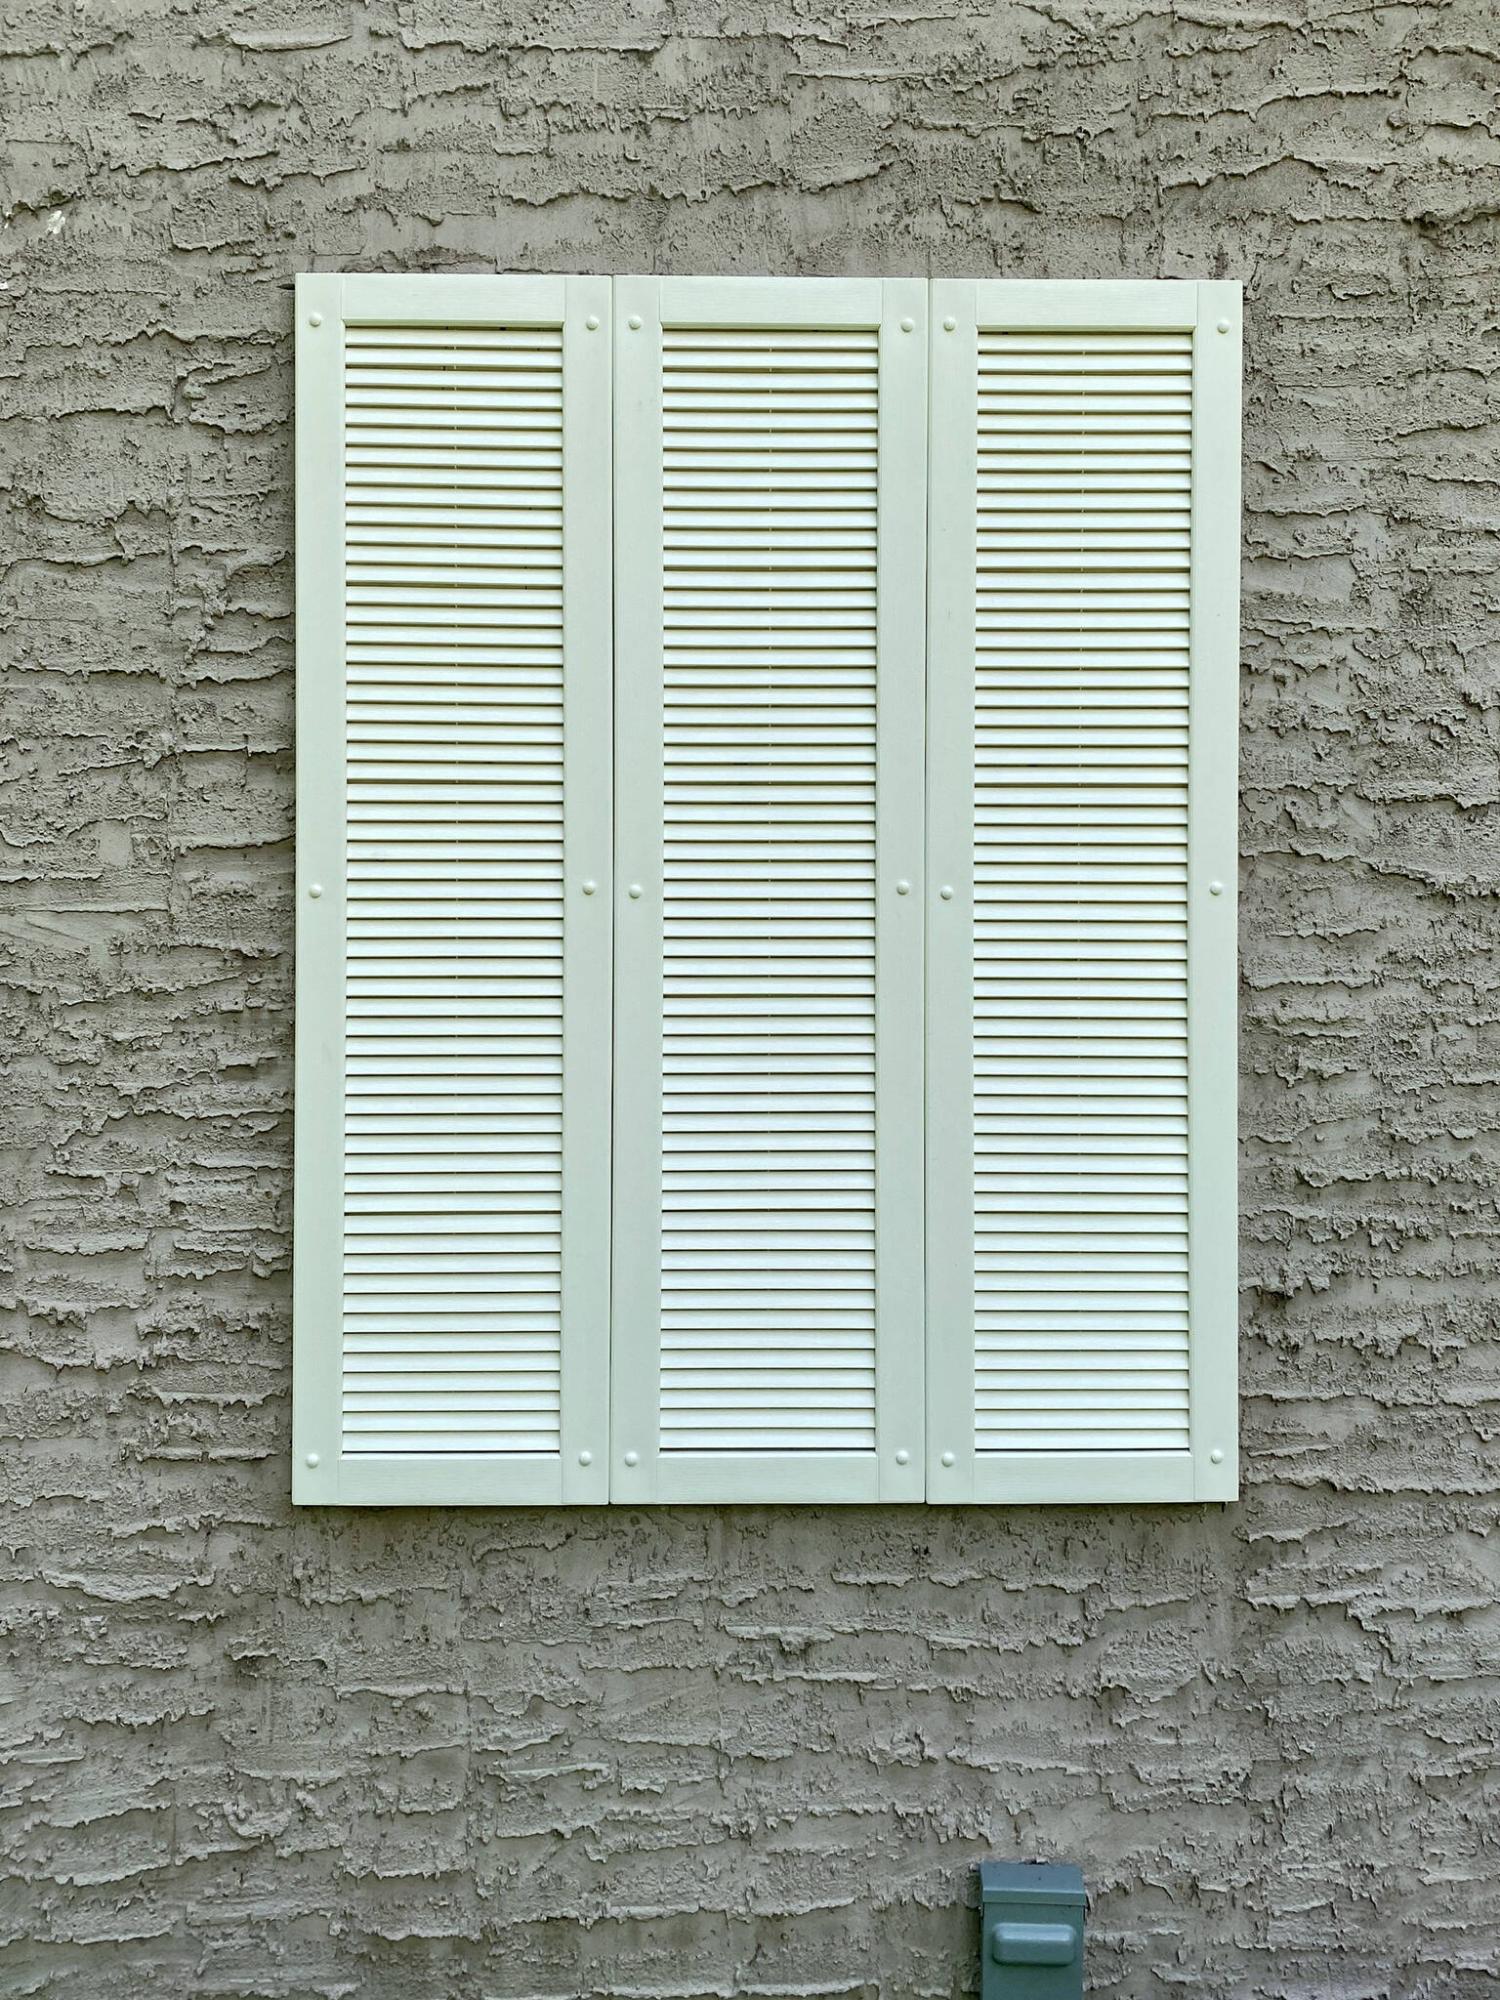
The three shutters provide a slight perimeter overlap to conceal the edges of stucco.
Marc LaBossiere / Free Press
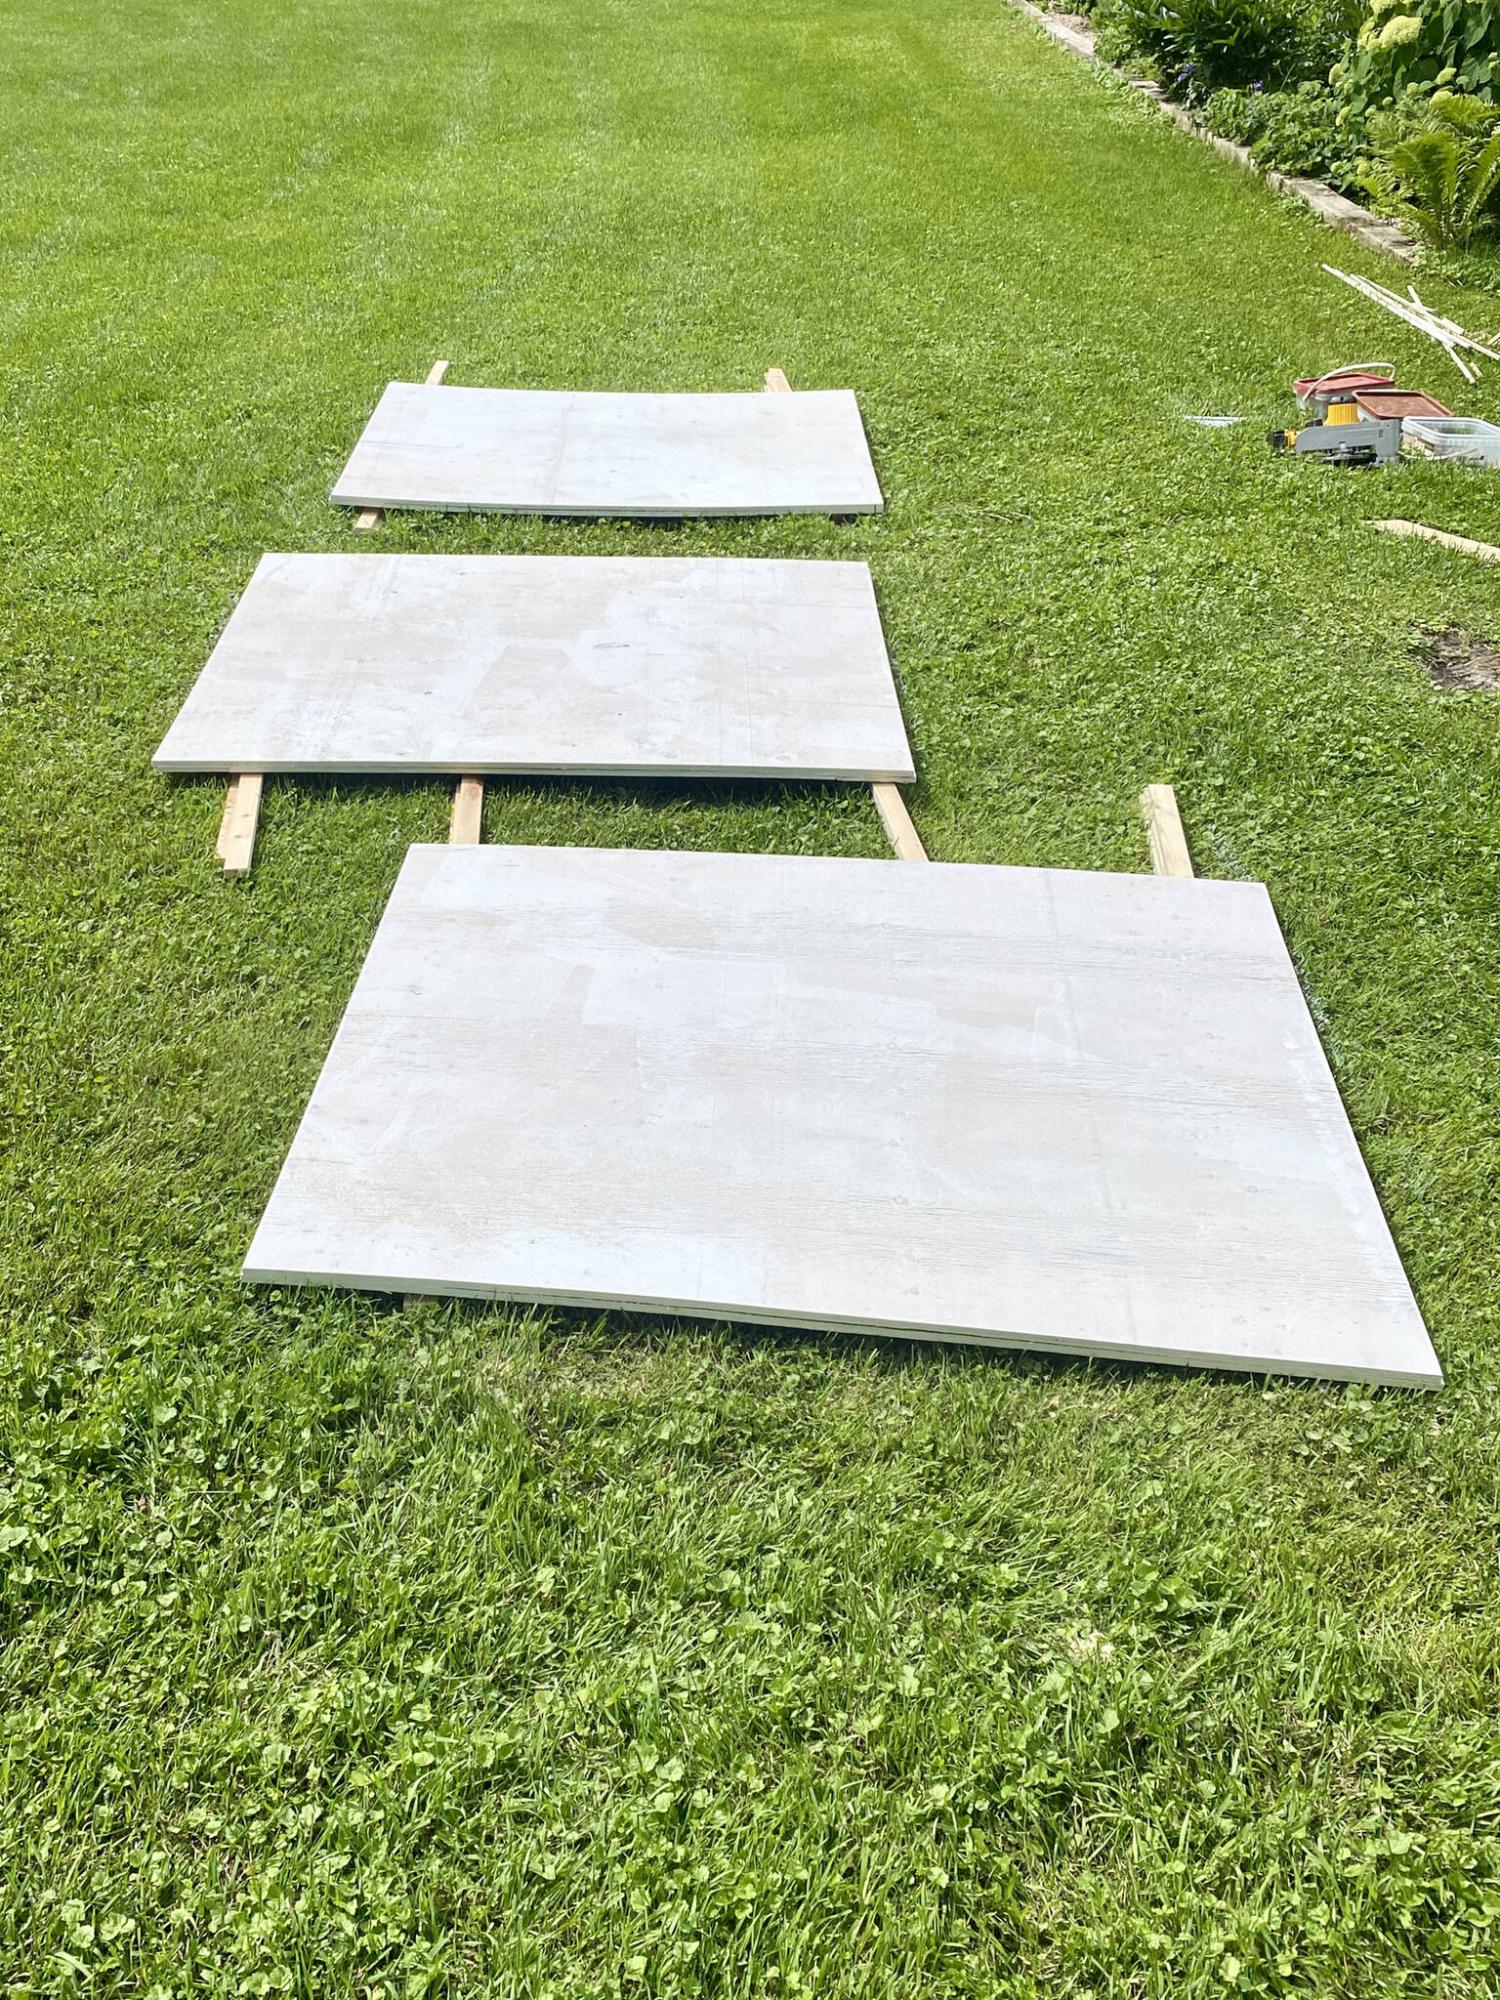
Two layers of half-inch plywood serve as spacing at each opening, upon which the faux shutters are then mounted.
After completing a massive feature wall that includes a beautiful, floor-to-ceiling stone fireplace structure with a large flat-screen TV above the mantel and an electric fireplace below — and a symmetrical array of shelving and cupboards on either side — all that remained was the finishing touches on the exterior side of the wall.
Before the project began, three windows had been filled in to accommodate the continuous vertical surface required to complete the interior project. Early this summer, I had occasion to finally address the final steps.
Unlike breaching an exterior wall for the introduction of a window, filling in an opening is far less complicated. With the lintel already in place, framing within the opening is not structural — it simply serves to provide a nailing surface upon which the drywall can be mounted along the interior side, and the exterior sheathing (in this case, three-quarter-inch plywood) can be fastened outside.
Once the stud cavities were filled with insulation and the separate areas were sealed with vapour barrier inside and Tyvek on the outside, the interior processes continued with coats of mud, the required sanding and two coats of matching paint.
The smooth and newly introduced continuous surface became the canvas upon which the feature wall was erected.
Throughout the interior tasks, the exterior had been left at the “sealed” stage, as it was not a priority at that point in the process. Moreover, there was still lingering uncertainty over how the three recently filled windows would be finished along the exterior wall. Because the entire exterior wall is adorned with a very specific pattern of coloured stucco, there was absolutely zero chance that these openings could be patched to effectively conceal the seams. So, I strongly urged the homeowners to entertain the possibility of using a more blatant approach that would satisfy the esthetic requirement.
The suggested solution came from my own experience, having achieved something similar at my own property.
When a wooden vent began to fail along the north-facing gable on the second storey of my house, I elected to remove it completely, having introduced a series of roof vents during a shingle replacement several years prior.
With the new roof vents, the gable vent was no longer necessary. However, removal of the old, rotten wooden vent left an unwanted opening. Rather than fill it simply with a pre-cut piece of plywood, painted to match the trim, I elected to take a slightly more decorative approach and ordered a faux shutter to size. Once it arrived, I pre-painted it to match the house trim and secured it in place using screws, with sealant along every seam. From below, the gable still looks “vented,” but the faux vent only appears functional and serves as a decorative cap along the old opening.
With that idea in mind, I suggested we use a series of “faux shutters” along each of the three capped window openings. The shutters would concisely fill in the voids, while creating the illusion of functioning windows. Because the existing windows and trim were white, white shutters would serve best.
After taking careful measurements, it was determined that each of the old openings was roughly 47 inches wide by 61 inches high. In order to completely conceal the openings within the existing stucco, the shutters should overlap slightly along every edge. After considerable research, faux shutters in white PVC were located through Amazon.ca in a variety of sizes. It was then determined that three, 18-inch-wide by 62-inch-tall shutters per opening would create the desired effect.
Once the shutters arrived, the installation process began by introducing plywood spacing to each opening, to ensure the shutters would be mounted at an ever-so-slight protrusion past the edges of stucco. Two layers of half-inch plywood were prepped to size for each of the three openings, and pre-painted before being mounted. The edges of the plywood spacers were then heavily caulked to seal the seams along the stucco.
With the openings prepped for installation of the faux shutters, the surface was marked to indicate the centre shutter, mounted first at every opening, using six fasteners (three per vertical edge), concealed with decorative white PVC screw caps. With the centre shutters mounted, the left and right shutters were placed adjacent to the respective edges and fastened in the same manner.
The tri-shutter decorative approach at each of the three abandoned window openings seems to have done the trick, providing a solution to the final task on a long journey of domicile transformation.
Not only did the shutters provide the desired esthetics while matching the existing windows and house trim, this approach negated the need for an attempt at matching stucco, which never results in convincingly concealing an old opening.
The interior feature wall project has now officially concluded
And although the grand interior features greatly overshadow the exterior finishing, I suppose that was the point all along.
RenoBoss.Inc@outlook.com