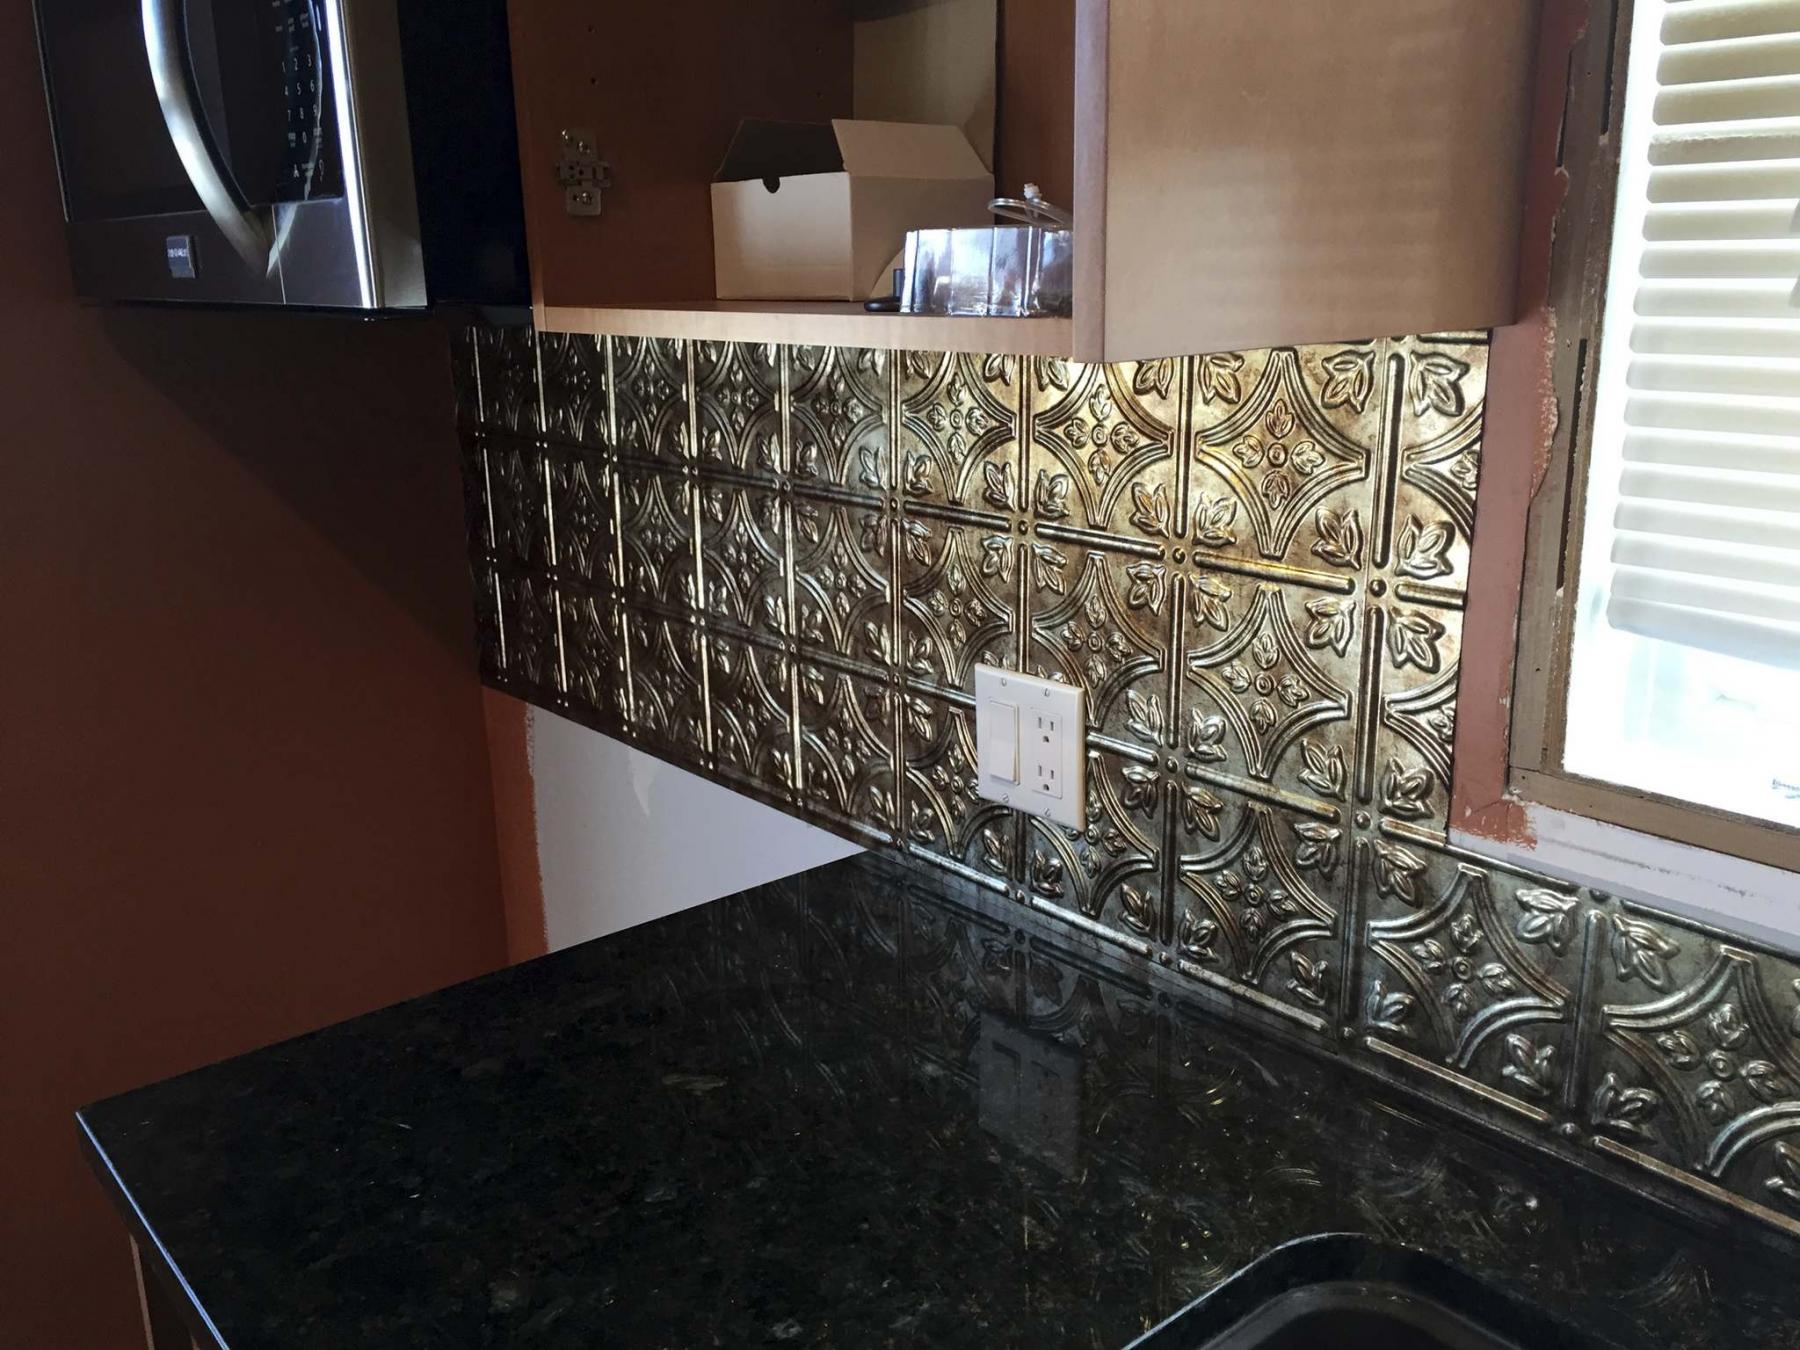
The panels were trimmed and cut to accommodate existing outlets and the window casings.
When the words "kitchen backsplash" are uttered during the design phase of a kitchen remodel, my thoughts usually travel to the same vision — a 12x12-inch mosaic of smaller tile that emulates the colour scheme of the newly chosen cupboards, countertop, flooring and paint. A client of mine had another idea — and the outcome is worth sharing.
Whether a kitchen or bathroom remodel, the backsplash is implemented at the end of a project, to complete the space. Beforehand, no doubt the electrical and plumbing have been updated and re-routed as necessary, the ceilings and walls have been patched and prepped for paint and the flooring is installed before the respective spaces are populated and furnished with new amenities. As such, choosing the perfect backsplash need not be rushed, it’s the icing on the cake.
Tiling a backsplash can be somewhat time-consuming and messy. Hunched over and working within the 18-inch gap between the countertop and upper cupboards, the tiles must be fitted and notched where required around outlets and window casings, and allowed to set for several hours before the entire surface is grouted, and the corners and seams are caulked and siliconed where required. Steps must be taken to protect the countertop surface during the backsplash installation, especially while grouting — because gravity is always working against you while grouting.
If tiling isn’t in your repertoire, there is a simpler DIY solution to installing a backsplash that mimics tile — peel and stick faux-tile. Many faux-tile styles are quite convincing, but this is not an approach I’d ever offer to a client who wishes to remodel an entire kitchen. It can, however, be an easy process that can quickly freshen up an existing kitchen backsplash that may have seen better days — and it can be achieved without breaking the bank. However, I would imagine that over time, these peel-and-stick sheets could in fact lose their stick and start to peel, which has prevented me from ever finding a suitable application.
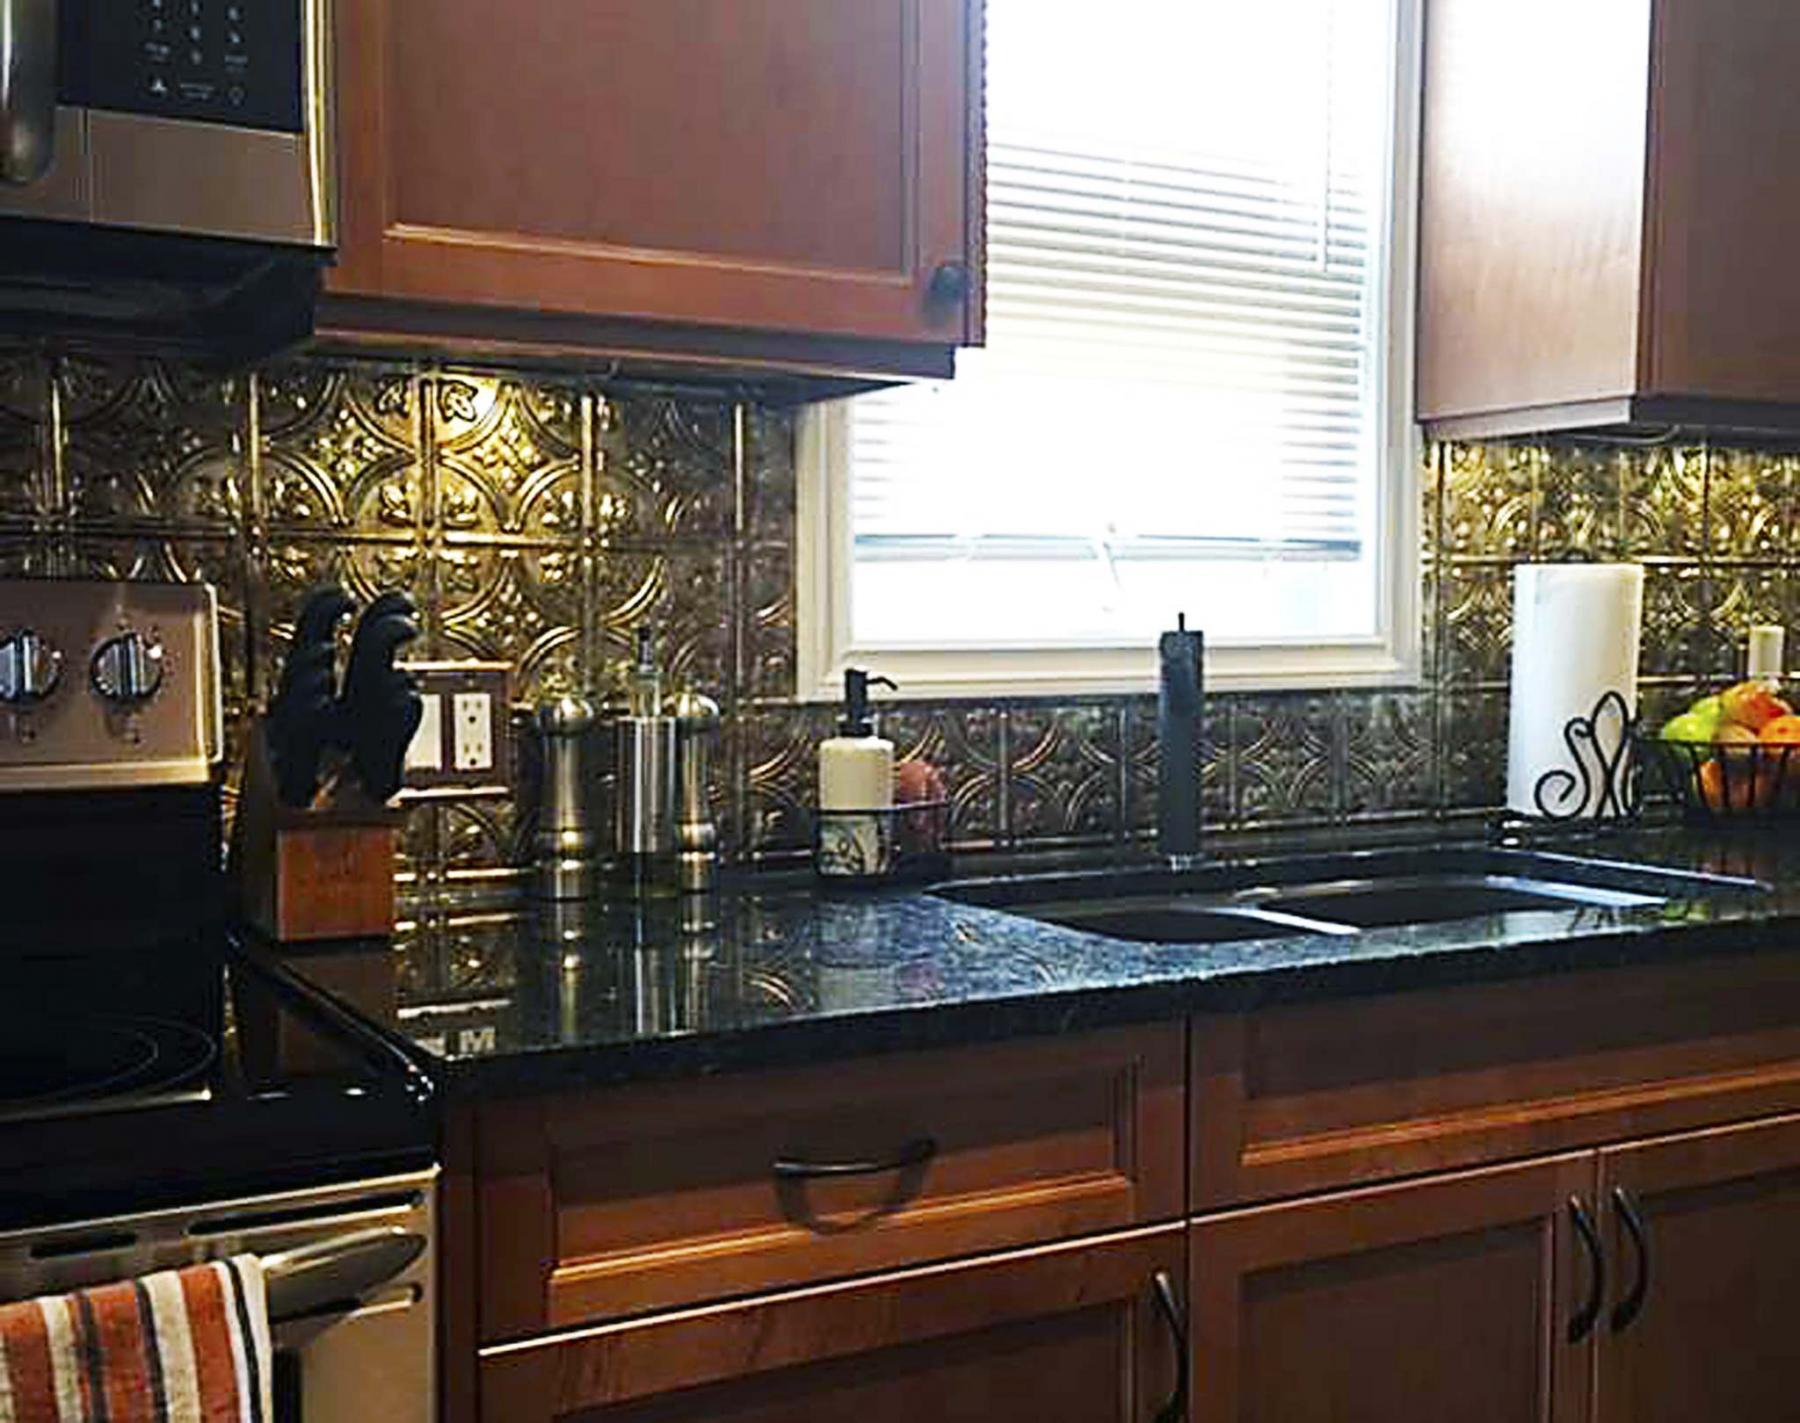
My client had very specific design intentions for her kitchen, revolving around a Mexican-themed decor. The backsplash in her mind was also the focal point — gold plastic embossed 24x24-inch panels. They were a bold choice, and would require an alternative method of installation.
The panels by nature are very lightweight, and easy to cut. Having never installed such a product, a quick inquiry confirmed that a high-grade adhesive would suffice to affix the sheets to drywall. I began at one end of the galley kitchen, trimming each successive panel to fit below the upper cupboards, affixing them to the wall as I went along. In areas near an outlet, a hole was cut out of the sheet in line with the outlet’s position before the sheet was glued in place. After about an hour or so of trimming and adhering, the entire backsplash was done and it truly looked amazing. And because the embossed design caters to hiding all adjacent seams, it is nearly impossible to locate where one panel ended and the next one began. This backsplash alternative is impressive and one I intend to promote in the future.
Although there are porcelain and ceramic tiles that cater to Mexican decor, they would not have created the desired effect. The plastic panels, with their embossed and greatly detailed pattern, reflect the under-cupboard lighting in a manner that dazzles, reinforcing the boldness of the backsplash choice. My client knew exactly what she wanted, and wouldn’t have it any other way. I’m glad it worked out so well.
BossEnterprise@outlook.com