Photos by Marc LaBossiere / Winnipeg Free Press
Barn doors, stained to match the cherry custom bathroom vanity, were hung symmetrically along the wall.
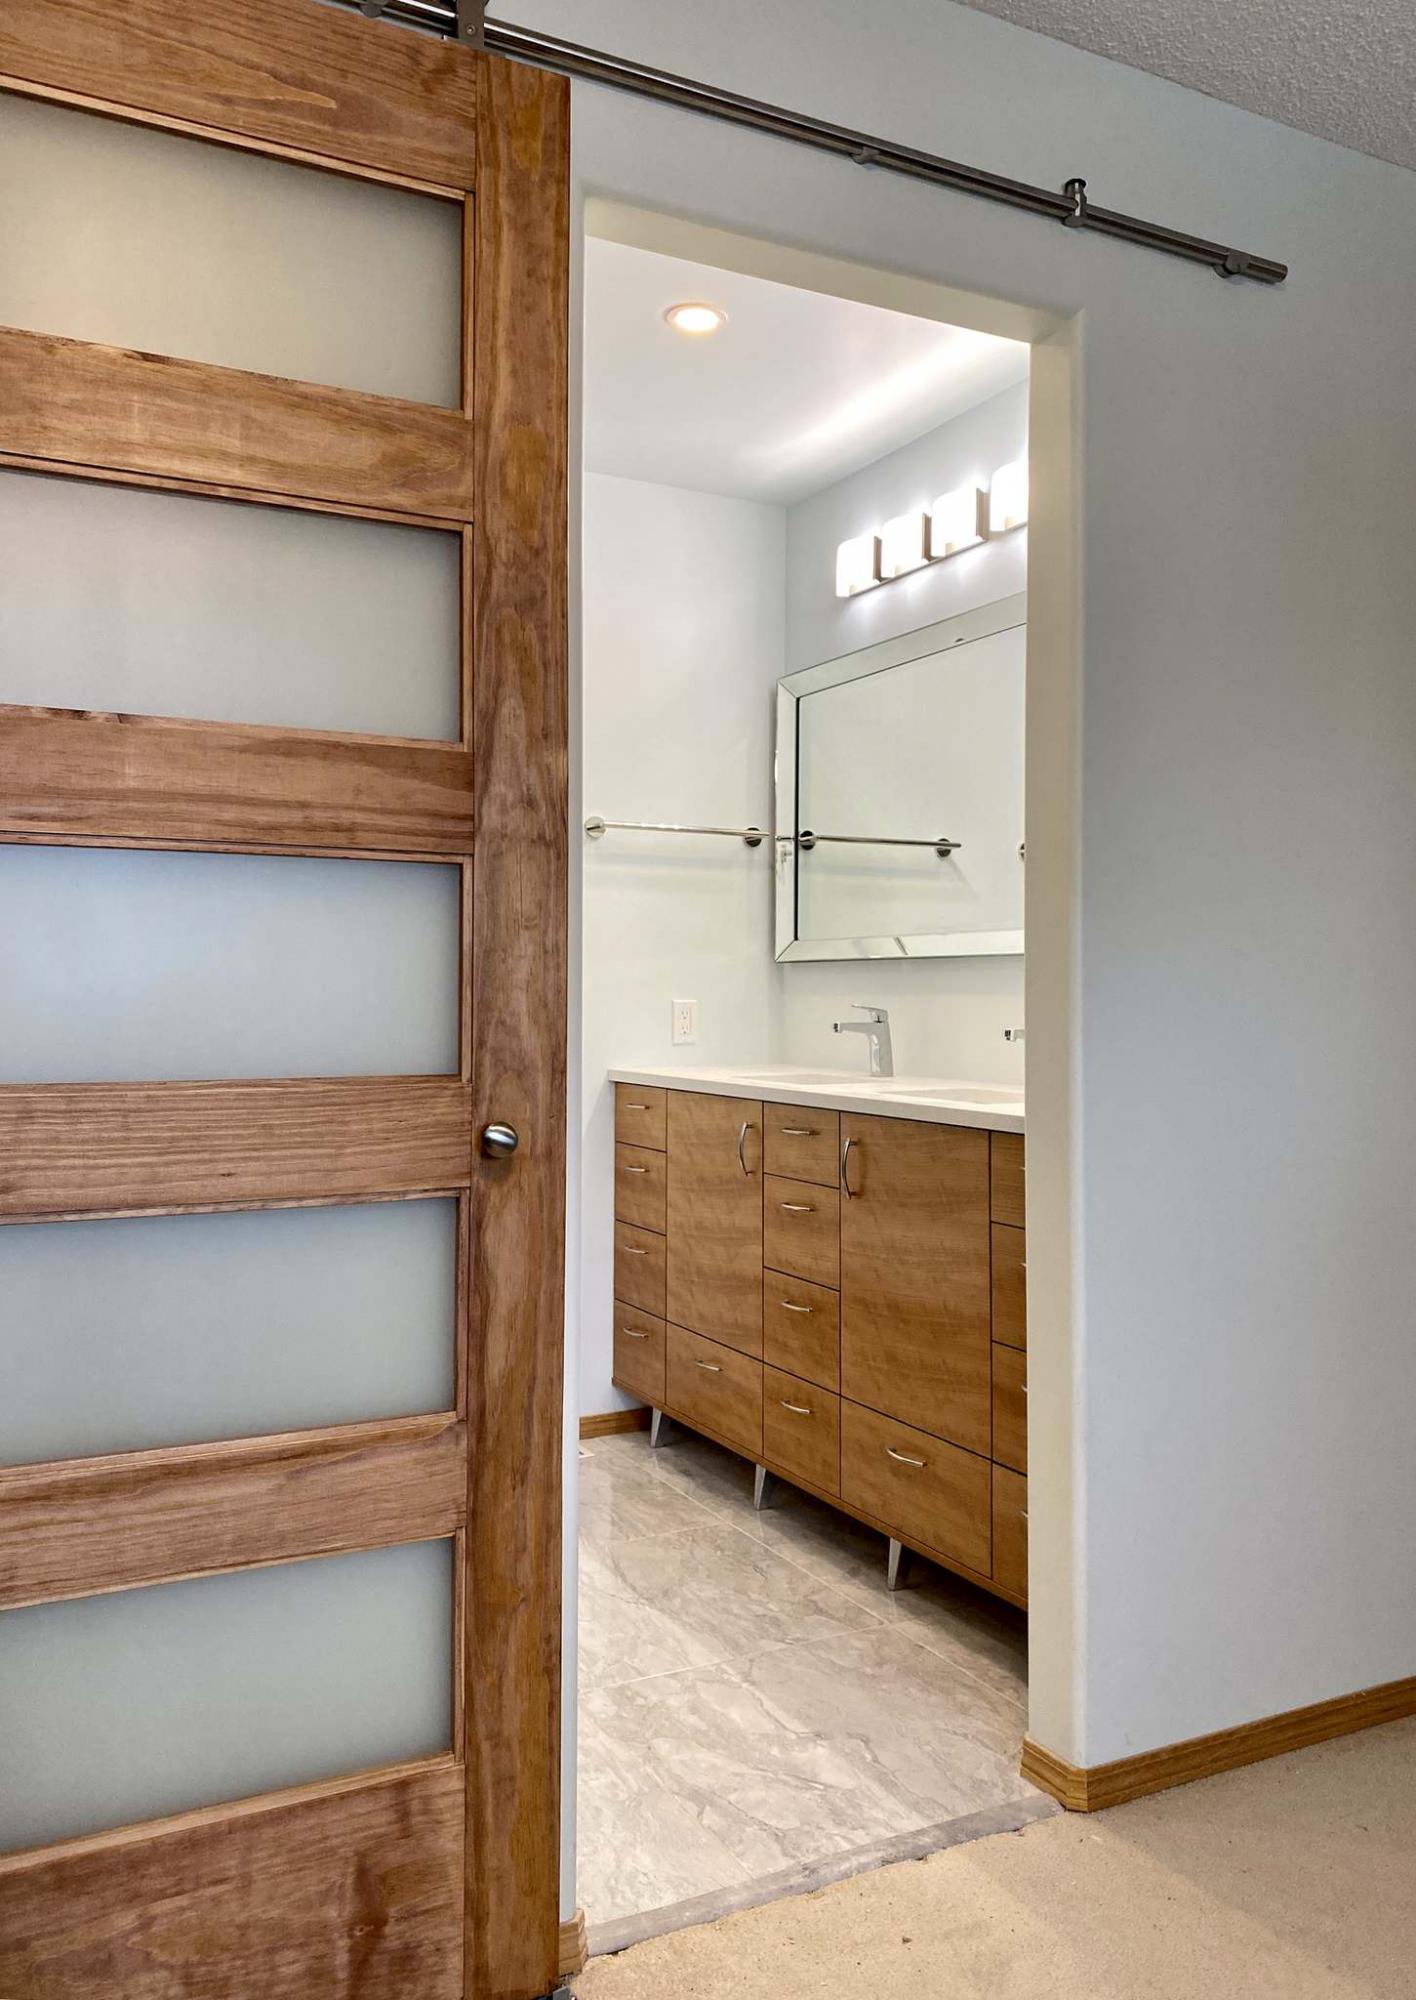
Barn-style sliding doors were stained cherry to match the bedroom furniture and bathroom vanity.
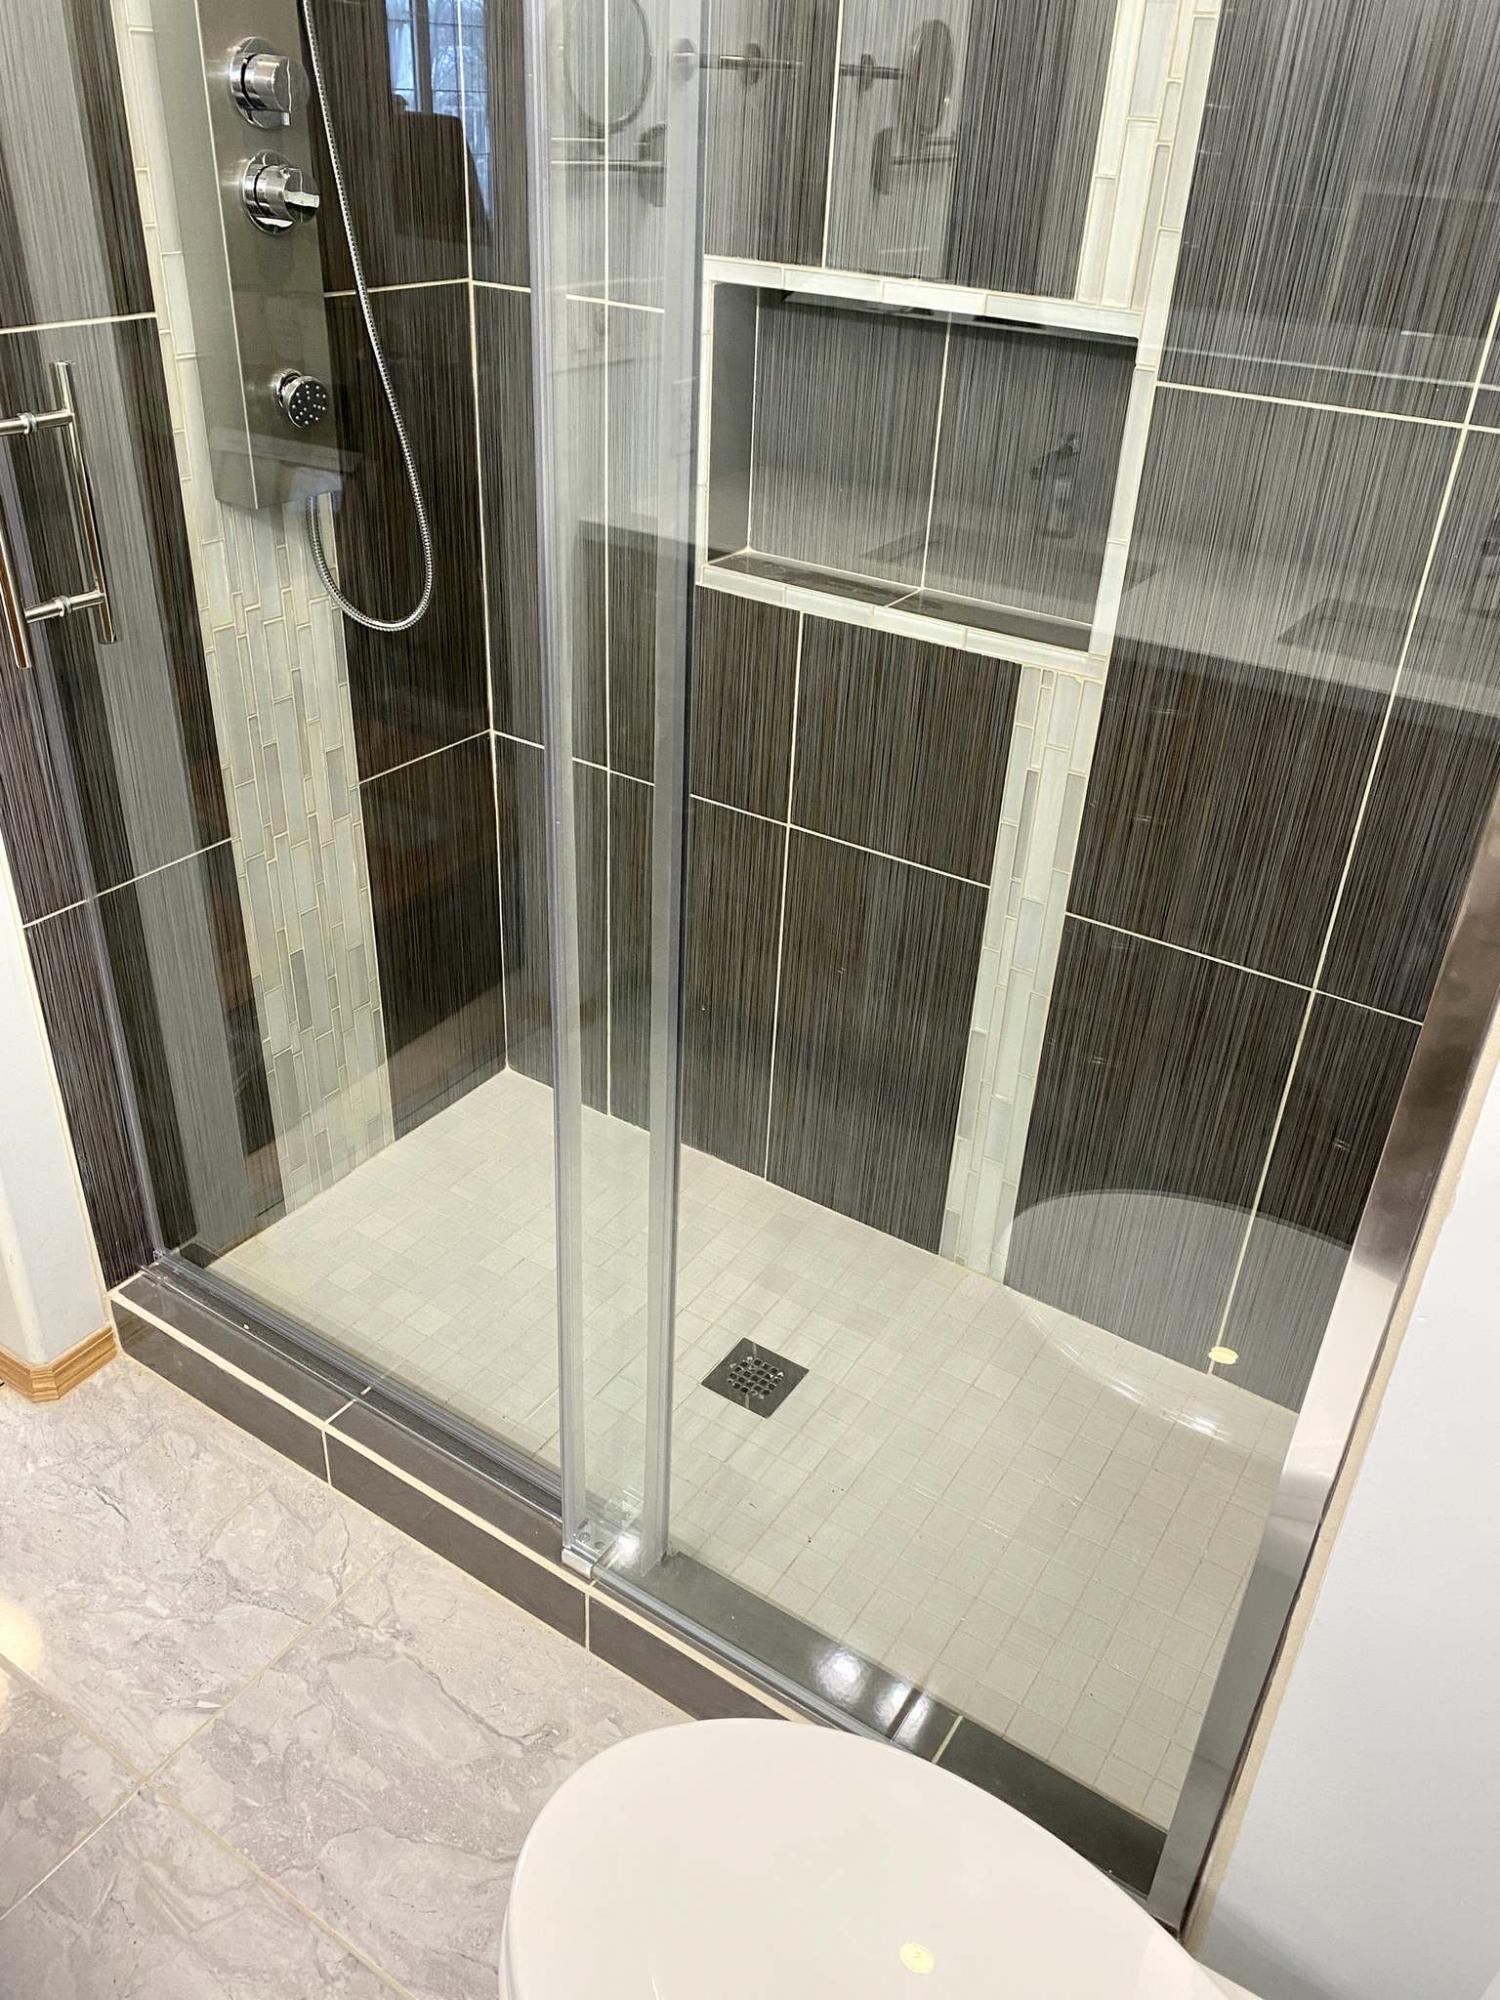
A new walk-in shower with four types of tile replaced the old cast iron tub and shower.
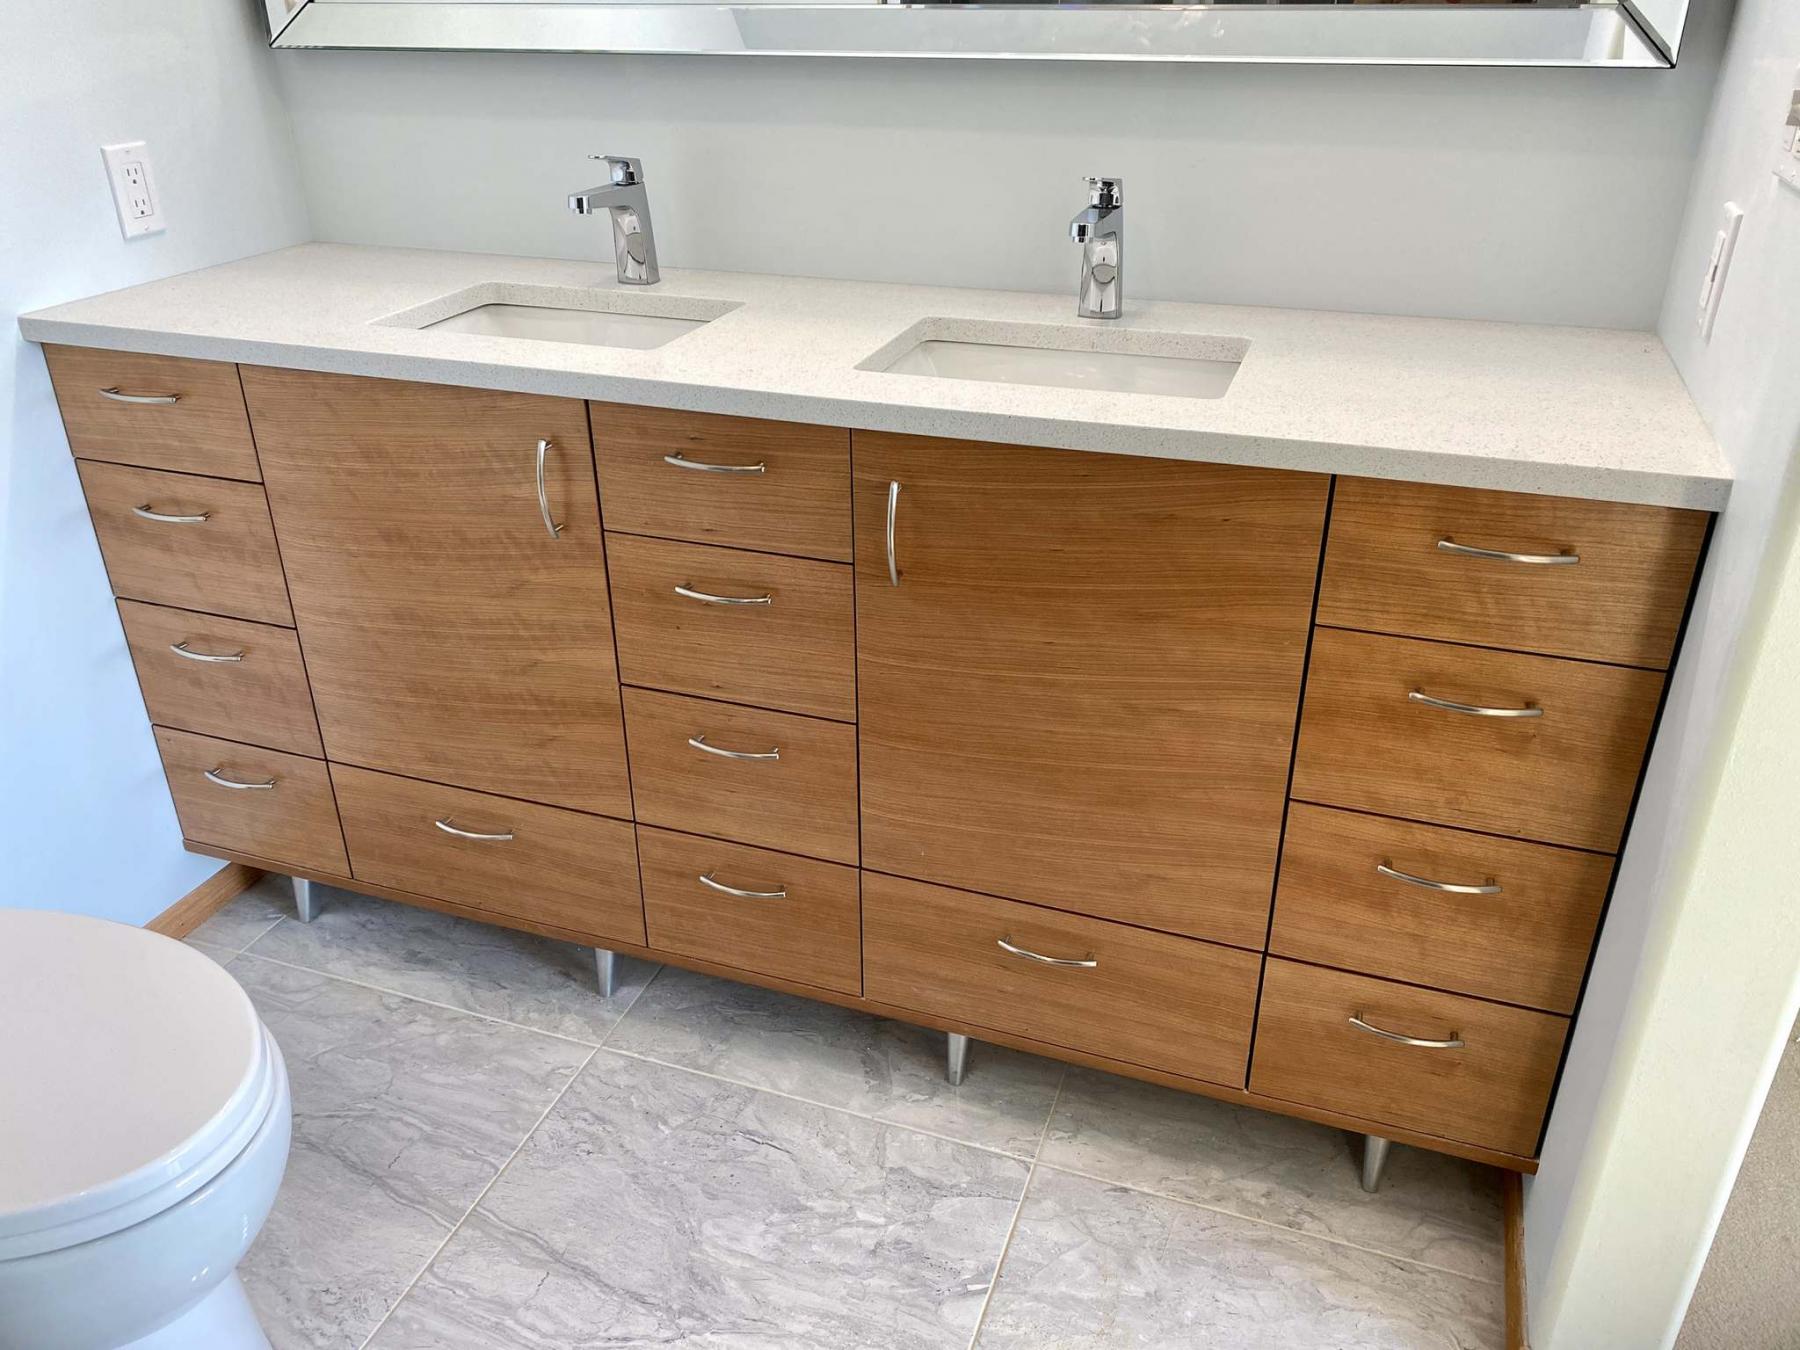
The double-sink vanity was custom built using a cherry veneer cabinet door and drawer fronts.
Upon completion of an entire basement project six years ago, the homeowners mentioned they eventually wanted to remodel the ensuite bathroom on the homes second floor.
This past fall, the planning stages for that project finally got underway and by late November the bathroom was fully gutted. It would not, however, be a typical bathroom remodel — because a wall would first need to be repositioned to expand both the bathroom and adjacent walk-in closet.
An extra 15-inches would be added to the depth of the space. To achieve this, the bathroom was initially stripped of all amenities, down to the studs and subfloor. Because the doorways to both spaces would be repositioned to accommodate matching sliding barn-style doors that meet midway along the (new) wall, the floor vent and exhaust fan were repositioned on the floor along the back wall between the toilet and impending double vanity, and near the ceiling on the back wall above the toilet, respectively.
Once the new wall, 15-inches further out was completely built (including the lintels for each doorway), all electrical (two vanity lights, and the introduction of switches for the main ceiling and shower lights), as well as the plumbing prep for the double-sink vanity on the adjacent wall were also relocated to accommodate the new design layout for the expanded bathroom. The new wall placement would eventually welcome a custom double-sink vanity, designed by Richard Rochon at Cabinet Corner on Des Meurons. The cherry veneer cabinet doors and drawer fronts would be specially stained to match the existing bedroom furniture — the colour is an impeccable match.
Once the drywall was installed along the 15-inch gap along the ceiling, the walls were then sheathed with mould-resistant aqua-board. The shower curb and partial wall that encloses the shower stall bench along the back wall were then framed and drywalled. All seams and corners were mudded and beaded, and sanded before receiving a coat of primer, and two coats of bathroom-grade satin paint. With the painting tasks achieved, the shower base was constructed with a slight slope towards the centre drain. Waterproof cloth was installed with a high-grade mortar, before any tiling began.
The shower base received a mosaic of two-inch square tiles. Conversely, the main bathroom floor received 2x2-foot marble-esk tile. The shower walls were adorned with vertically set 12x24-inch dark grey tiles with a hint of thin, blue and tan lines, outlined with clear glass tiles along the shampoo shelf, and bench front. The same clear glass tiles were used to create decorative stripes along the shower column wall, and through the centre of the main back wall. The bench top and shower curb were fitted with a dark grey glossy tile, that complements the larger wall tile. All tiled areas were then grouted with a bone-colour resin-based grout, to clearly define the shower tile outlines.
Once the cherry-stained custom vanity was delivered and subsequently set into position, the cabinetry was levelled and affixed to the back wall. The rough plumbing for drains, and water feed shutoffs were installed before the custom quartz countertop provided by Solid Stone was installed, along with two undermount white ceramic sinks. The faucets were then secured to the counter, and the water feeds and traps for each sink were also connected. Simple yet classy brushed nickel handles were carefully mounted to the doors and drawers.
With the vanity in place, the toilet was set into position. The shower column was connected to the water feeds strategically centred within the decorative tiled stripe and mounted to the wall. The sliding glass shower door was then installed atop the shower curb, whereby the static panel is affixed to the partial wall protruding from the back wall, with the glass slider providing access near the shower column on the front wall. Every glass seam was then sealed with an ultra-clear silicone. The baseboards were installed throughout, and received the same clear silicone along the floor and top edge as well.
The last steps within the space involved hanging the 70x30-inch decorative mirror above the vanity, a pivoting wall-mount make-up mirror just above the bank of light switches, several towel racks strewn along any open wall space, and the toilet-paper dispenser where most convenient. The only tasks that remained were the mounting of the barn-door hardware, and the staining of the frosted-glass barn doors themselves. And although sourcing the proper stain colour was tricky, the result is quite satisfactory.
This was a major undertaking, that went quite smoothly as projects go. The exact approach for each of the initial tasks remained unknown until the walls and sub-floor could be opened up. And despite several supply chain issues and other unforeseen hindrances throughout, it was ever-so nice to complete the project one day ahead of schedule. Although it took six-years to get going, the smiles on the homeowners’ faces definitely proved it was worth the wait.
BossEnterprise@outlook.com