MARC LABOSSIERE PHOTOS / FREE PRESS
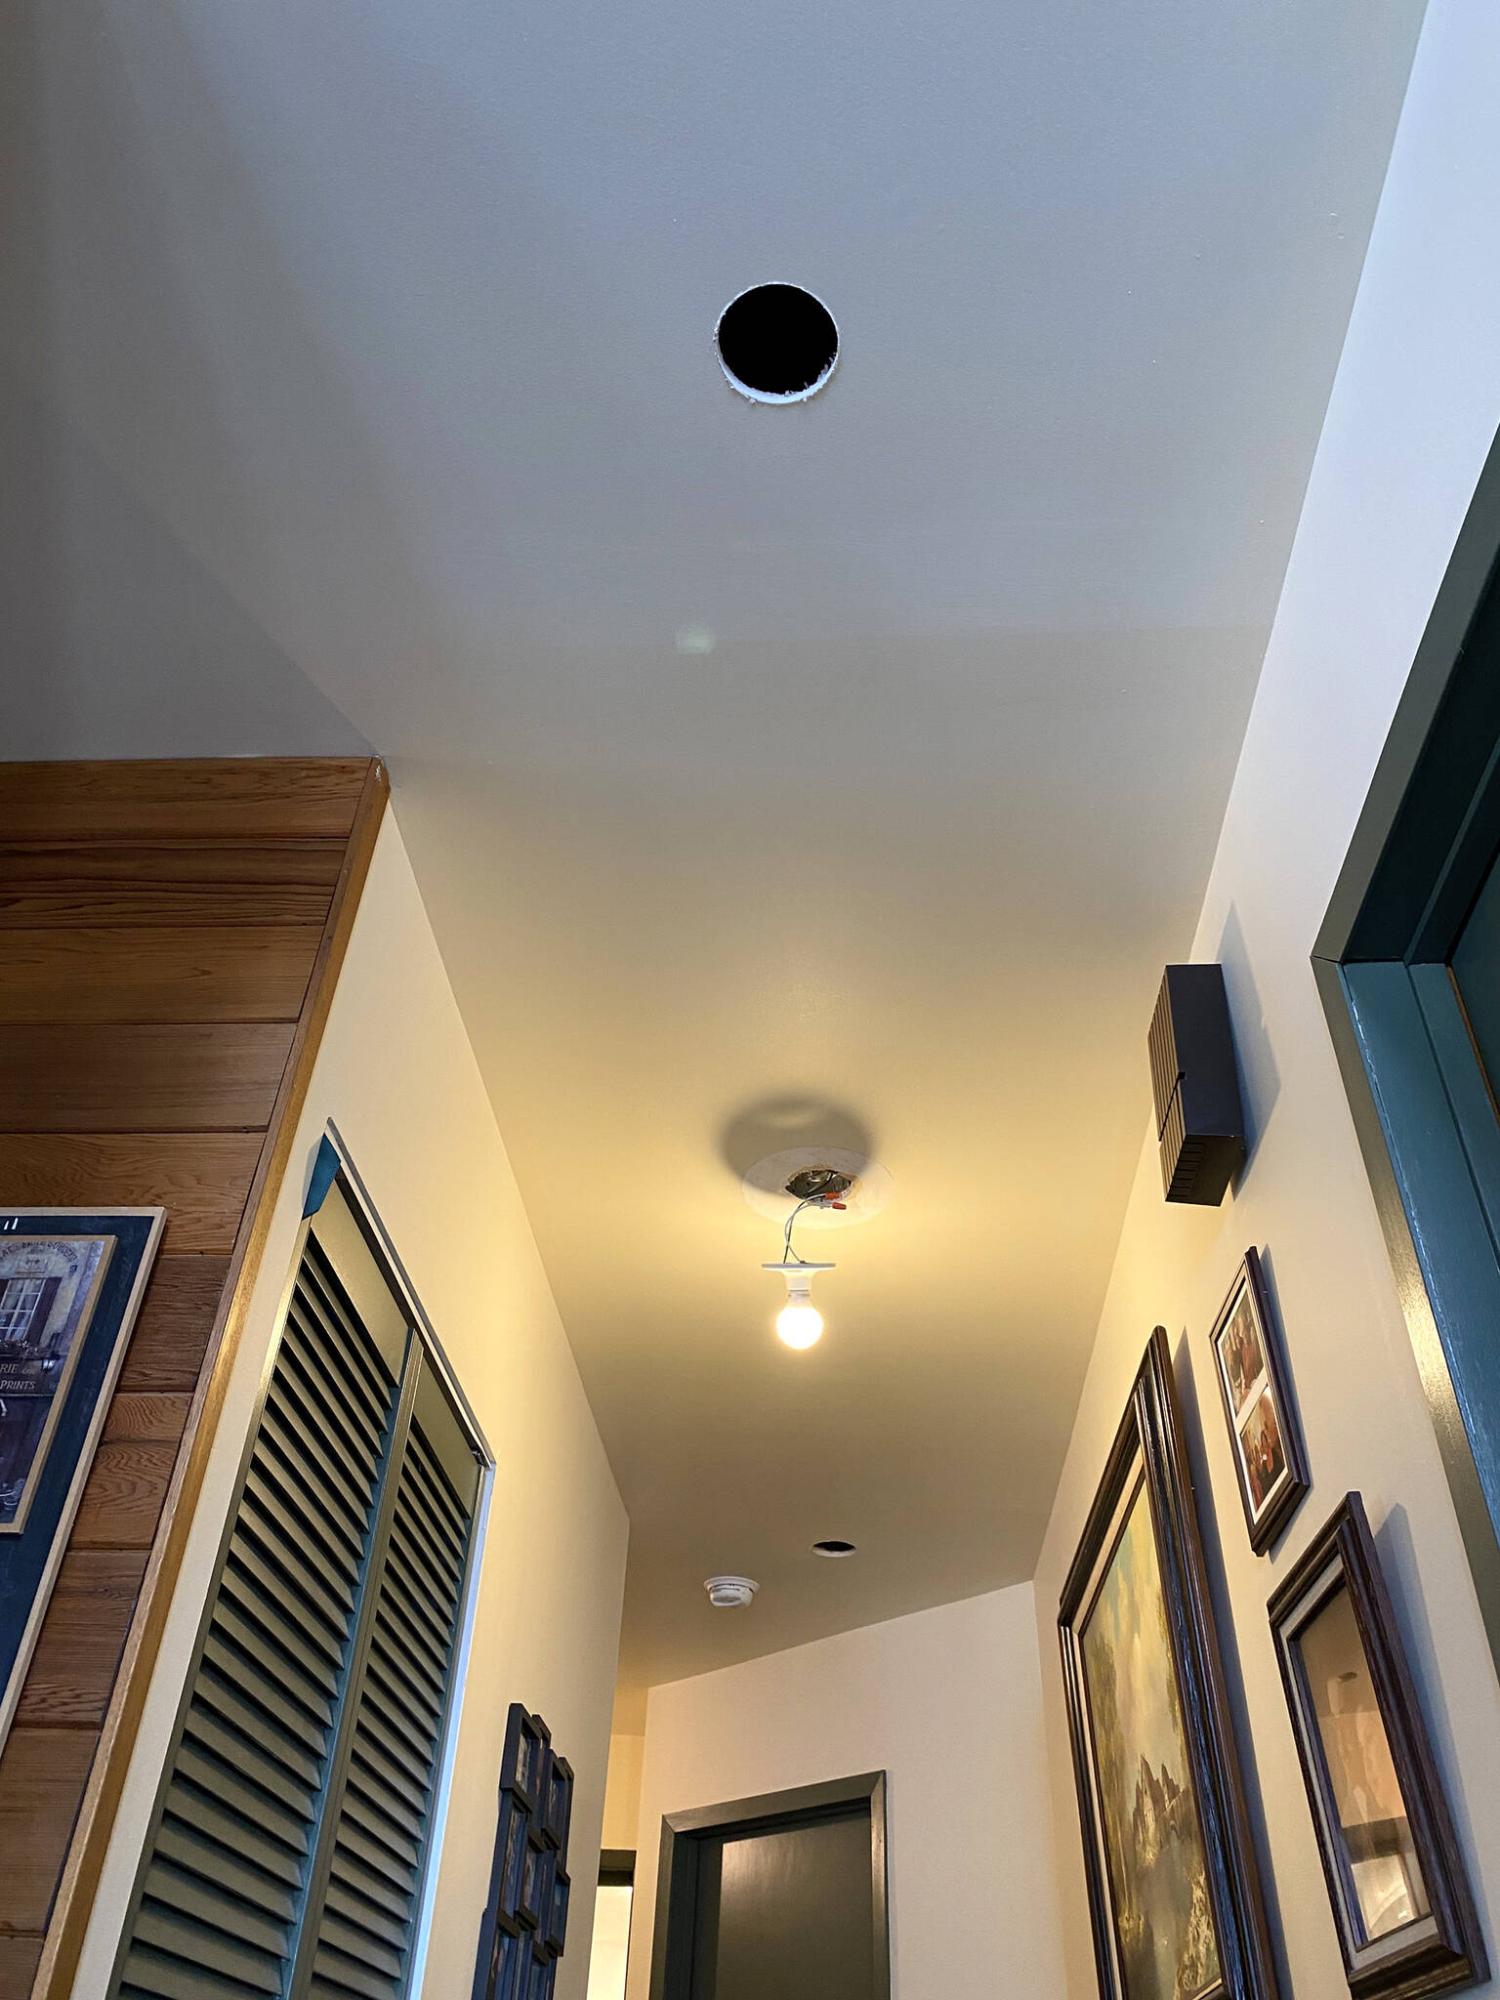
The hall ceiling is prepped for new LED lights.
MARC LABOSSIERE PHOTOS / FREE PRESS
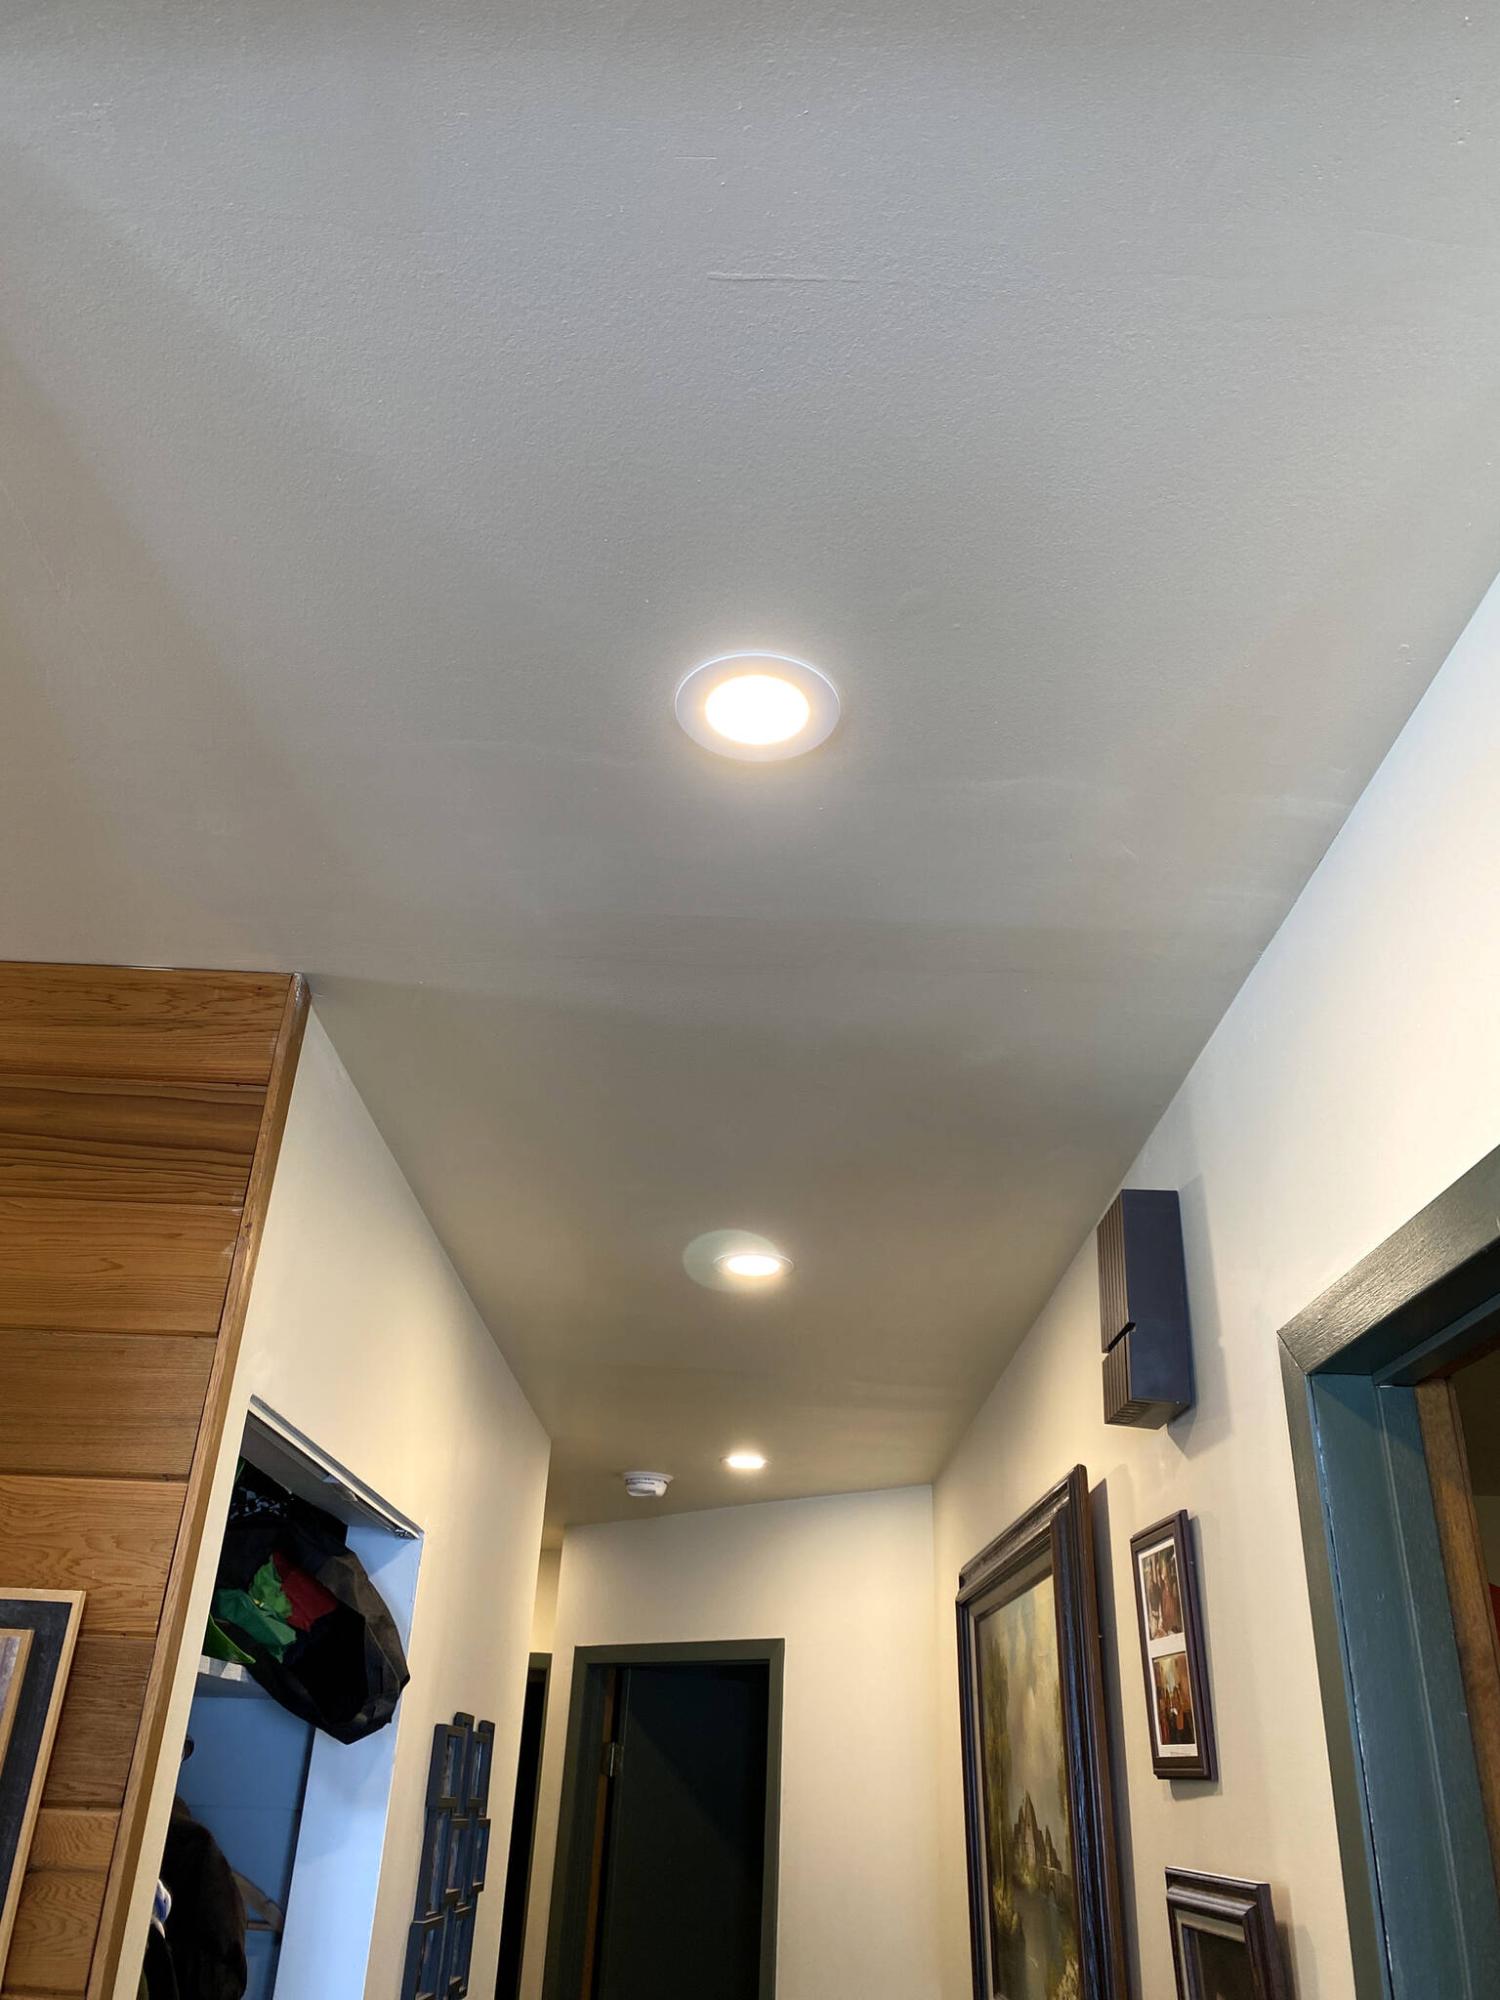
Recessed, dimmable LED slims replace the dated ceiling-mount fixtures in the hallway.
MARC LABOSSIERE PHOTOS / FREE PRESS
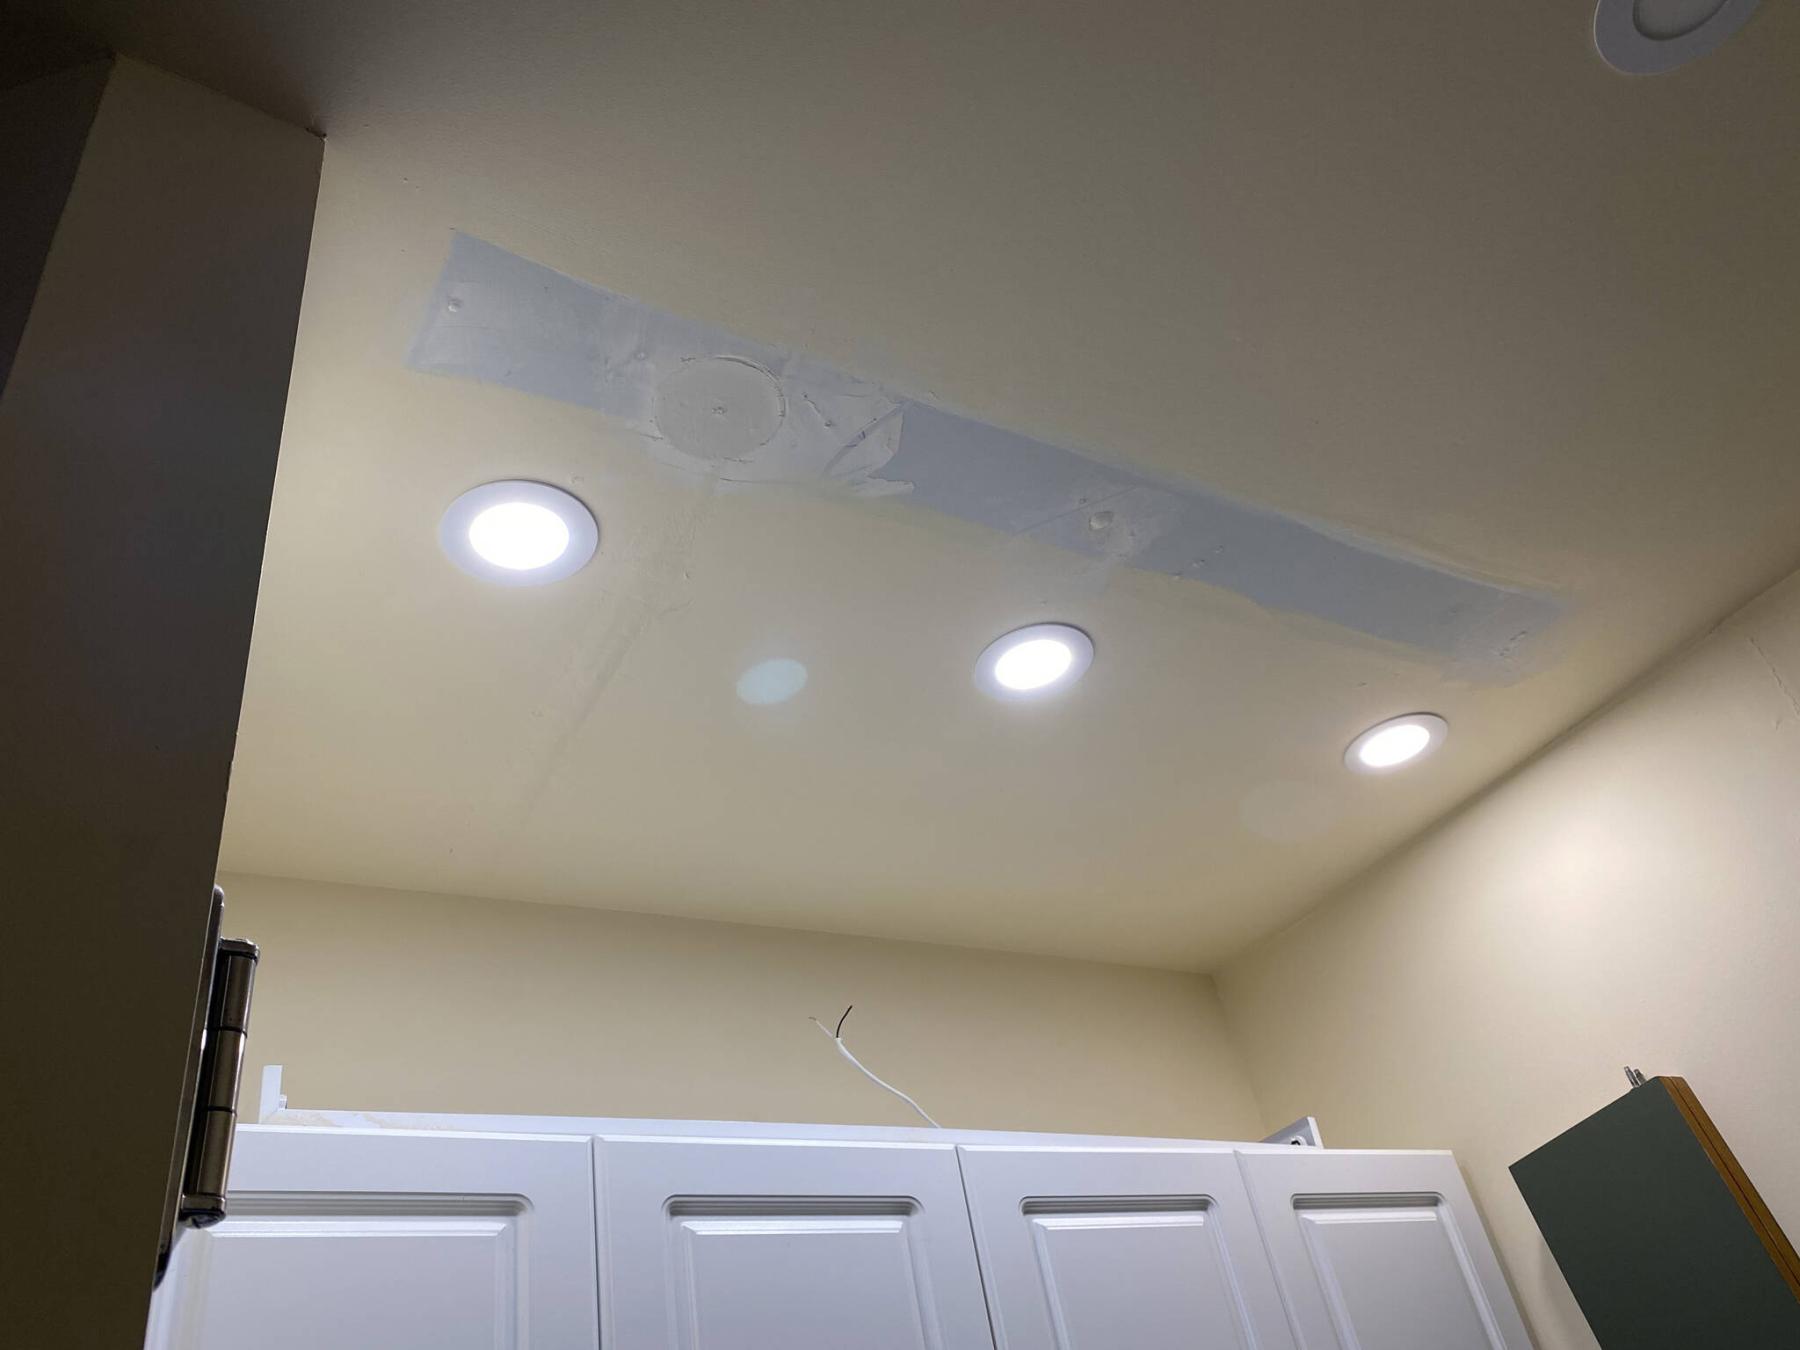
The old location of the fluorescent fixture is still visible in the laundry room, but it’ll be patched and painted once the LEDs are fully tested.
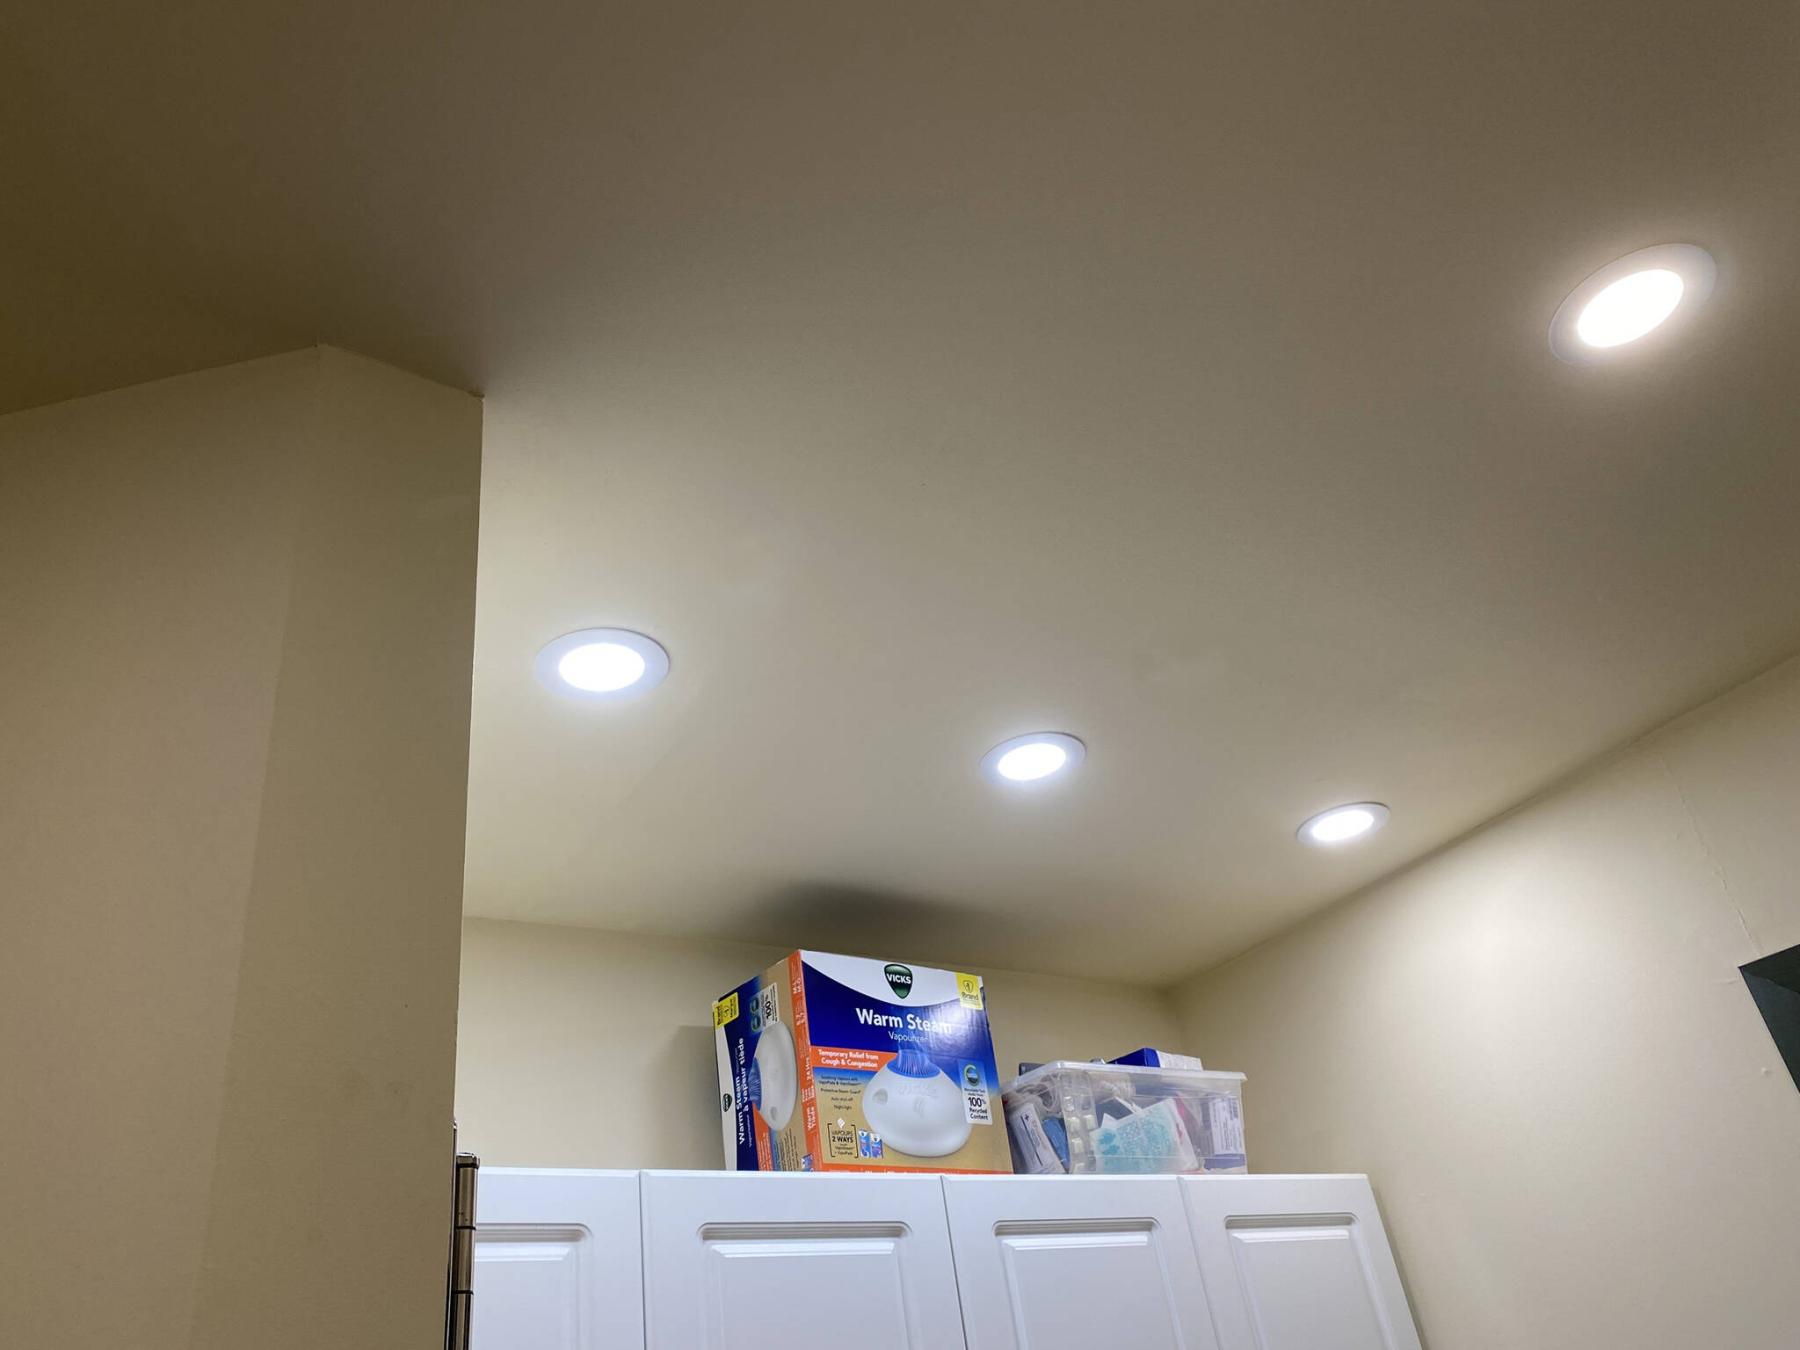
MARC LABOSSIERE PHOTOS / FREE PRESS
Now the lighting is a lot less harsh in the laundry area.
As a homeowner, I can relate to other people’s pesky in-house grievances that need to be addressed: older windows that have lost their seals, failing shingles that cause roof leaks, a rotted deck that requires an update, and so on.
These are quite common, but there’s one single issue that I cannot abide, nor would I ever put off addressing, and that’s a poorly lit space. After all, isn’t it better to have too much light that can be dimmed, instead of not enough? At one recent jobsite, that was the very issue that kicked off a slew of other planned renovations.
The project initially entailed new vinyl plank flooring being installed throughout, a kitchen facelift, revamping of the main elements of the primary bathroom, as well as a baseboard and casing upgrade. The moment I walked into the house I quickly realized that the lighting in the front foyer and in the main hallway into the back laundry area, as well as in the bathroom, did not provide — and likely never had provided — enough lighting. That was about to change.
Upon my suggestion, the existing ceiling-mount fixtures in the foyer, hallway and bathroom would be discarded, as well as the fluorescent fixture above the washer-dryer. The lighting replacements I proposed have become a staple in my ongoing renovation experiences and they never disappoint.
Four-inch, recessed LED slim lighting is an economical way to greatly increase the luminosity of any space.
These days, technological advances mean there’s a Kelvin selector option switch for each light fixture.
Although some people prefer the daylight option (over 4,000K, which reminds me of shopping mall lighting), the softer options of 3,000K and lower seem to be more popular and are reminiscent of true incandescent light bulbs, which are becoming a thing of the past. One single slim, equivalent to a 50-watt incandescent bulb, operates using nine watts at the same lumens (brightness).
As such, you can easily increase the amount of lighting throughout your home while decreasing power consumption. Most of those LEDs are also dimmable, which is essential for true lighting control.
Although the installation process can be tricky, it is well worth the effort.
At the jobsite, the front foyer’s single ceiling-mount fixture was replaced by two four-inch LED slims. The old fixture location was abandoned, and the existing wire feed was simply shifted over through the ceiling joists to the location of the first LED slim.
The holes for the new lights were created using a four-and-a-quarter-inch hole saw. Once the wiring was connected to the first junction box of the LED, the next box was connected to it by feeding a new wire to the second LED location, and that box was then summarily connected.
With both boxes tied into the existing circuit, the LEDs themselves were then “plugged” into each respective box (via the special threaded plug and cable on each LED, for easy connections).
A quick flip of the switch proves the circuit works, and the LEDs are then mounted within the created holes by inserting the lights, clipping them on to the hidden side of the ceiling drywall using the spring-loaded wings mounted on the back side of the LED light, behind the decorative border.
The process for the hallway lighting was quite similar, albeit slightly more complex. The two existing ceiling fixtures had been wired on a three-way switch configuration. New LED locations along the hallway ceiling were chosen and the holes were created. Fortunately, one of the locations in the new layout coincided with one of the old ceiling-mount locations.
As such, that wiring was simply recycled. To connect the other three LEDs, a series of access holes were necessary to safely run the wiring from junction box to junction box by drilling holes through the ceiling joists, which were perpendicular to the layout of LEDs. Luckily there was enough play in the existing wiring to connect two of the four lights. The other two were then connected to the existing circuit, and all four lights were tested.
We repeated the process in the laundry area, where three LEDs replaced the old fluorescent fixture.
The bathroom received four LEDs that replaced a single ceiling-mount.
Once all the LEDs were wired and tested, the temporary access locations were patched and painted. The final step involved replacing the existing light switches with dimmers to allow ultimate control in lighting any of the upgraded spaces of the house.
Not only did the homeowners marvel at the amount of light projected by these LED slims (even during daylight, which means it must be a radical improvement at night), the lighting enhancement also better lit the way for the renovations that took place soon after.
It’s difficult to work in low light conditions, but more to the point, better lighting allows the homeowners to easily show off their upgrades and then simply dim the lights when the bragging is done.