Photos by Marc LaBossiere / Winnipeg Free Press
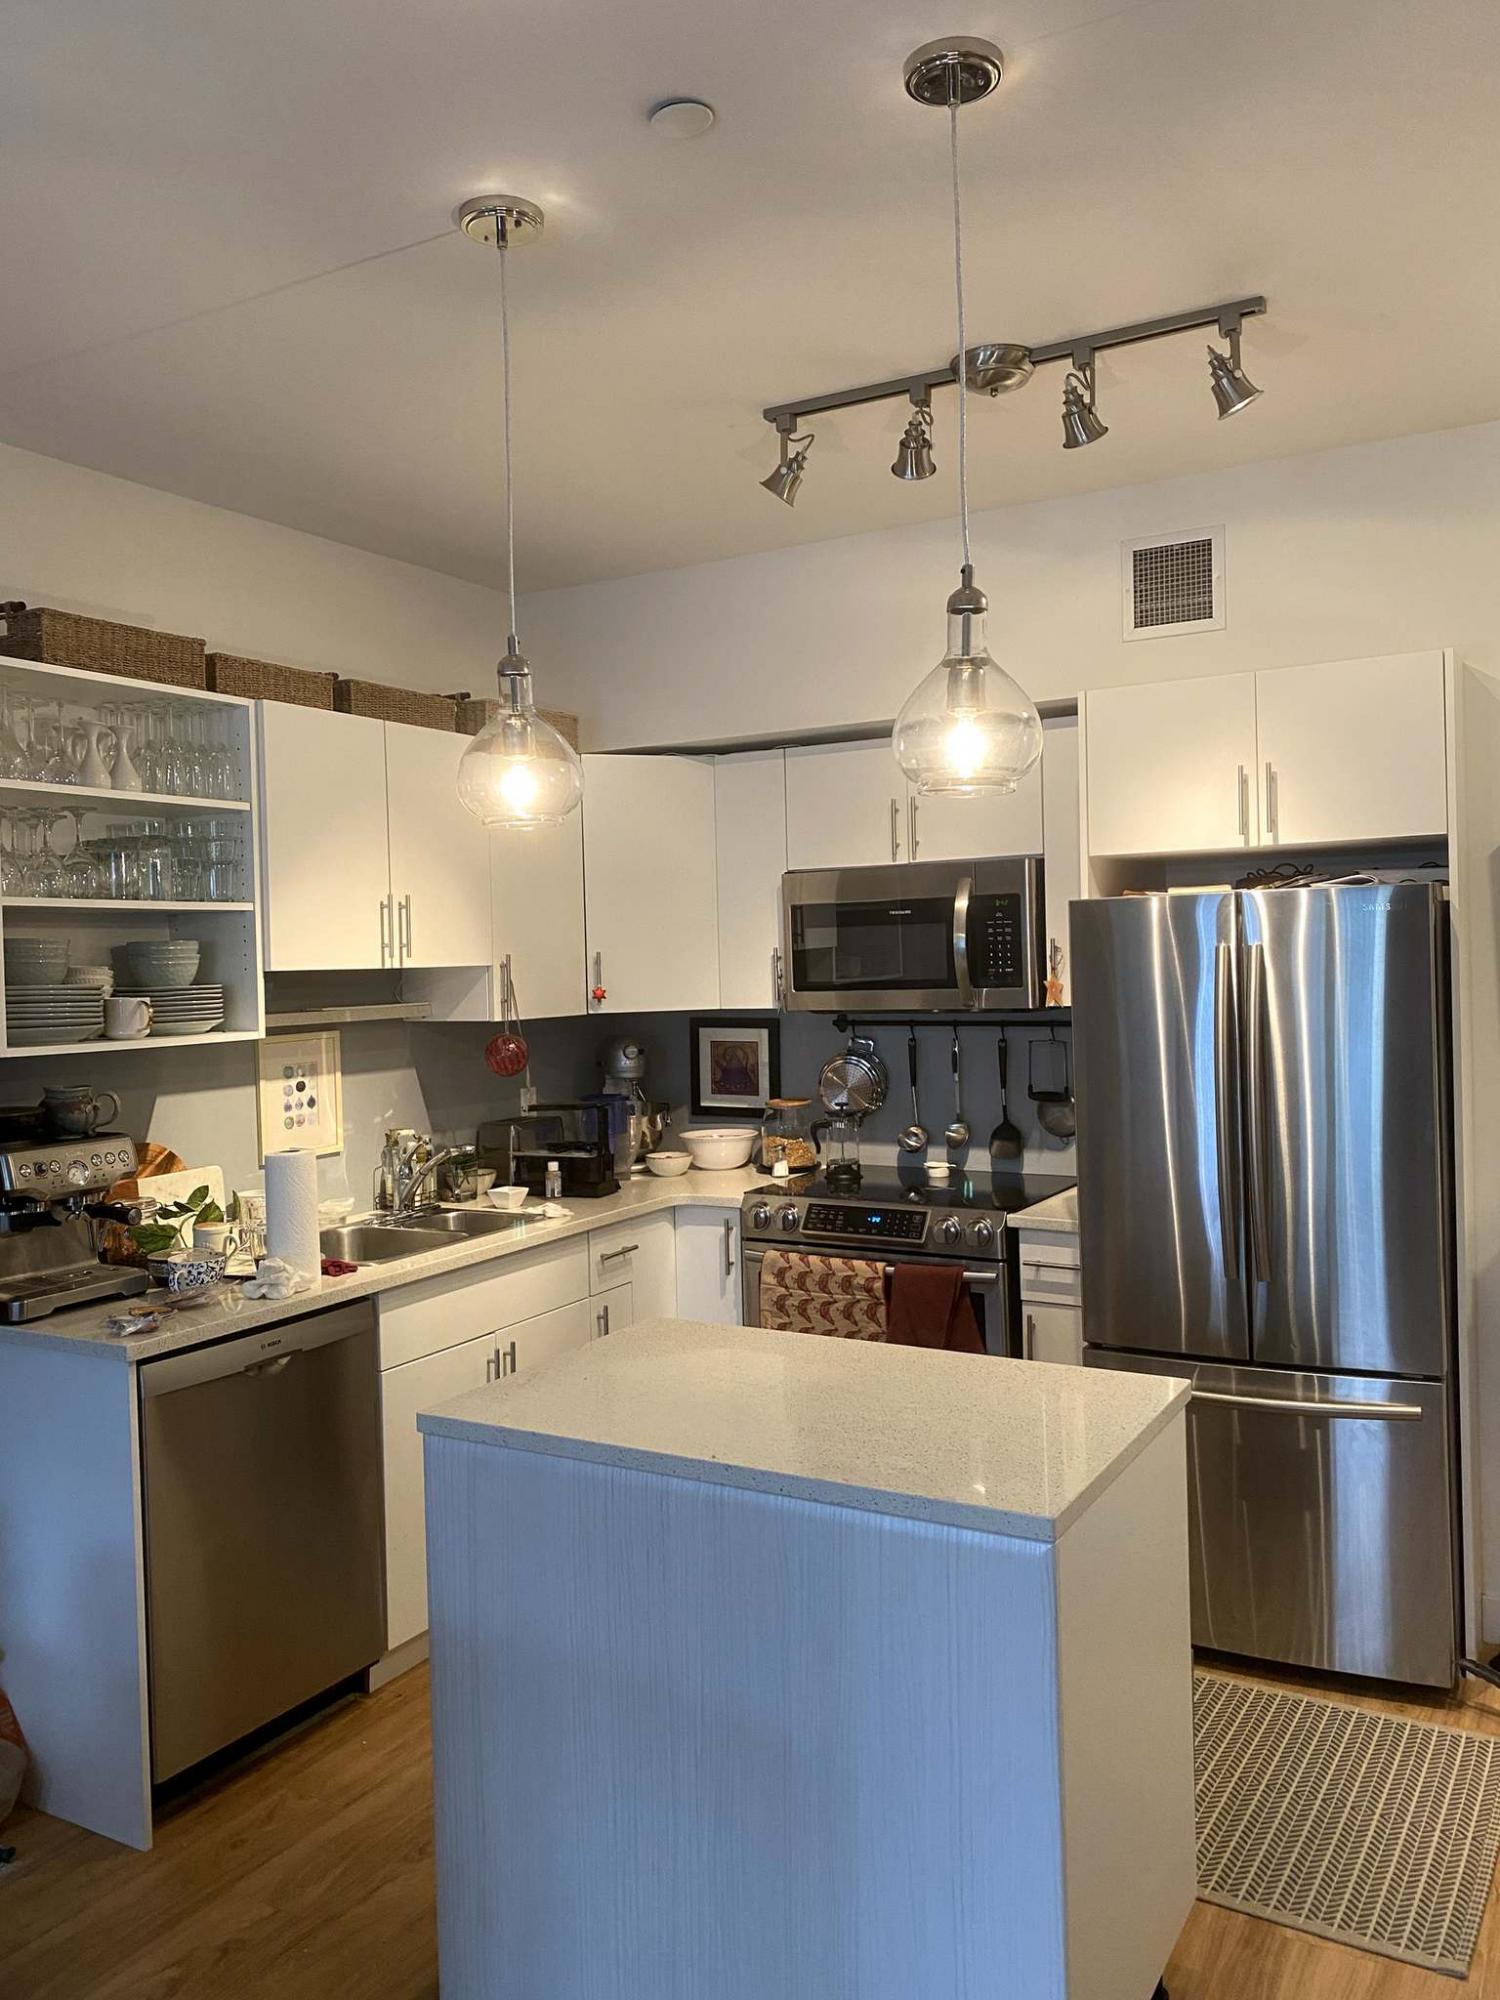
A decorative track light replaced an old kitchen fixture, while two fish-bowl pendants were introduced above the island.
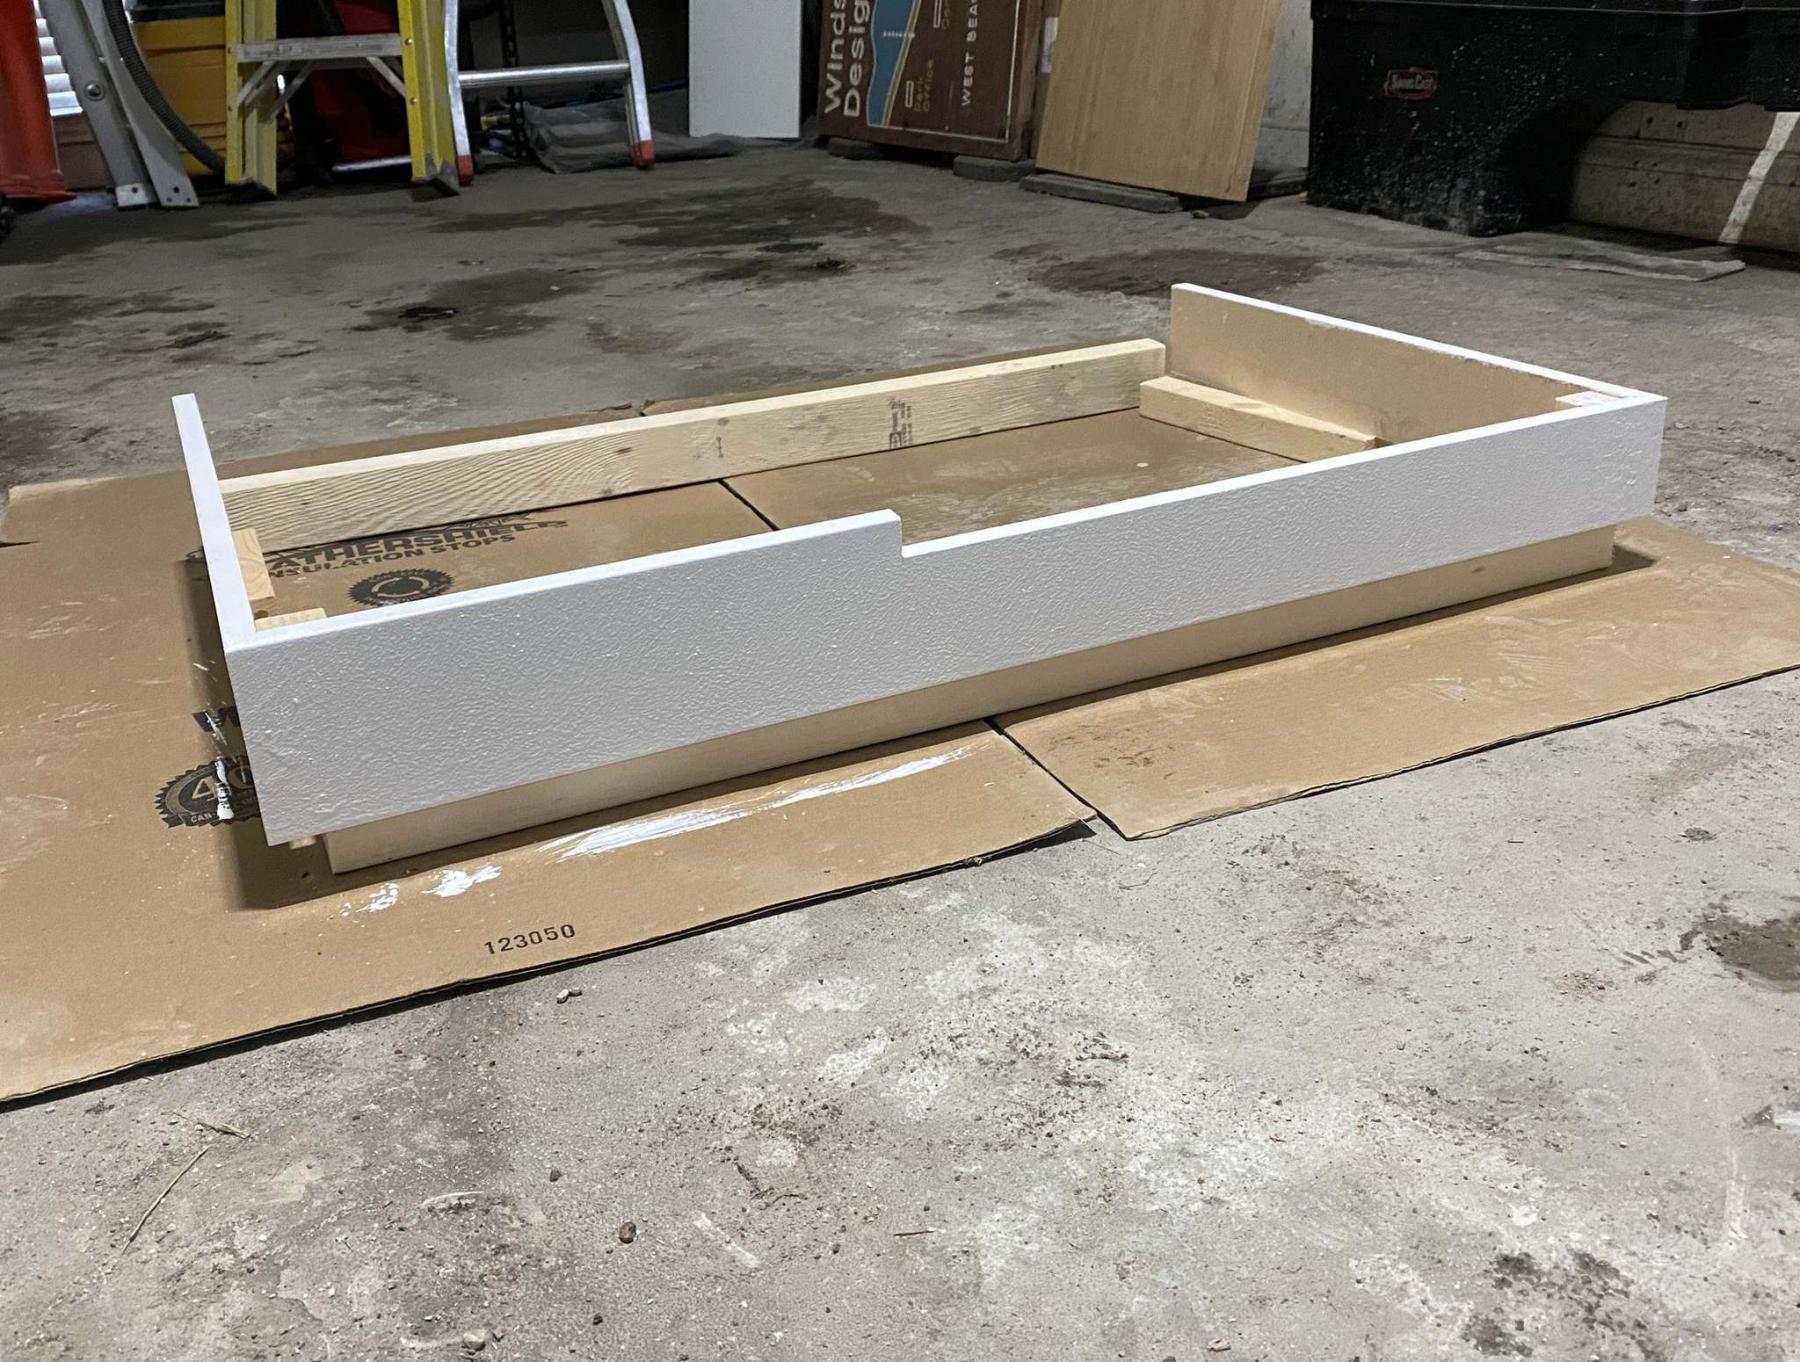
This custom island kickplate was fabricated in Marc’s garage the night before it was installed.
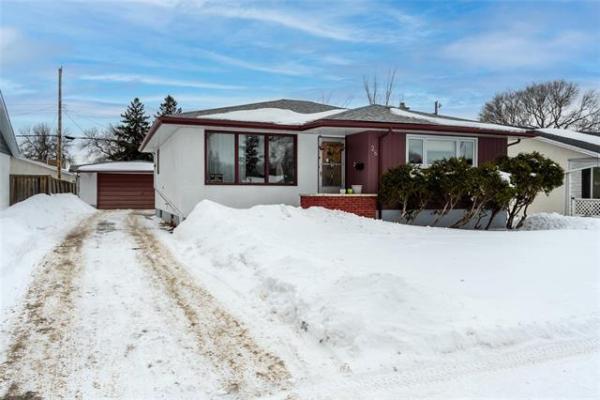
The work on this condo apartment began sometime in early 2019 and included adding a feature wall, a facelift to a mobile island in the kitchen and a few other smaller jobs. Things ground to a halt in early 2020, but once the restrictions were lifted the remaining projects were tackled.
There wasn’t much left to do. However, finding the time to infiltrate my already congested schedule has become a job unto itself lately. The moment my calendar allowed some wiggle room, plans were made to return to this condo and finish what had been started. On the agenda were a few new lighting fixtures to hang, the introduction of two pendant lights above the island, as well as fitting the island with a kickplate along the bottom between the lower edge of the cabinet and the floor.
On the first day, both the main kitchen and dining room lighting fixtures were replaced with a decorative track light with four adjustable lights, and a bold eight-bulb celestial pendant, respectively. The new kitchen fixture now provides ample lighting along the countertops, whereas the dining light has become a focal point of that space.
The introduction of two fish-bowl pendant lights above the island took a bit more work — electrical wire was first fished through the ceiling from an access point, and brought into each of the two new octagon wiring boxes. As these lights would be activated by an existing switch, the lights were then mounted to the boxes which had been secured to the ceiling joists above. Testing the circuit revealed the desired result — the main switch was then upgraded to a dimmer for ultimate ambient control. A second dimmer replaced the standard dining room light switch to that end, as well.
As the afternoon unravelled, it became clear the remaining task would be best achieved the following day. However, upon reviewing the ensuing tasks, what was a simple kickplate quickly became more complicated — the cabinets that make up the island are of different heights. As such, the kickplate must conform to this idiosyncrasy in order to look the part. To properly install three rather short sides of kickplate, the mitre saw, table saw, brad-nailer, and all paint and primer supplies would be required — seemed like a lot of hardware to get this job done on site. So, another plan was devised, one that alleviated the undo stress. The custom kickplate would be fashioned that evening at my home, before returning to the condo the following day.
To achieve this, exact measurements were taken along the bottom edge of the cabinets to the floor, indicating the height transition point. With the dimensions in hand, eight feet of four-inch baseboard was purchased on my way home. Once I arrived, I set up both my mitre and table saws in my garage. Each of the three legs of the kickplate was cut to length, and mitred at both corners where the outer pieces meet the middle section. The left and middle pieces were ripped to 3.5-inches to match the height of the higher cabinet, while the right piece was cut down to three-inches. The middle piece was then notched at precisely the area to three-inches to meet the height of the lower cabinet on the right and 2x2 pieces were used on the mitred corners to glue and nail the entire kickplate as one piece. A short time later, all visible sides were primed, and given two coats of white-satin trim paint. Allowed to dry overnight, only time would tell if this custom project would fit.
The next day, the kickplate was carefully secured for transport. Upon arrival the temporary back-piece was removed, and the kickplate was placed on the floor. After a deep breath, I slowly began to back it into position, until the kickplate reached the inner side of the decorative plant-on wall on the far side of the island. It was nearly a perfect fit!
After a few adjustments to the 2x2 corner supports, the kickplate slid in perfectly and looks as though it was always there.
Sometimes it’s necessary to perform a few tasks after hours to hasten and simplify on-site activities. It doesn’t always make sense, but in this case dodging the need to haul around heavy saws, not to mention paint and supplies, for such a small section of custom kickplate seemed to be the smartest path. An on-site mess was avoided, and the paint received 12 hours of cure time before installation.
Although saving a few hours on site may not have mattered all that much to the homeowner after waiting so long for the restrictions to lift, it definitely made all the difference to me. I’m just glad it fit.
BossEnterprise@outlook.com