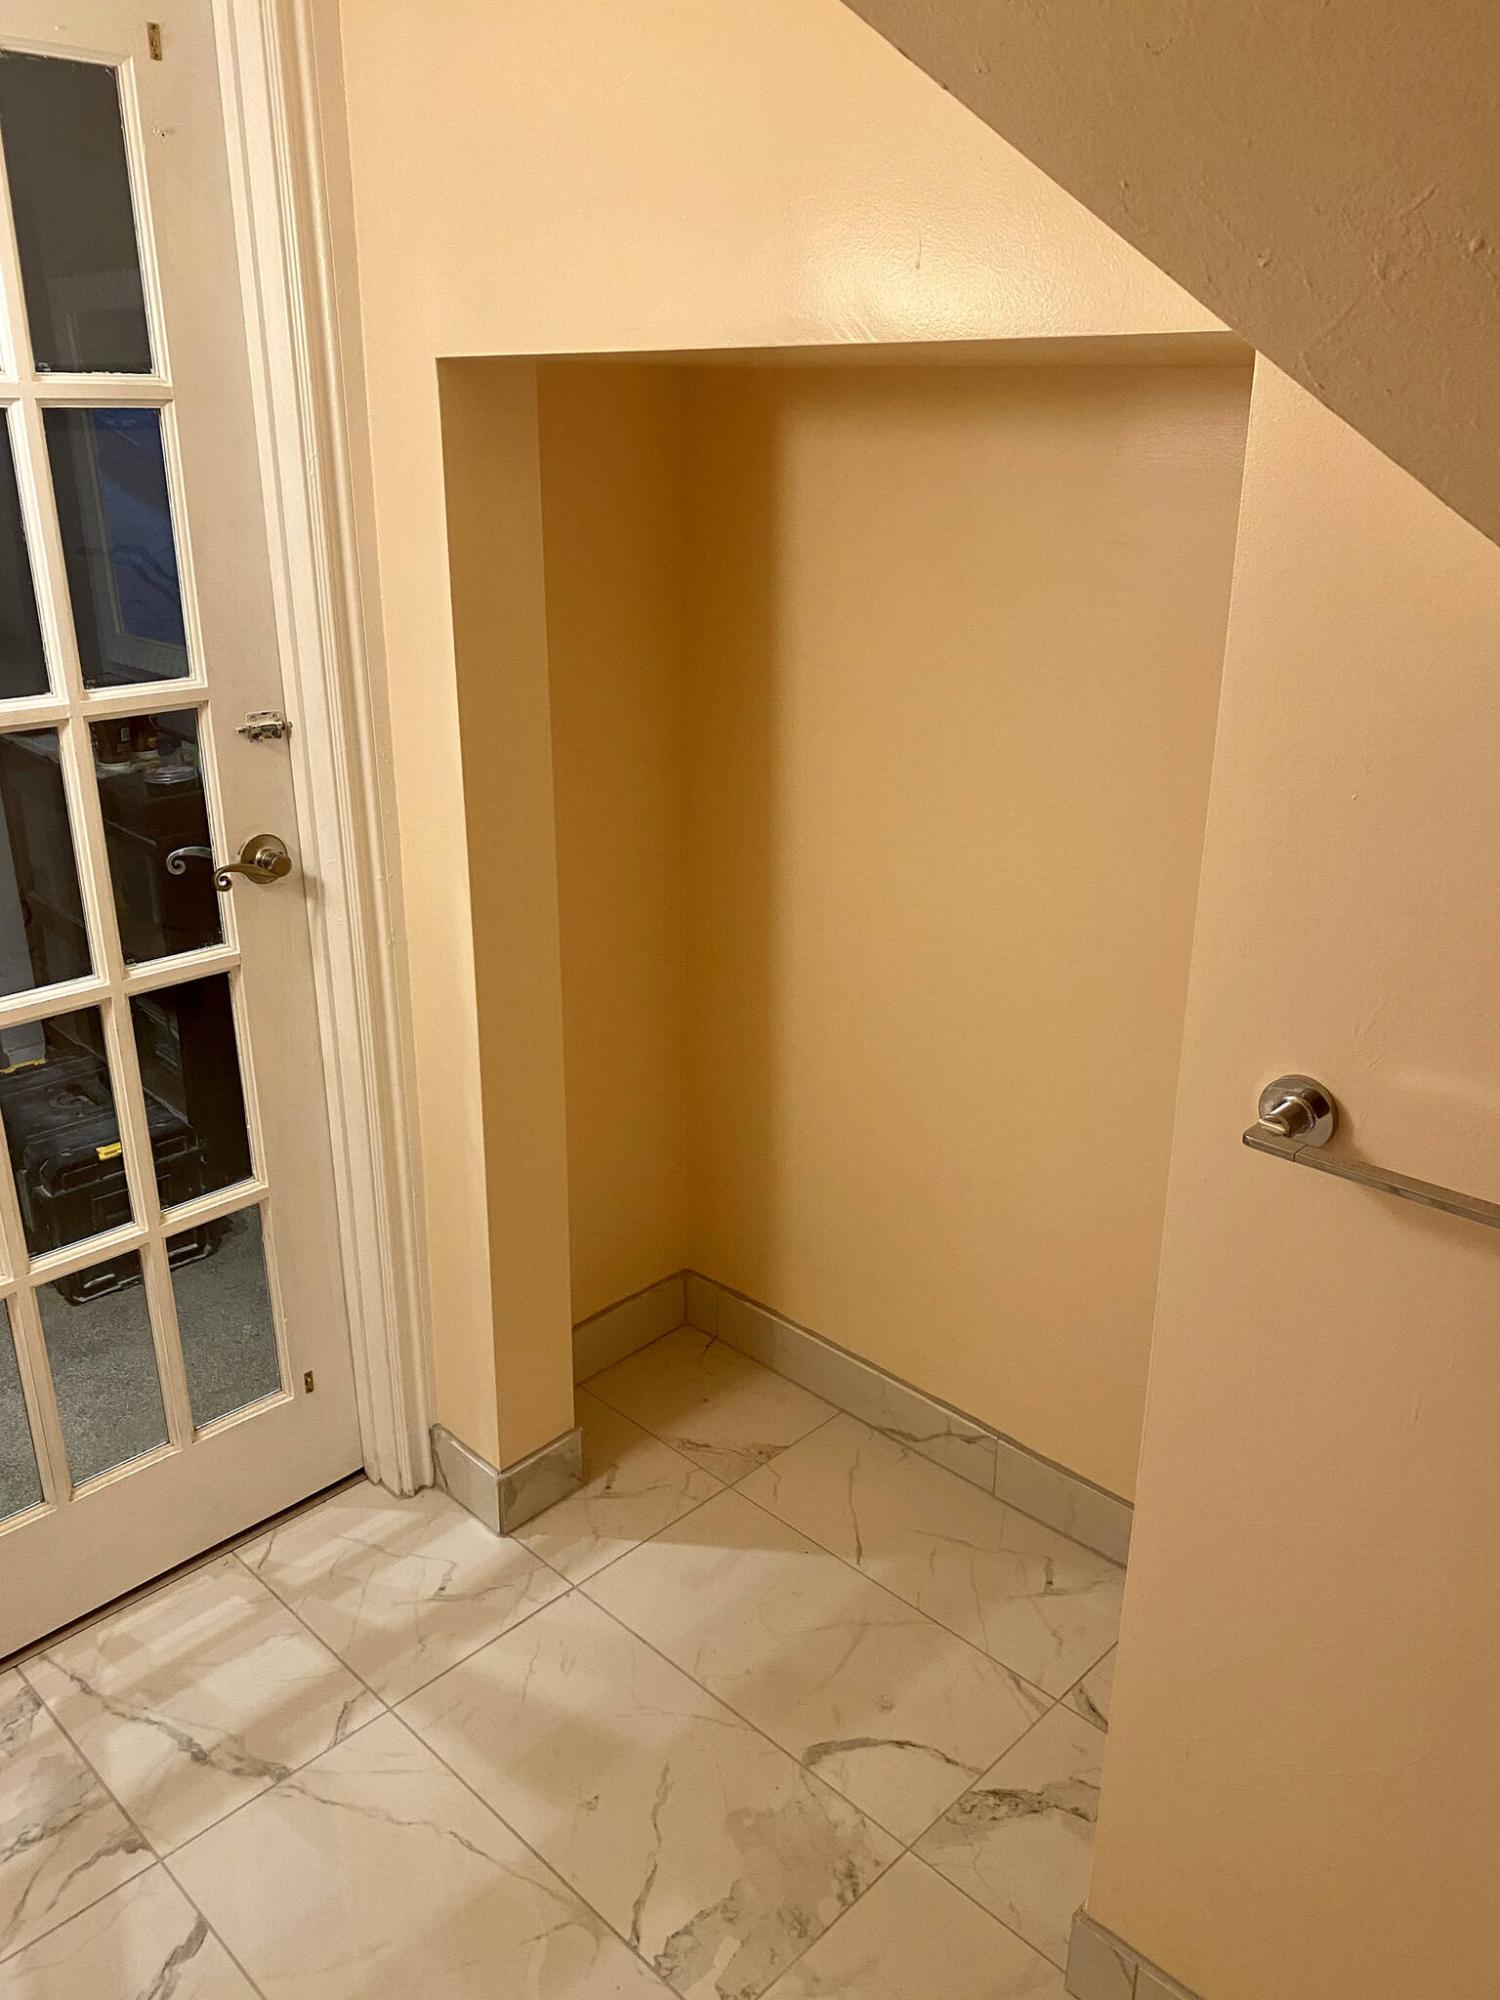
Two separate cavities from previous renovations are combined into one new, and wider closet space.
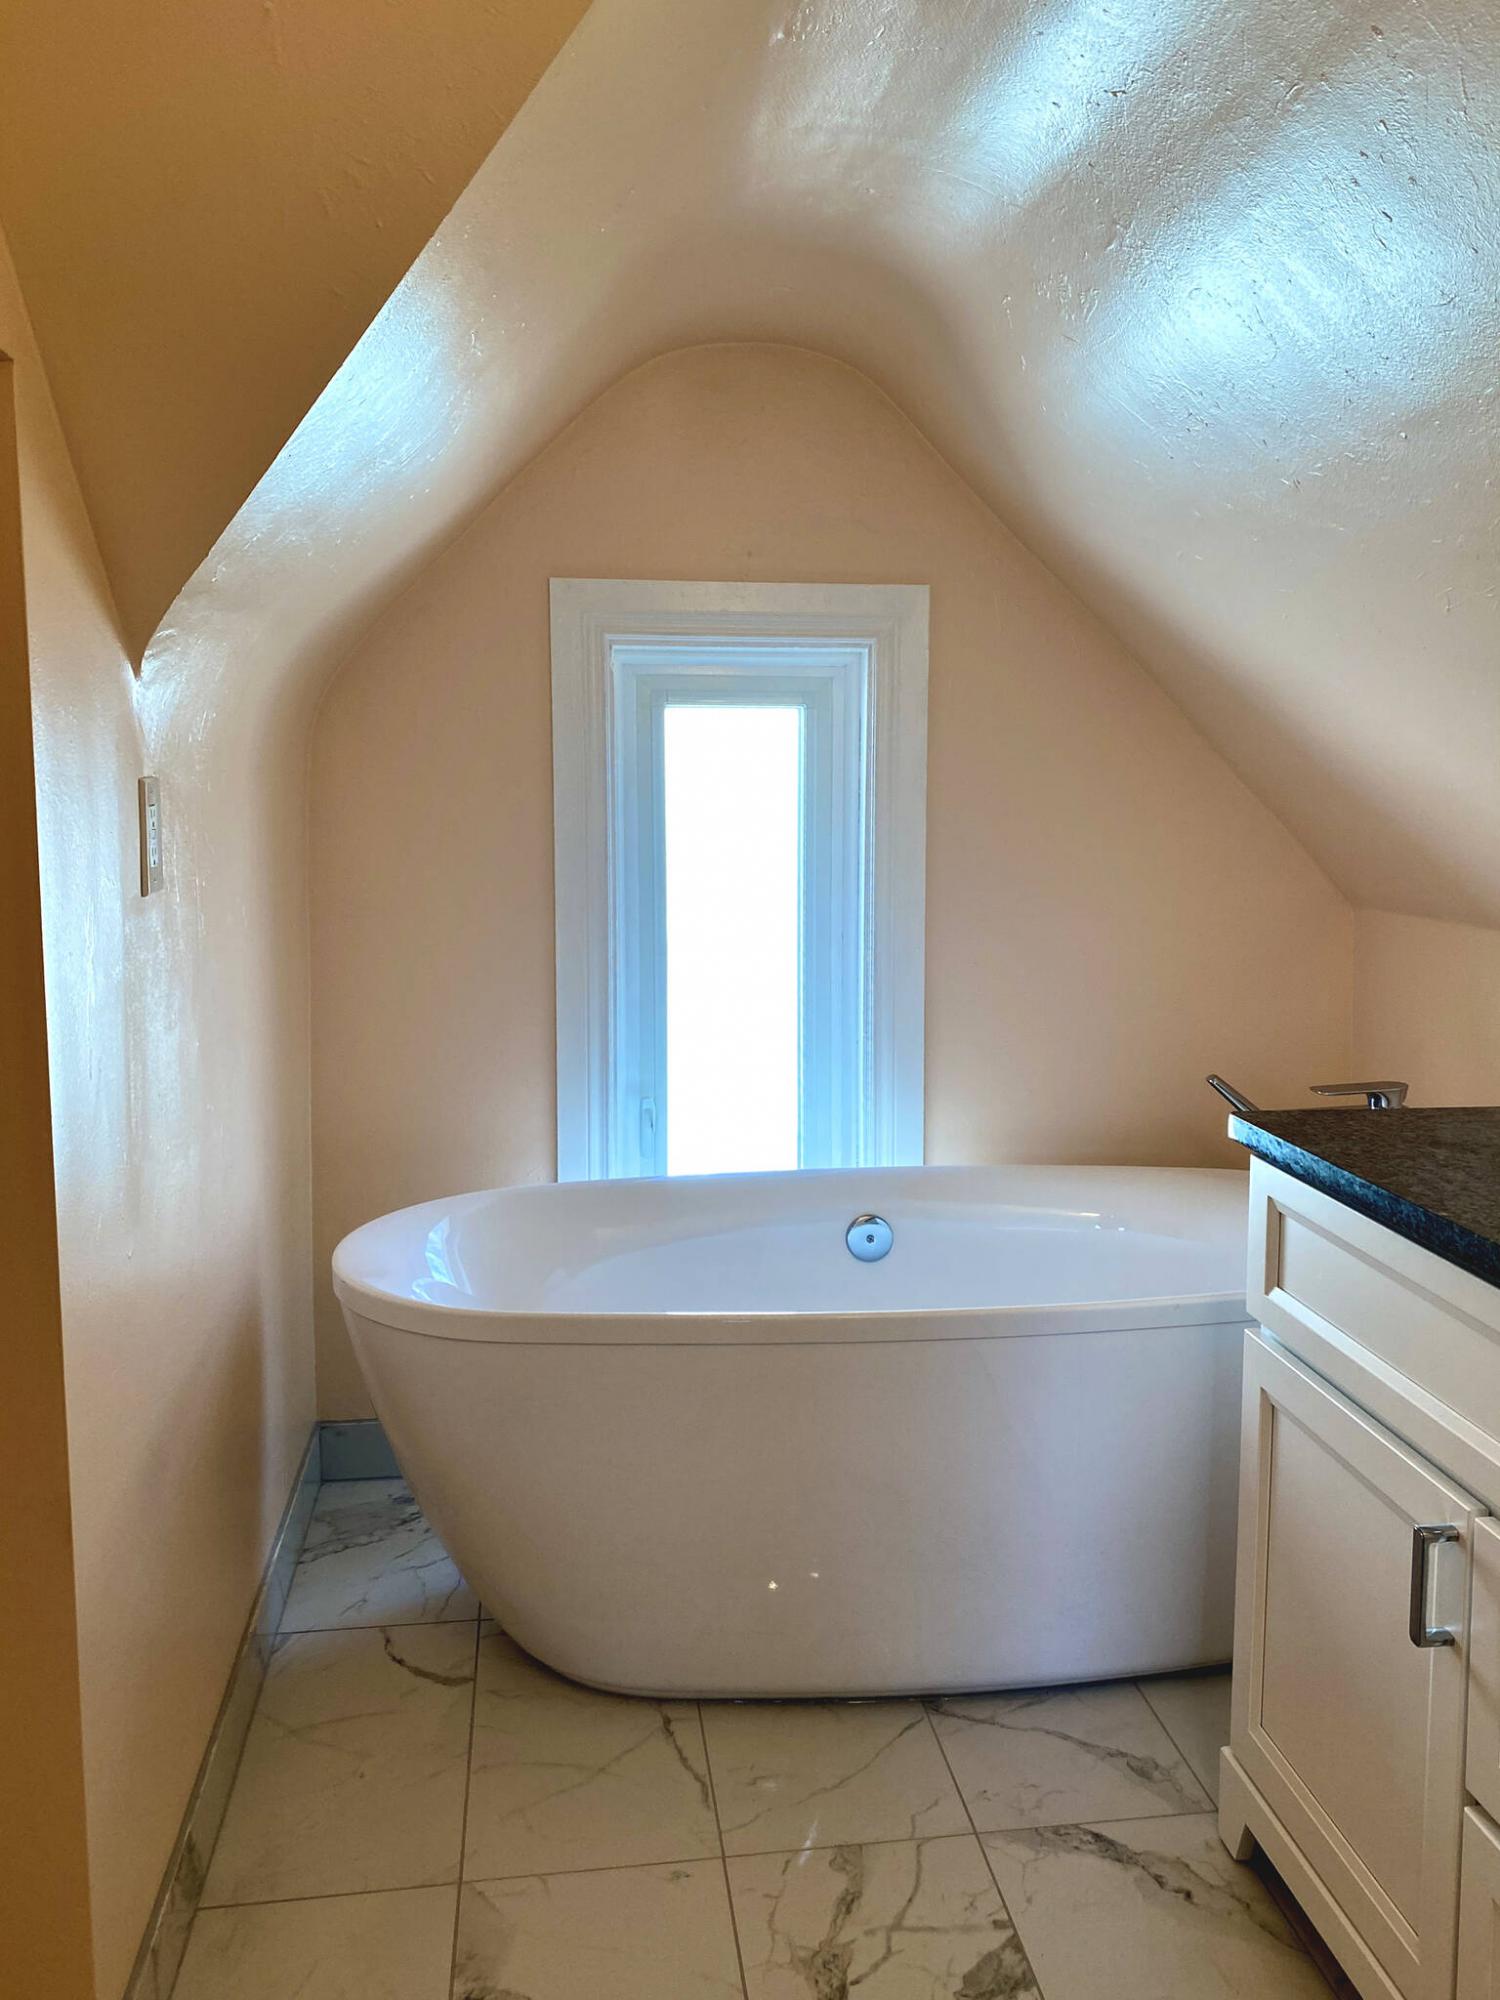
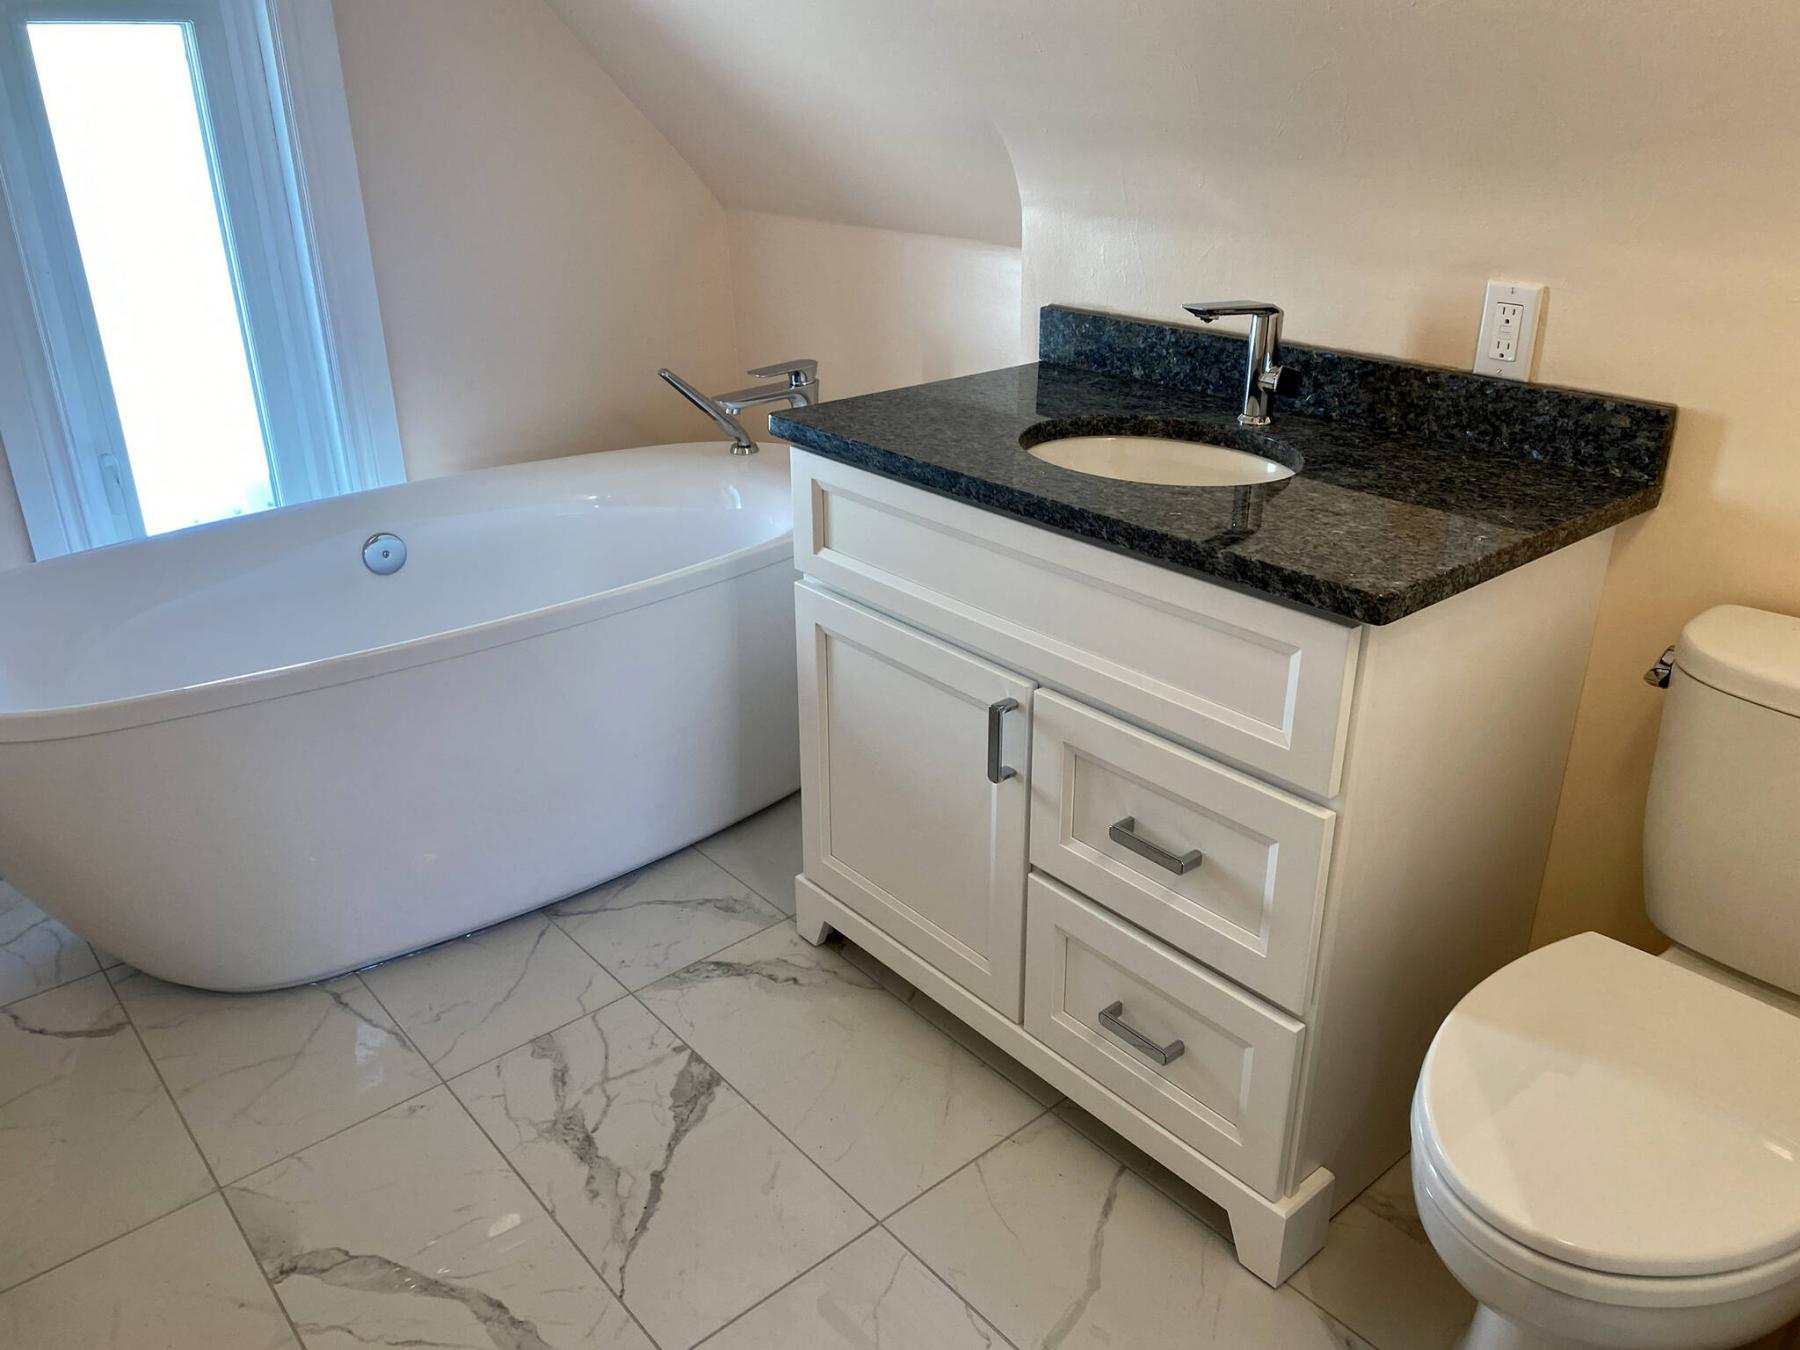
The third-floor vaulted ceiling is below four-feet high along the vanity wall, dictating the orientation of the tub.
Undertaking a bathroom renovation in a 115 year-old dwelling usually reveals a few common obstacles and nuisances, such as plaster on the walls and ceilings, and an albatross of previously attempted renovations. When the bathroom is on the third floor, the space also presents size and confinement challenges. At a recent jobsite, the ceiling apex would dictate the floor plan layout.
It had always been a three-piece bathroom since the homeowner bought the house a few years back. And it was obvious this third-floor lavatory adjacent the master bedroom had undergone a remodel of sorts at some point, as the current floor elevation was higher than the hallway leading to it. When the demolition began, it became apparent that the “new” sub-floor had been set atop two-by-fours on the flat, laid perpendicularly across the existing two-by-six fir joists, below the old floor planks. Beyond dealing with the layers of sub-floor to access the existing drains and water feeds, the sub-floor layers would present no major obstacles.
The existing floor plan was awkward, however. The toilet, located nearest the doorway was tucked between the wall and a tiny pedestal, which itself was nestled in along the close end of the existing 60-inch long by 30-inch-wide jet-tub. Having positioned the tub parallel to the long of the room squished the three amenities along the side wall. And if that wasn’t bad enough, the ceiling of this third-floor space was vaulted, which rendered the angled ceiling where it meets the wall at less than four-feet high. Getting in and out of the tub was inconvenient, and the homeowner wanted to rectify the ongoing issue during the planned renovation.
As such, the tub orientation became priority. Because the vaulted ceiling’s apex is centred along the long of the room, with a near floor-to-ceiling window on the back wall, the only way to maximize the space of this six-by-eight-foot room was the introduction of a stand-alone tub, set parallel to the back wall. By doing so, access to the tub now becomes easier because the maximum height of the ceiling is now centred with the middle of the tub. Furthermore, this change in orientation also provides an additional 30 inches along the side wall, which now caters to the possibility of a much wider sink and vanity, as well as an option to widen slightly the area at the toilet.
With the new floor plan in play, the shell of the space was fully prepped: all pre-plumbing was organized, new electrical was run for the GFCI outlet and heated flooring, and modified wall framing properly accommodates the vanity and tub placement, keeping with the rounded style of the existing plaster. As well, the awkward double nook which serves as an open closet on the opposing wall was reconfigured into one larger and wider opening. Whether shelving is added, or possibly a bench and mirror, the larger cavity provides greater functionality and a better overall aesthetic.
Once the heated floor coil and subsequent marble-esque 12x24-inch tiles were set along the floor, the amenities were systematically positioned one by one, starting at the far end of the bathroom. The 66-inch stand-alone tub installation was a challenge, because there was no access from below. As such, a protocol was engineered by creating a range of motion with the main ABS drain, that allowed the tub drain tie-in to occur four inches above the floor. After fully testing both the water feeds and drain, the tub was then carefully lowered into position. With the tub in place, the vanity was secured to the back wall. The water feeds and sink drain were tied-in and tested. Lastly, the toilet was then set atop the toilet flange that had been raised slightly to meet to new floor elevation (tile plus heated floor/leveler). After a few test flushes, the bathroom was deemed fully functional. Assorted towel racks and the toilet paper dispenser locations were chosen, and promptly fastened to the respective walls.
The most difficult aspect of this project was determining how best to maximize the floor plan, based on the varied heights (or lack thereof) of the existing vaulted ceiling. With the updated tub orientation, the entire bathroom seems to have greatly increased in size. Furthermore, by combining the two awkward nooks along the wall opposite the sink and vanity into one wider closet area, the new footprint of the bathroom is both functional, and aesthetically pleasing. I wish the homeowner many years of calming soaks in this new tub — what a transformation!
RenoBoss.Inc@outlook.com