Marc LaBossiere / Winnipeg Free Press
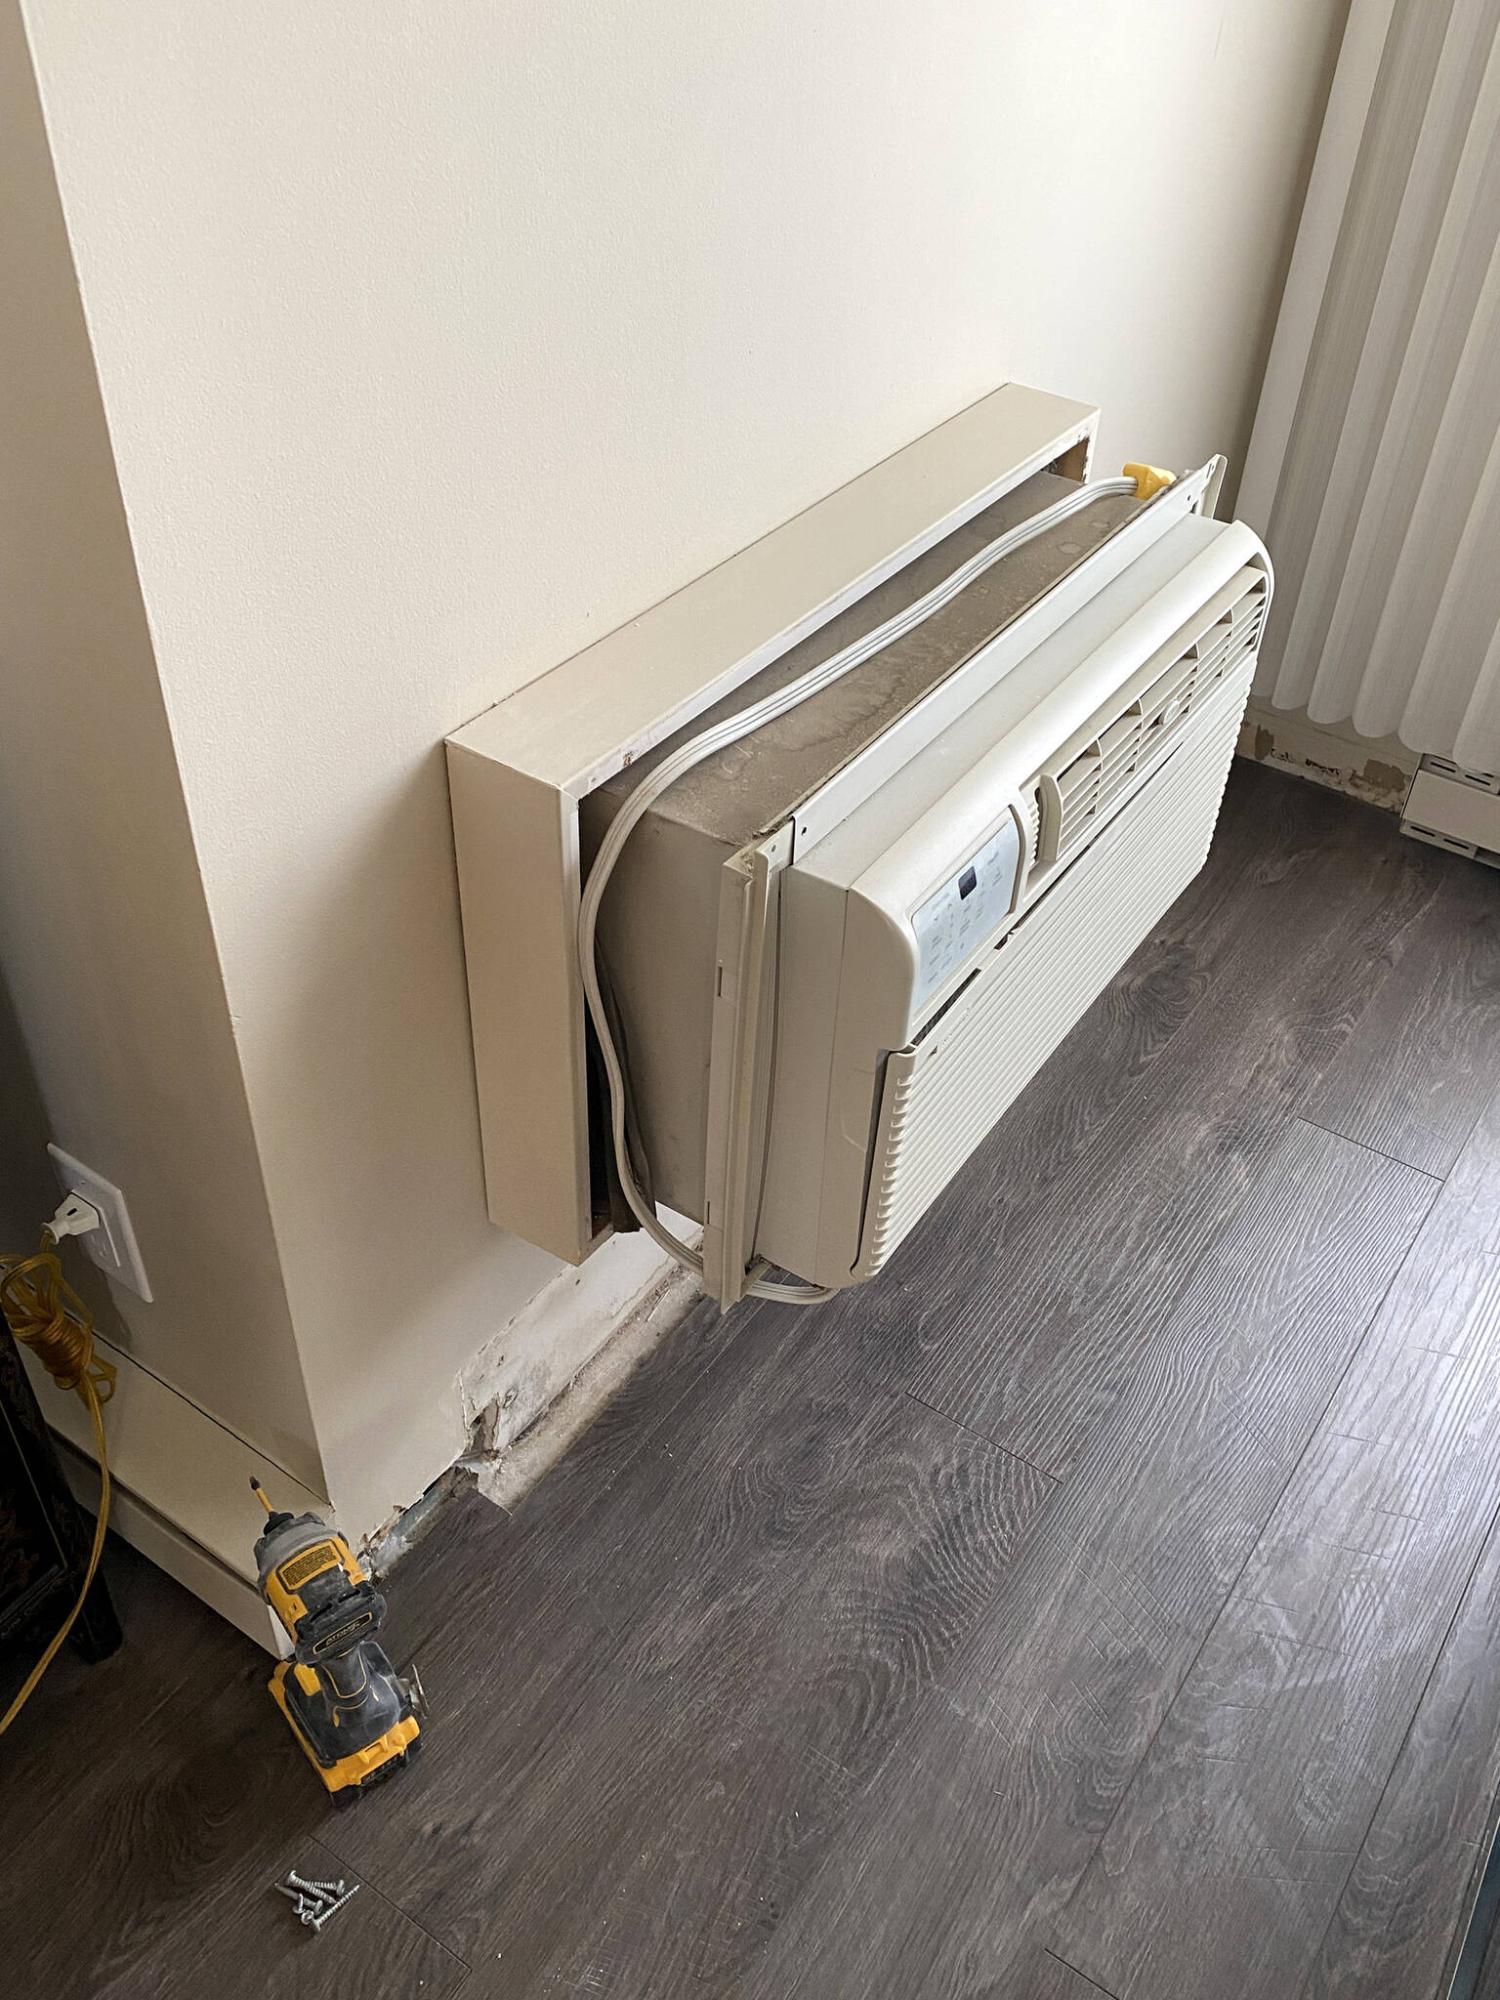
The old air-conditioning unit was mounted to a sleeve fastened to the wall framing.
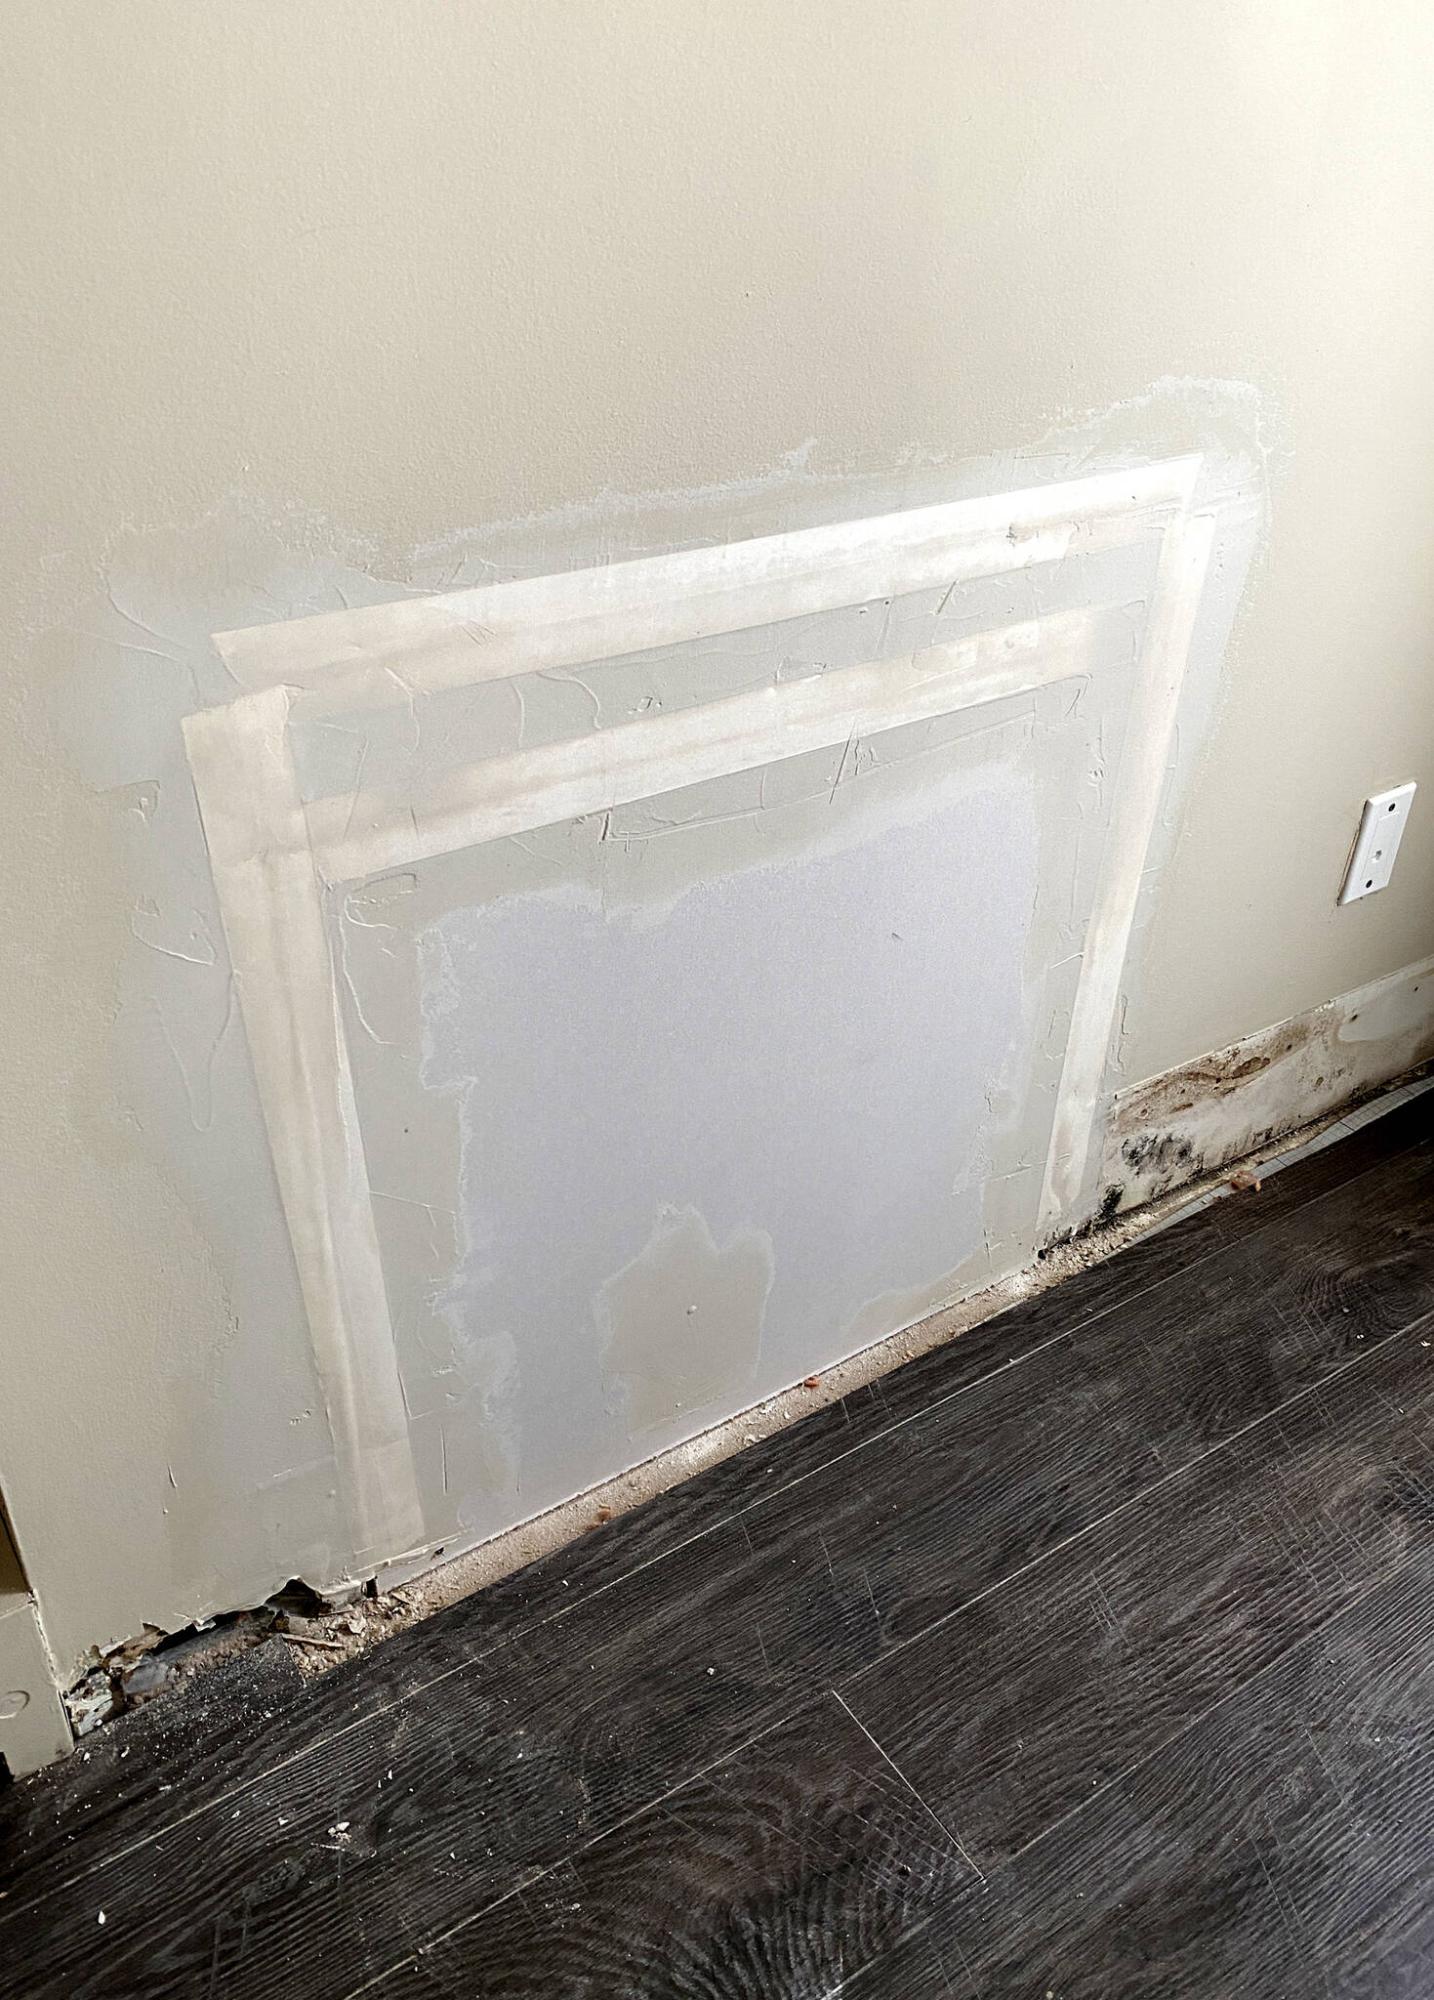
Once the vapour barrier seals the void, the area is fitted with a drywall patch, seams taped and mudded.
Remember going on family roads trips, and staying at a motel midway through a tedious drive to the actual destination? For me, thoughts of road trips while touring with my band trigger memories of a dimly lit and tiny motel room, with very few amenities beyond the necessary three-piece bathroom. And if we were lucky, the room would offer air-conditioning to temper those hot summer nights. Although the “through-the-wall” unit was common-place and did manage to cool off the room nicely (if it was operational), this installation approach became detrimental in winter, much too drafty during the colder months unless temporarily covered on the outside — the through-the-wall a/c was not an optimal solution.
At a recent jobsite, the homeowner’s suite is fitted with an air conditioner, much like the ones I recall from my days on the road with the band. Although I’m not sure the unit is still functional, the homeowner wishes to rid the suite of this ancient albatross to make way for a new, high-efficiency split a/c unit, which is slotted for installation sometime before spring. It is apparent that the old unit is quite drafty during the colder days of winter, as the exterior cover has long since been lost. Furthermore, because the split a/c will be mounted close to ceiling elevation, much desired wall space will be reclaimed once the old a/c has been removed.
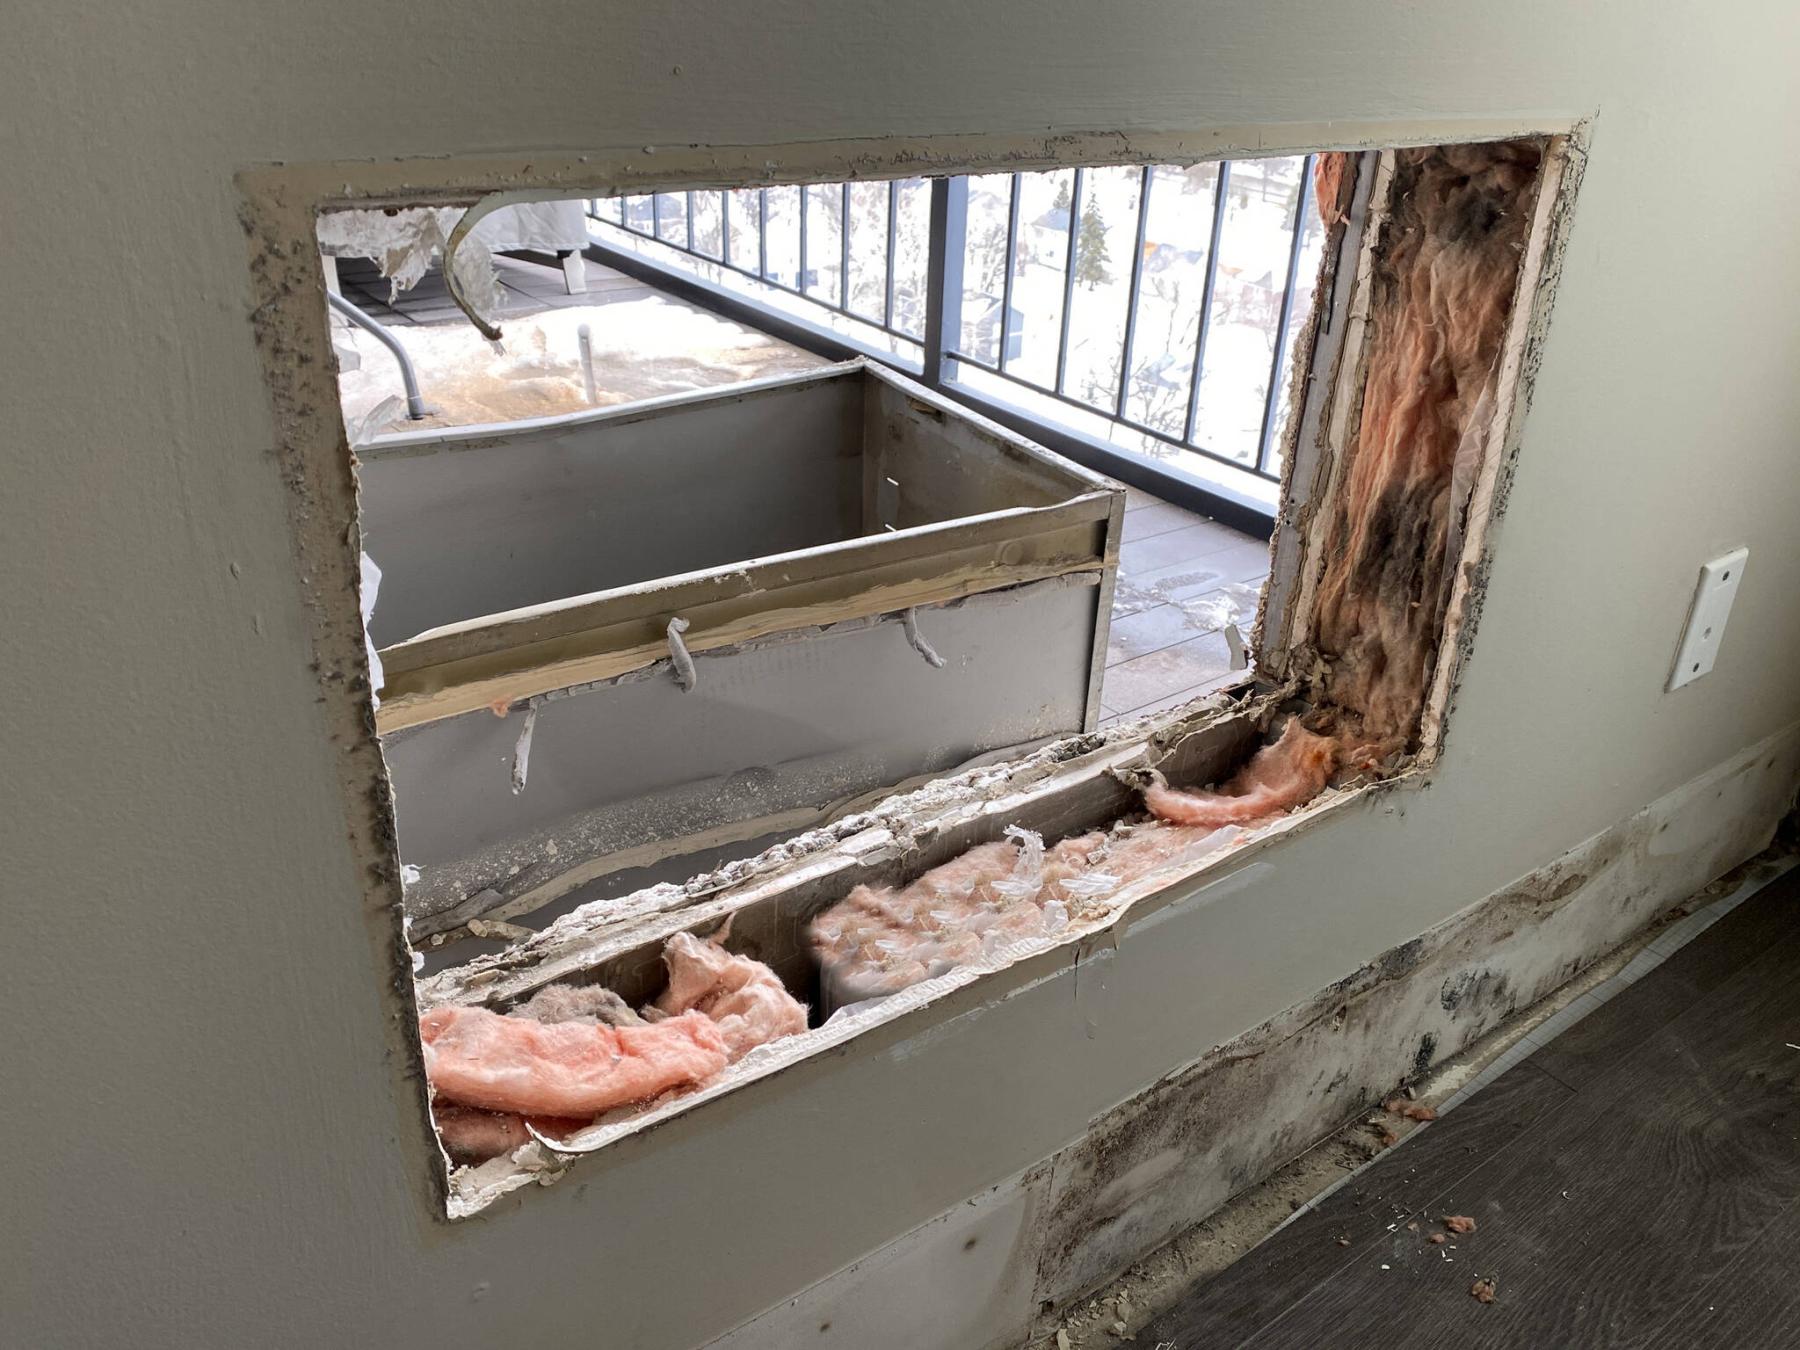
Understanding the variety of tasks required to complete this project is key. Although no electrical modifications are required because the unit simply plugs into an isolated outlet, removing this unit will of course leave a gaping hole in an exterior wall. As such, it will be necessary to properly fill the void once the unit has been extracted.
A series of screws along the top and sides mount the old through the wall a/c unit to a wall sleeve that is secured to the wall framing. Once the a/c unit is dismounted, it slides from the sleeve back into the interior space, and can then be set aside. The sleeve is mounted directly to the wall framing. In this instance, it was screwed to the adjacent studs, and along a cross-brace inset along the top of the opening. Once the fasteners are relieved of duty, a utility knife is used to cut along the caulking located around the perimeter of the sleeve, both inside and out. It was necessary to work the sleeve back through the opening, by jiggling it slightly. With the sleeve gone and the cavity of the wall exposed, the tasks to fill the void can begin.
There are three main objectives when filling an exterior wall breach; the void must be reframed to accommodate both interior and exterior sheathing, new insulation must be introduced within the cavity, and vapour barrier must be used to seal the void, taped along all edges of the existing vapour. With the void now insulated with vapour barrier sealed, a pre-cut patch of drywall is fastened to the newly inserted framing. In this case, drywall was replaced to the floor to remove any existing drywall that had been damaged and weakened by moisture.
Along the cavity framing facing the exterior, nine-sixteenths OSB is pre-cut to size, and fastened to the framing. The exterior must also be protected from moisture and potential airflow, and is fitted with Tyvek house wrap, Tuck-taped along the perimeter of the OSB patch. Lastly, the seams between the new area and the existing are filled with caulk to ensure a proper and consistent seal. Although the decorative aspects of the exterior patch have not yet been established, the area is ready for Mother Nature, nonetheless.
Once the interior drywall patch receives a few more coats of mud along the taped seams, the area will be sanded, primed and painted to match the existing wall colour. Baseboard will then be reintroduced along the flooring, rendering the old through-the-wall a/c a distant memory. The wall, freed from years of propping up the old unit, will soon reveal its new purpose as the backdrop to the homeowner’s favourite bookcase — a slew of treasured books and novels on display, ‘cuz that old air-conditioner is no longer in the way.
RenoBoss.Inc@outlook.com