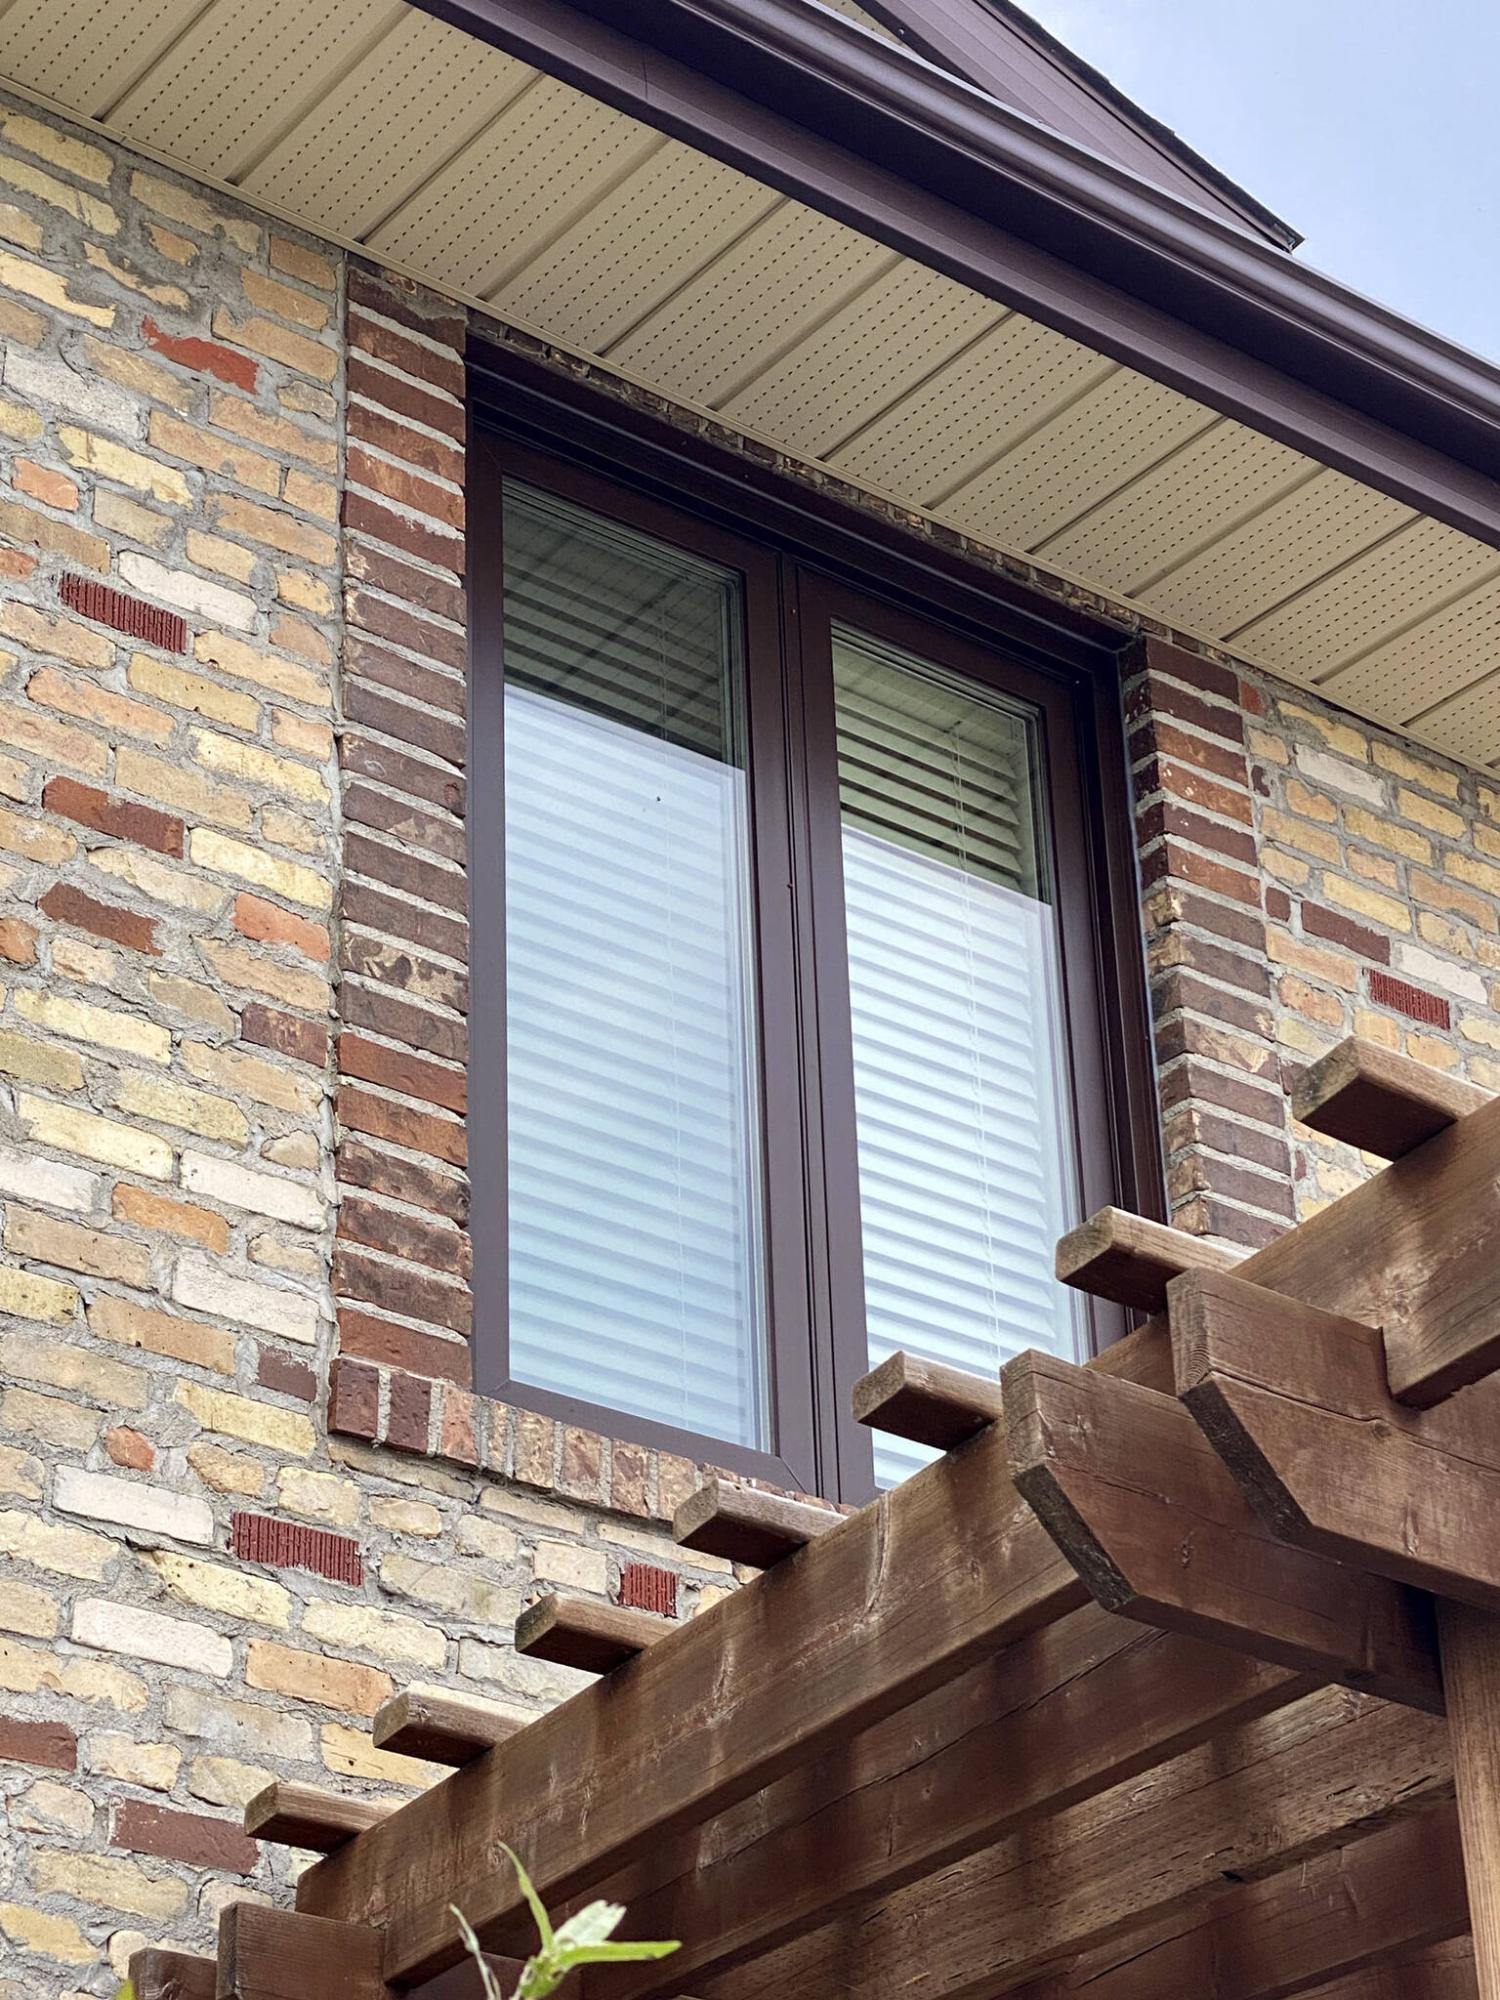
The new maintenance-free Voyageur window unit (left) is pre-painted at the factory to match the chocolate-brown trim of the house. Fortunately, loss of the vertical mullion on the old wooden unit allowed reuse of venetian blinds, despite the narrower width of the jamb.
Photos by Marc LaBossiere / Free Press
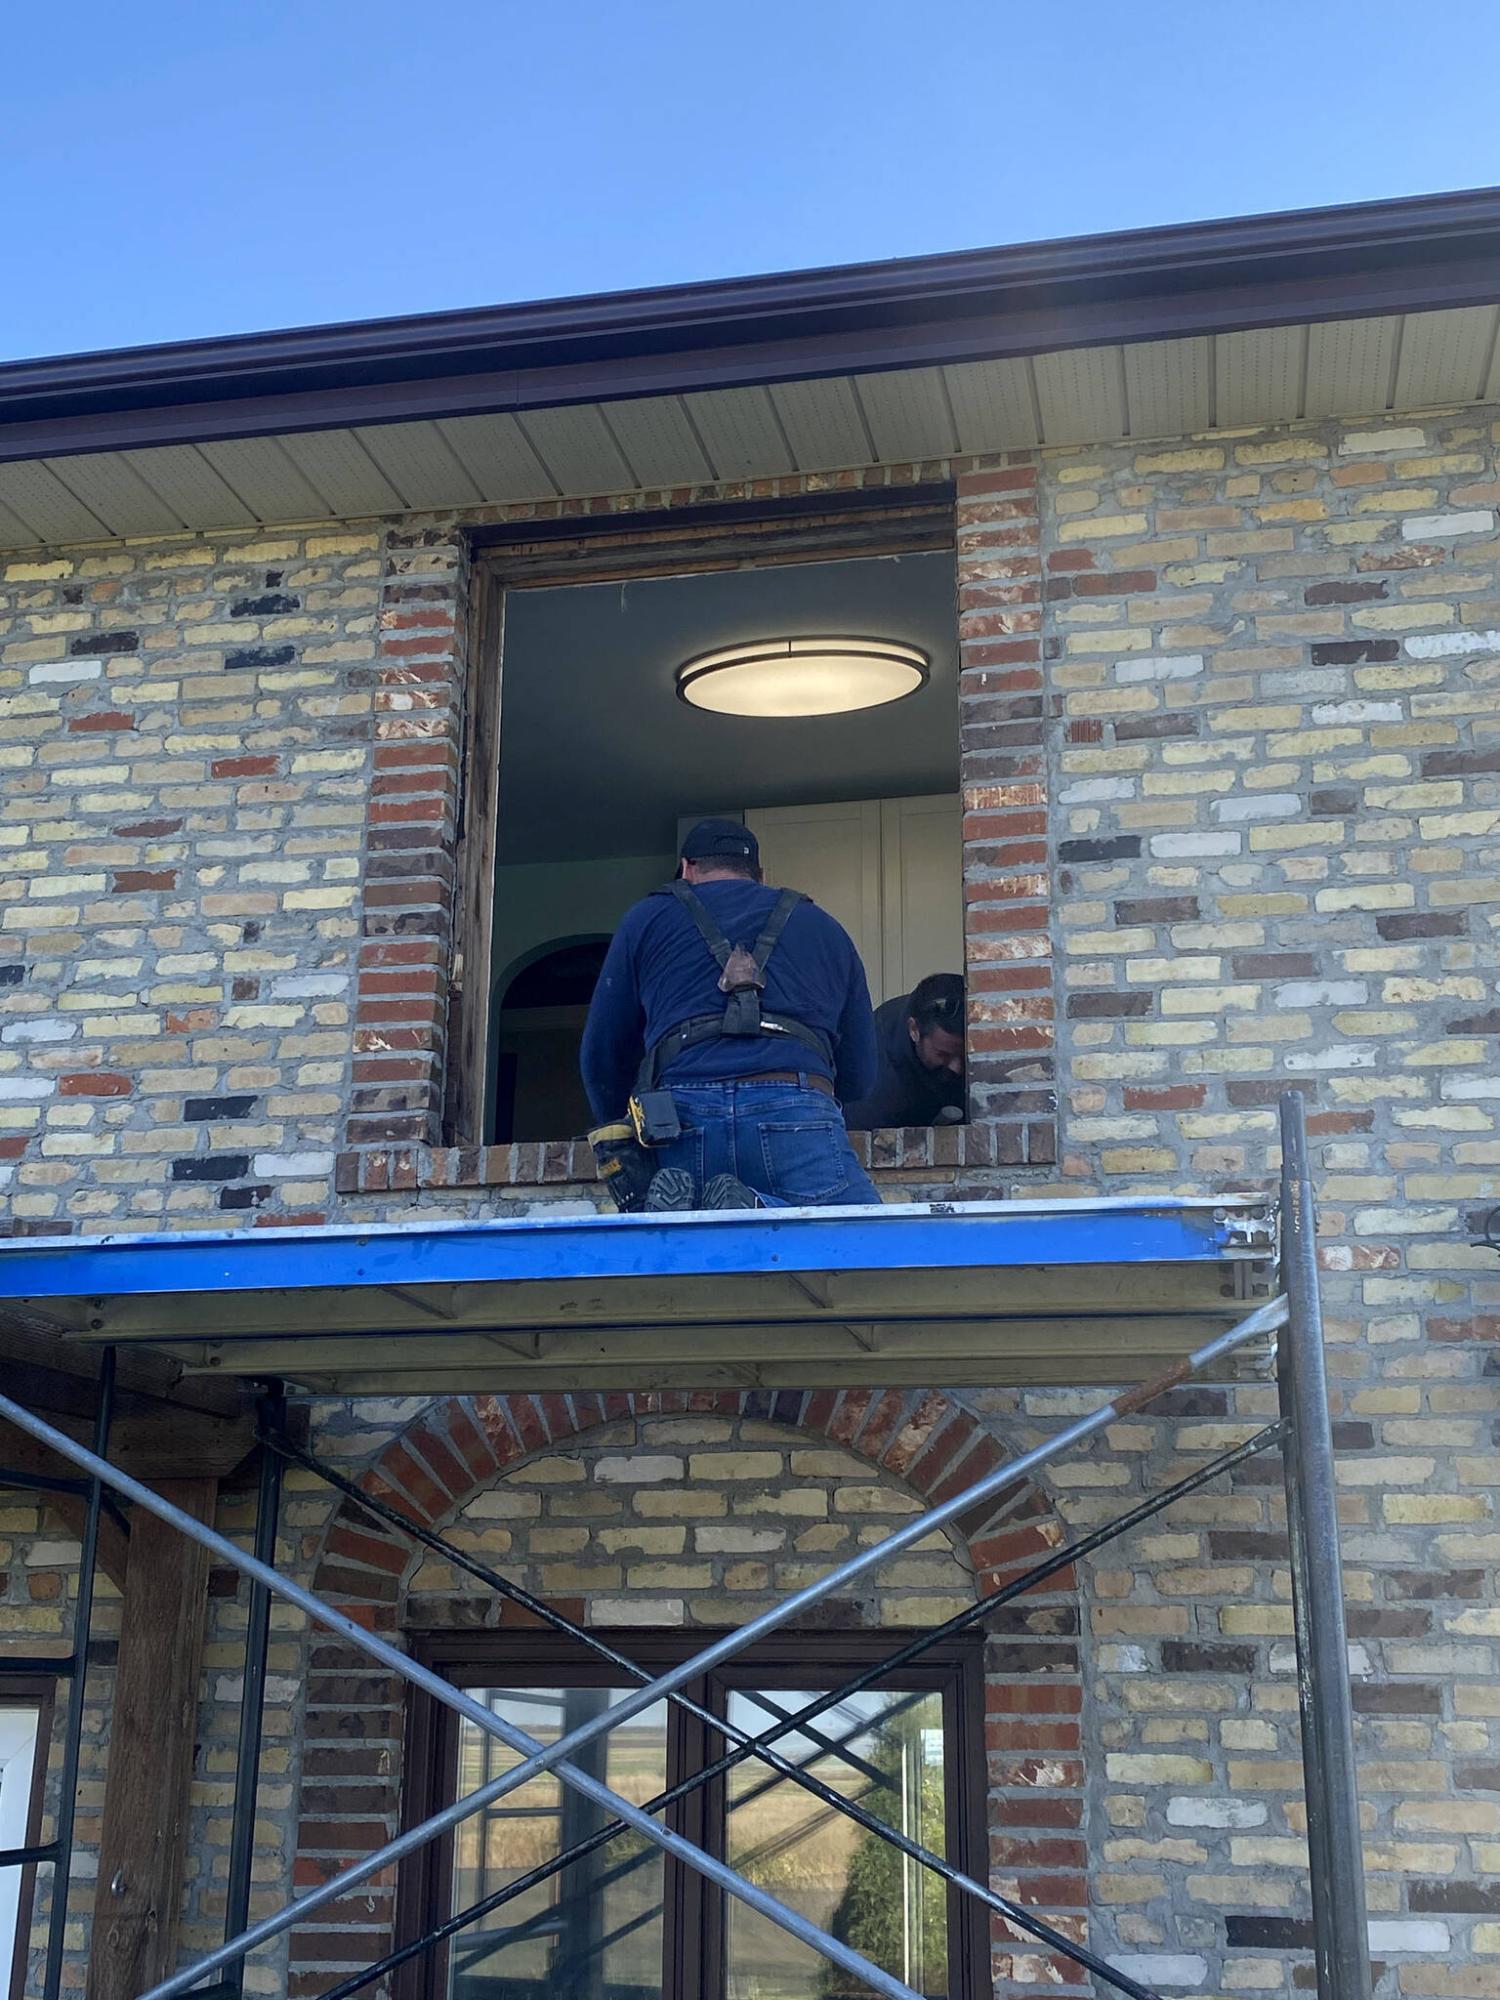
To tackle the second-floor windows, scaffolding is positioned just below the window location to ease removal of the old and insertion of the new.
Marc LaBossiere / Free Press
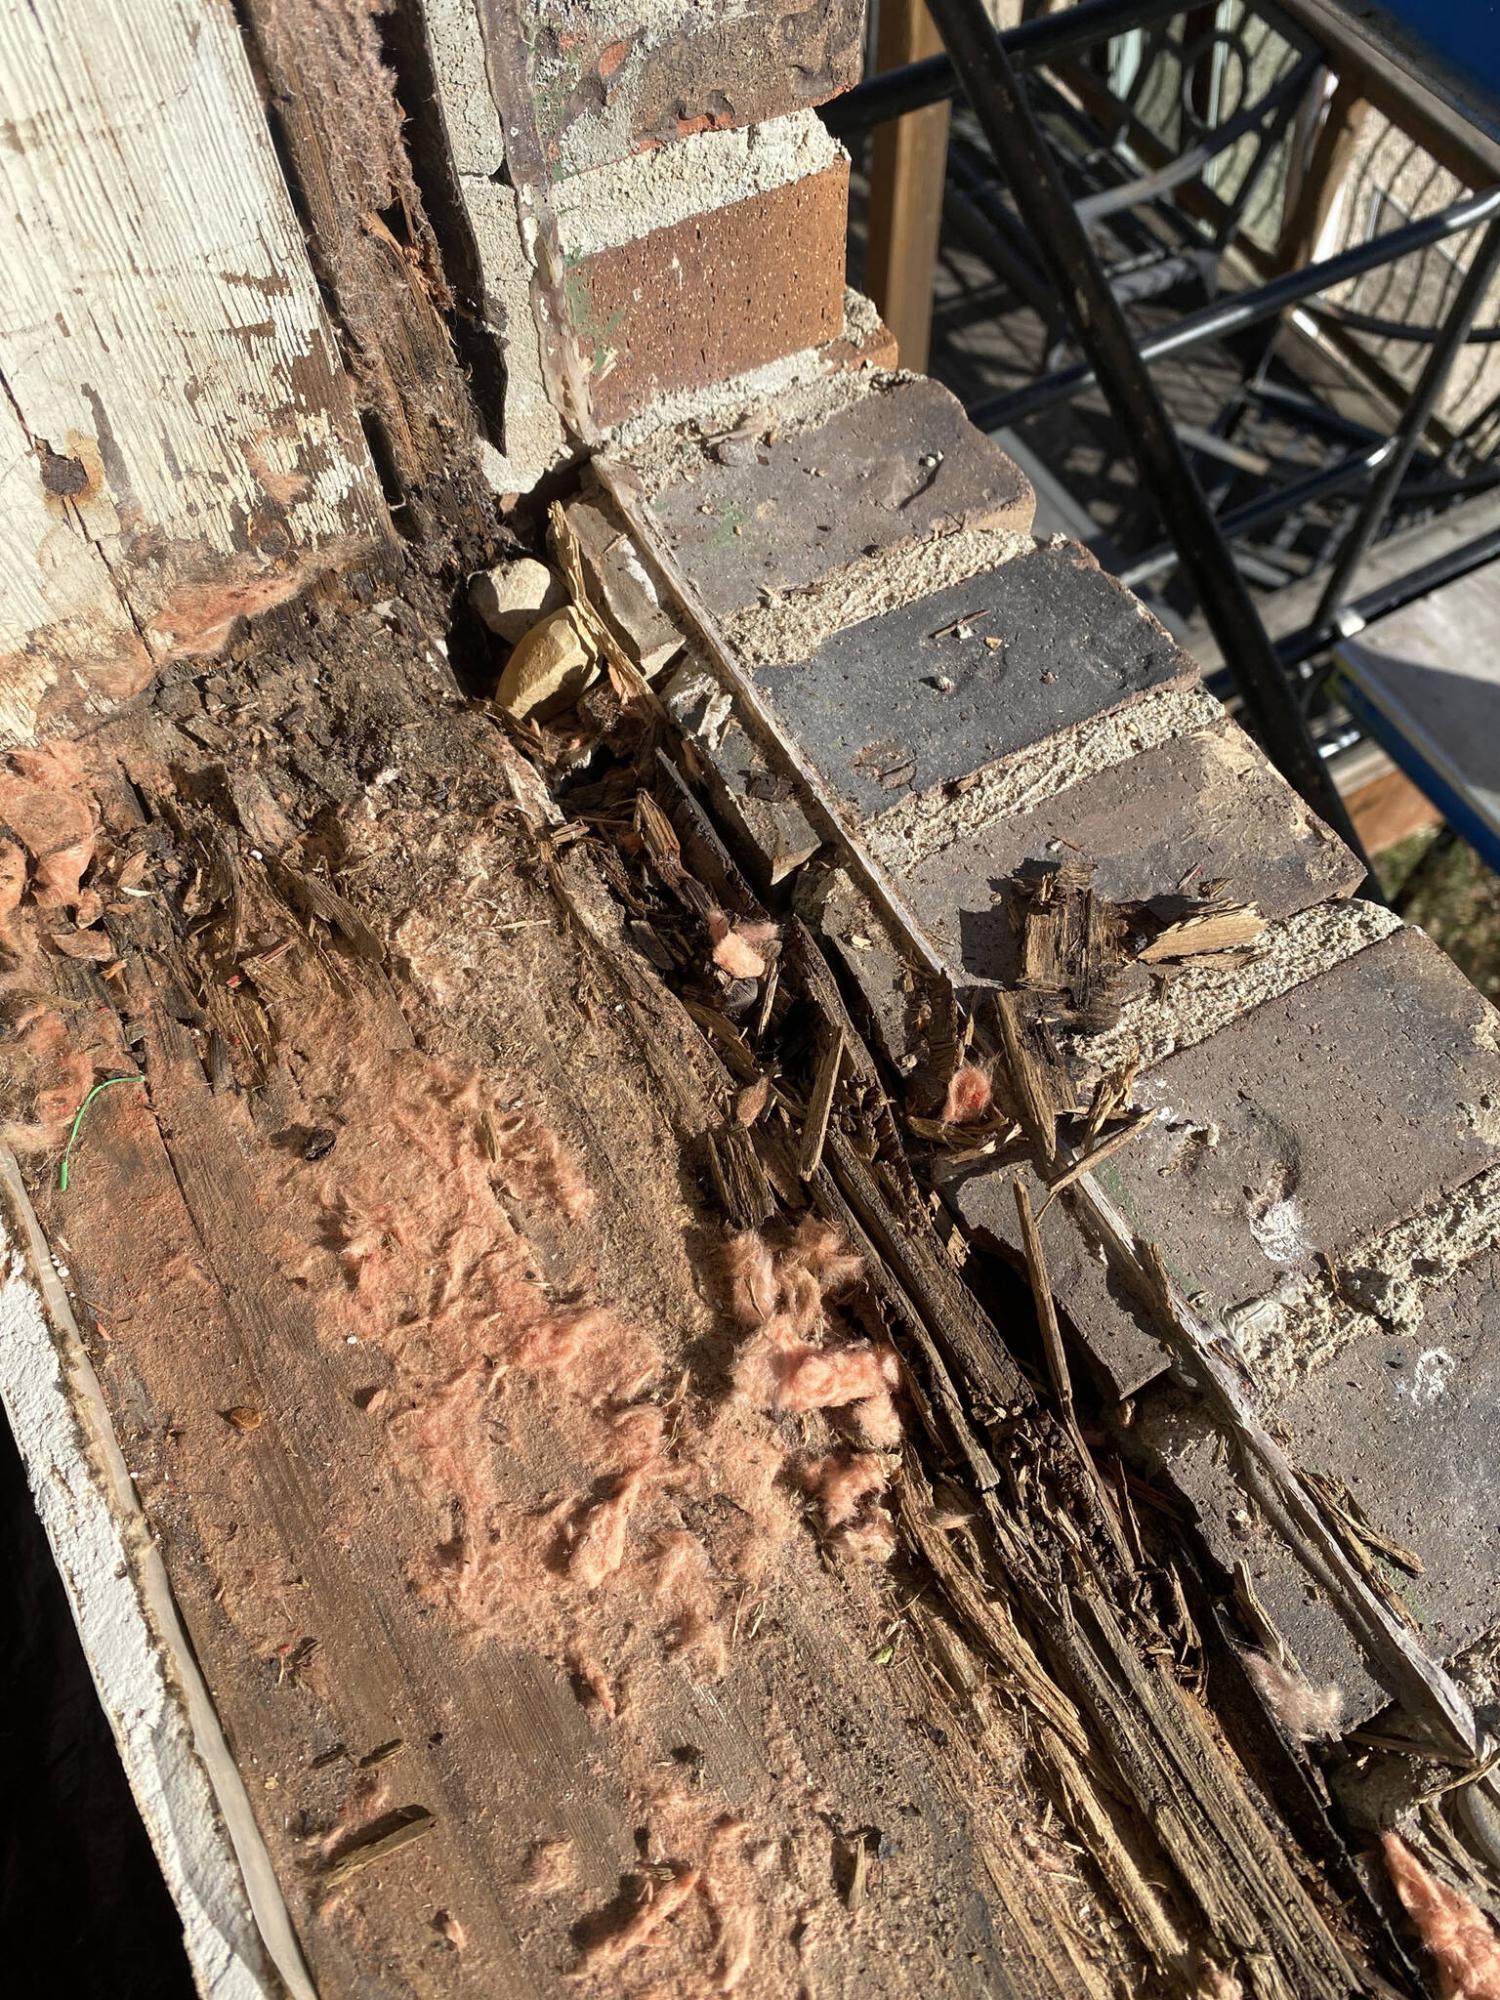
As the old window units are removed, the old sill plate is also replaced if rot is prevalent.

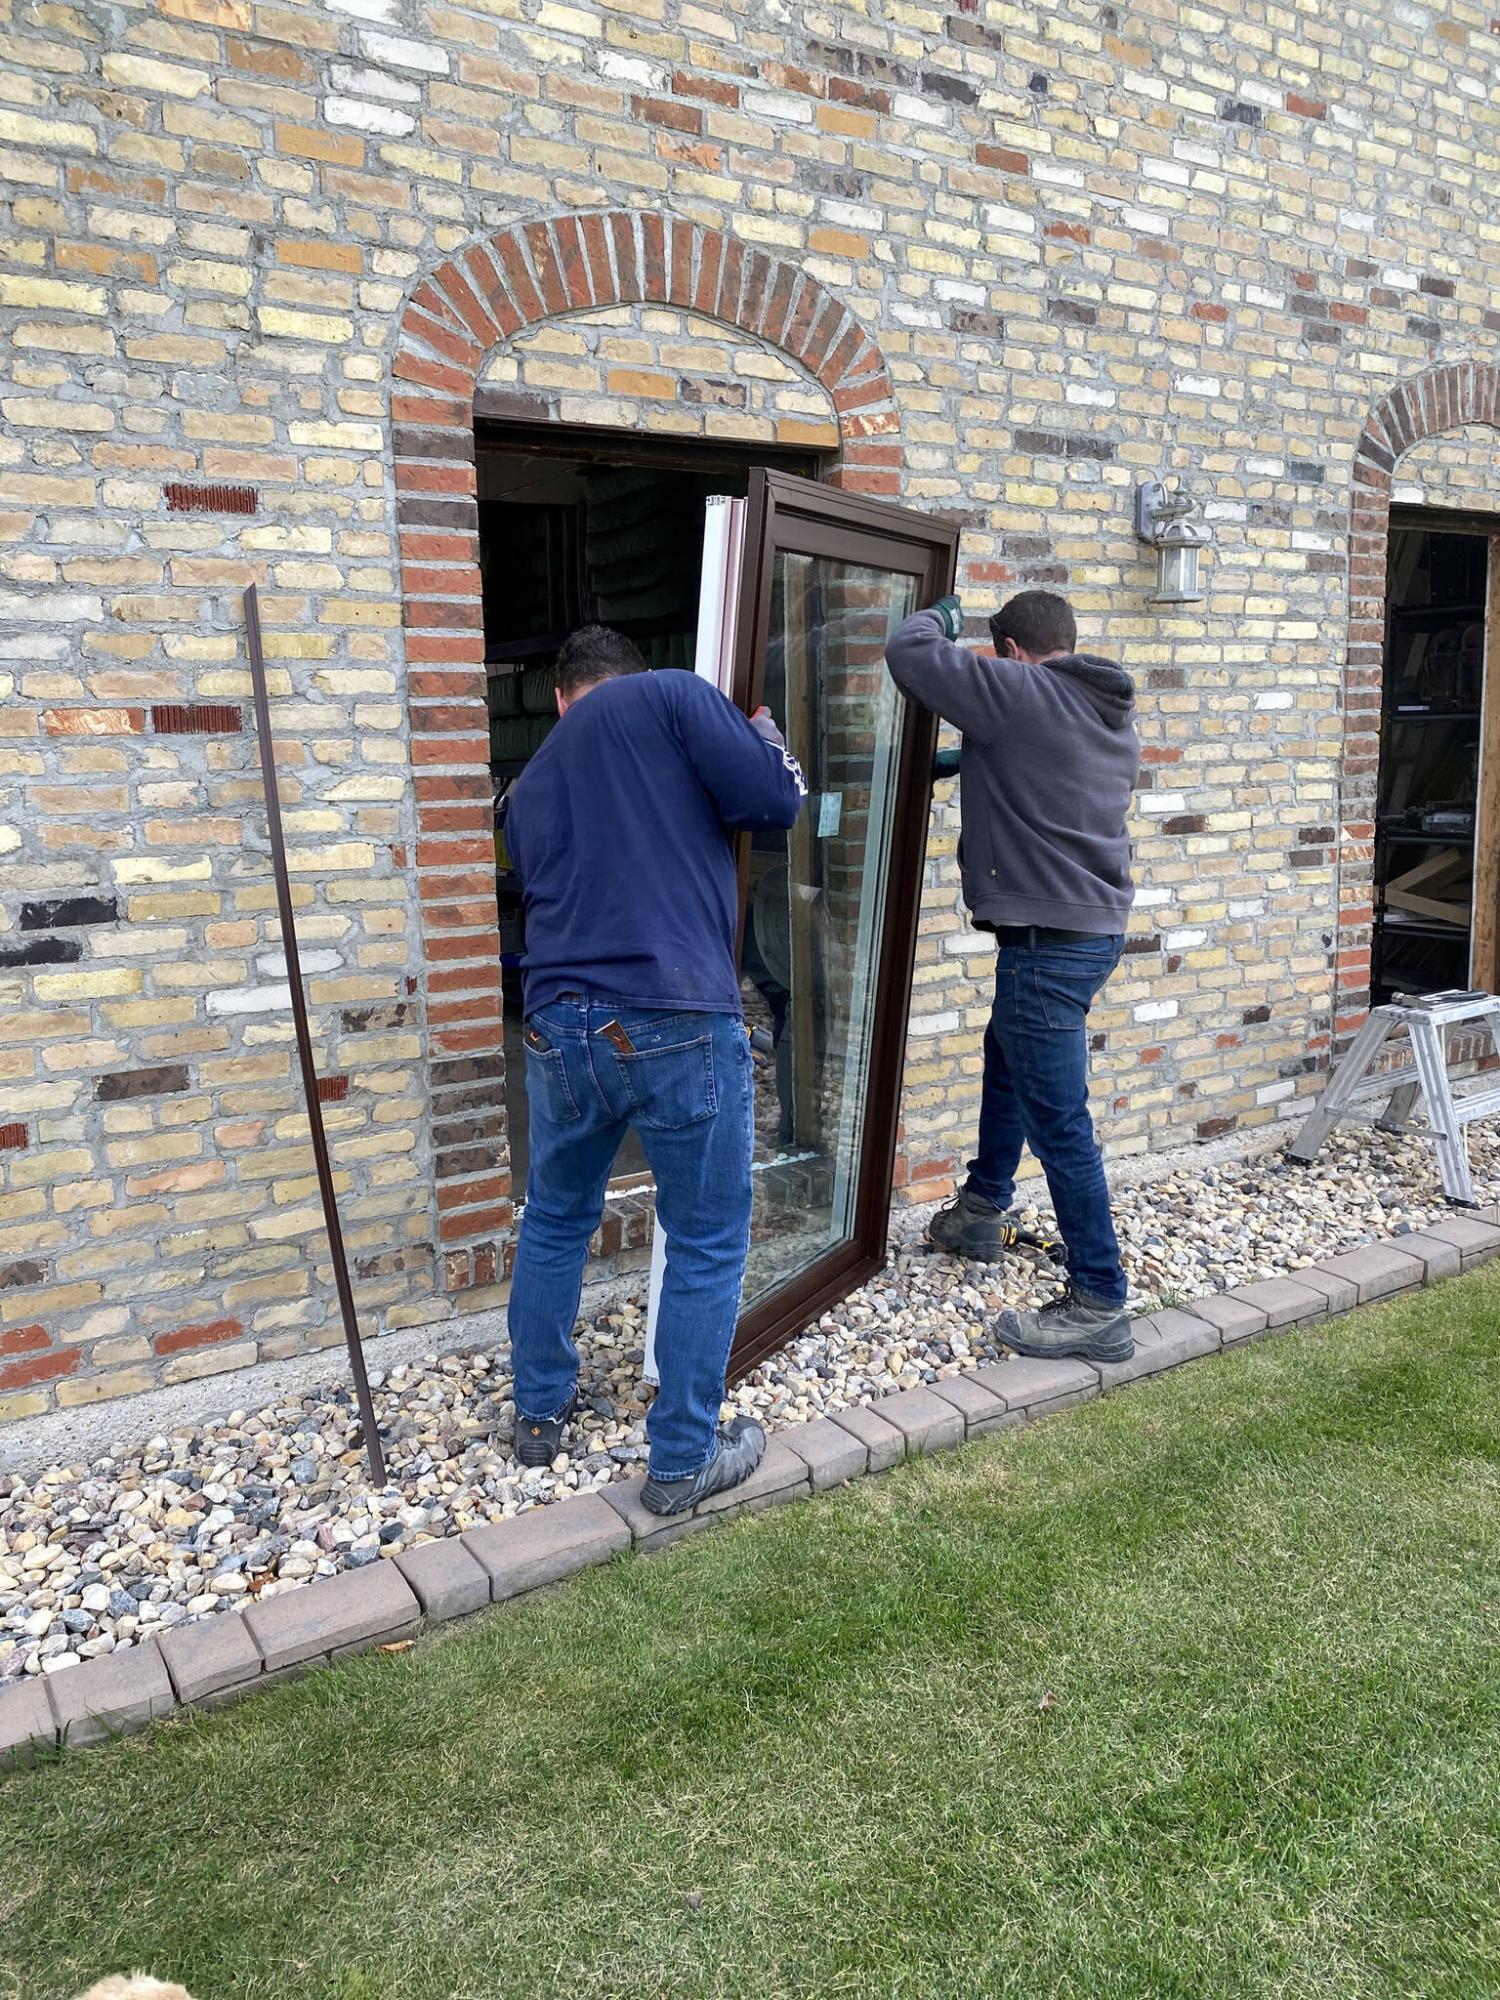
As the new window unit is positioned, the inner jamb is set flush with the neighbouring drywall to ensure proper installation of casings.
Marc LaBossiere / Free Press
The Overcode crew positions a new unit within the existing rough opening of sandstone brick.
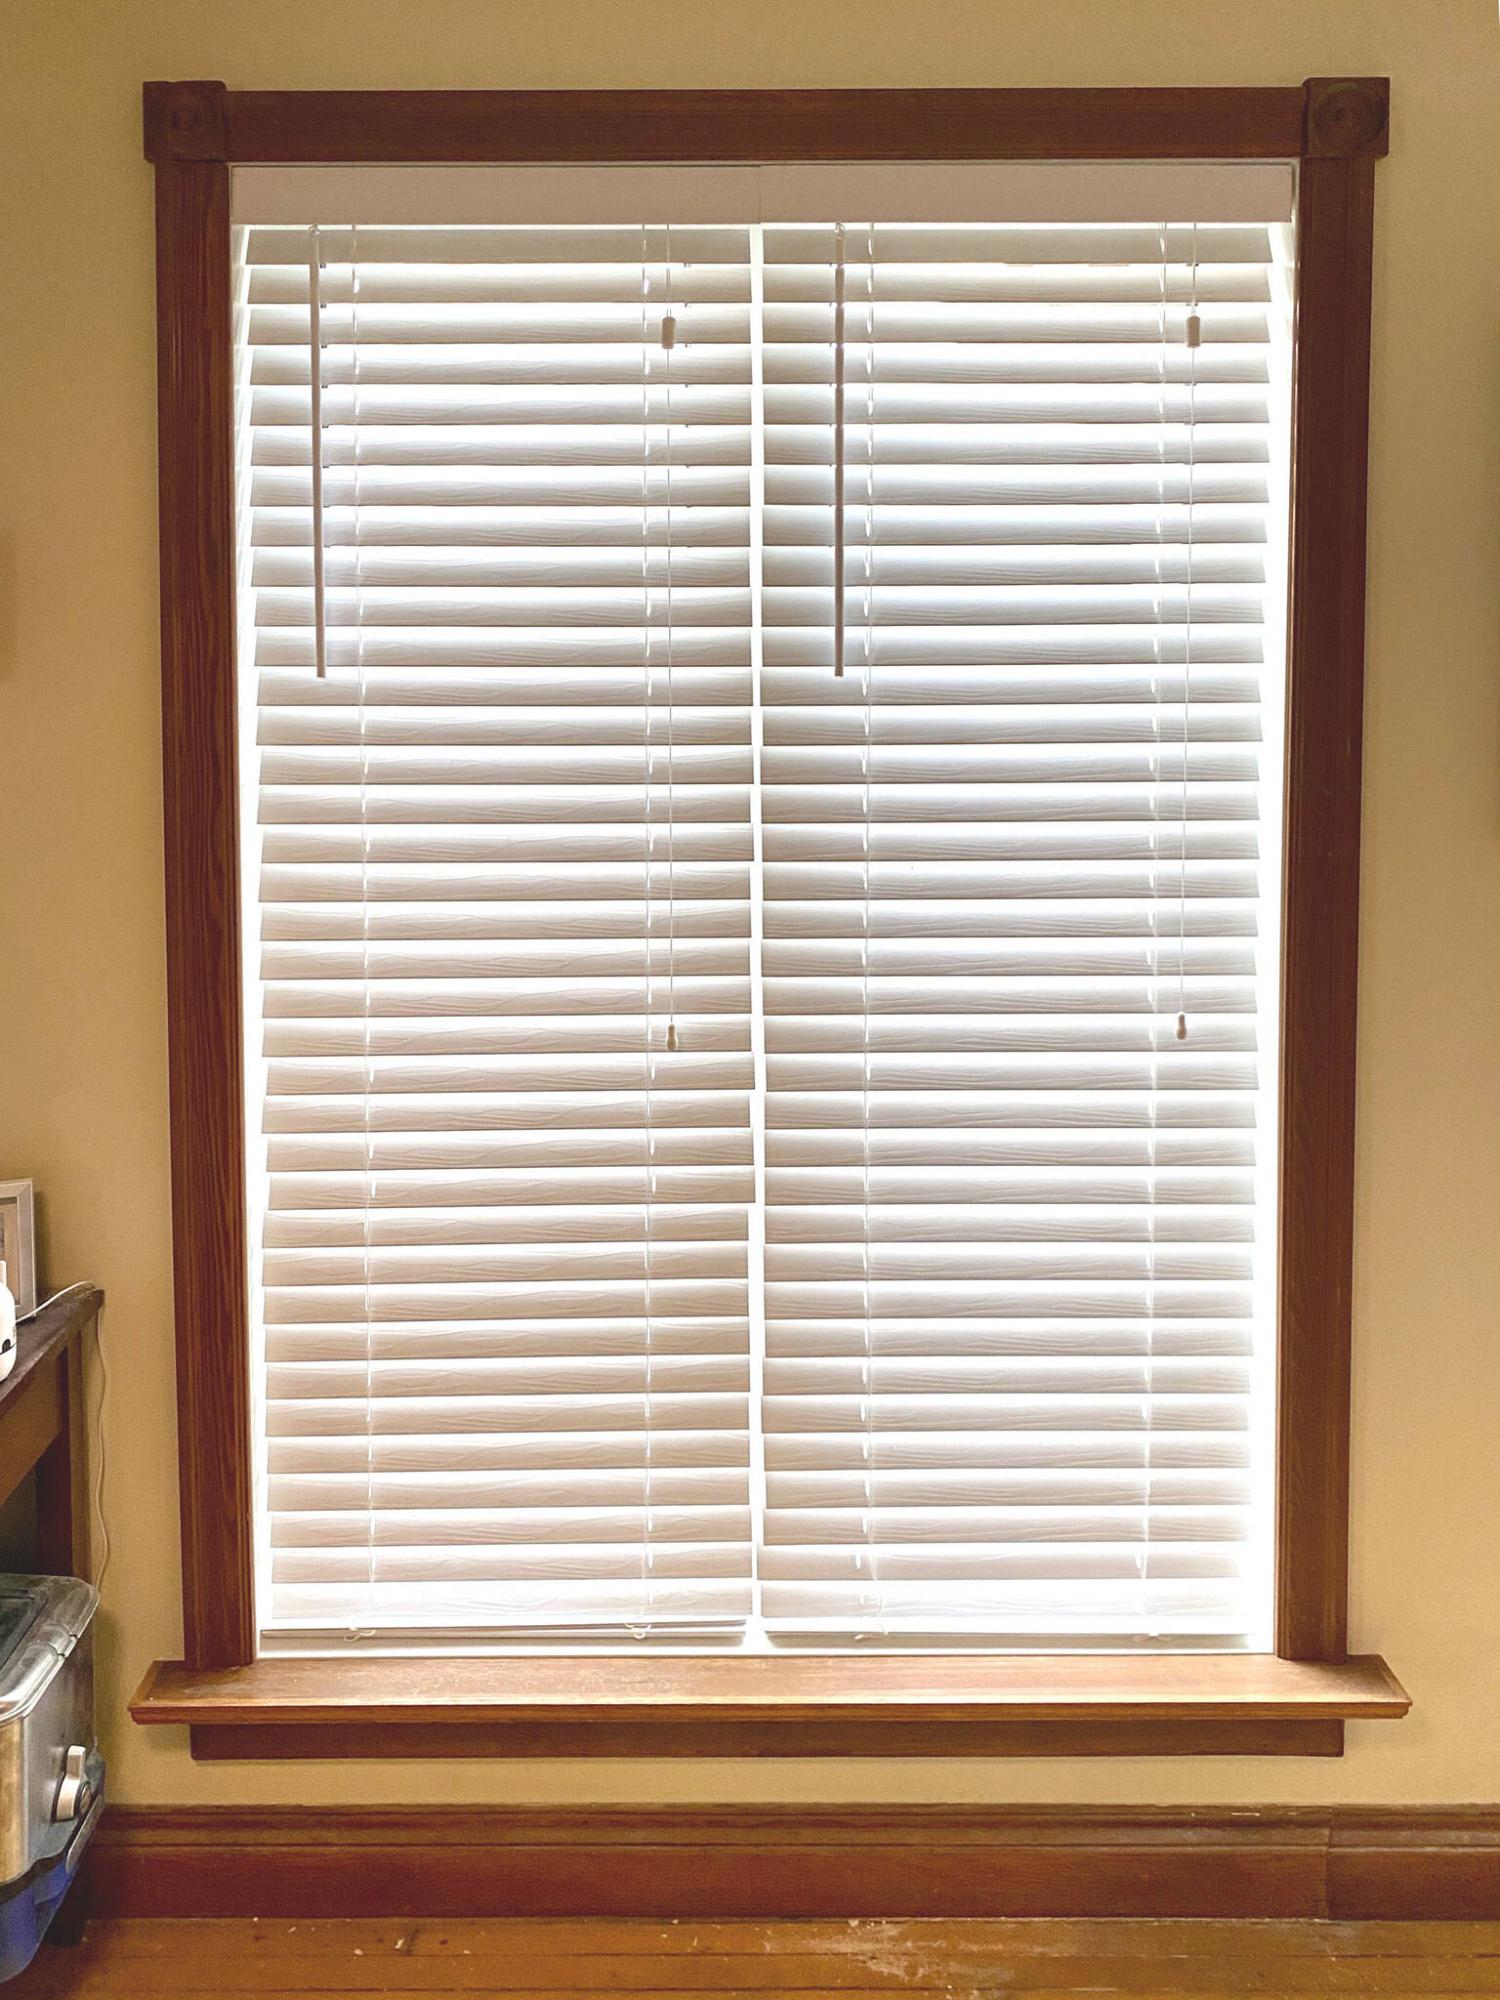
Fortunately, the loss of the vertical mullion (found on the old wooden unit) allowed the reuse of the venetian blinds despite the narrower width of the jamb.
The prospect of replacing the windows original to my house had always been daunting to me, for several reasons: the window units were wooden, set in the sandstone brick siding of the house, and the manner with which they were built included a central vertical mullion flush to the inner jamb.
Removing the units would be a huge undertaking and new windows are generally manufactured without a centre mullion — therefore, the interior trim would require change.
Although I had entertained the possibility of simply replacing the windowpanes themselves, closer inspection revealed a drastic deterioration of the wooden jambs — they were now 40 years old, and the entire window units had to go.
It’s a big decision to upgrade the windows of a house, both in terms of disruption and cost. Having installed several new windows on the additions of my house, and even more for hire at various job sites, it was clear to me the project would best be left to a professional crew to save time and minimize disruption.
As such, I contacted Rob Moreau at Overcode Windows and Doors for an estimate early this past summer. During the visit, Moreau pointed out several areas of rot in my current wooden window frames that had been overlooked on the second floor. These frames had rotted through, allowing wind and rain to penetrate between the brick and the exterior plywood sheeting.
Once Moreau had inspected all 11 windows in question, he explained the benefits of new full units, and suggested windows manufactured by Voyageur Door & Window Ltd., based in Winnipeg.
After briefly discussing options to change the current double vertical window pairs to picture windows, I ultimately decided to replace all existing units with new ones that closely match in appearance and function.
Moreau forwarded an estimate a short time later. After brief contemplation, the project was set to proceed. The windows were ordered in July and with a delivery ETA of roughly eight weeks, the anticipated installation date was loosely slated for sometime in late September.
Updating windows comes with other ramifications that can drive up costs. Although the exteriors of the windows were measured to fit within the existing brick and rough openings of the house, there was no guarantee the inner jamb locations would perfectly match the existing window jamb placement. As such, it would likely be necessary to adapt the existing oak trim casings around all the windows.
Moreover, it was plausible to assume the “new” inner jamb dimensions would differ slightly, which meant the existing wall paint would need to be touched-up on all four sides of the windows.
With these expectations prepped, I remained on the property during the week of installation to tackle any incidentals that might arise.
An oversight that presented itself on the first day kept me more than busy. As the Overcode crew began diligently removing the old wooden units and replacing them with the new, the layers of paint that had been on the walls left a ridge along the old trim locations.
To rectify this, the perimeters of all 11 windows were mudded a few times, sanded until smooth and repainted before the repurposed trim was re-installed. That meant hunting down the 11 different cans of paint required to perform the task. It took a while, but all window locations were prepped and ready for trim by the fourth and final day of window installation.
Moreau and his Overcode crew were very proficient while removing the old windows and inserting the new Voyageur units. For the second-floor units, scaffolding was positioned just below the window in question.
Once the exterior brick mould was pried away, the old unit and jamb were pushed outward and lowered to the ground. If there had been enough rot to deteriorate the support sill of the original rough framing, that was also cut out and replaced before the new window was positioned within the rough opening, levelled and set flush with the interior drywall.
Once fastened to the framing of the house, the gap between the new window jamb and rough framing was generously filled with expandable foam to ensure the unit was properly sealed. Then, on to the next!
This process continued until all 11 units were successfully replaced. The units were sealed along the exterior brick mould against the sandstone brick using a high-bond clear sealant.
From the exterior, everything appeared finished. The interior was my responsibility, and wasn’t fully completed until the following afternoon.
Fortunately, the casings for all the window locations were indeed reusable because the inner jamb dimensions were roughly one inch shorter in both width and height on every window. As such, and with the wall already prepped and touched up with paint, the casings were systematically cut to proper lengths and re-secured to the walls using a brad nailer.
Things in the interior were beginning to get back to normal. All that was left was mounting the venetian blinds — but would they fit?
Window coverings can be a monumental expense. The old window units had been fitted with very inexpensive white, faux-wood two-inch venetian blinds within every vertical window pair — that’s a lot of blinds for all 11 windows.
Until the new units were mounted, I really didn’t know if the old blinds (which were still in exceptional condition) would fit within the new slimmer window jamb. However, without the mullion on the new windows, I was hopeful what was lost in overall width would balance out without the mullion.
The moment of truth upon me, a quick measure verified that, yes indeed, the old blinds would fit almost perfectly — the loss of the mullion granted the extra inch or so lost in the width of the new window jamb. Within a couple hours, the old blinds had resumed their respective roles in all window locations.
The entire replacement process was completed in one full week, and both the interior and exterior “looks” have remained virtually the same, which is exactly what I wanted. Kudos to the boys at Overcode for a job done exceptionally well.
The old windows had served us for four decades, withstanding heat from the sun, heavy rainfall and blustery winds and snow in the harshest of winters — it was clearly time to retire them. A necessary evil of home ownership, I suppose.
While I am truly thrilled with the outcome, and look forward to the potential savings on our hydro bills this winter, it just seems like huge expense simply to make things look exactly the same as they did before. Sticker shock notwithstanding, I’m very glad it’s done, and I can finally breathe a sigh of relief.
RenoBoss.Inc@outlook.com