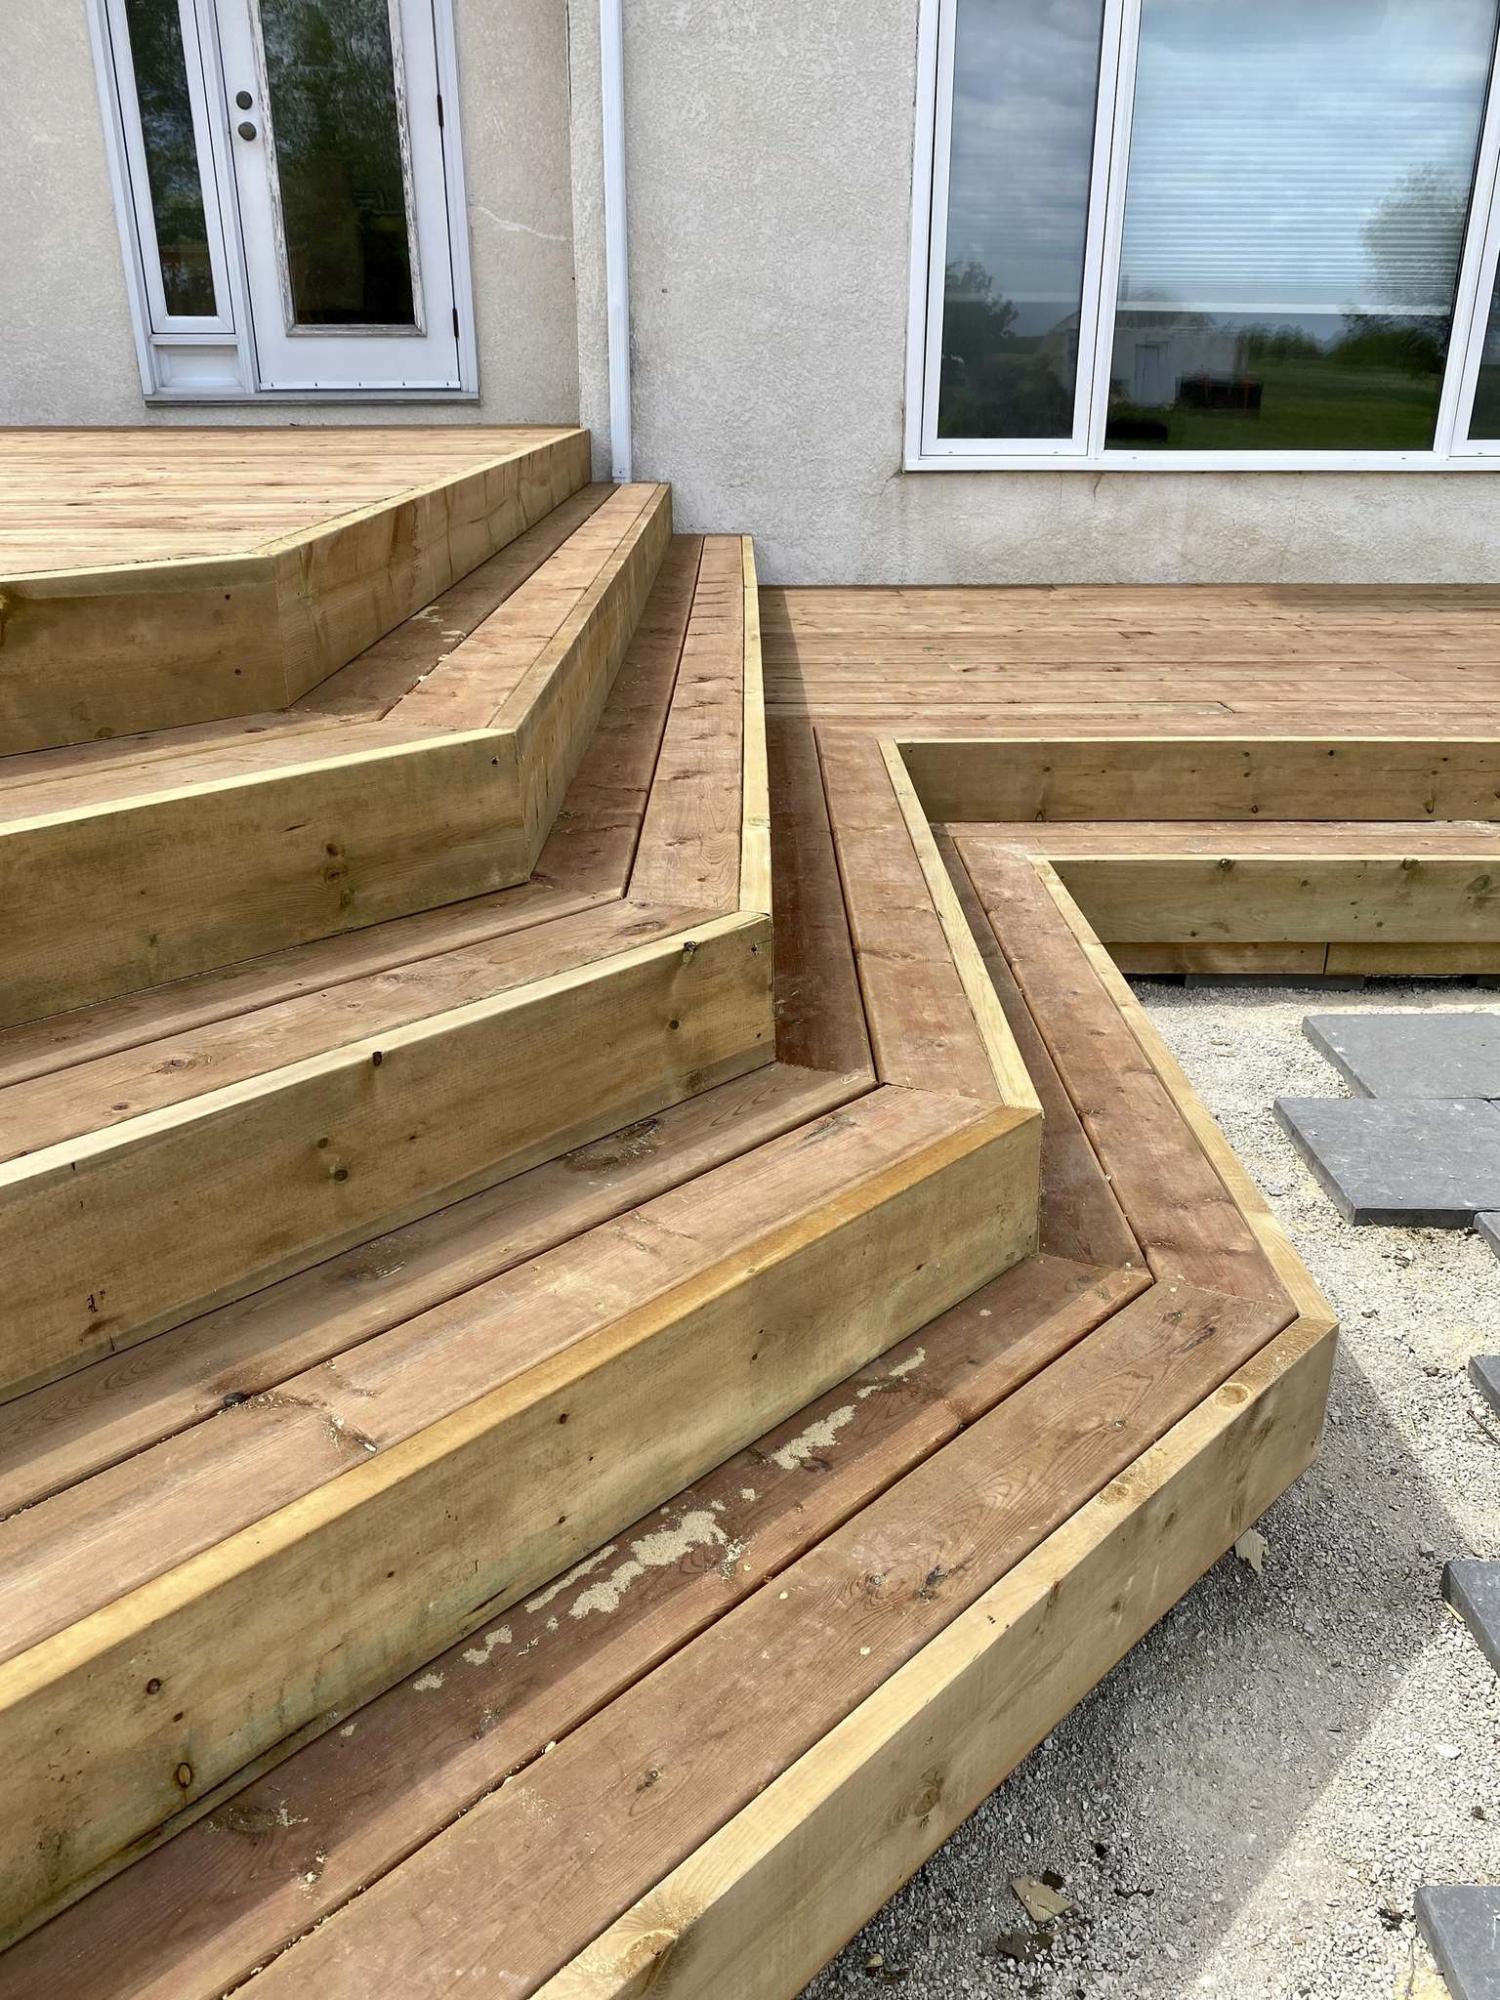
Miters rule the wrap-stair design along the top-decking boards, as well as the fascia fronts

Photos by Marc LaBossiere / Winnipeg Free Press
This two-tiered deck features house access at two locations of different elevations.
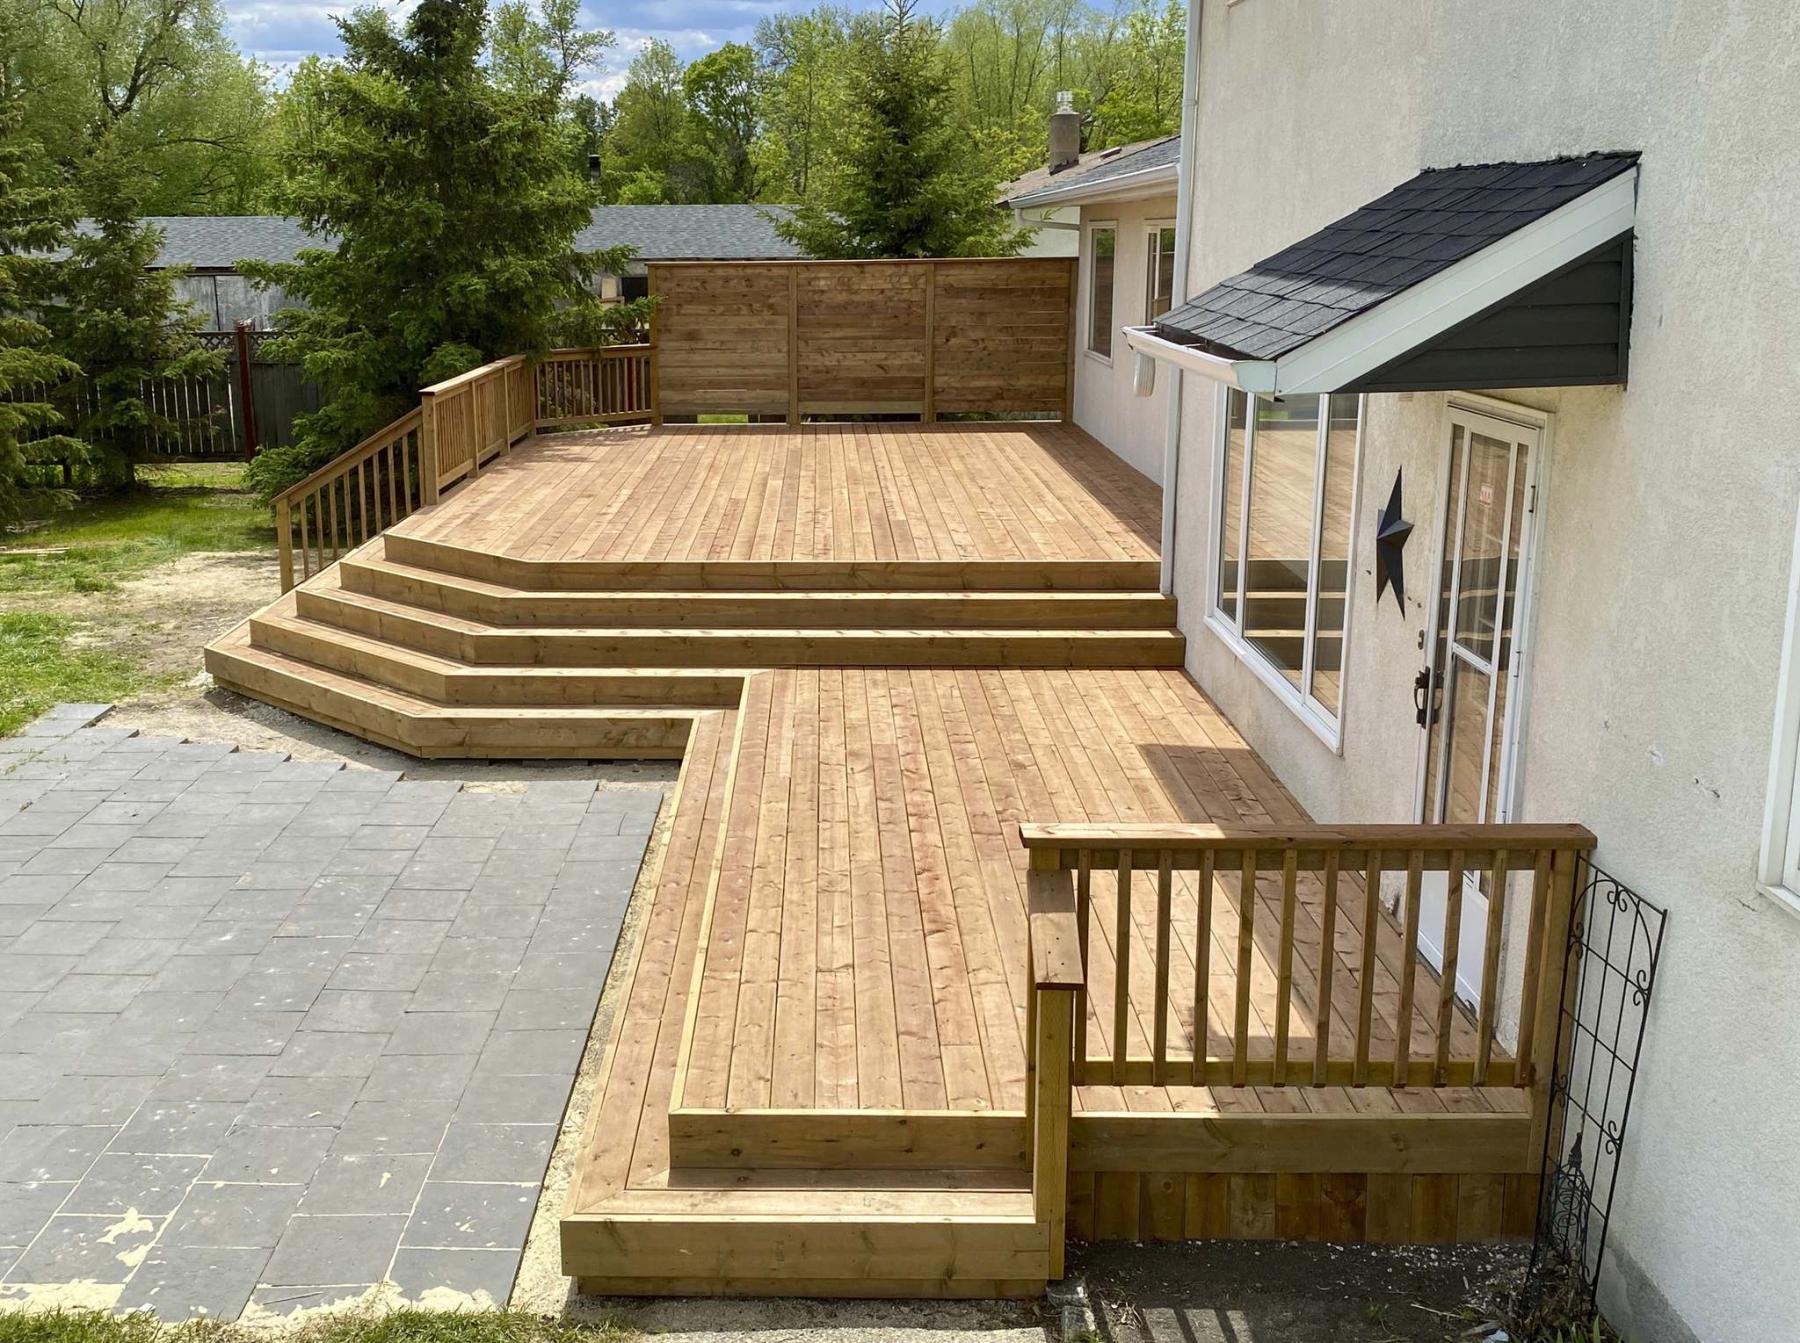
A privacy wall provides shelter at the far end of the deck.
A multi-tiered deck is often by design, with a homeowner simply wanting the deck sectioned into several different functional levels.
For a split-level home with exterior access at each level, however, a two-tiered deck is imperative if the deck stretches across both interior floor heights. Setting the elevations of each tier then becomes crucial, as it requires careful measurements to combine proper access, while maintaining stair rise consistency in an aesthetic manner.
For stairs to feel natural and comfortable, the rise of every stair should remain cohesive at all locations of the deck. Typically, the rise of a standard stair is roughly seven-and-a-quarter to seven-and-a-half inches high. The run however, tends to fluctuate depending on the style of stair being built. Although a nine-inch stair top is common, I tend to lean towards an 11-inch stair run, which allows for tandem 2x6 boards as the stair top covering.
When applying practical building practices to a design, the framing will fall into place once the elevations are set. And although it may seem obvious, setting the elevation is most important, especially when multi-tiers also include dual access at different levels.
To establish the tier elevations at a recent monster of a deck build at just over 800 square-feet of top-decking, that includes intricate wrap stairs between both tiers that also allow access to the backyard at ground level, it is first necessary to determine the height of one tier relative to the door at that tier. In this instance, because the lower elevation was being constructed around an existing concrete step that would also serve as partial support, the framework was built so that the top of the joists rest two-inches below the door threshold, a half inch of clearance once the top-decking is installed.
The ledger board along the house was installed to meet that specification. Rather than install the joists along the low tier, the next step entails a measurement to establish the upper tier that both meets consistency of stair rise in multiples of seven-and-a-quarter inches, to a height that best suits the access door at the upper tier. Once the measurements were carefully conducted, it was determined that two stairs to the upper tier places the upper ledger board at just under four inches below the high door threshold, two-and-a-half inches once the top decking is installed.
With the chosen lower elevation, which subsequently establishes the upper tier height, exactly one stair rise below the lower tier height allowed for nearly the perfect height of a stair rise to ground level. Although it was suggested to the client that the existing patio blocks could be lifted, and the base be re-leveled an inch higher (to allow the first stair rise from ground-level to match the heights of the stairs throughout), an inch of discrepancy would not be noticed when accessing the deck from the yard, and visa versa.
With all of these set elevations in place, the upper 20-foot-deep and 30-foot-wide tier was fully framed, before completing the lower tier’s framework. The multiple and various sizes of stair stringers were all measured and cut on site using 2x12 treated lumber. Once installed and properly supported, the tandem parallel 2x6 stair tops were mitered and secured at every level, and both tiers then received the top-decking throughout. Subsequent steps included notching and affixing all the 4x4 posts for the areas of railing and privacy wall, completing the 2x4 upper and lower supports for the 2x2 wooden balusters, cutting and installing the horizontally placed 1x6 fence boards as privacy panels, not to mention mitering and affixing all 2x8 fascia along the fronts of top tier deck perimeter, as well as all stairs throughout. Finally, the remaining fence boards were installed vertically along the open areas below the upper tier perimeter, while introducing a small door below the privacy wall for access below the upper deck.
Despite the complexities with this particular deck build, the entire project rolled along quite well once the calculations regarding elevations were determined and confirmed with the existing door heights. Start to finish, the deck was completed mid-way through the sixth-day of building. Familiarization with the deck design well in advance is key. However, until that first day on site, it’s sometimes hard to predict whether things will go as planned. In this case, the math was on my side allowing this beast of a deck to come to life.
BossEnterprise@outlook.com