The carpet, underlayment and baseboards are removed to make way for vinyl flooring.
Marc LaBossiere / Free Press
An oscillating tool is used to cut below existing jambs, allowing vinyl planking to be properly installed at doorways.
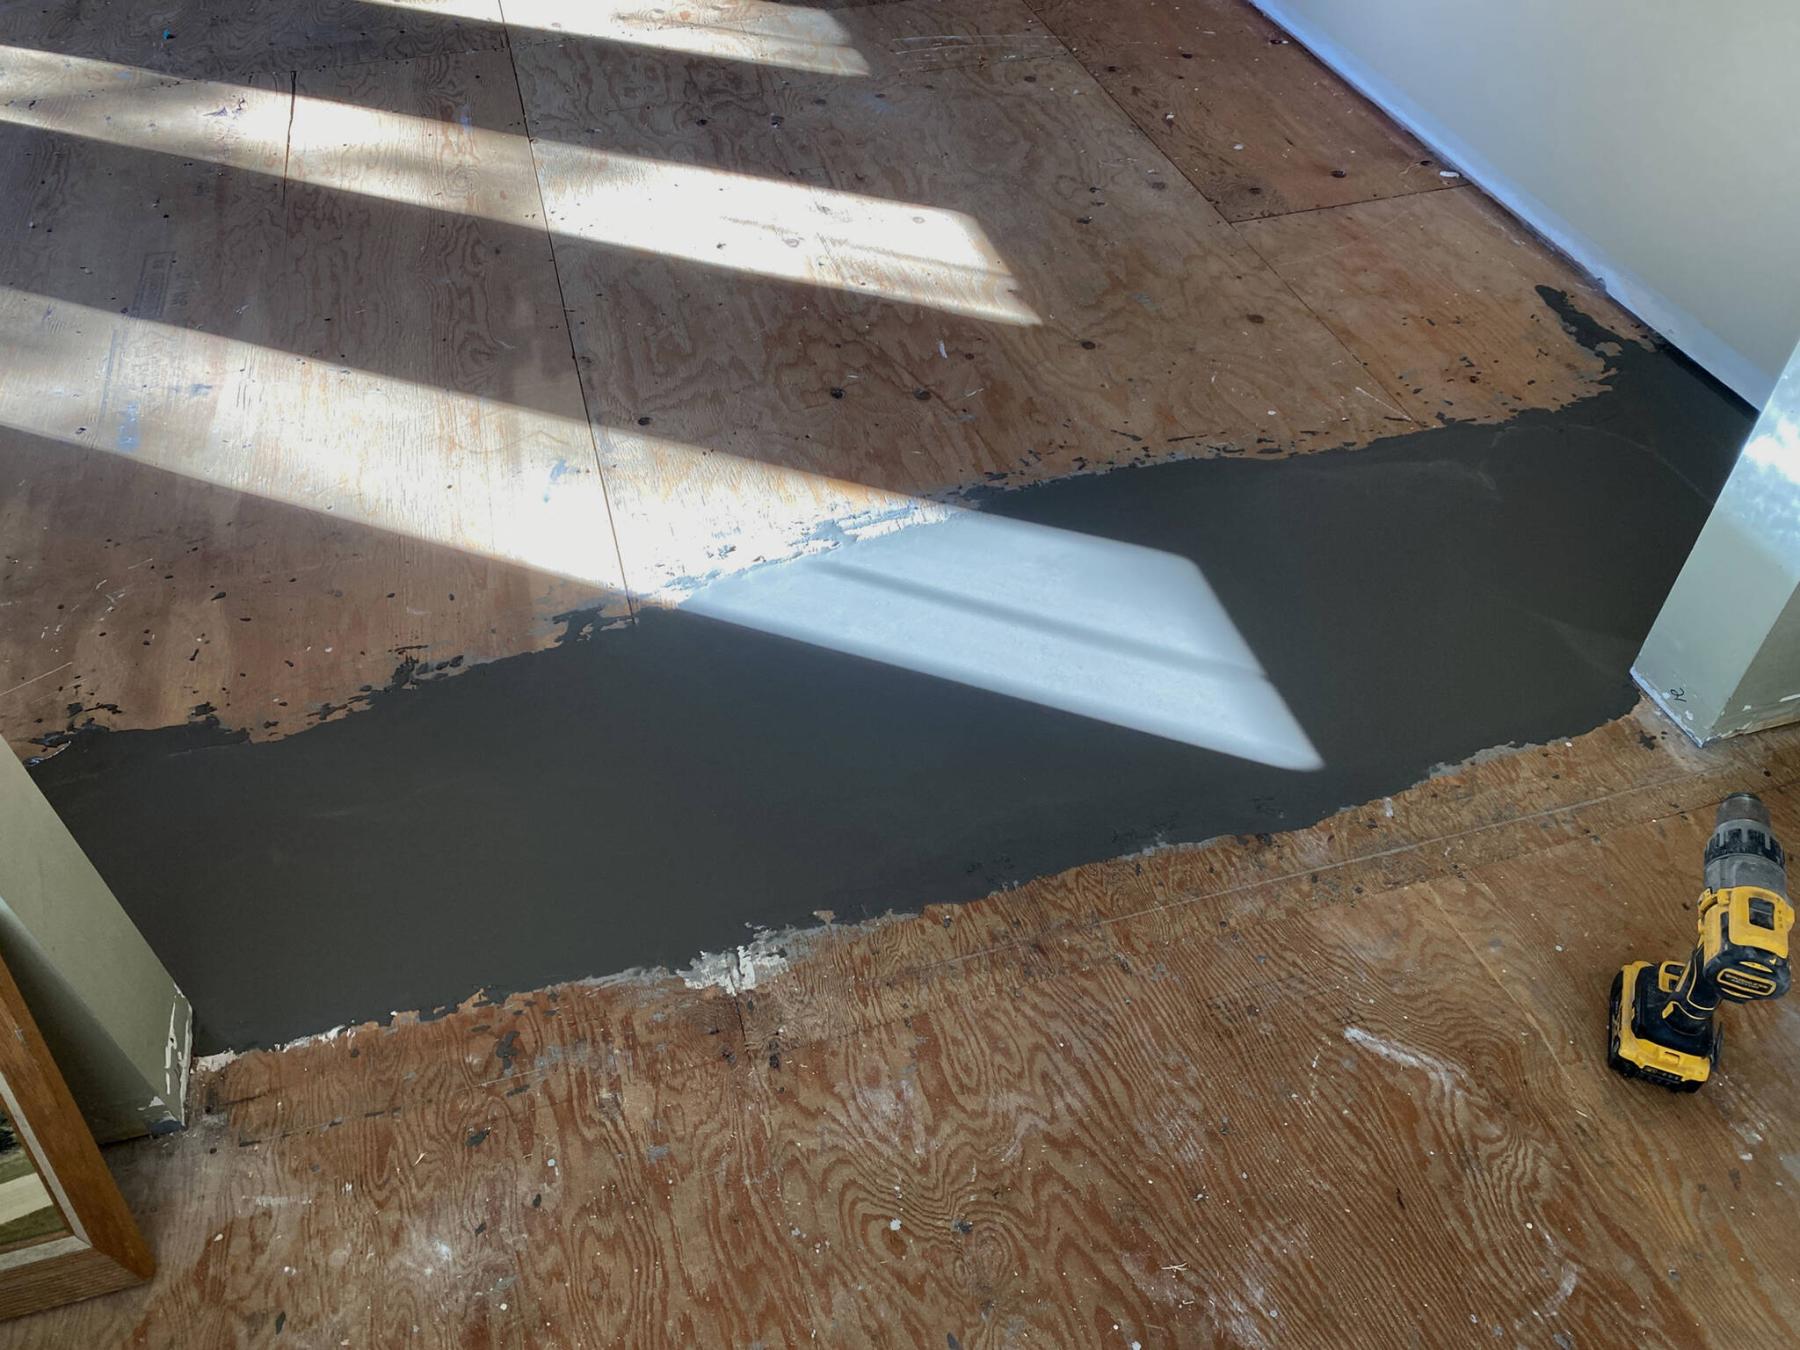
A narrow strip of leveller is used to ease the slope from the living room to the sitting room.
PHOTOS BY Marc LaBossiere / Free Press
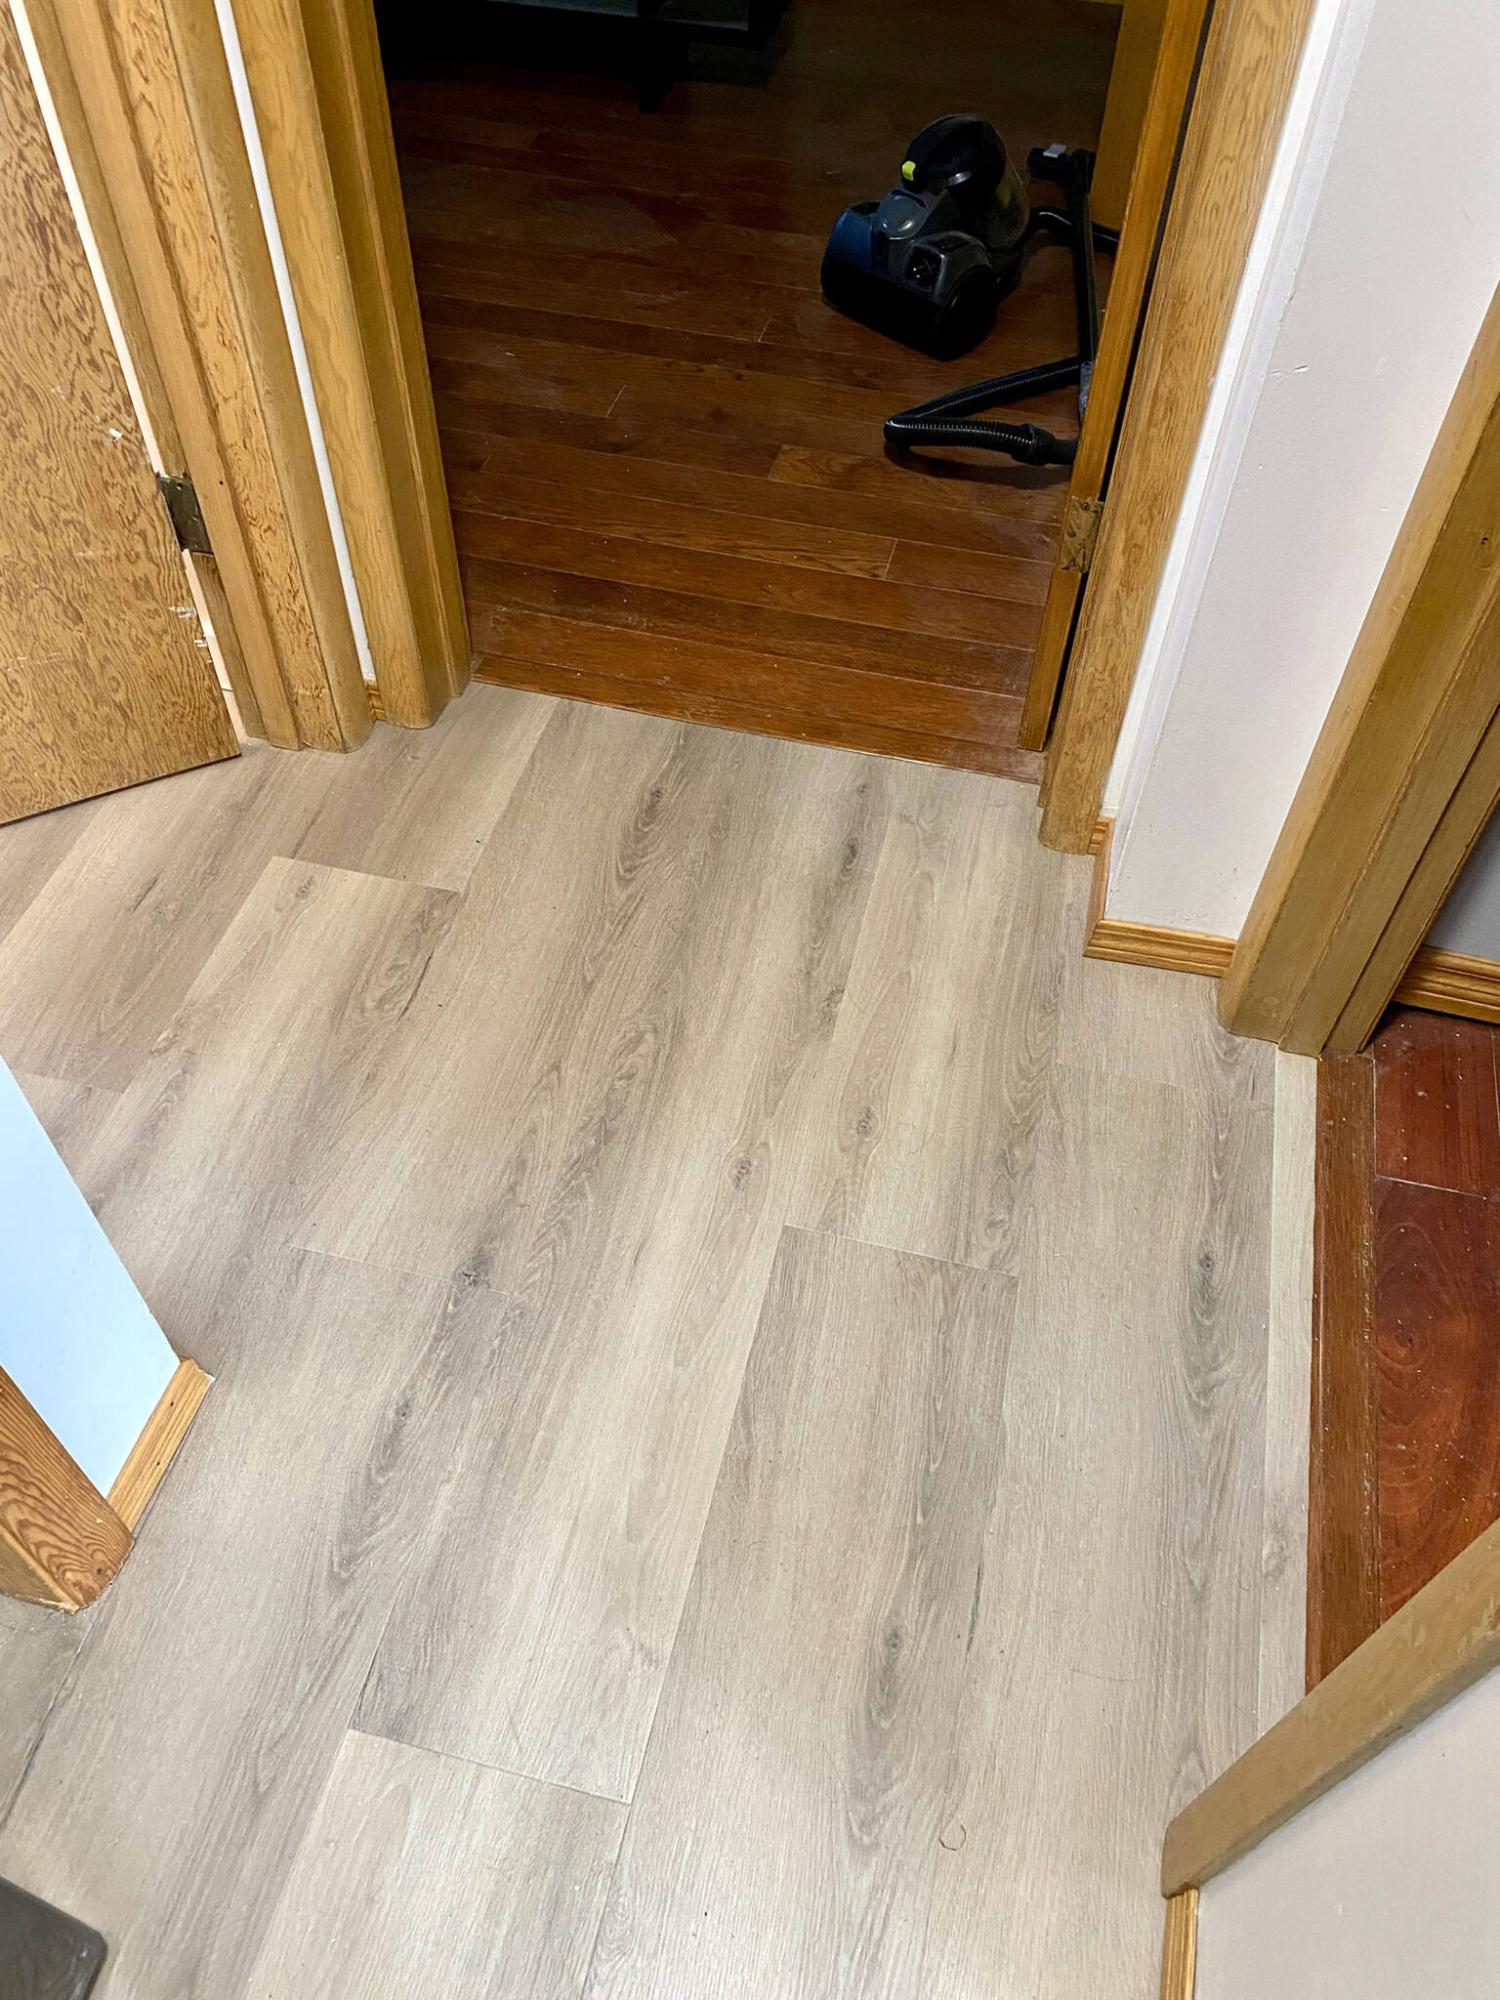
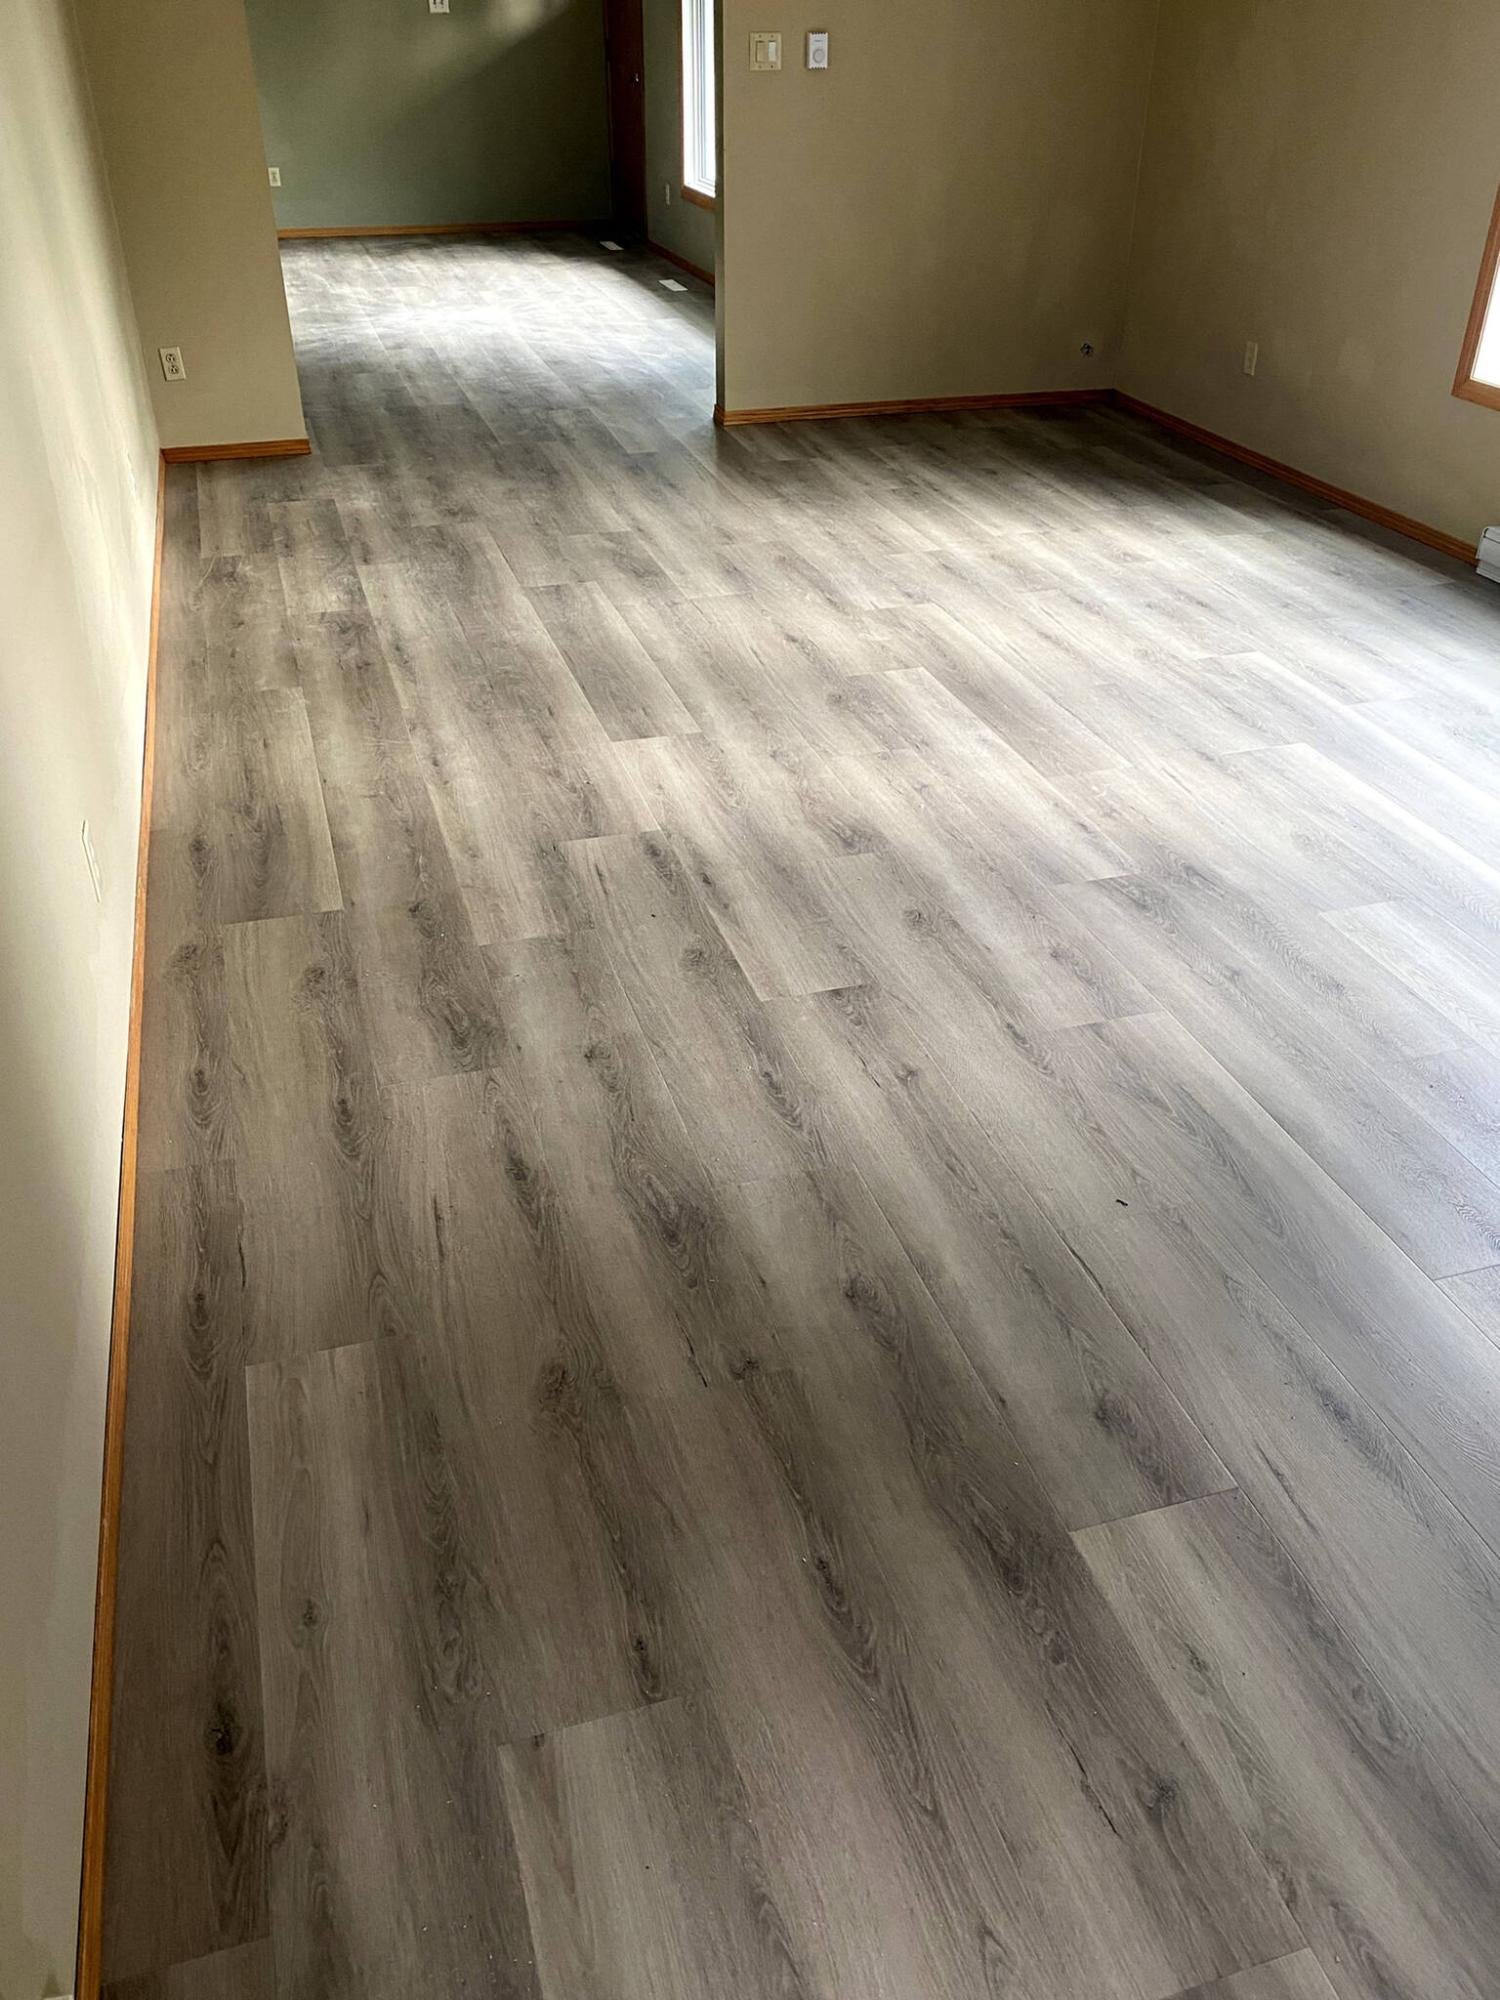
Luxury vinyl-plank flooring with under-pad was introduced throughout the main floor of the rental property.
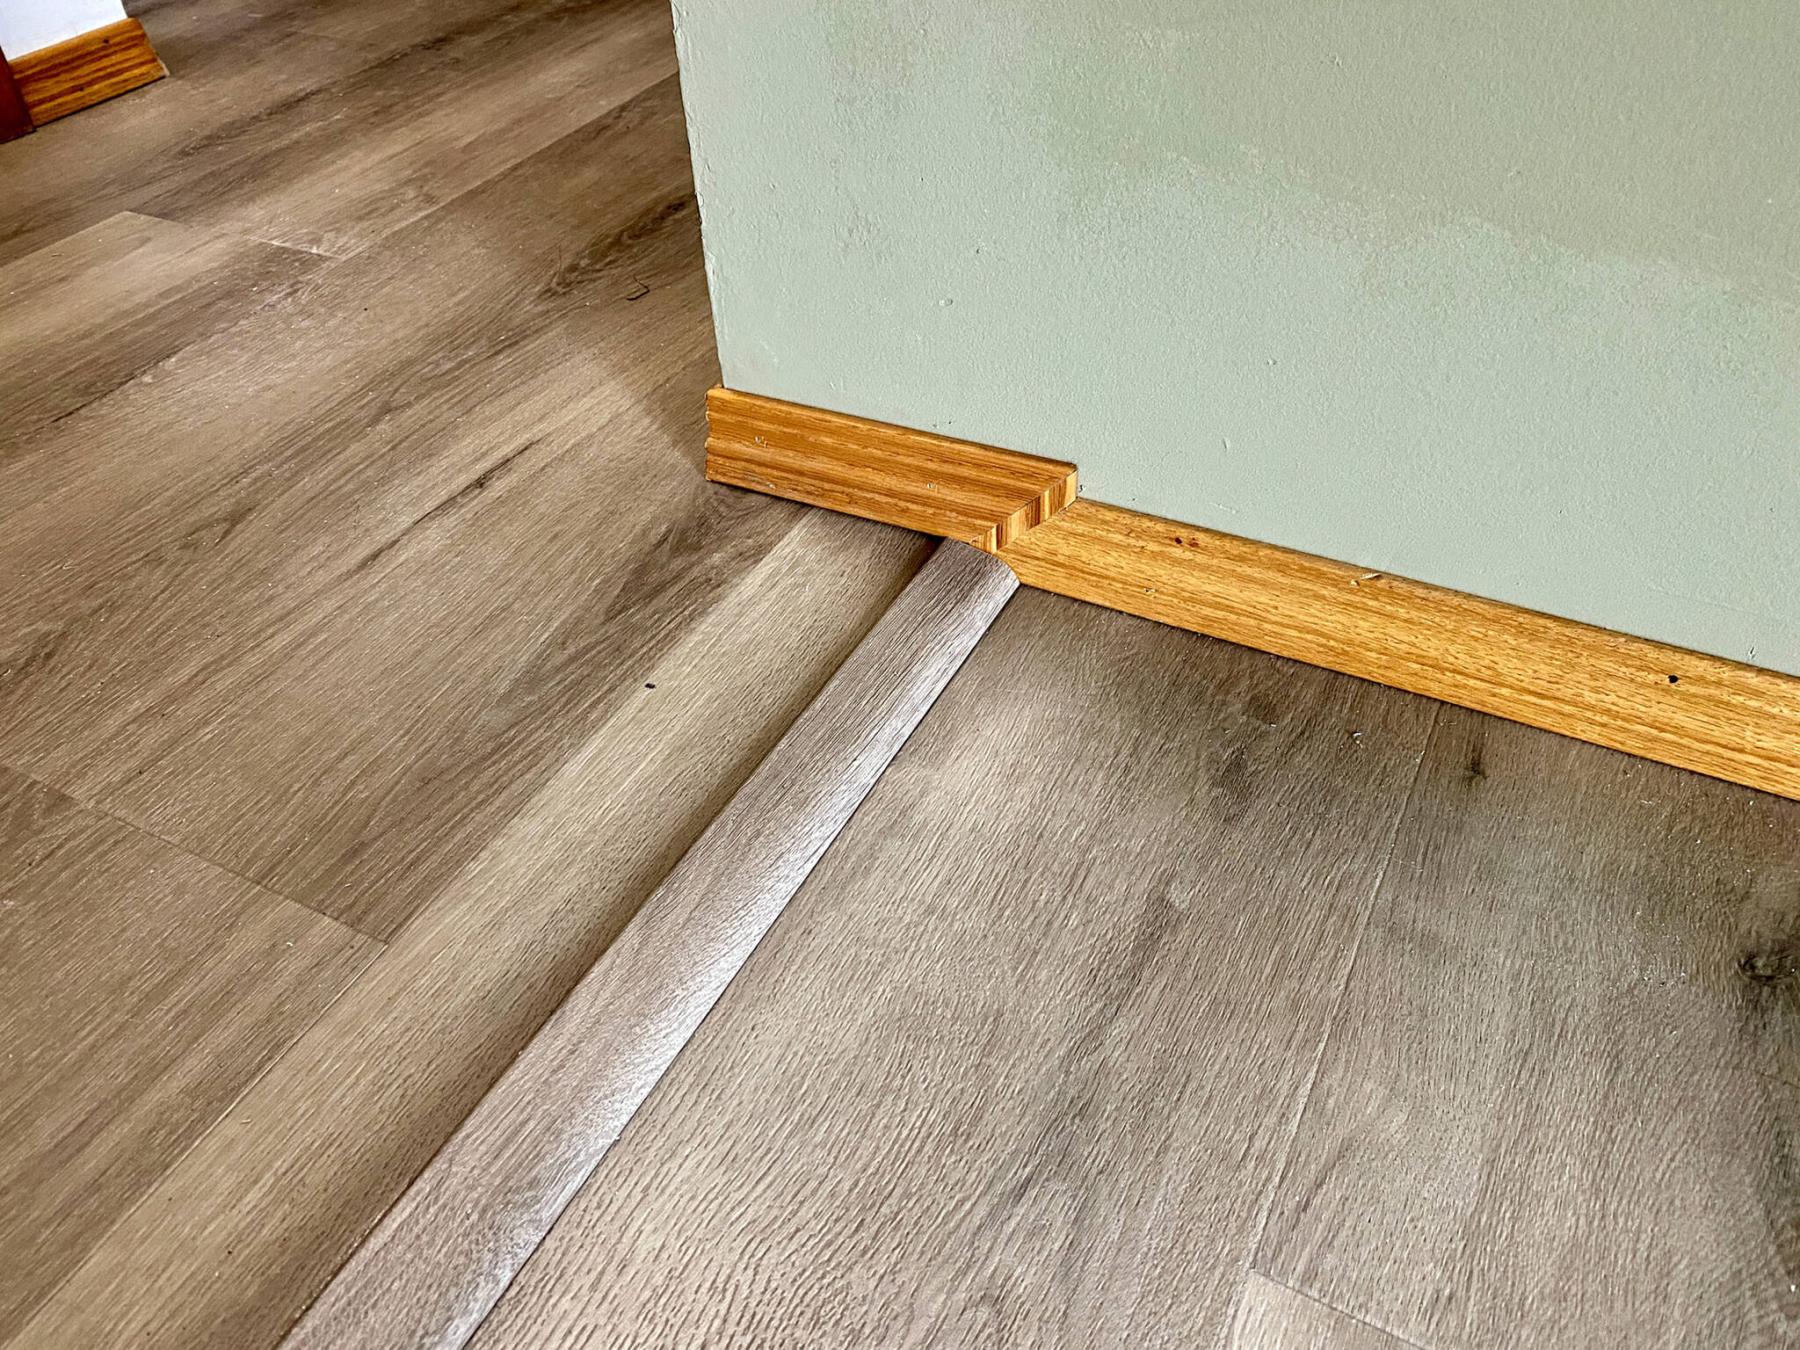
To conceal elevation discrepancy, a matching reducer is introduced.
The decision to upgrade flooring often gives rise to related, but unexpected quandaries that need to be resolved once work gets under way.
At a recent job site, the main floor consisted of two types of adjacent floor finishings: carpet throughout the main living and sitting rooms, and linoleum throughout the kitchen and hallway that leads to two bedrooms. Removal of the carpeting prompted a big decision that would greatly affect the costs and overall approach of the flooring project.
Typically, carpeting is installed atop underlayment that itself can be quite thick. As such, different flooring types adjacent to it may not meet the same elevation as the carpeting, once in place. To remedy the height anomaly, secondary subflooring is usually laid atop the main subfloor to equalize flooring elevation throughout.
In this case, half-inch secondary subflooring was added throughout the kitchen and hallway to ensure the linoleum met the height of the carpet at both entry points into the main living room. Once the carpet was removed, this revealed the lip of the secondary subfloor when transitioning from the living room into either the kitchen or hallway.
Because new vinyl-plank flooring was to be introduced throughout the entire main floor (other than in the two bedrooms), this presented a challenge when it came to what approach to adopt.
Should the existing secondary subflooring be removed to meet the proper elevation of the living room area, or should new secondary subflooring be added to meet the height of the kitchen and hallway?
Either approach presented its own set of hurdles. Removing the subfloor in the kitchen would require meticulous focus around the existing lower cabinets. And in the hallway, a stacked washer-dryer combo is tucked within a deep closet. This process would require a considerable amount of time and effort.
Adding subflooring in the living and sitting rooms, however, seemed straightforward, but would obviously require a considerable amount of new half-inch subfloor sheeting, not to mention the effort to install it.
No matter the approach, ensuring the flooring would be level throughout would no doubt incur additional costs. When presenting the dilemma to the property owner, I actually suggested a third option. As the house was being prepped as a rental property, and due to the budgetary restrictions for proposed upgrades, I thought the option of introducing a reducer might better suit the situation, rather than attempting to level the subflooring along the entryways.
A reducer is a flooring transition element that conceals elevation discrepancies. Although, reducers are usually installed at doorways when flooring elevation changes upon entering a room.
Despite being a somewhat non-traditional approach, it would definitely keep costs in check, and the elevation of the vinyl in the lower areas of the living and sitting rooms would be the same as that of the vinyl-plank in the adjacent kitchen and hallway. The property owner was completely on board with the proposition of a reducer to solve the problem.
With our approach decided, the project moved forward, not unlike any other vinyl-plank-flooring installations. All subfloors were first freed of extraneous nails and lingering carpet staples.
An area along the entry from the living room into the sitting room (which was an addition to the house) required application of a slight amount of leveller to achieve a lesser and nearly undetectable slope when entering the sitting room, which also allowed for easier installation of vinyl along that area.
The vinyl was then laid throughout the two main areas, with the elevation difference still in evidence between the living room, kitchen and hallway.
Once the vinyl installation process was completed, matching reducers were installed along both stretches of height difference. Although a consistent flooring elevation throughout the main floor of the home would have been optimal, the reducers did indeed conceal the discrepancy quite well. The baseboards were then reinstalled along the perimeters of all rooms, marking the conclusion of the vinyl-flooring installation.
The property owner was very grateful to have been presented with this third approach to the flooring elevation discrepancy. While he may not have made the same decision had it been his own residence, it more than suffices for this rental property.
RenoBoss.Inc@outlook.com