Marc LaBossiere photos / Free Press
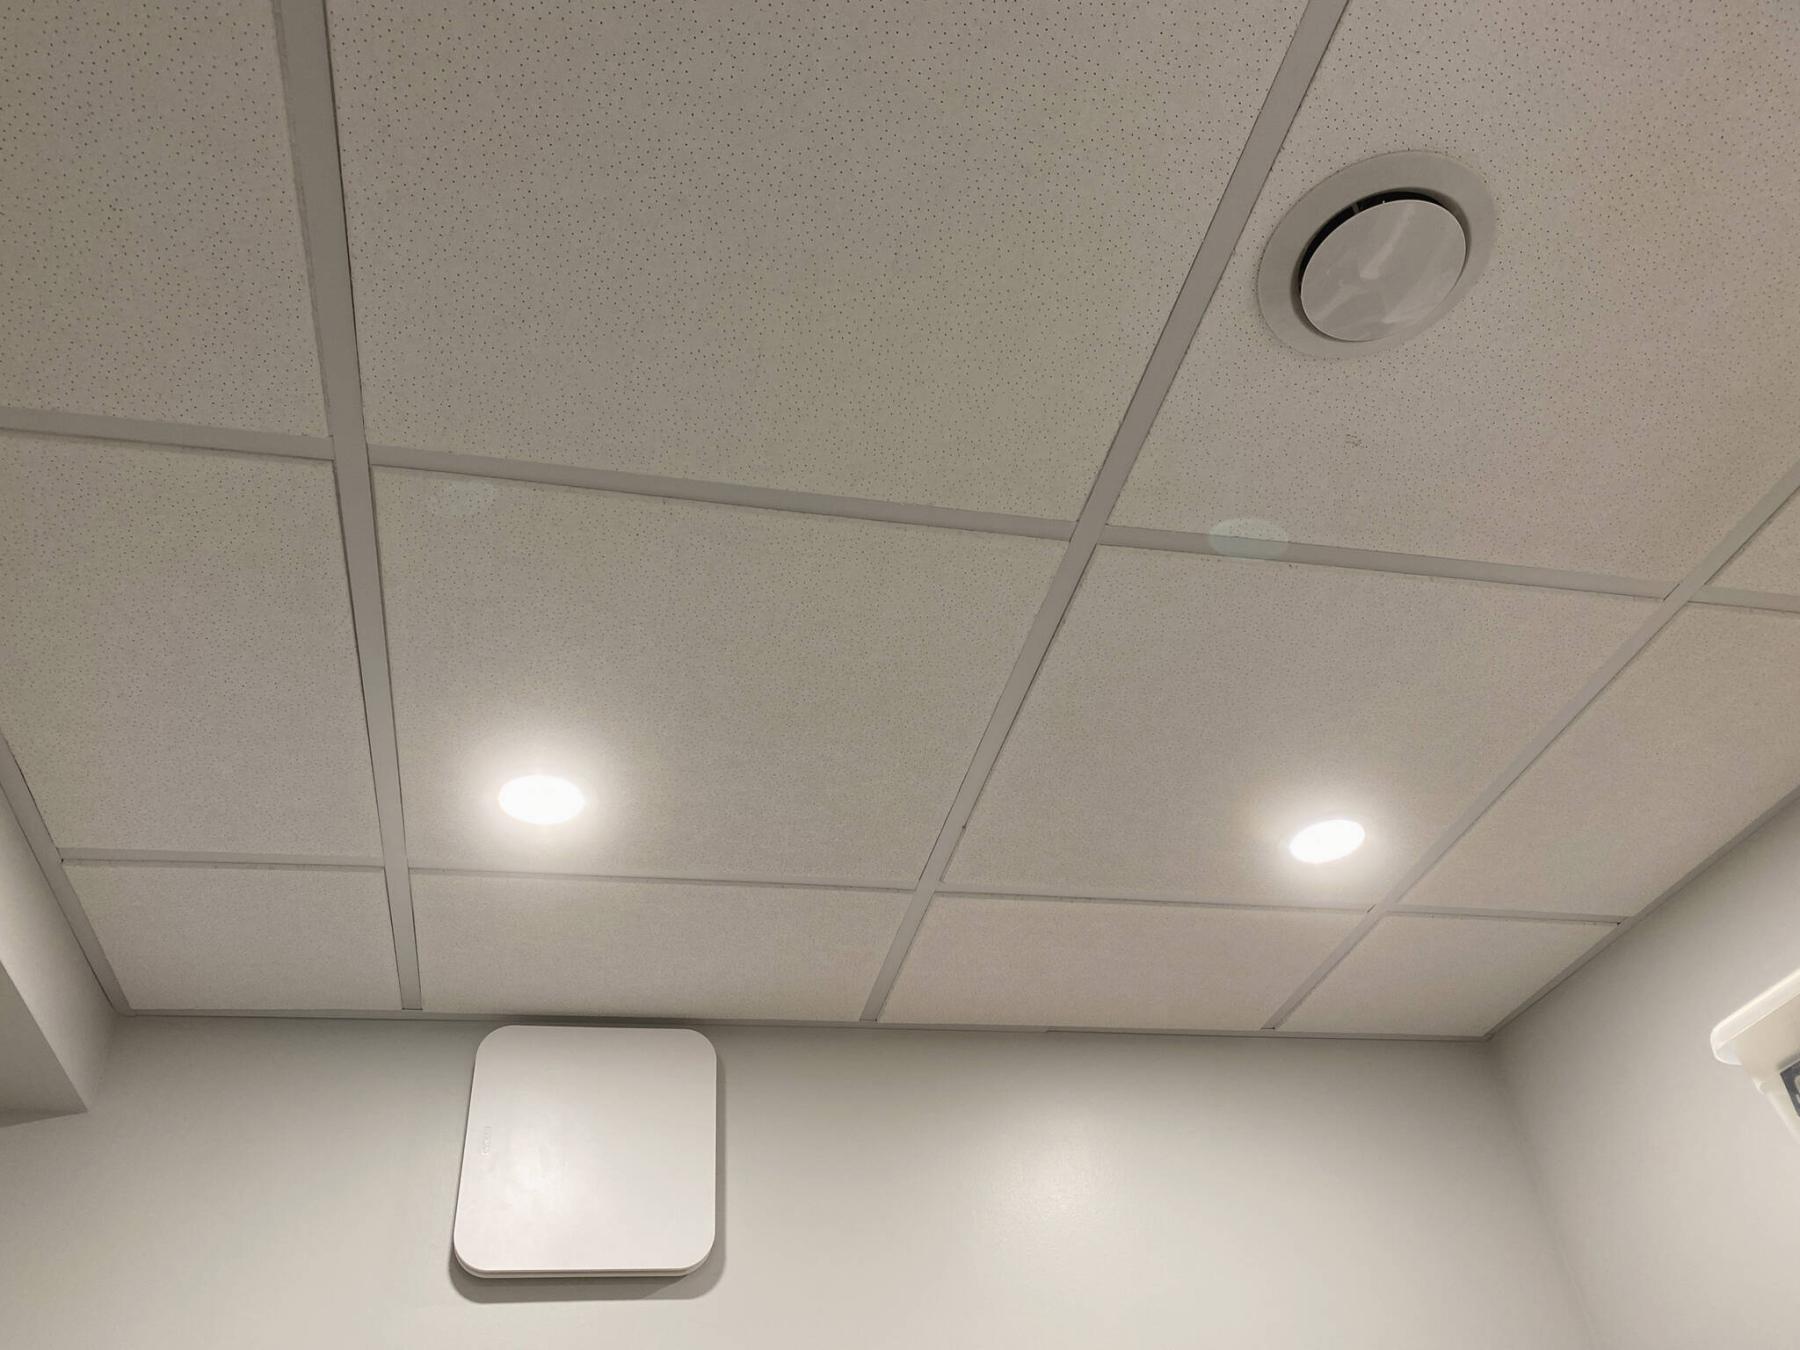
Suspended ceiling tiles dropped within a grid provide a clean look against newly painted walls.
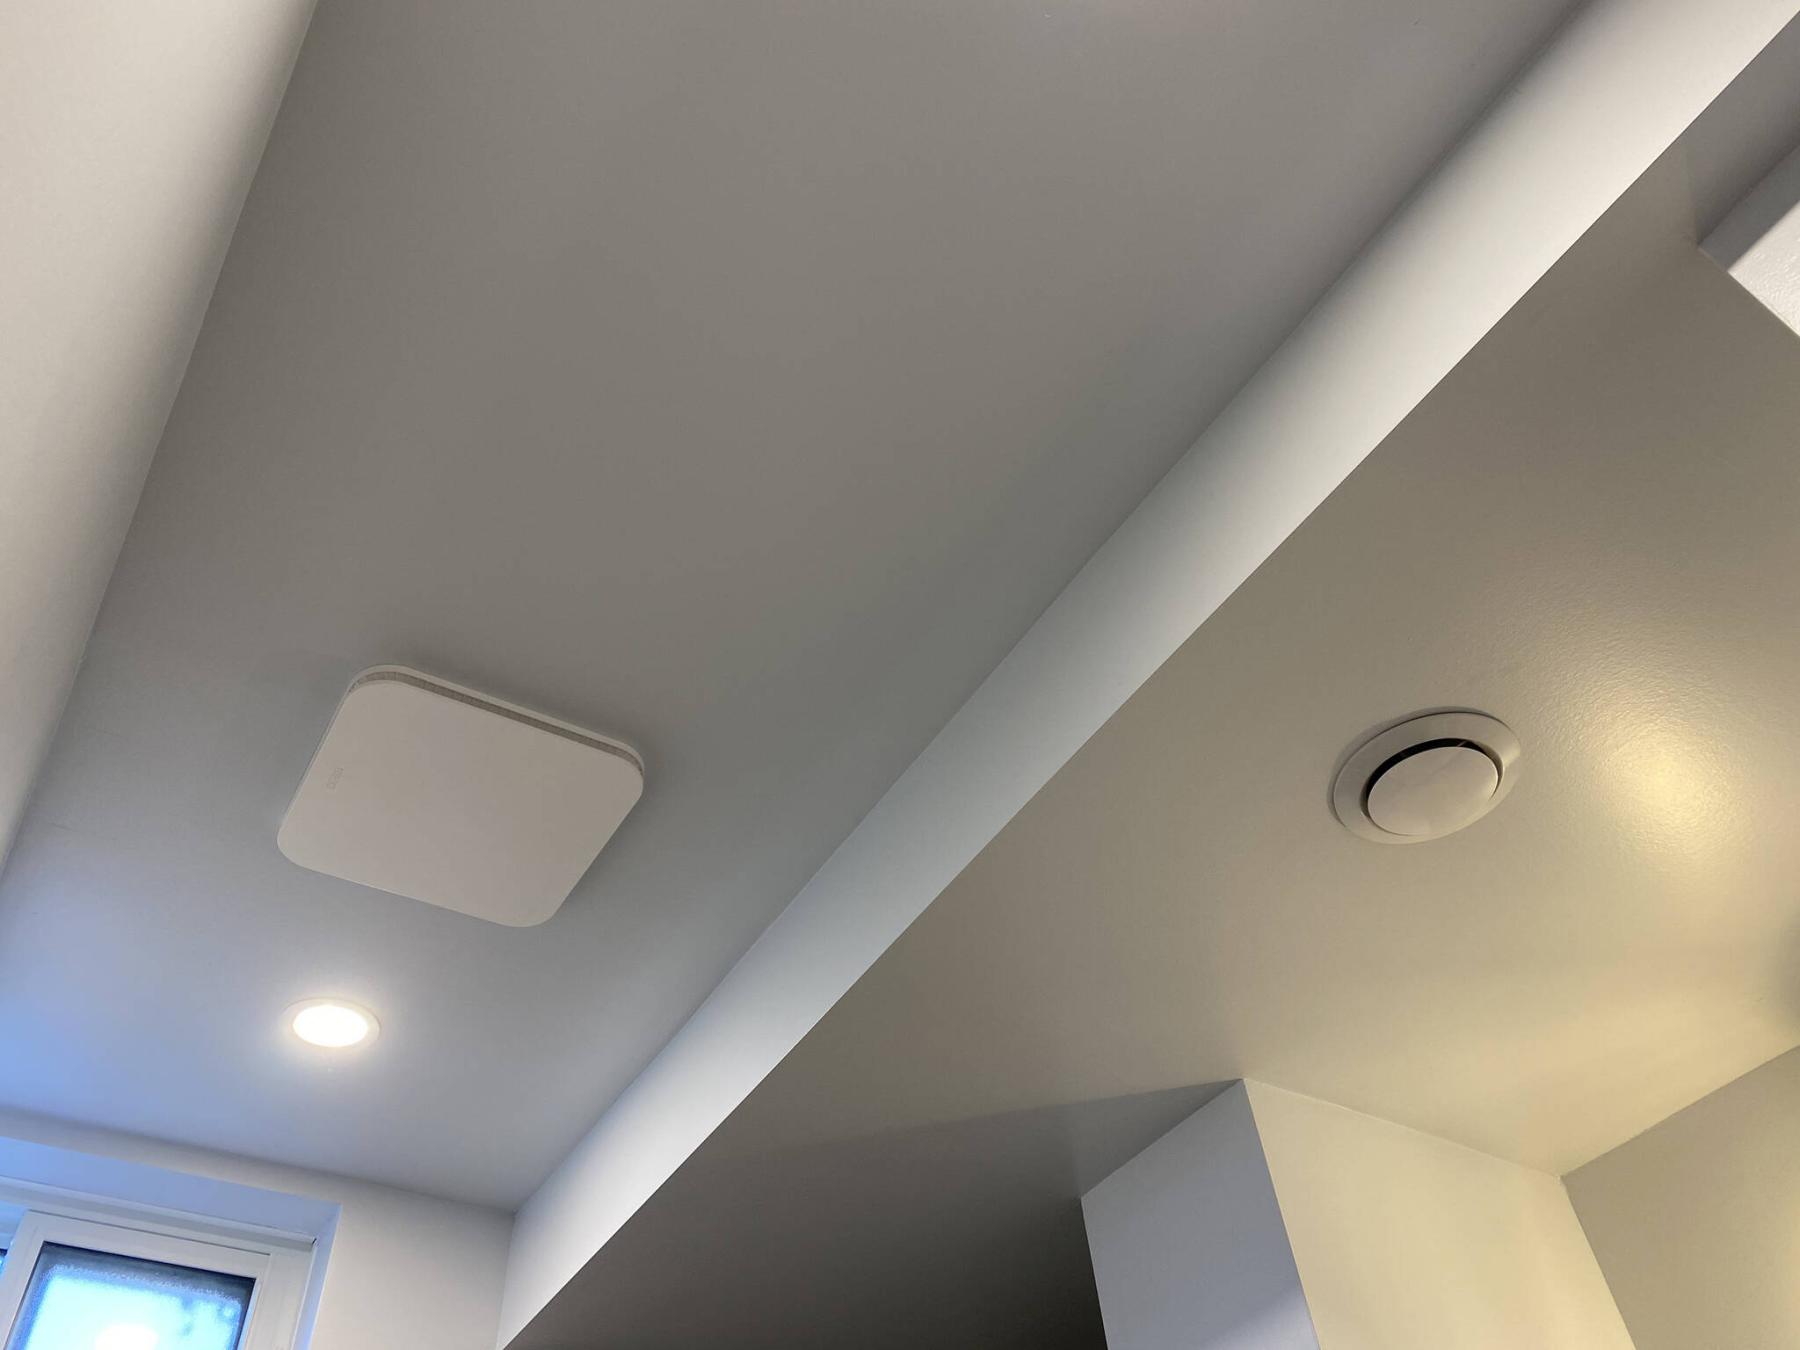
A drywalled bathroom ceiling provides protection against moisture and mould, which is not the case with suspended ceilings.
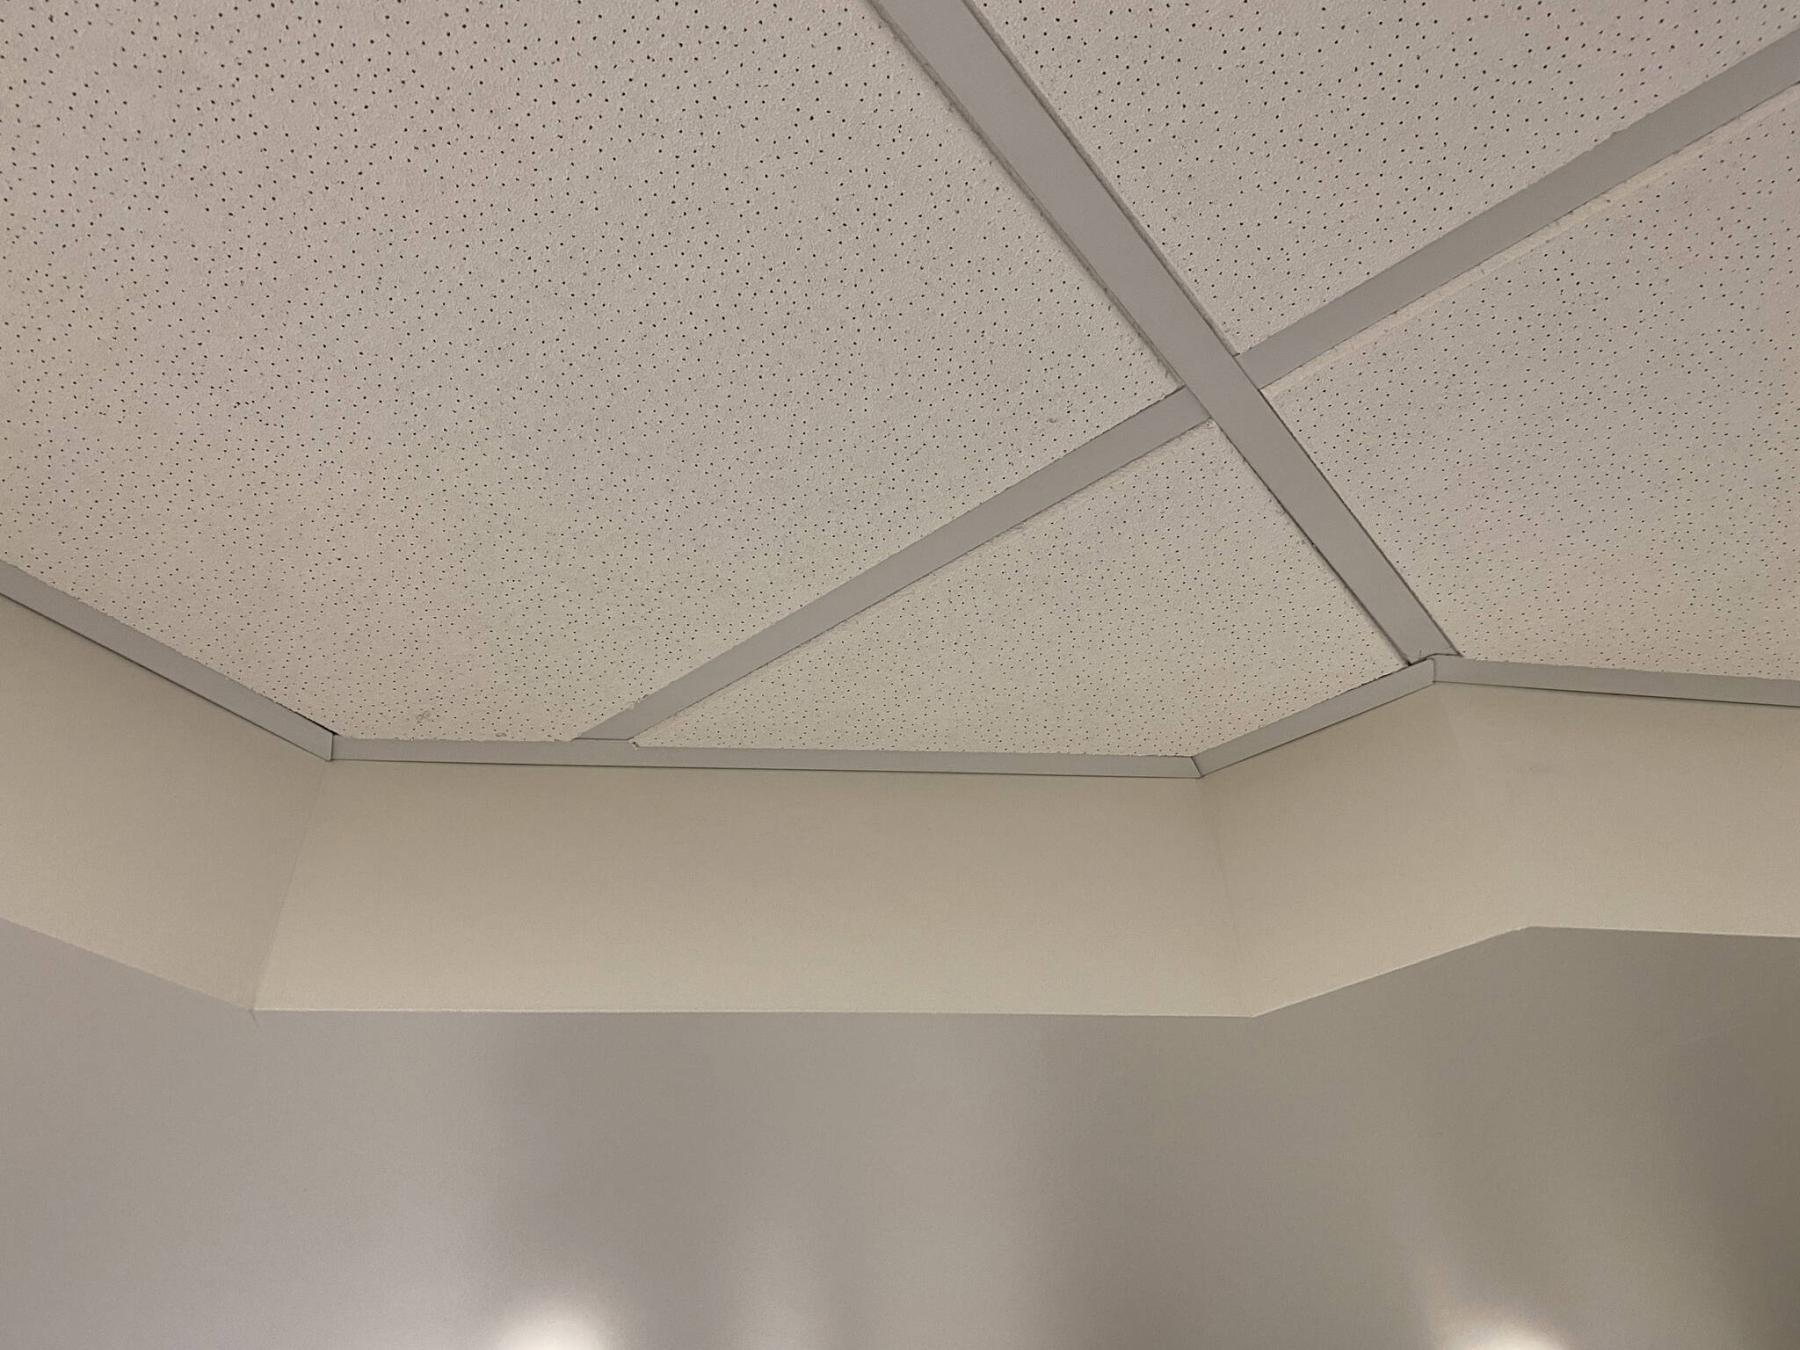
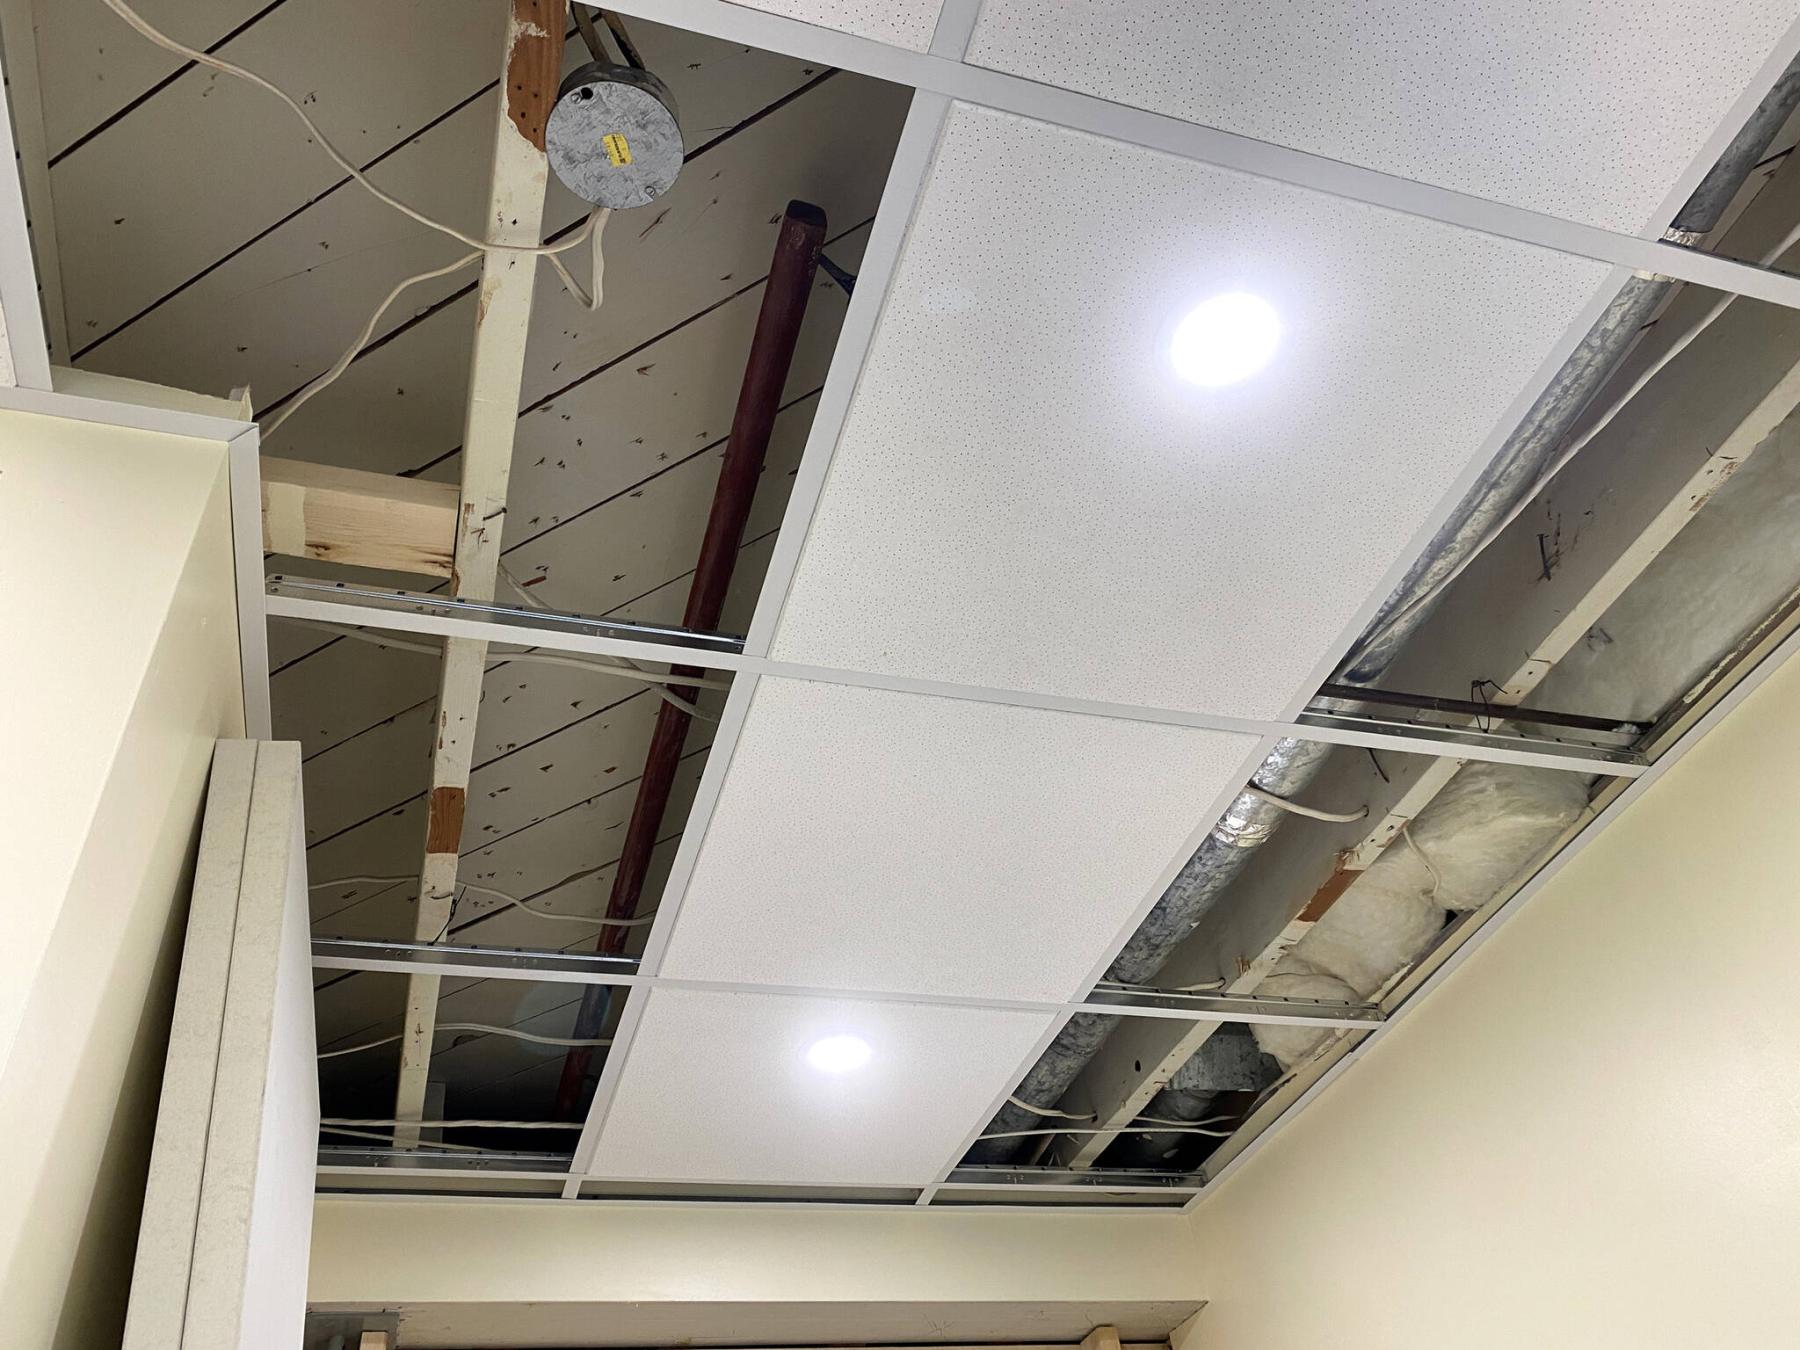
Grid installation can be tricky in complicated locations, but the results can be very attractive.
Roughly a decade ago, a homeowner was adamant he wanted his basement ceiling drywalled, to match the style of the main floor of the house.
Although it was an older home, the basement had high enough floor joists above to allow for seven-and-a-half foot ceilings, completely drywalled. The project went fine, but several locations required quick access panels to reach service shut-offs and clean-outs. And therein lies the rub — why drywall a basement ceiling if a bunch of holes are required?
Don’t get me wrong, I completely understand why a client might insist upon a drywalled ceiling in the basement — it makes the lower level feel much like the rest of the house. However, most scenarios would not allow a clean installation of drywall, primarily because of the services that run throughout the lower-level ceiling joists: main ducts for the HVAC system, hot and cold water feeds, drain plumbing that connects to a main stack, and so on.
There are generally accepted alternatives in these cases, and they can be quite complementary when installed strategically.
Suspended ceilings rely on a grid structure that hangs from the joists, which allows suspended or floating ceiling tiles to be dropped within each quadrant (typically 24-by-24 inch tiles, or 24-by-48 inches — I much prefer the former, as the latter feels too much like an office space). These tiles can be quite elaborate and come in a variety of materials, colours and textures. In my opinion, the best and best-looking tile is one with a light texture that has a reveal edge, whereby the tile drops roughly a quarter inch below the main grid supports. I installed tiles like these in an ongoing basement renovation project.
Once the walls were framed, I took a strategic approach to framing the main ducts (which are sunk well below the upper ceiling joists). The goal was to wrap any low-lying protrusions with drywall and create an inner grid with the suspended ceiling — this provides the best results.
After the rec room was framed throughout, including a boxed perimeter for additional lighting, the main surfaces were sheeted with drywall. Once the subsequent mud coats were sanded, and all the surfaces painted, the ceiling grid installation process could begin.
To start, an L-bracket was mounted along the entire perimeter of the room — this provides a lip which supports the outer edge of the end tiles. Within the area, main supports are mounted perpendicularly to the joists, by tying wire to a fastener and supporting the brace every 24 inches or so.
In this instance, 24-by-24-inch tiles were used and the main supports were mounted two feet apart. Once they were in place, two-foot cross supports were inserted into the main supports at two-foot intervals. The bulk of the tiles could then be dropped into place along the main body of the ceiling grid. Along the outer rows however, the tiles had to be cut to fit the narrower space, with a notch along the outside edge to meet the same reveal depth as the manufactured edges of the tiles.
It gets tricky when slim LED lighting fixtures are involved, as they have to be installed in a convenient and cohesive manner. Further, ceiling ventilation must be mapped before the grid installation begins to ensure the grid supports don’t cut through a ducting area. In this case, there were several ceiling vents in different rooms, and round adjustable vent covers were added.
Four rooms were tackled: the bedroom, office, laundry room and rec room; the latter was the most complicated due to its sheer size and the angles along the box-framed area that strategically hides the main ducts.
The only room where suspended ceiling tiles weren’t used was the bathroom. In my experience, most bathrooms are so small that a tiled ceiling doesn’t give the best results.
Moisture from a shower can wreak havoc on suspended ceilings — the tiles hate moisture and it can easily enter joist cavities which, over time, can lead to mould issues. It’s always best to drywall the ceiling of a basement bathroom, which seals the walls and ceiling joints.
Moreover, mould-resistant drywall offers another layer of protection against longtime moisture exposure. Where there are service areas that are blocked by the drywall, tension access panels can always be added.
In this instance, there were no such requirements and drywall was cleanly installed on the bathroom ceiling.
The key to a successful basement ceiling is proper planning. Along one wall of the rec room in this project, an inset wall would have allowed the boxing to reach back up towards the ceiling joists. However, this would have resulted in a thin strip of ceiling tiles, which would not have looked good.
Instead, the boxing was continued to the back wall and was completely drywalled to meet the same elevation as the underside of the main wall. By doing this, the entire drywalled perimeter provided a vertical surface upon which the L-bracket could be mounted, which led to a beautifully orchestrated suspended ceiling within — a well-planned design that did not disappoint.