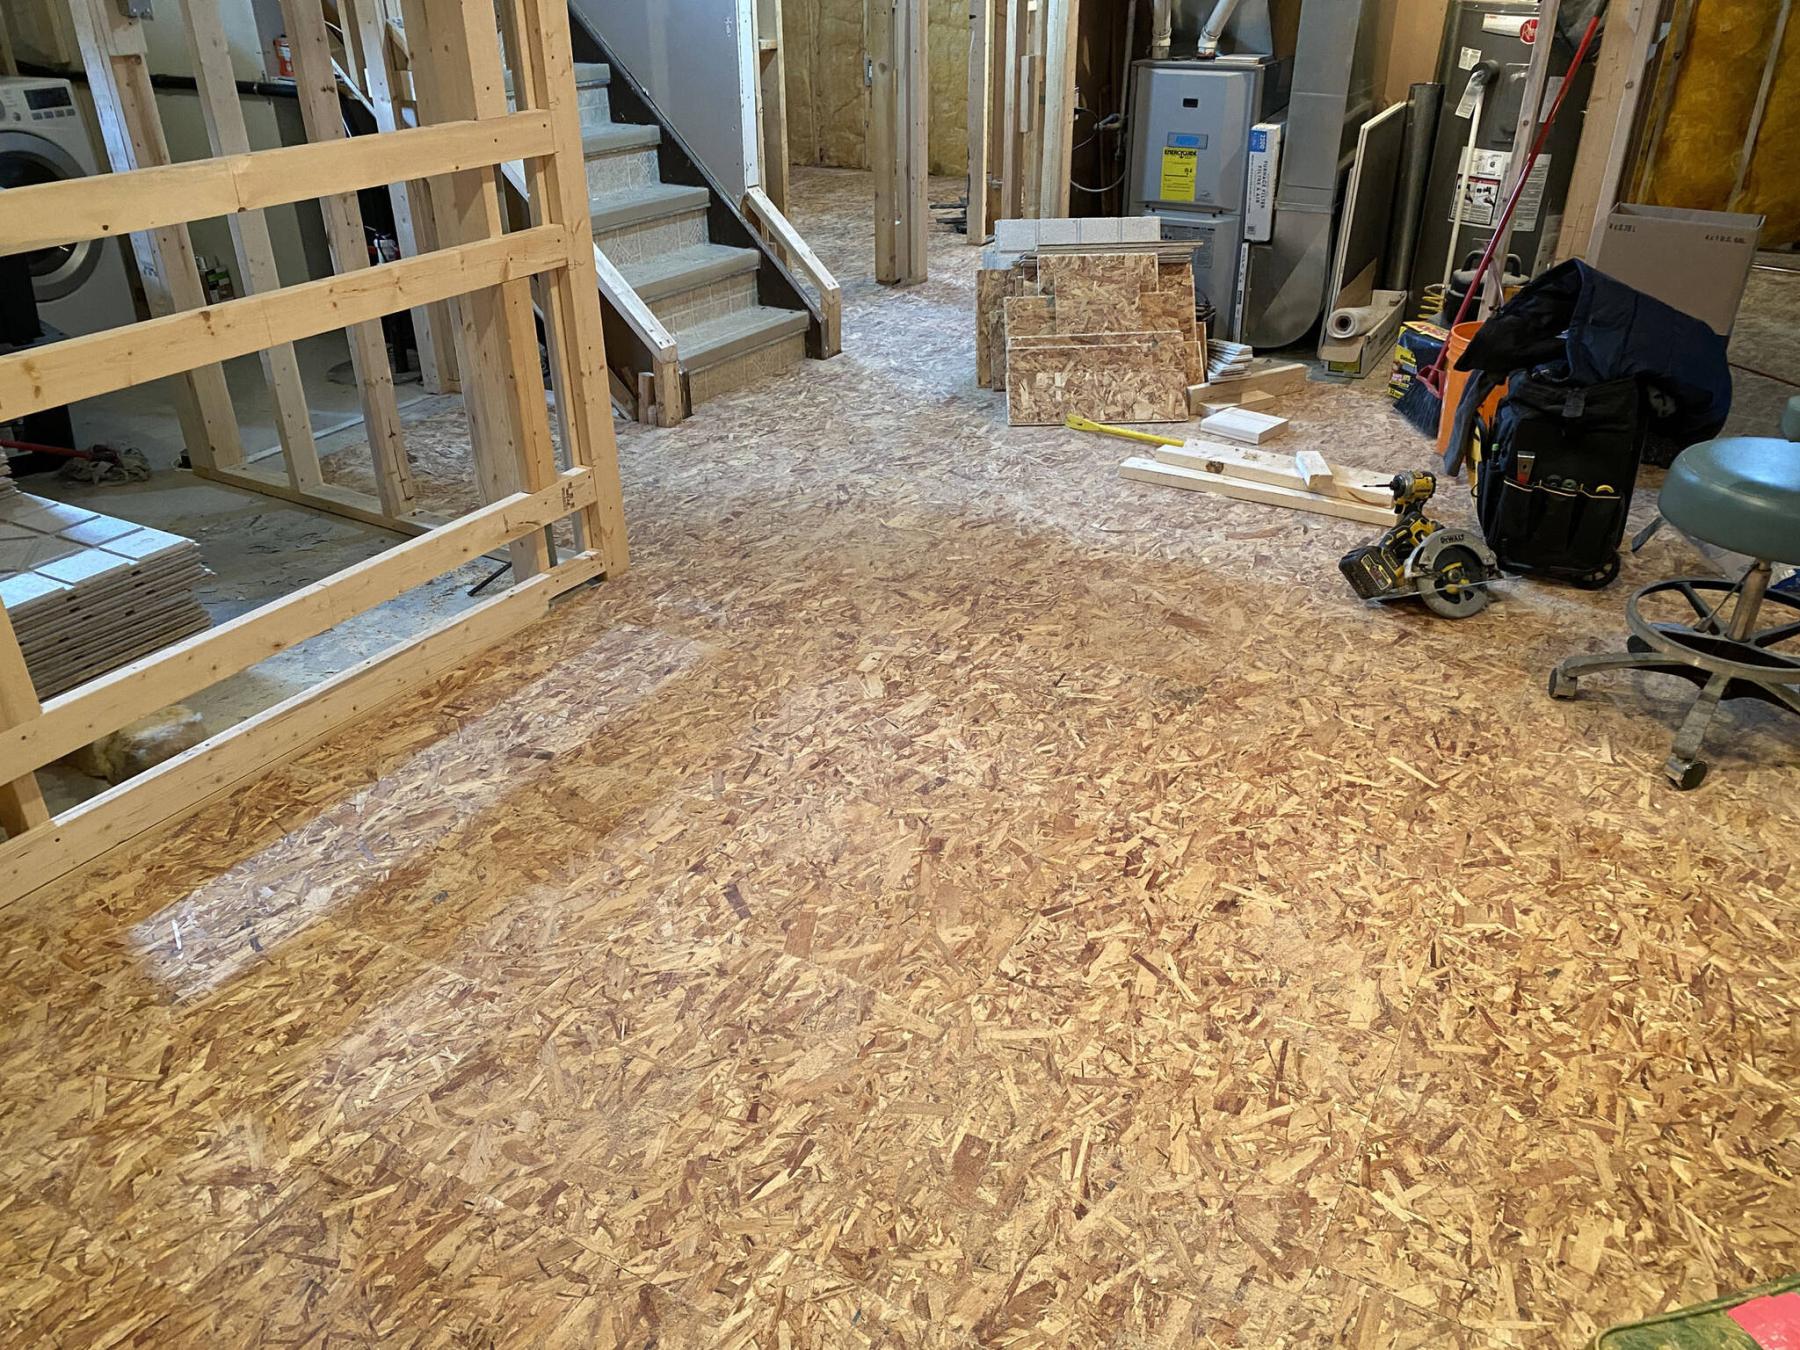
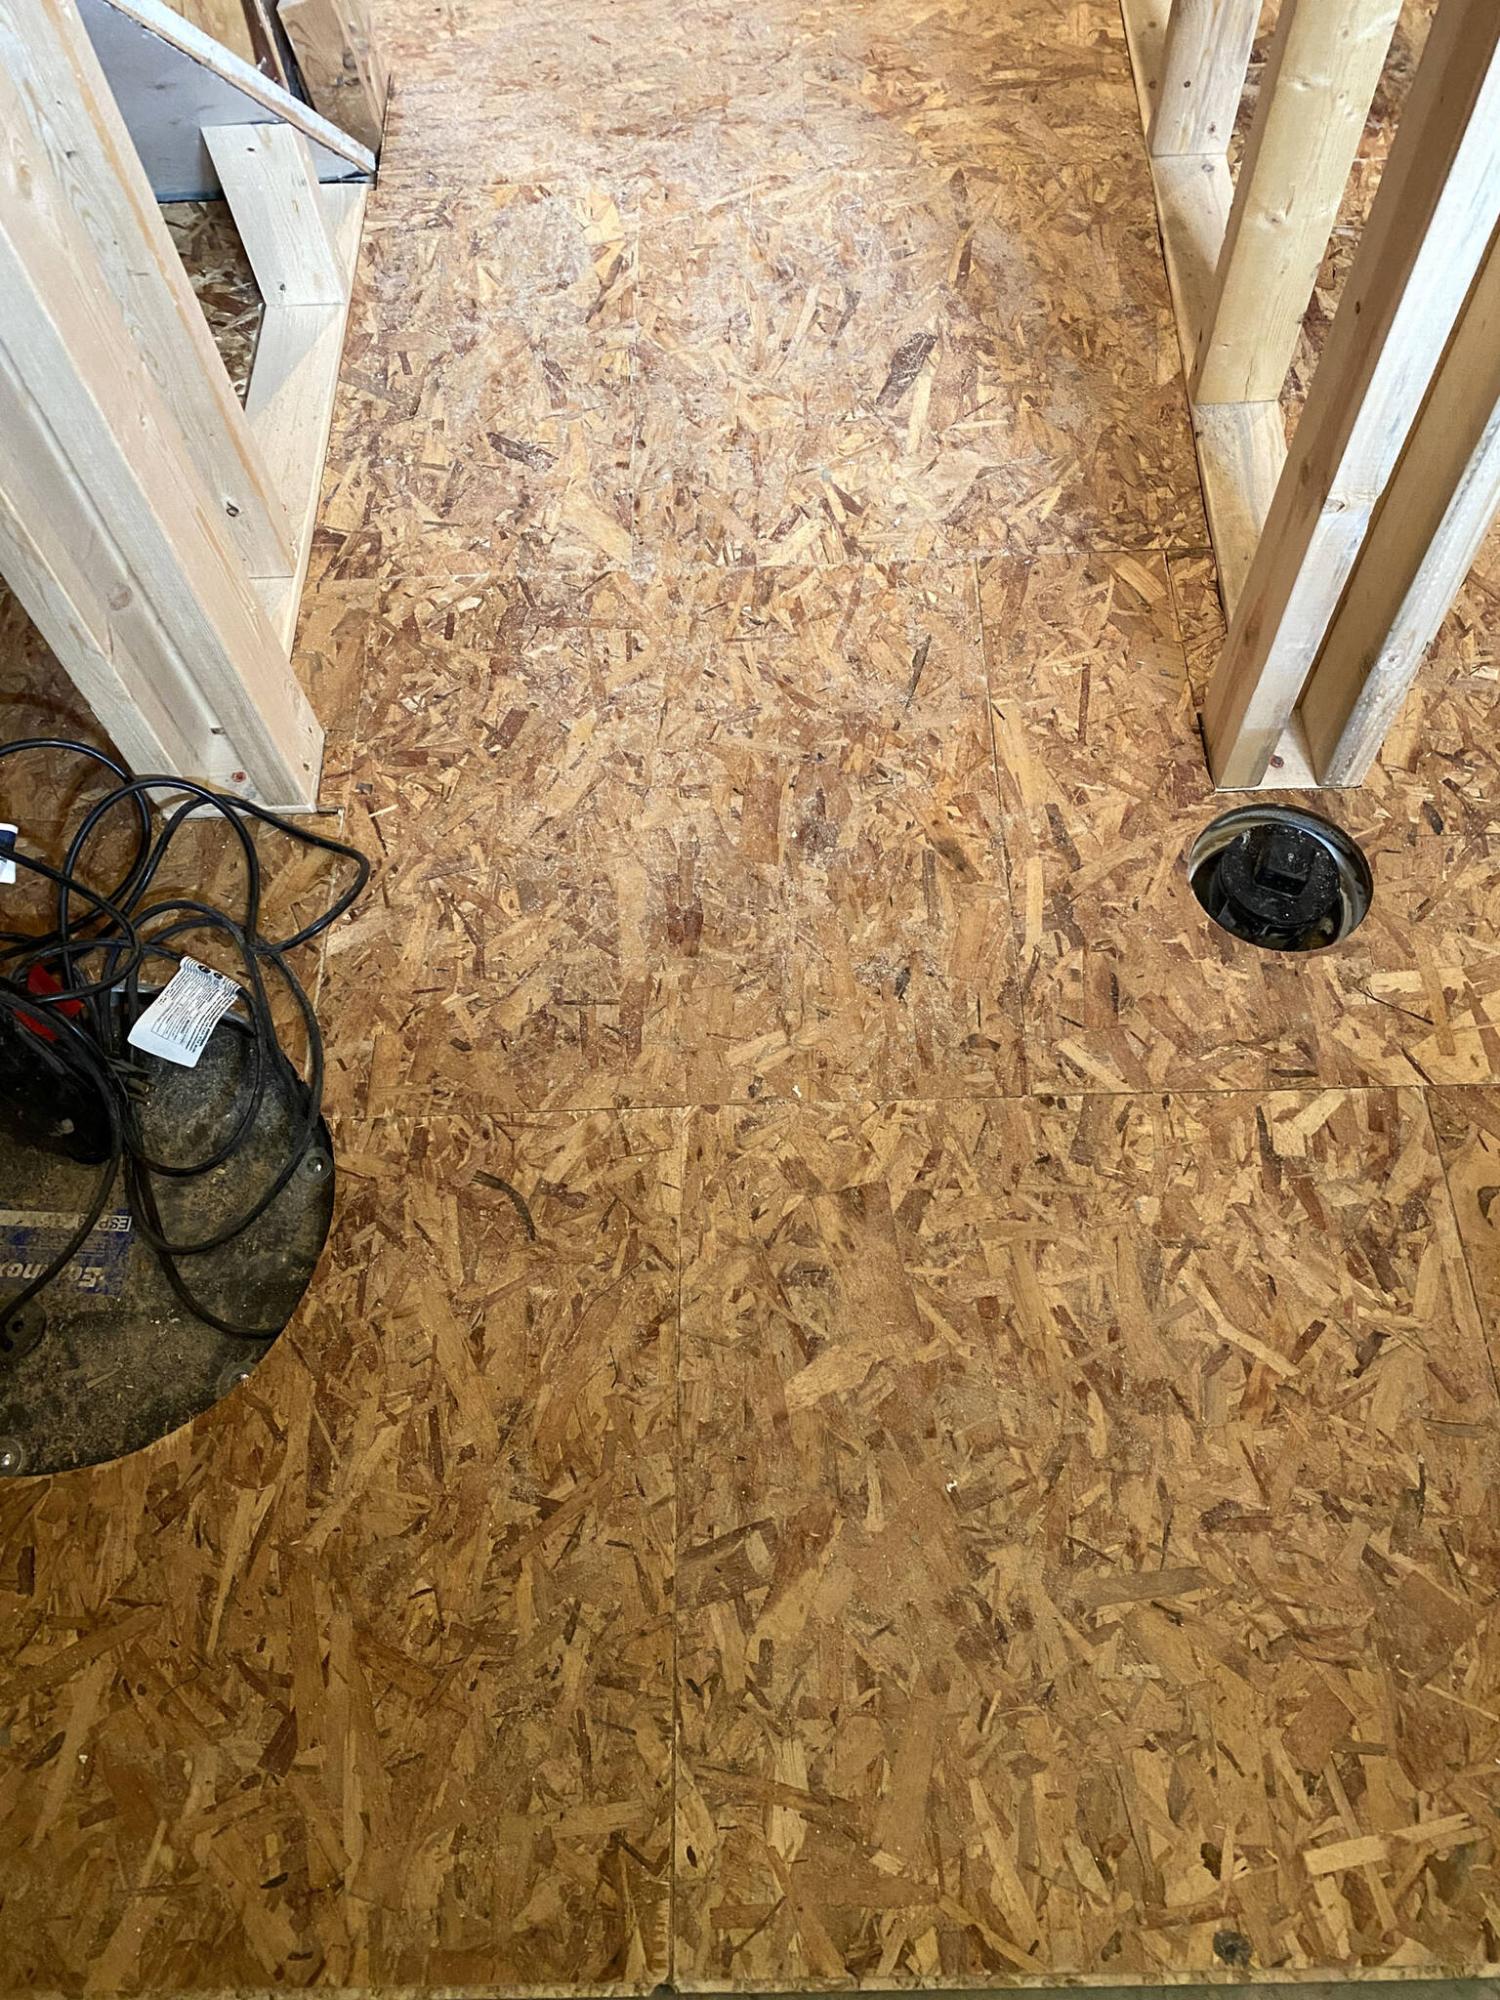
Tricky areas include working around existing walls (right) and allowing topside breaches for essential services such as a sump pit and main clean-out.
MARC LABOSSIERE / FREE PRESS
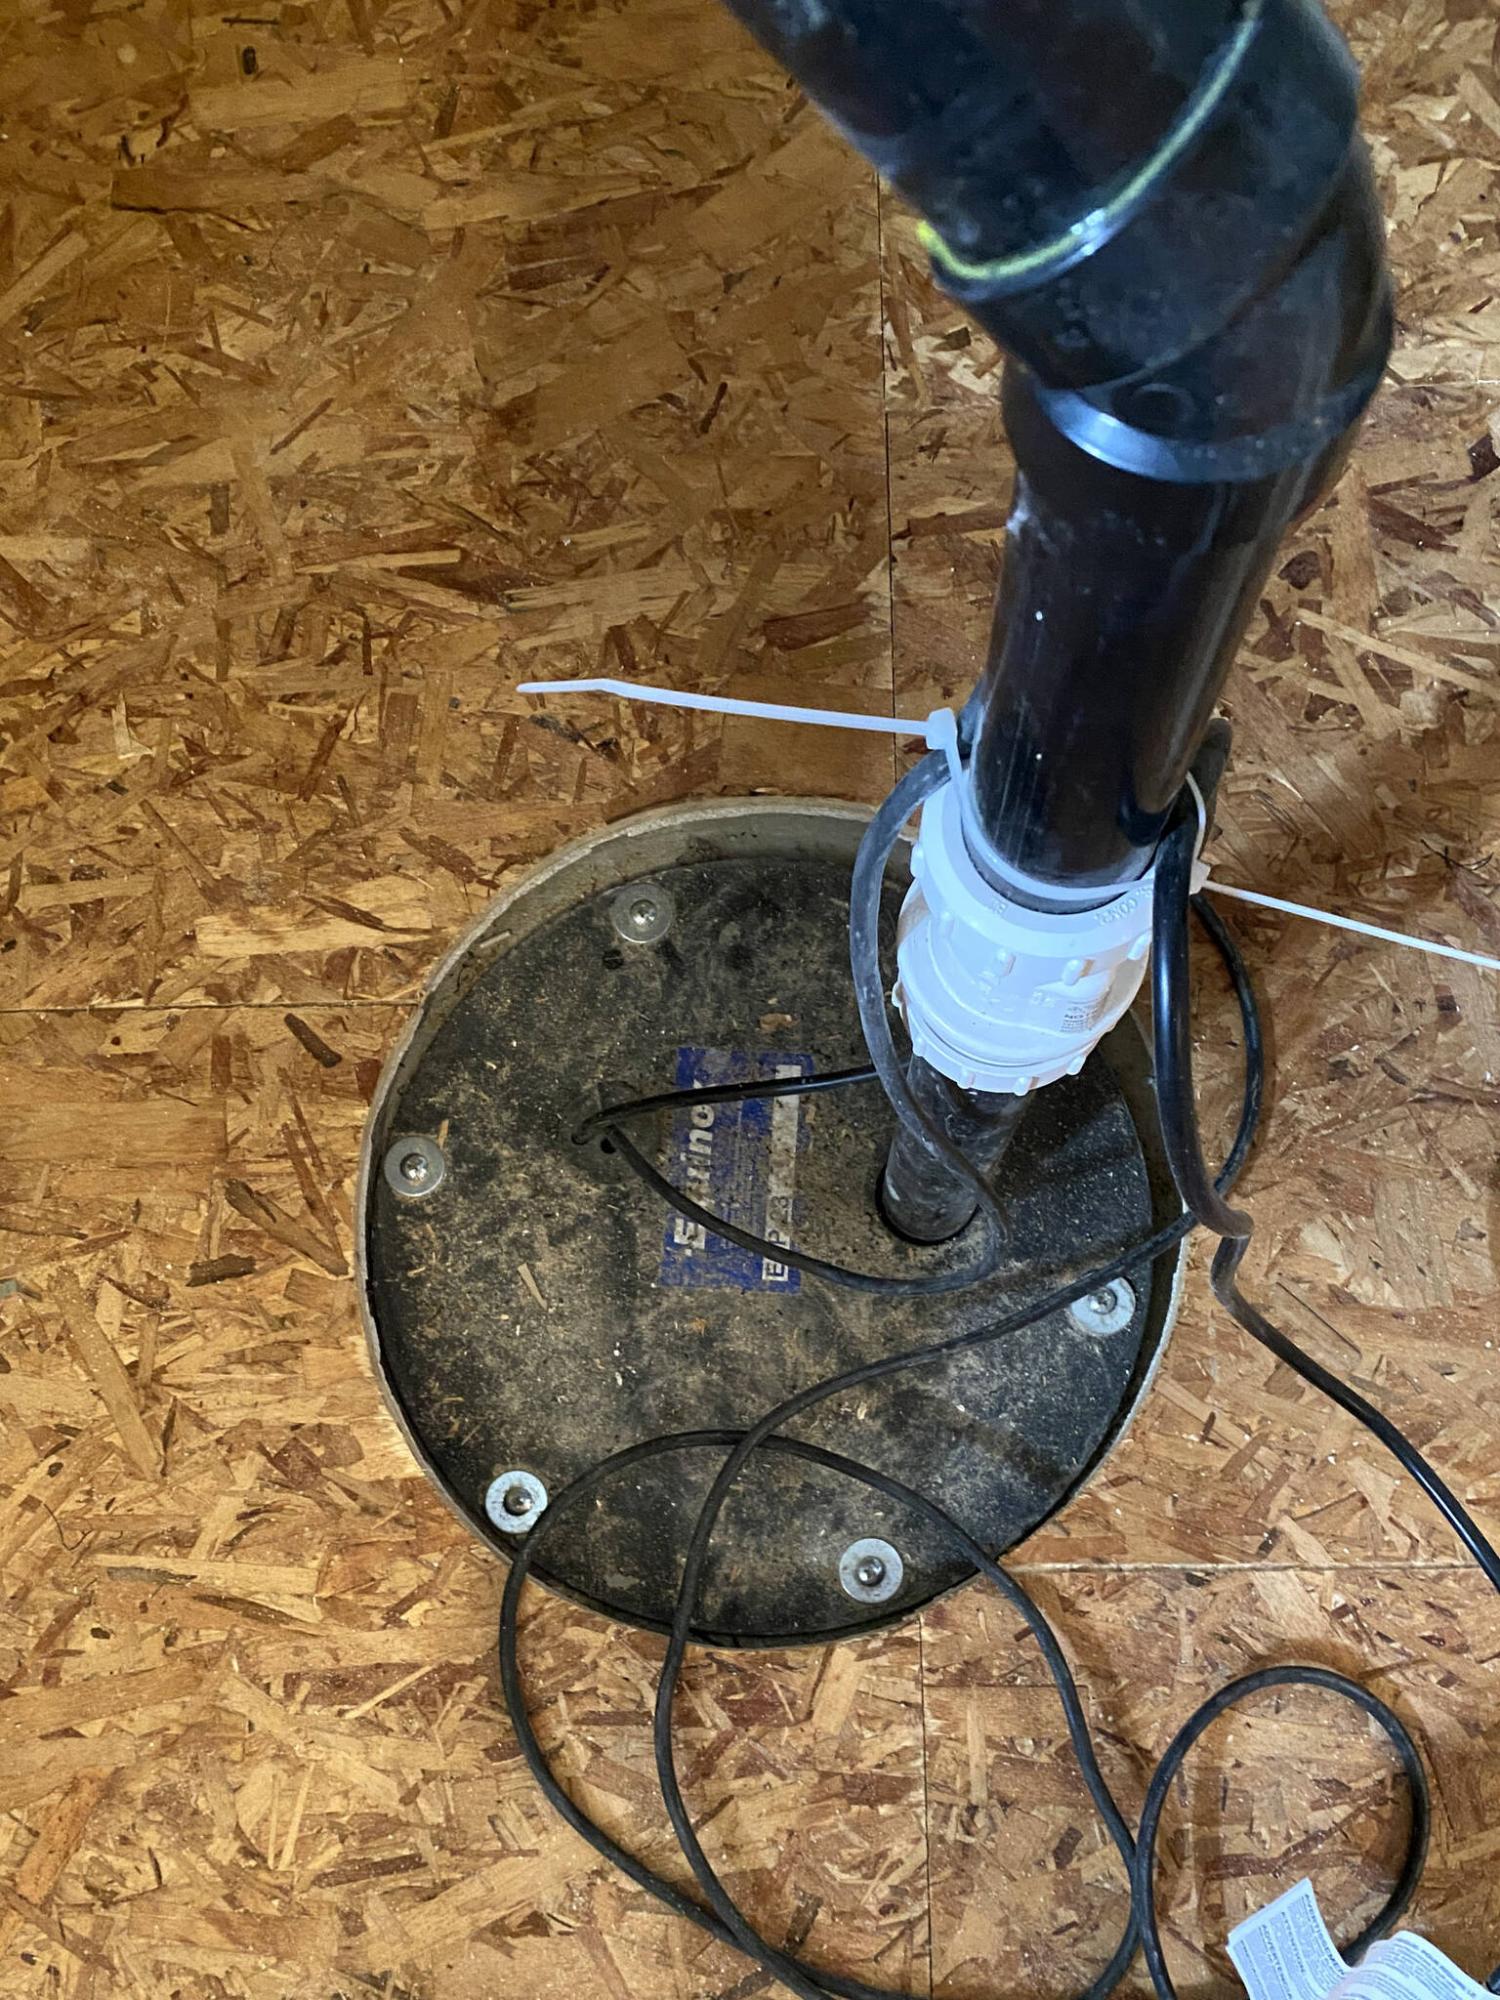
The subfloor must include access to crucial features of the basement floor, such as the sump pit.
MARC LABOSSIERE / FREE PRESS
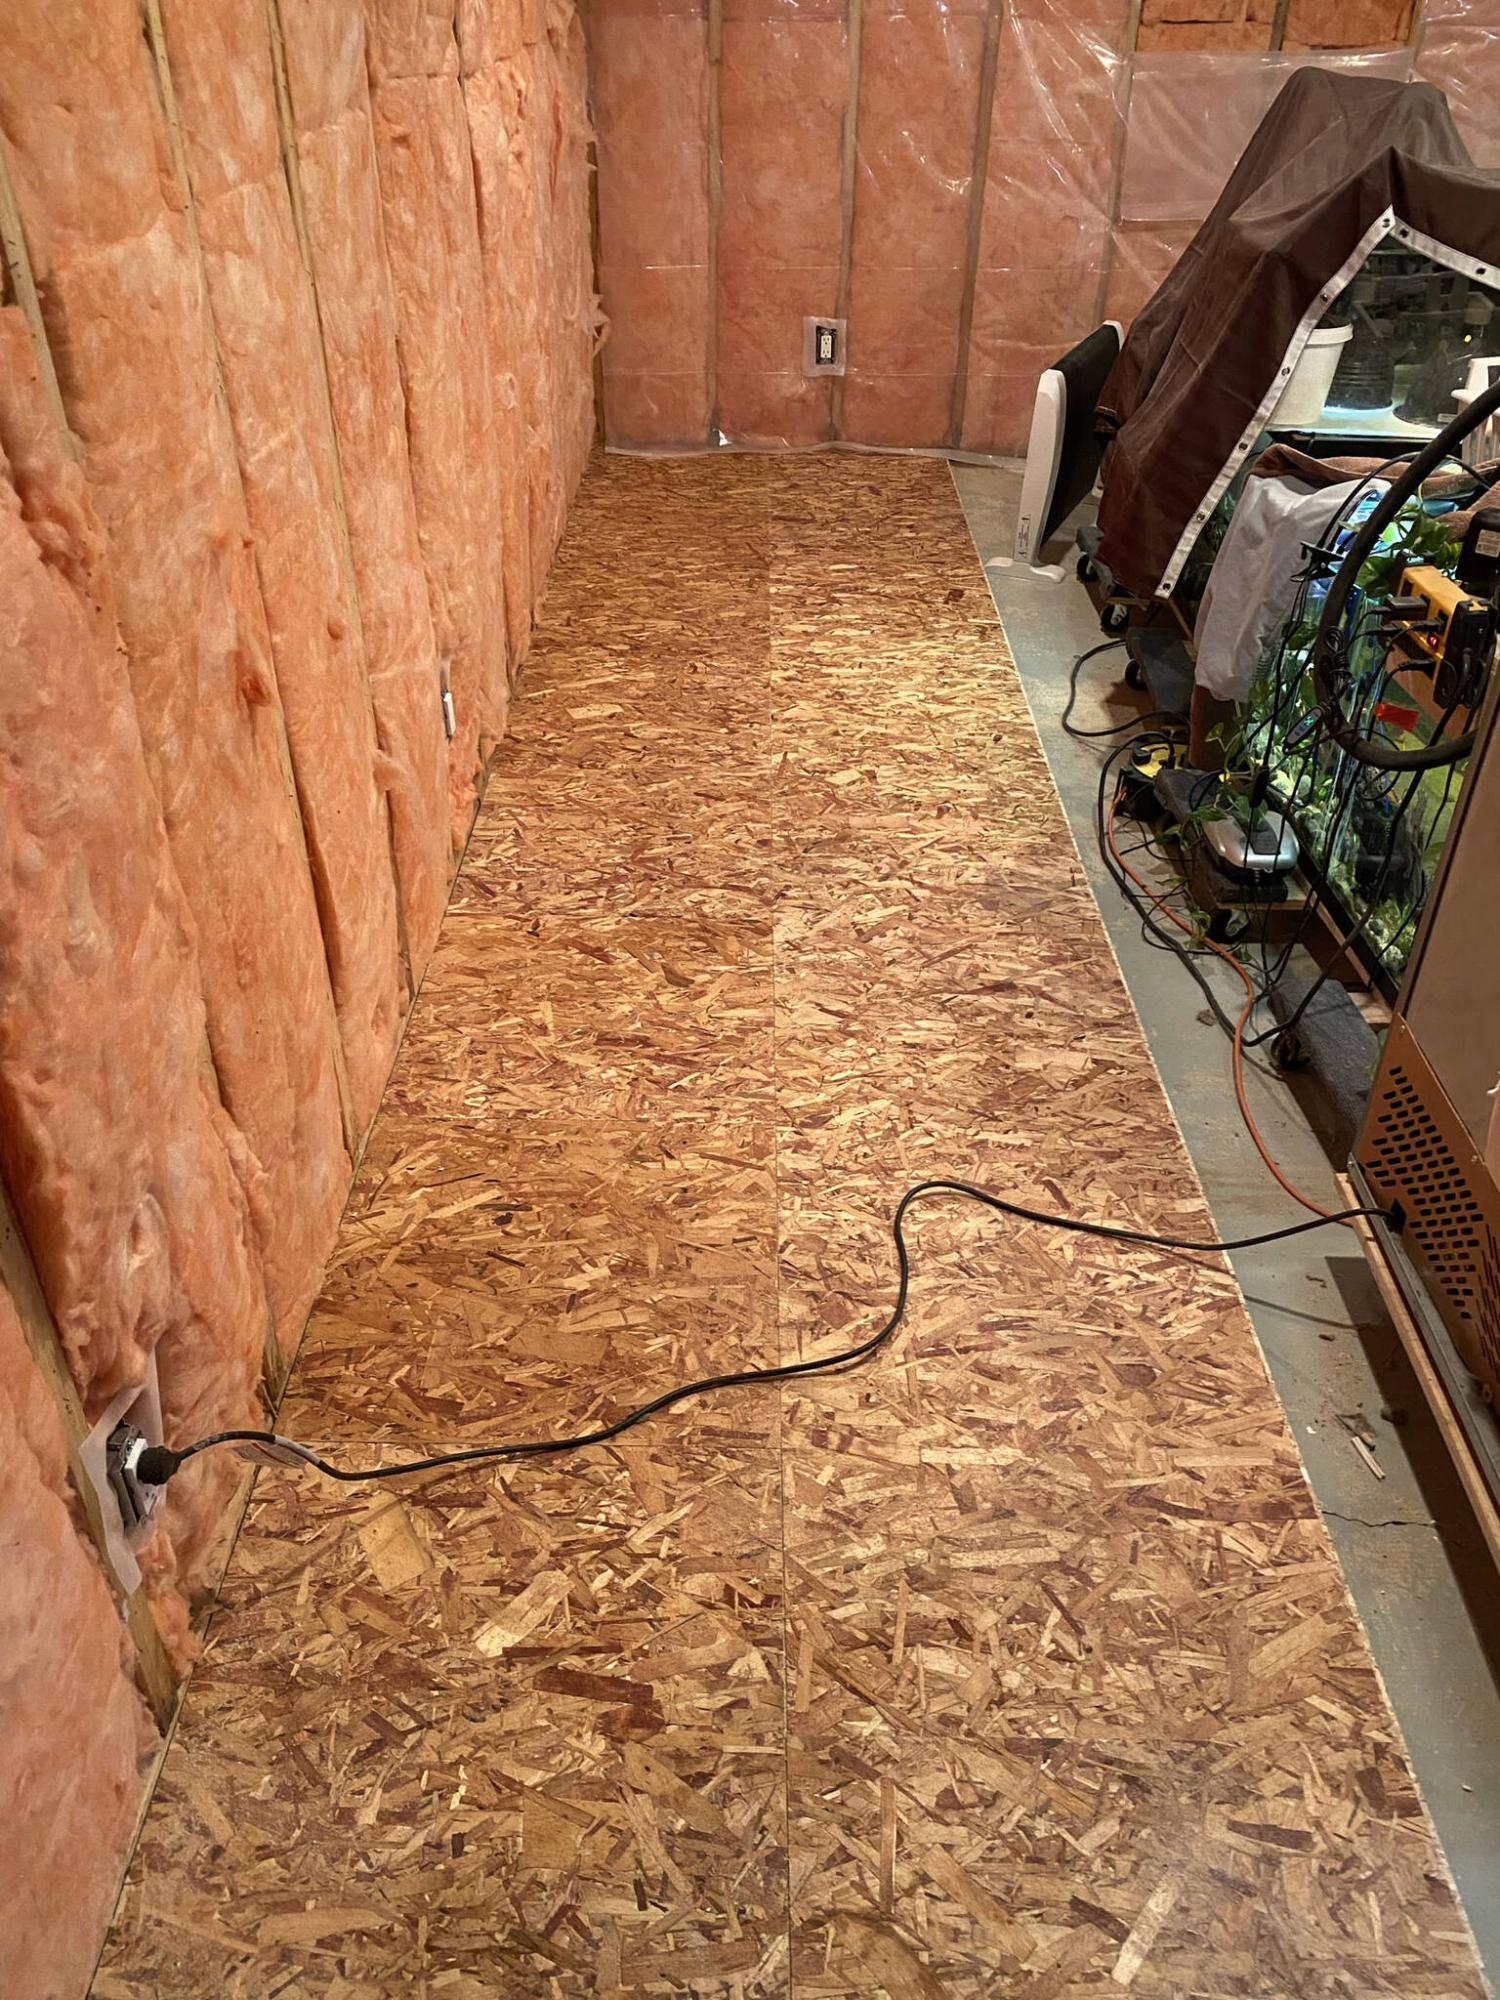
As the panels of each row are interlocked, the next row is staggered as the process continues.
MARC LABOSSIERE / FREE PRESS
The first row of panels is laid against the back wall of the main space (left). Tricky areas include working around existing walls (right) and allowing topside breaches for essential services such as a sump pit and main clean-out.
Basements in newer house construction often follow a similar process to that found on any other floor of a home — joists with plywood or OSB sheathing atop as a subfloor.
This configuration is possible when a new house is being built with a crawlspace below the lower-level floor structure. Not only does this help in keeping the basement warmer, it also allows easier access to run rough plumbing and electrical below the basement floor elevation.
However, in older homes, the basement floor is generally concrete, which can be quite limiting. As one can imagine, changes to the existing rough plumbing of a basement level in an older dwelling with a concrete floor will be very costly. As such, basement bathroom renovations in such dwellings often utilize the existing placement of the toilet flange, sink and shower drains to avoid increasing costs.
At a current basement renovation project, the homeowners elected to recycle the existing bathroom layout for that very reason. However, costs were then incurred by adding a sump pit and pump and also a backwater valve as preventative measures against the possibility of a storm sewer surge that could inundate the basement.
Once these features were introduced, the next decision involved the preparation of the existing concrete floor throughout the basement. Other than a few load cracks, which occur over time as the house and concrete floor settle, the majority of the concrete floor remained in very good condition.
Consistent surface
It was only in a few areas that floor cracks presented a challenge where they created a peak in elevation, making for an uneven floor surface in that area. Before the flooring could be installed, these issues would have to be addressed.
Moreover, installation of a finished flooring product such as vinyl planking prefers a consistent surface. This would be achieved by first introducing insulated tongue-and-groove OSB (oriented strand board) basement subfloor panels.
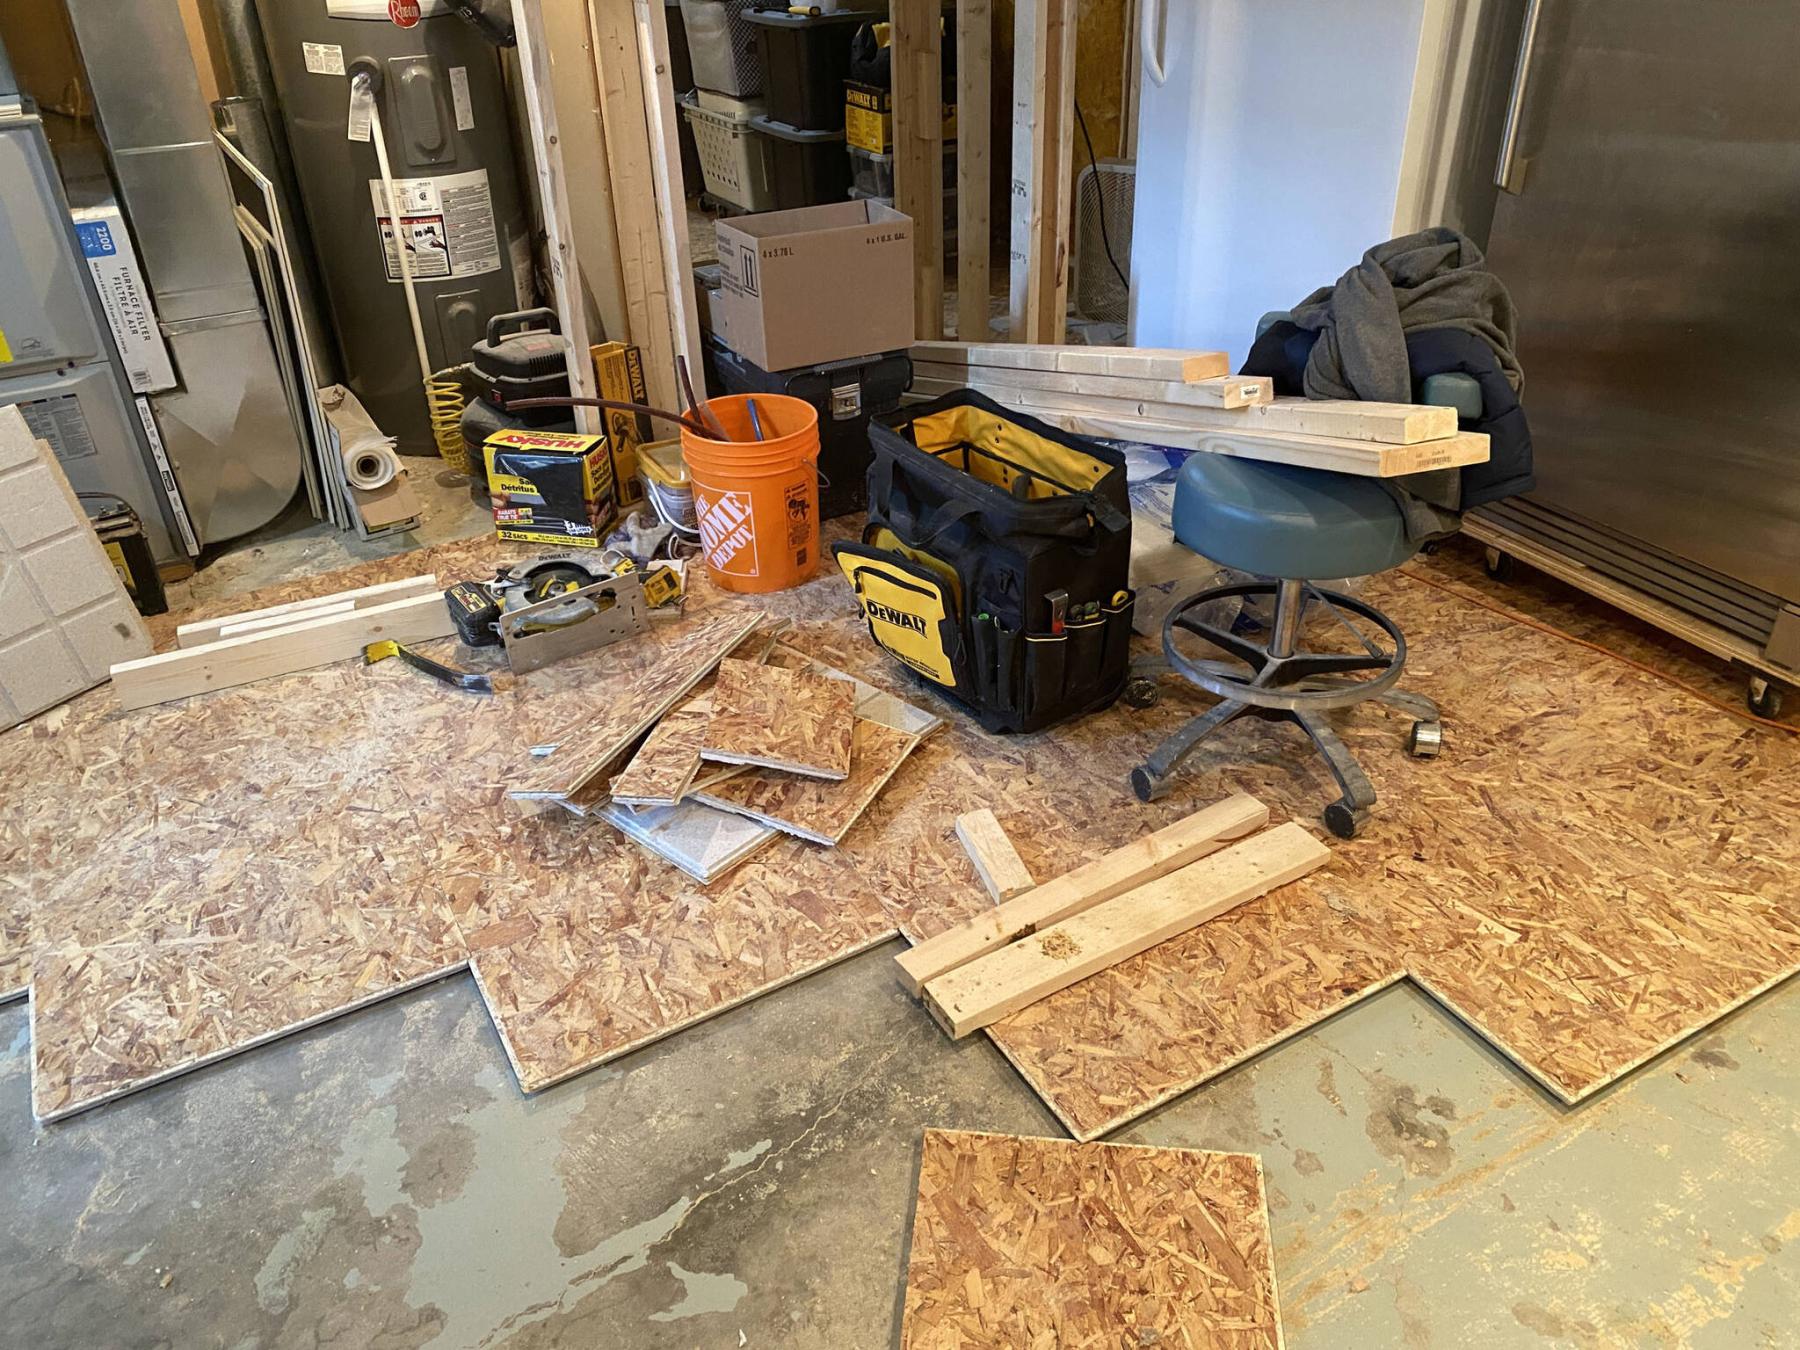
The installation of these two-by-two-foot panels is relatively easy, because the panels themselves interlock as they are laid into position. By starting along a lengthy wall, the first row is connected together, end to end, using a mallet (and a piece of lumber as a strike buffer, so as to not damage the panels themselves). The next row is then knocked into the edge of the first row, with the panels offset by the width of half a panel.
As each row is completed, the subfloor begins to take shape quickly. However, when working around existing wall framing, it is of course necessary to cut the panels accordingly to fit around the wall bases. This can be a bit tricky, but the process is similar to the installation of finished flooring products.
Because it is subfloor, it isn’t necessary for it to be absolutely perfect. As it is, finishing the subfloor in any given room requires a grace gap, which allows the panel to be knocked into the groove of the adjacent row of panels. These gaps will then be hidden by virtue of the drywall, the new finished flooring on top and baseboards following the completion of the project.
In the areas where existing cracks and heaves make for an uneven surface, I prefer to tackle each as they come up during the process. Short of pouring floor leveller throughout the basement (which can become quite expensive or end up with leveller flowing toward one low area or simply making quite a mess), the subfloor itself is somewhat forgiving as the foam underside of the panels will settle to a degree, rendering moot discrepancies up to quarter-inch over a few feet.
However, larger issues with steep changes in elevation may require first knocking down the concrete in that specific spot, filling the low area with localized leveller or using strategically-positioned shims that act like closely placed joists below the panels. Fortunately, this project only required the latter fix, and shims were used where required.
The only other aspect to mention is the need for careful placement of access spaces along panels that cover important basement elements such as a sump pit, clean-out or toilet flange.
By carefully marking the measurements on the topside of the affected panels, these breaches can be pre-prepped before the panel is installed. For smaller circular through-points, an auger bit was used to create openings. The sump pit required the careful use of a jigsaw, as the pit happened to affect four adjoining panels. Once these additional steps were completed, the entire subfloor was finished in less than two days.
The benefits of adding a floating subfloor above a concrete basement floor may not solve every issue. However, it will provide a level surface upon which decorative vinyl planking can be installed. Moreover, the rigid insulation along the underside of the panels will also keep the floor top warm, which in turn better maintains the temperature throughout the basement. If an older home has a concrete basement floor, tongue-and-groove OSB insulated basement subfloor panels are a must-have.
RenoBoss.Inc@outlook.com