Photos by Marc LaBossiere / Winnipeg Free Press
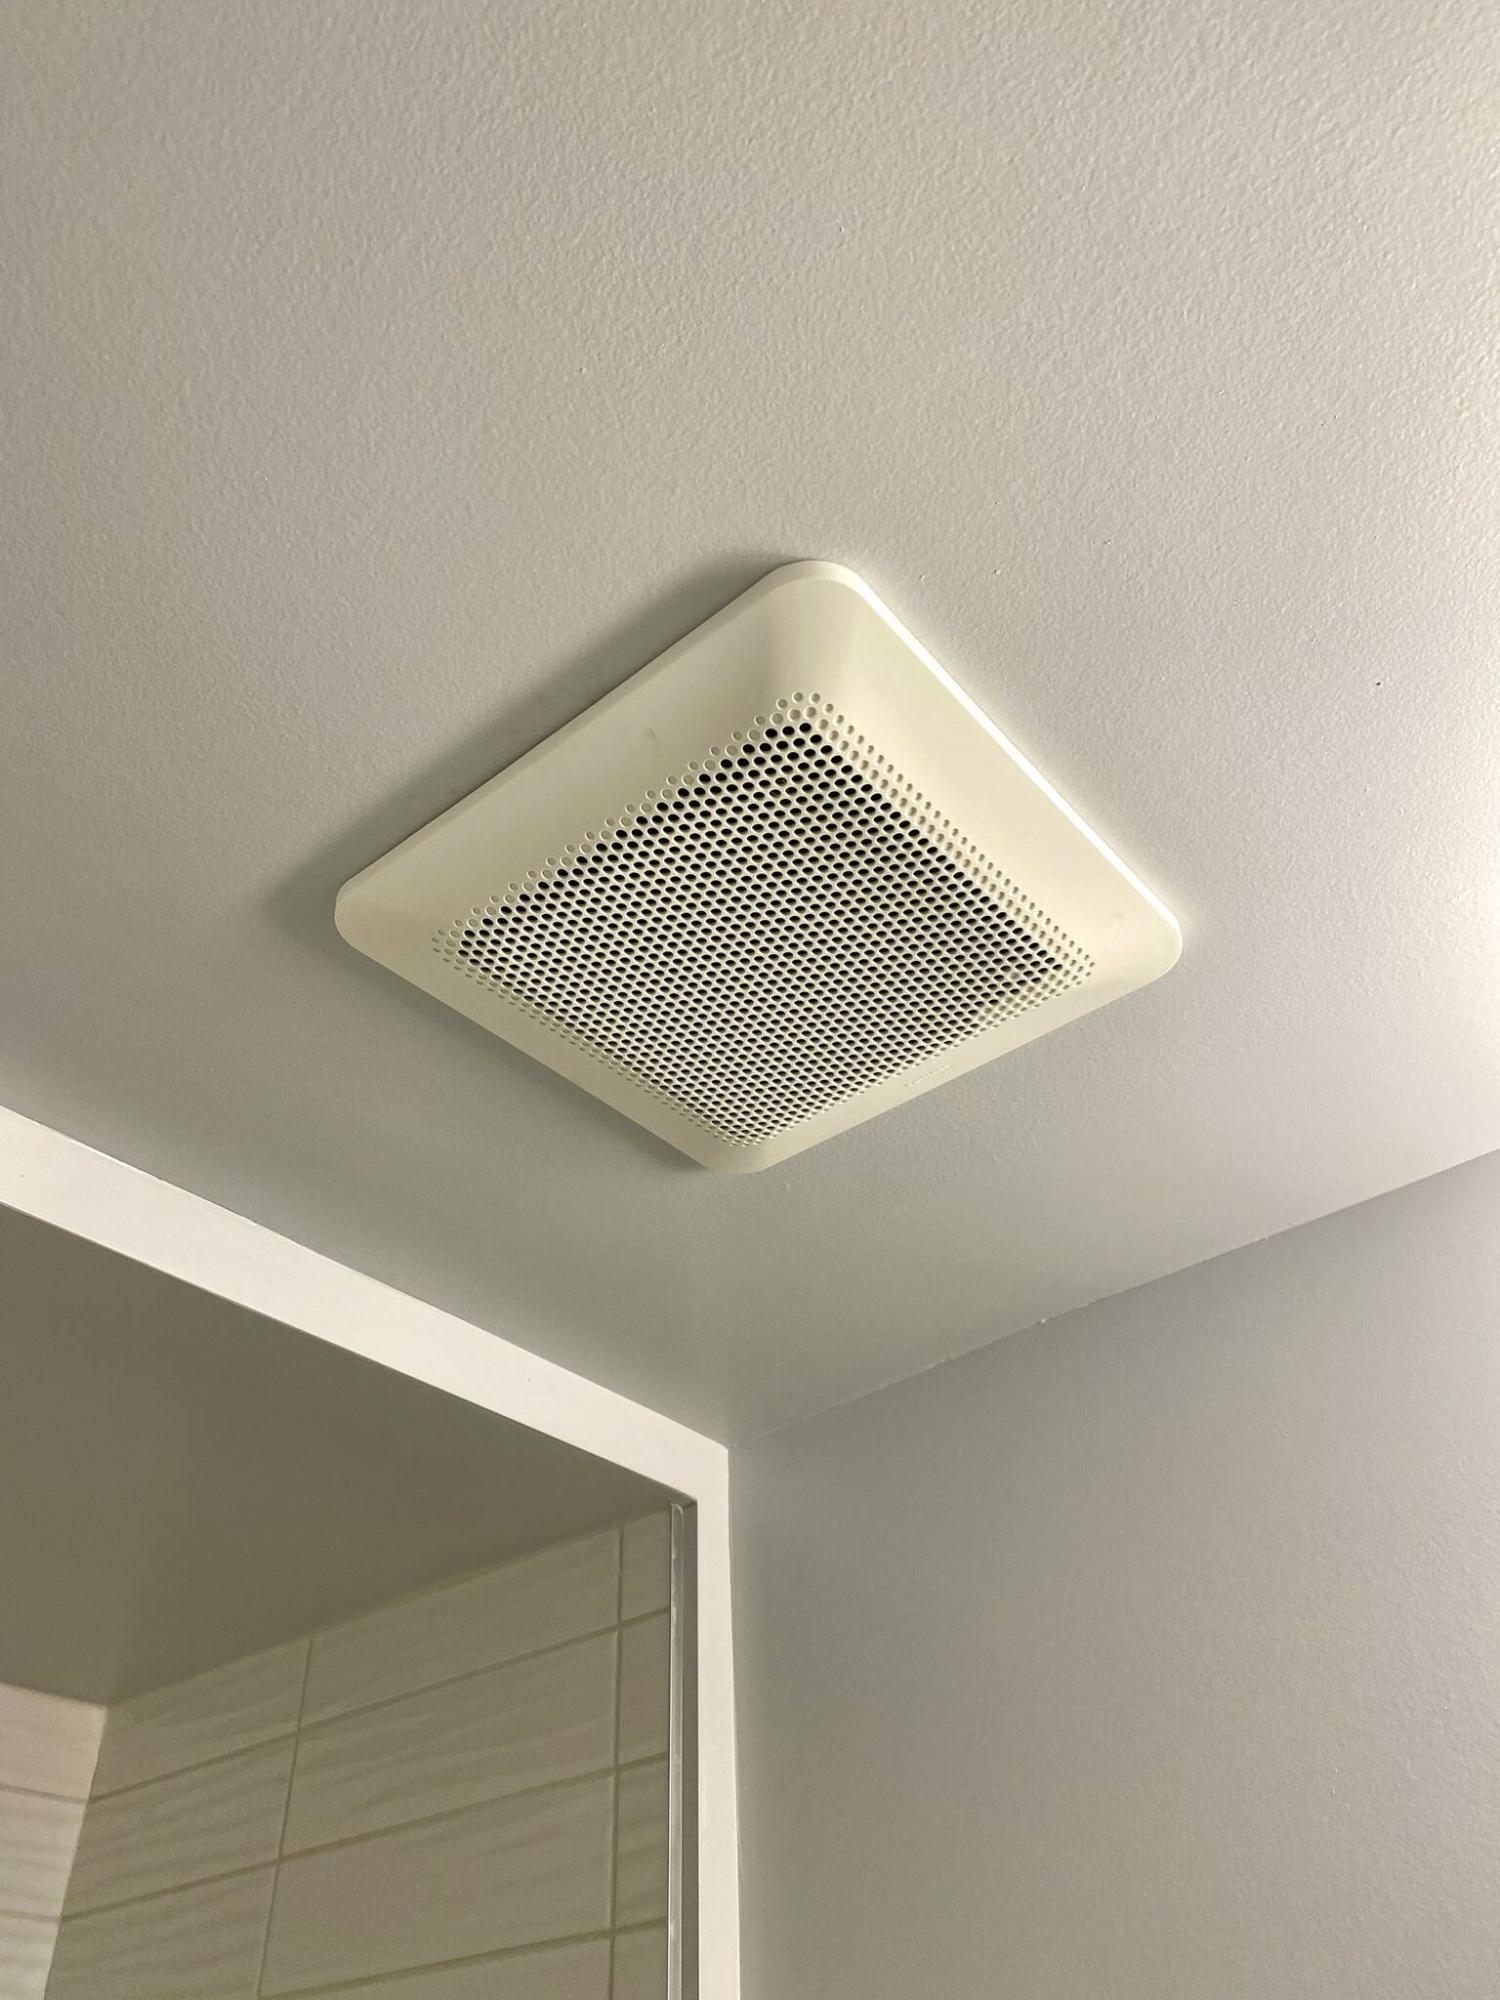
A ceiling-mounted bathroom exhaust fan upgrade reveals a larger fan cover that decoratively conceals a much bigger unit than before.
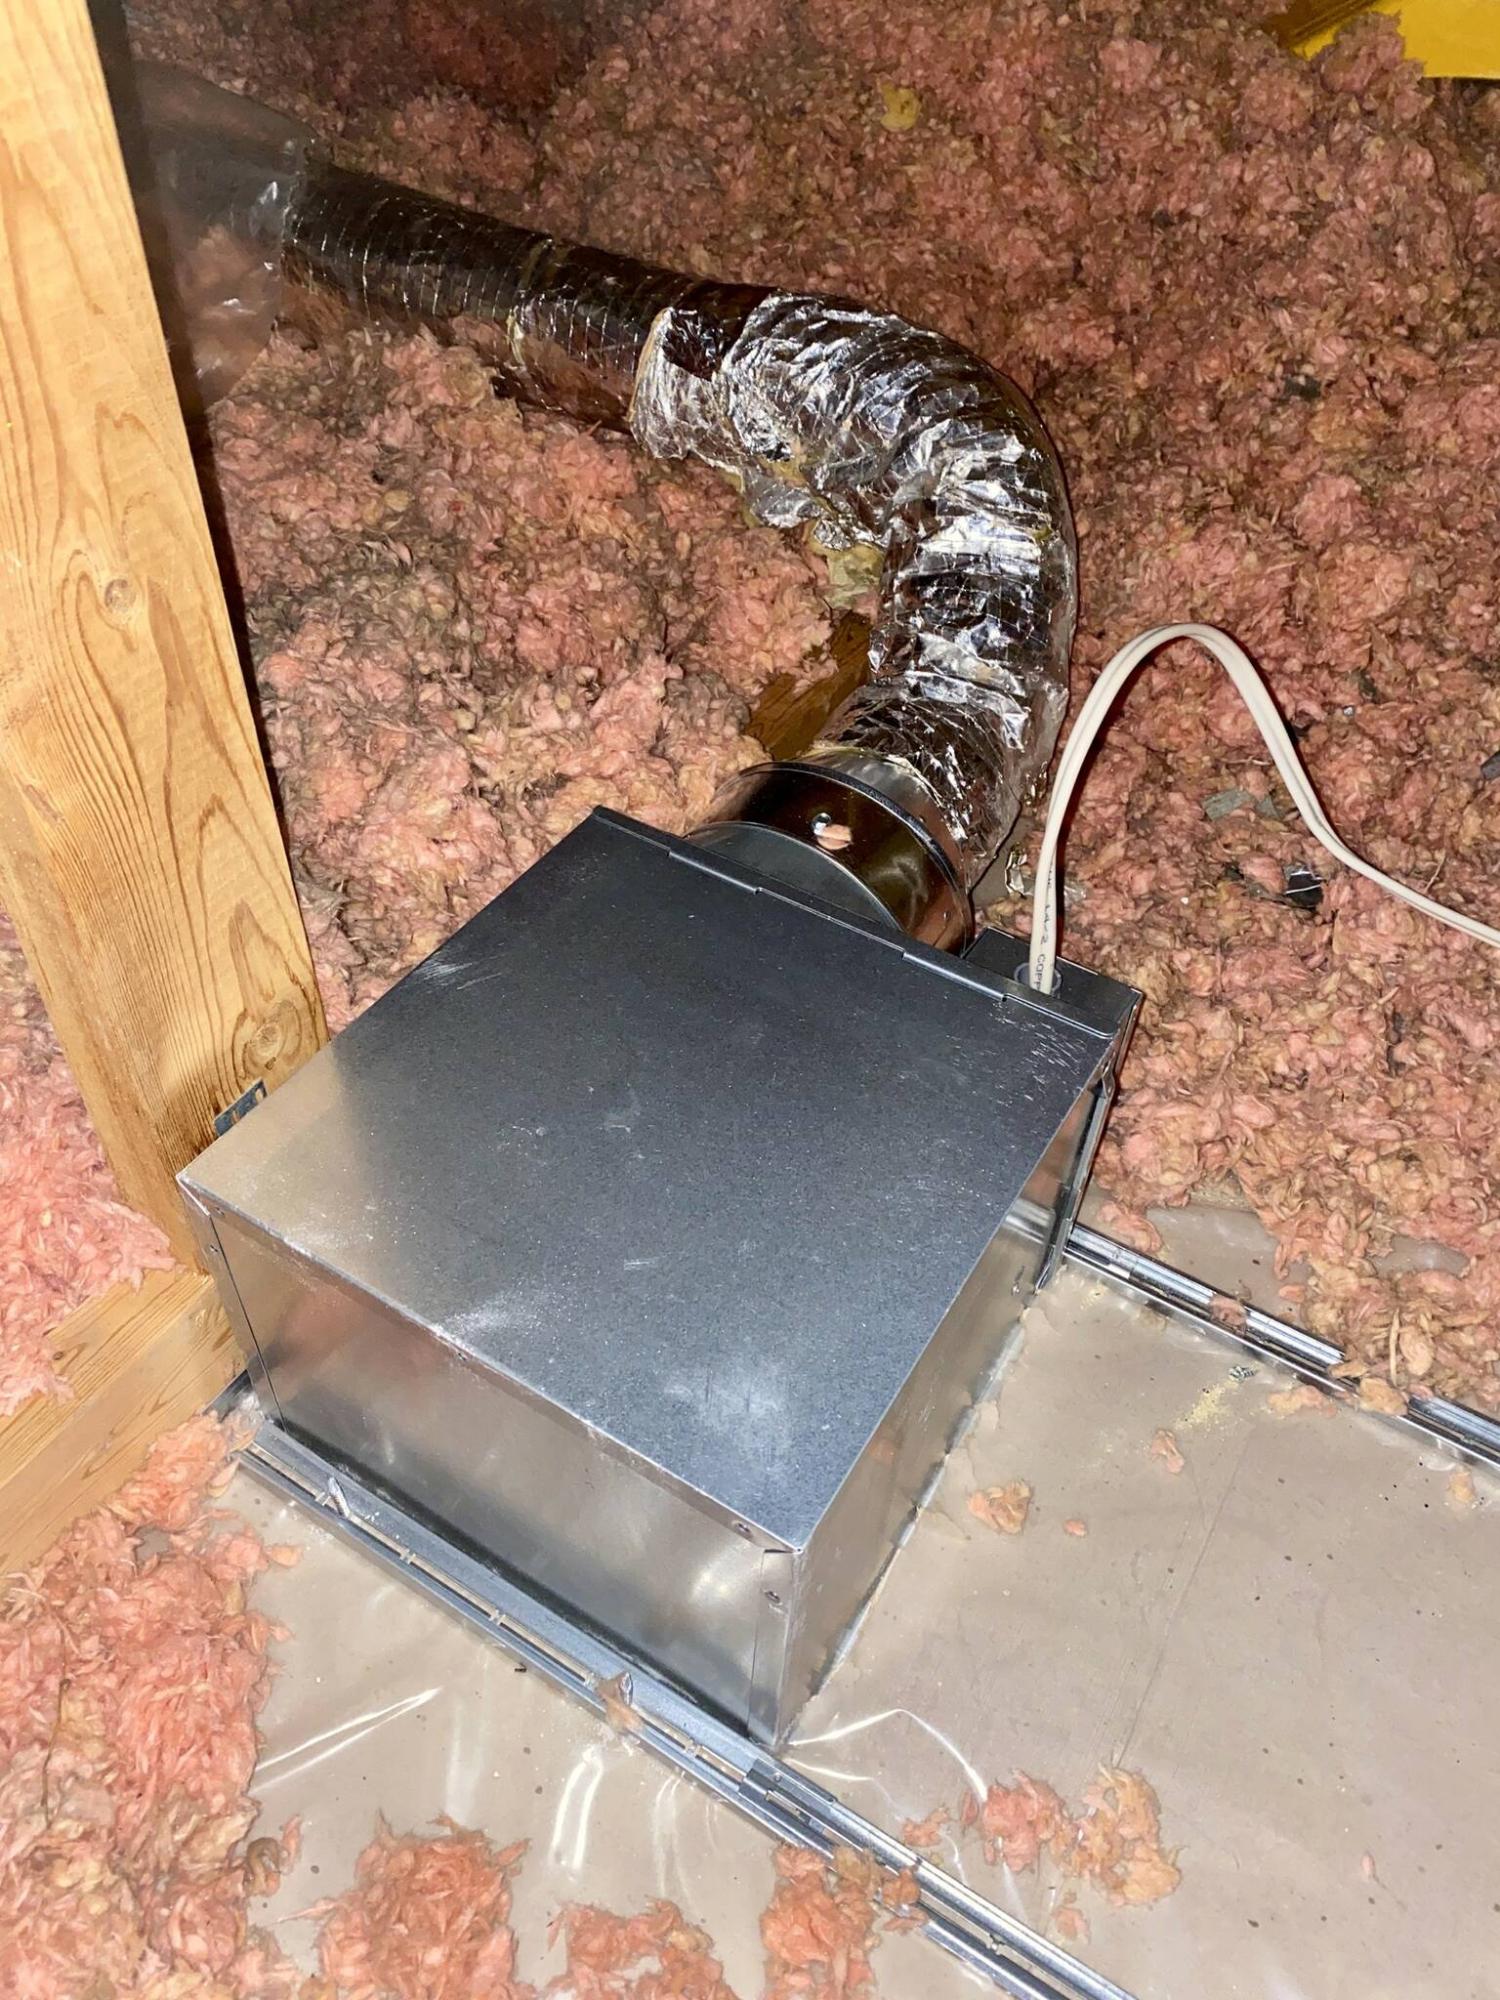
Once the housing was secured to the attic-side bracket, the existing wiring and ducting are reconnected.
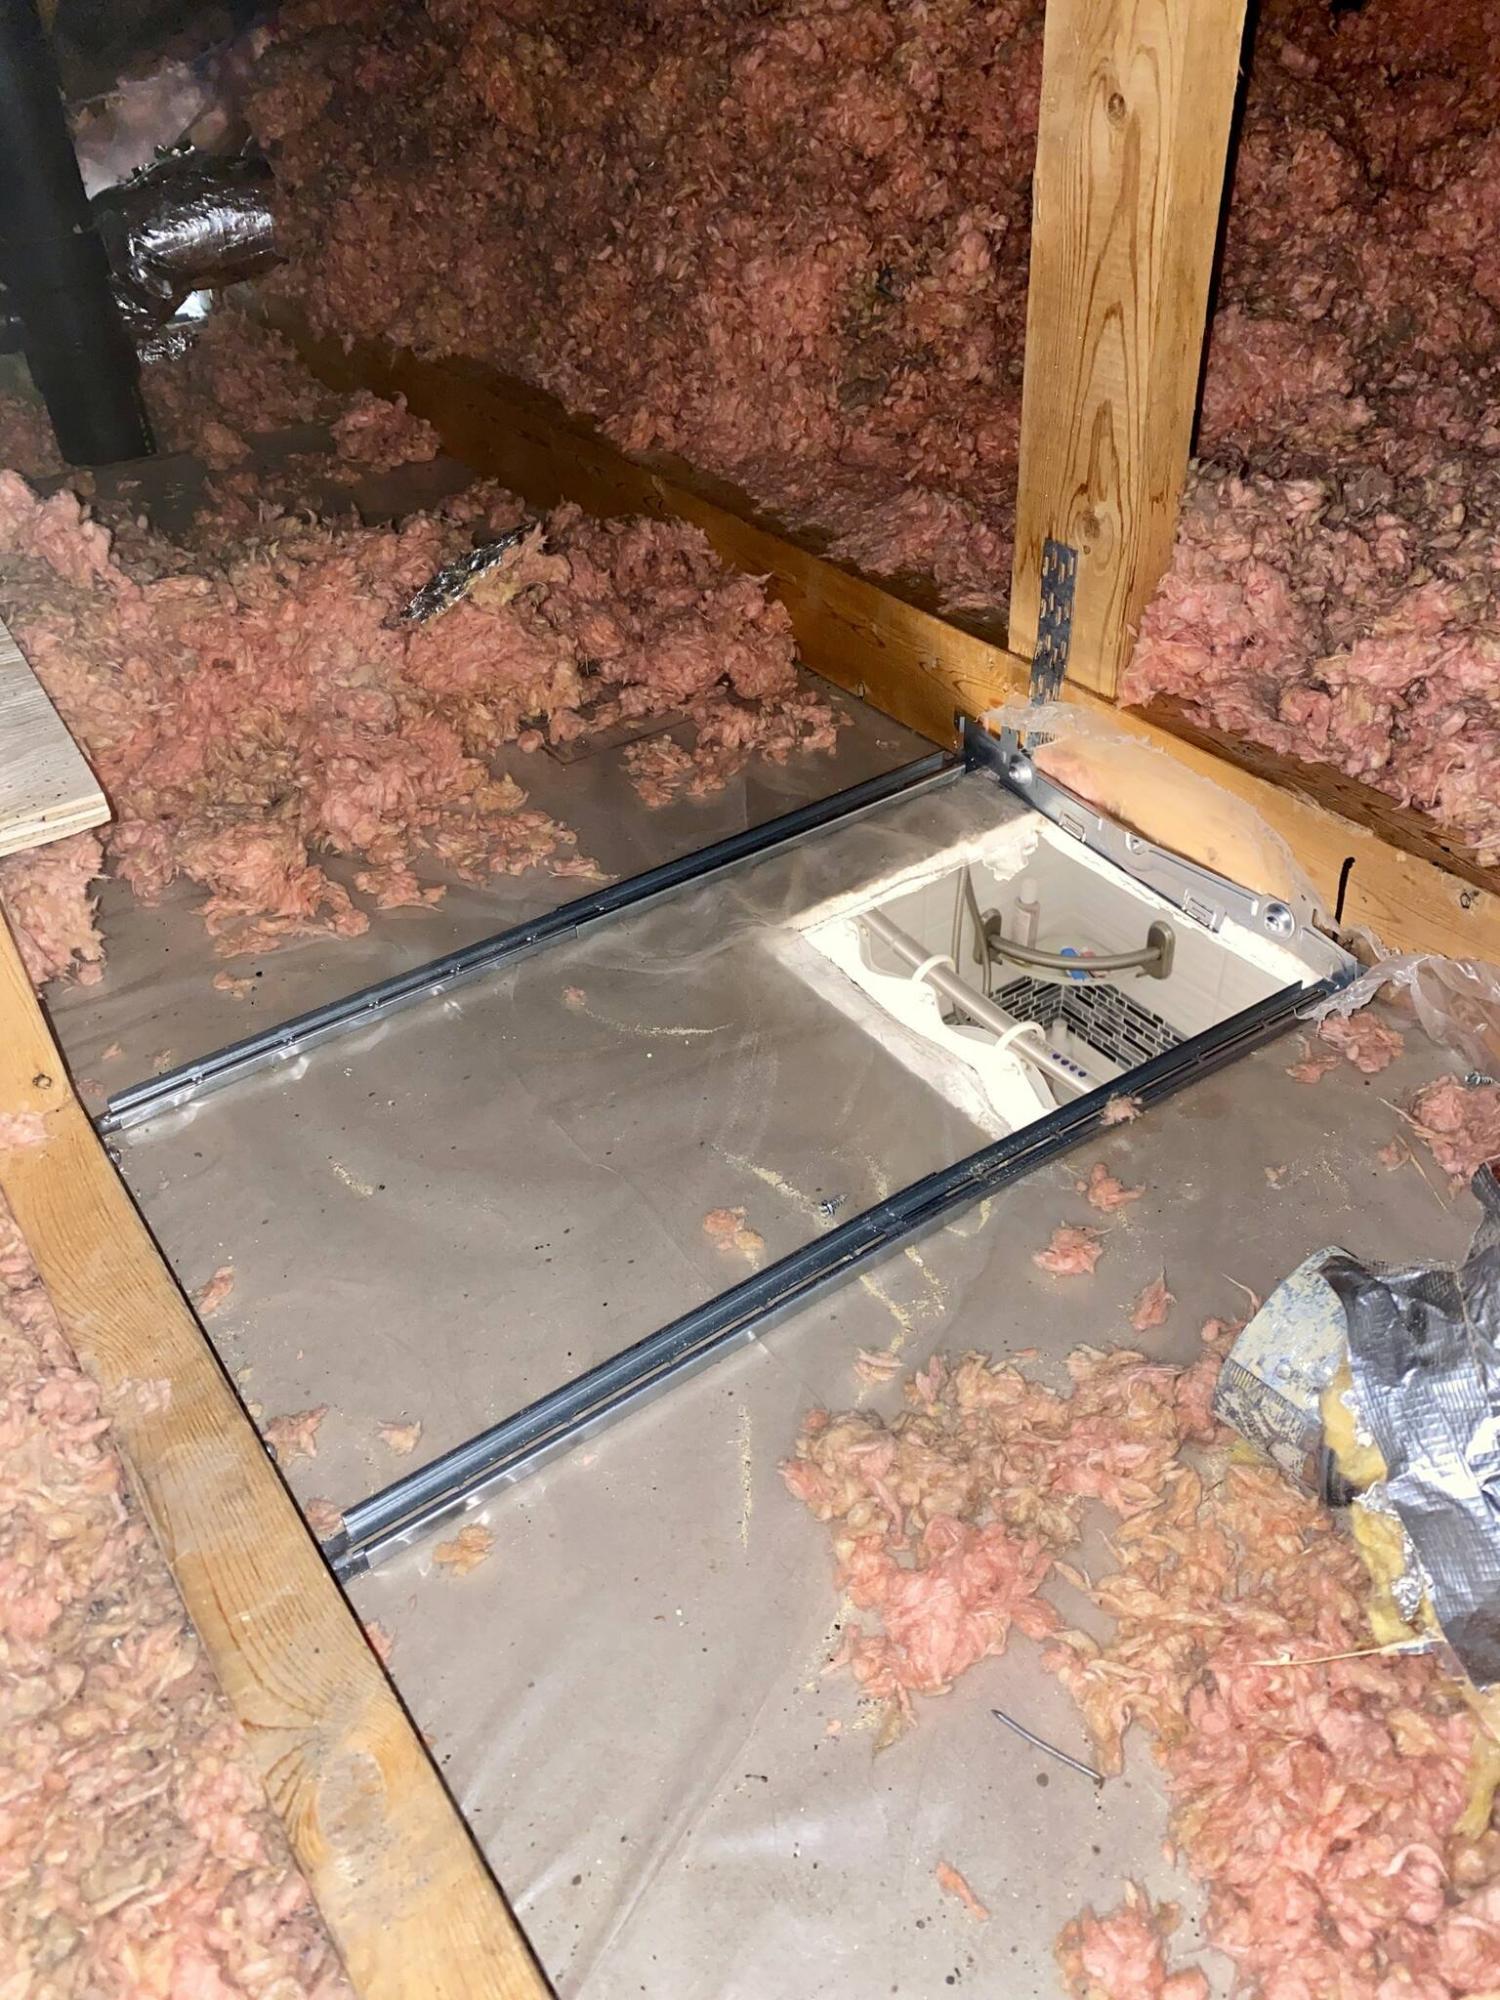
After the existing opening in the ceiling was enlarged to accommodate the bigger fan unit, the new fan housing is fastened to the bracket placed within the attic.
After finishing an ensuite renovation last year, the clients requested replacing the existing ceiling exhaust fan with a new, quieter model with greater air flow.
We chose a high-efficiency exhaust fan and set an installation date for it and another fan in a neighbouring bathroom.
It’s not a fun process to properly upgrade a ceiling-mounted exhaust fan. Although the instructions suggest retrofitting a new exhaust fan housing should be easy, several complications can arise.
If the main housing of the new unit is the same size as the existing, and the blower orientation can easily be directed towards the existing ducting (in this case through the attic), and the duct flange is of the same diameter as the main ducting, the only other issues may involve the actual mounting process, and whether the existing wiring reaches the new fan’s electrical box. In this instance however, both of the old fans were much smaller than the new ones. As well, the duct flange was much larger than the existing ducting. It was readily apparent this installation would not be as easy as the instructions suggested.
The first step was to enter the attic space, and clear away the blown insulation on top of the old exhaust fan housings. Both fans appeared to be original to the house, and had been nailed to their adjacent trusses. With the power shut-off to each fan, the electrical wires were disconnected from the old fan motors and removed from the electrical boxes. The main four-inch ducts were then dismounted from the old fan duct flanges. Free from connections, each housing was fully dismounted from their respective truss locations by carefully pulling out the nails, as to not damage the ceiling drywall of the bathrooms. Once dislodged, the old units were removed, and discarded.
The preparation for installation of the new exhaust fan units required several visits in and out of the attic. To start, each fan’s brackets were attached to the corresponding truss members. Although this can be done from inside the room, it was easier to be in the attic, since the blown insulation was already cleared away. Once the brackets were rigid and in position, a template was used to enlarge the openings in the ceilings to accommodate the larger exhaust fan housings. A removable side of the new housings with the electrical box and ducting flange are located is then mounted along the outside of the ceiling drywall, directly below one side of the newly placed bracket within the attic. The main housing is then slid into the precut opening, and fastened. From below, both exhaust fans appeared to be ready for use. However, another visit to the attic was required to connect both the power and ducting to each unit.
Once the wiring for each unit was connected and the electrical boxes closed, I asked the homeowner to turn on each fan to check operation. With both fans tested and operational, the existing ducting in the attic was adapted to the blower flange location of the new units, which differs slightly from the old. Because the new fans used six-inch flanges and the old ducting was four inches across, I added a reducer to complete the installation.
It should be noted that although the old ducting for both fans have relatively short runs towards the louvered vent covers mounted on the exterior gable end of the house, it still may be necessary to increase the duct size to accommodate to volume of airflow created by the new exhaust fan units. The homeowners chose to wait on that decision, as this type of upgrade is not convenient in the winter months.
Initially, it seemed the fans weren’t working. However, the homeowners chose their new exhaust fans wisely. After a few seconds of turning them on, the blower motors begin to rotate with an ever-increasing speed until reaching maximum velocity. And even at full speed, they are barely audible. However, the lack of noise shouldn’t fool anyone. With new fan units of twice the size, and larger capacity blowers, the difference will be in the amount of steam and moisture vented from the rooms. Or at least, that’s the hope.
RenoBoss.Inc@outlook.com