Marc LaBossiere / Free Press
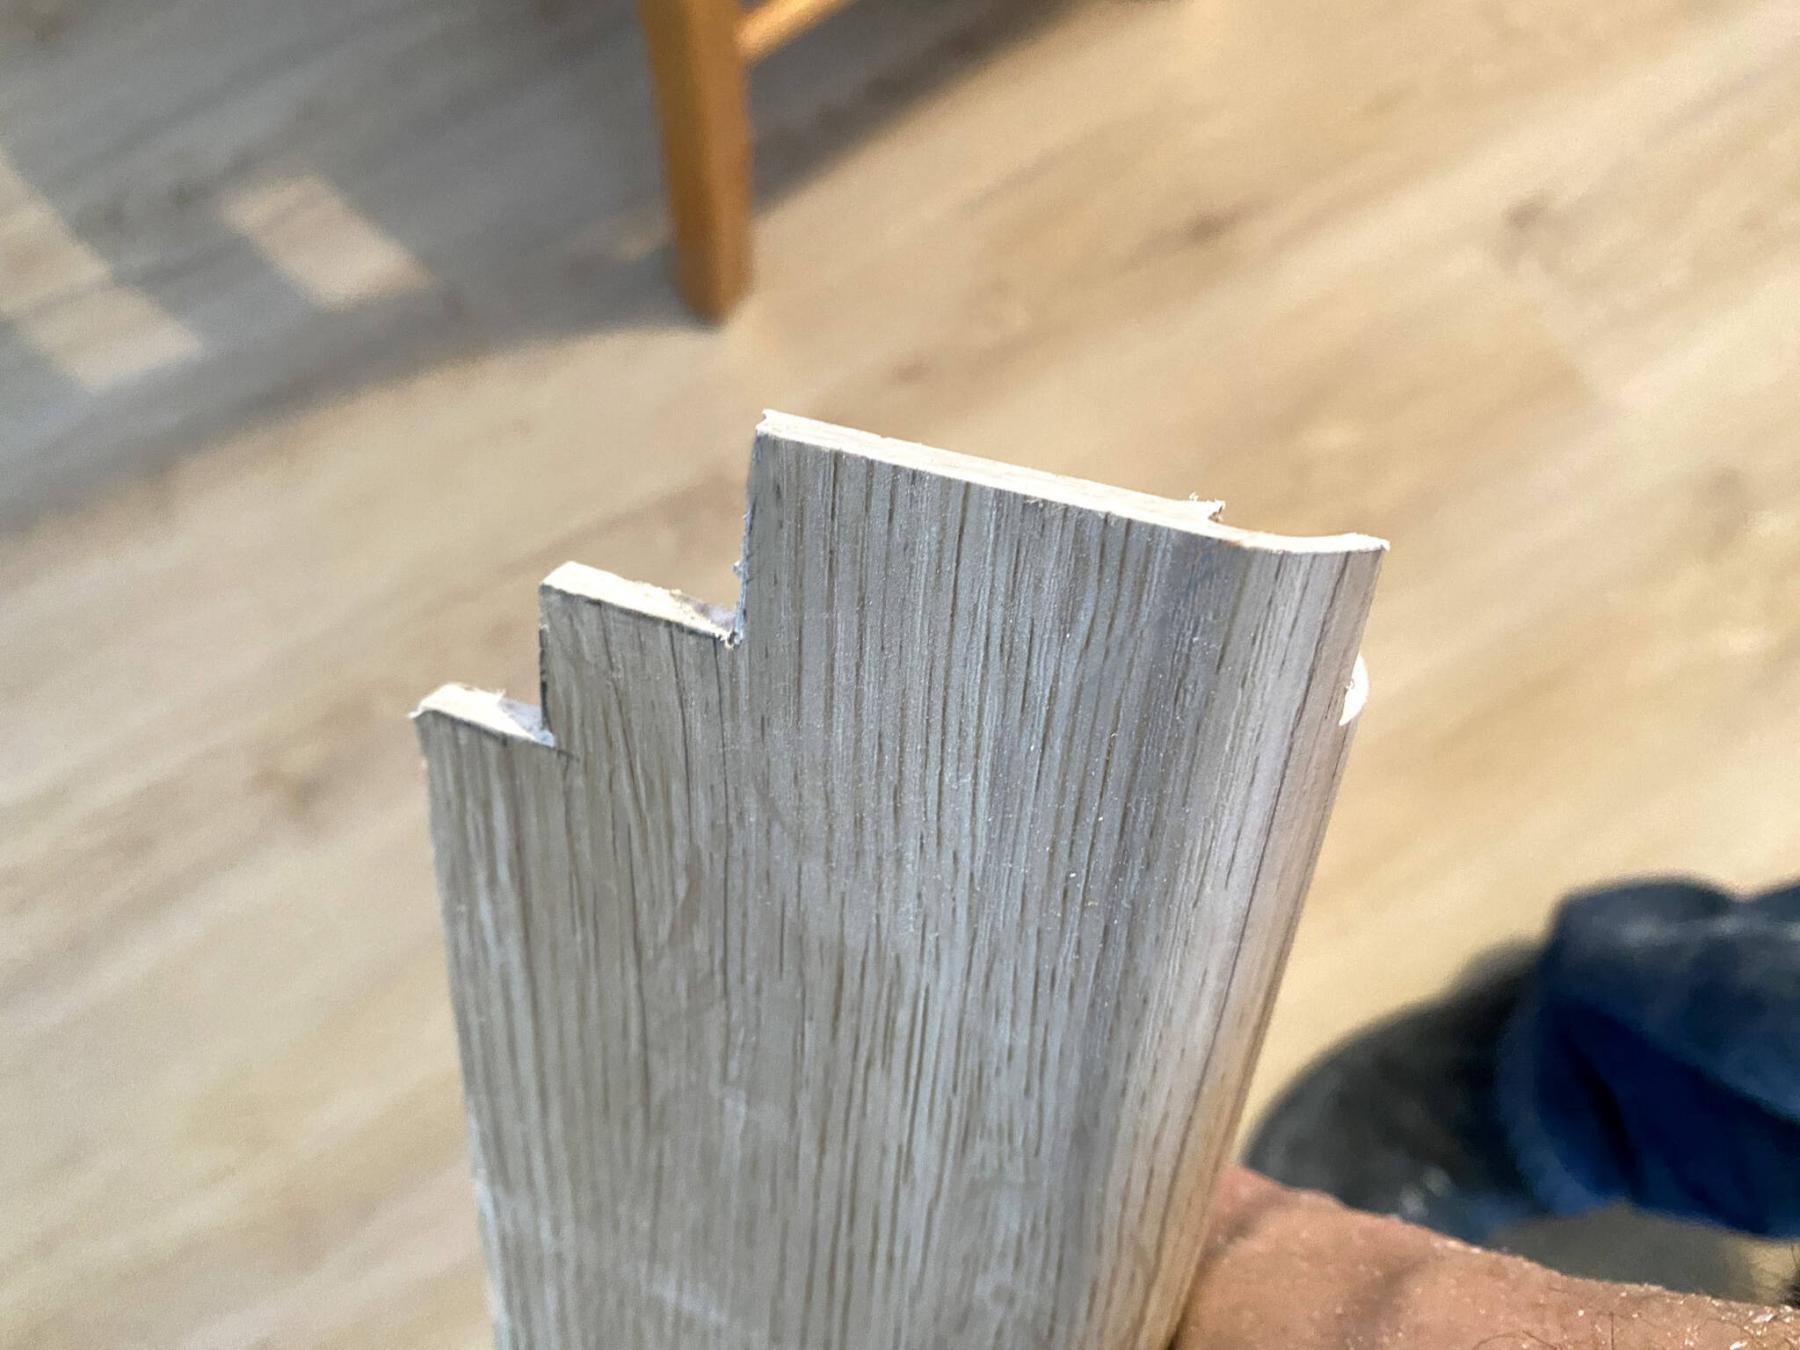
The top stair nosing is custom-notched to meet the idiosyncrasies of the existing staircase and decorative stringers and glued into place after a dry-run ensures a precise fit.
photos by Marc LaBossiere / Free Press
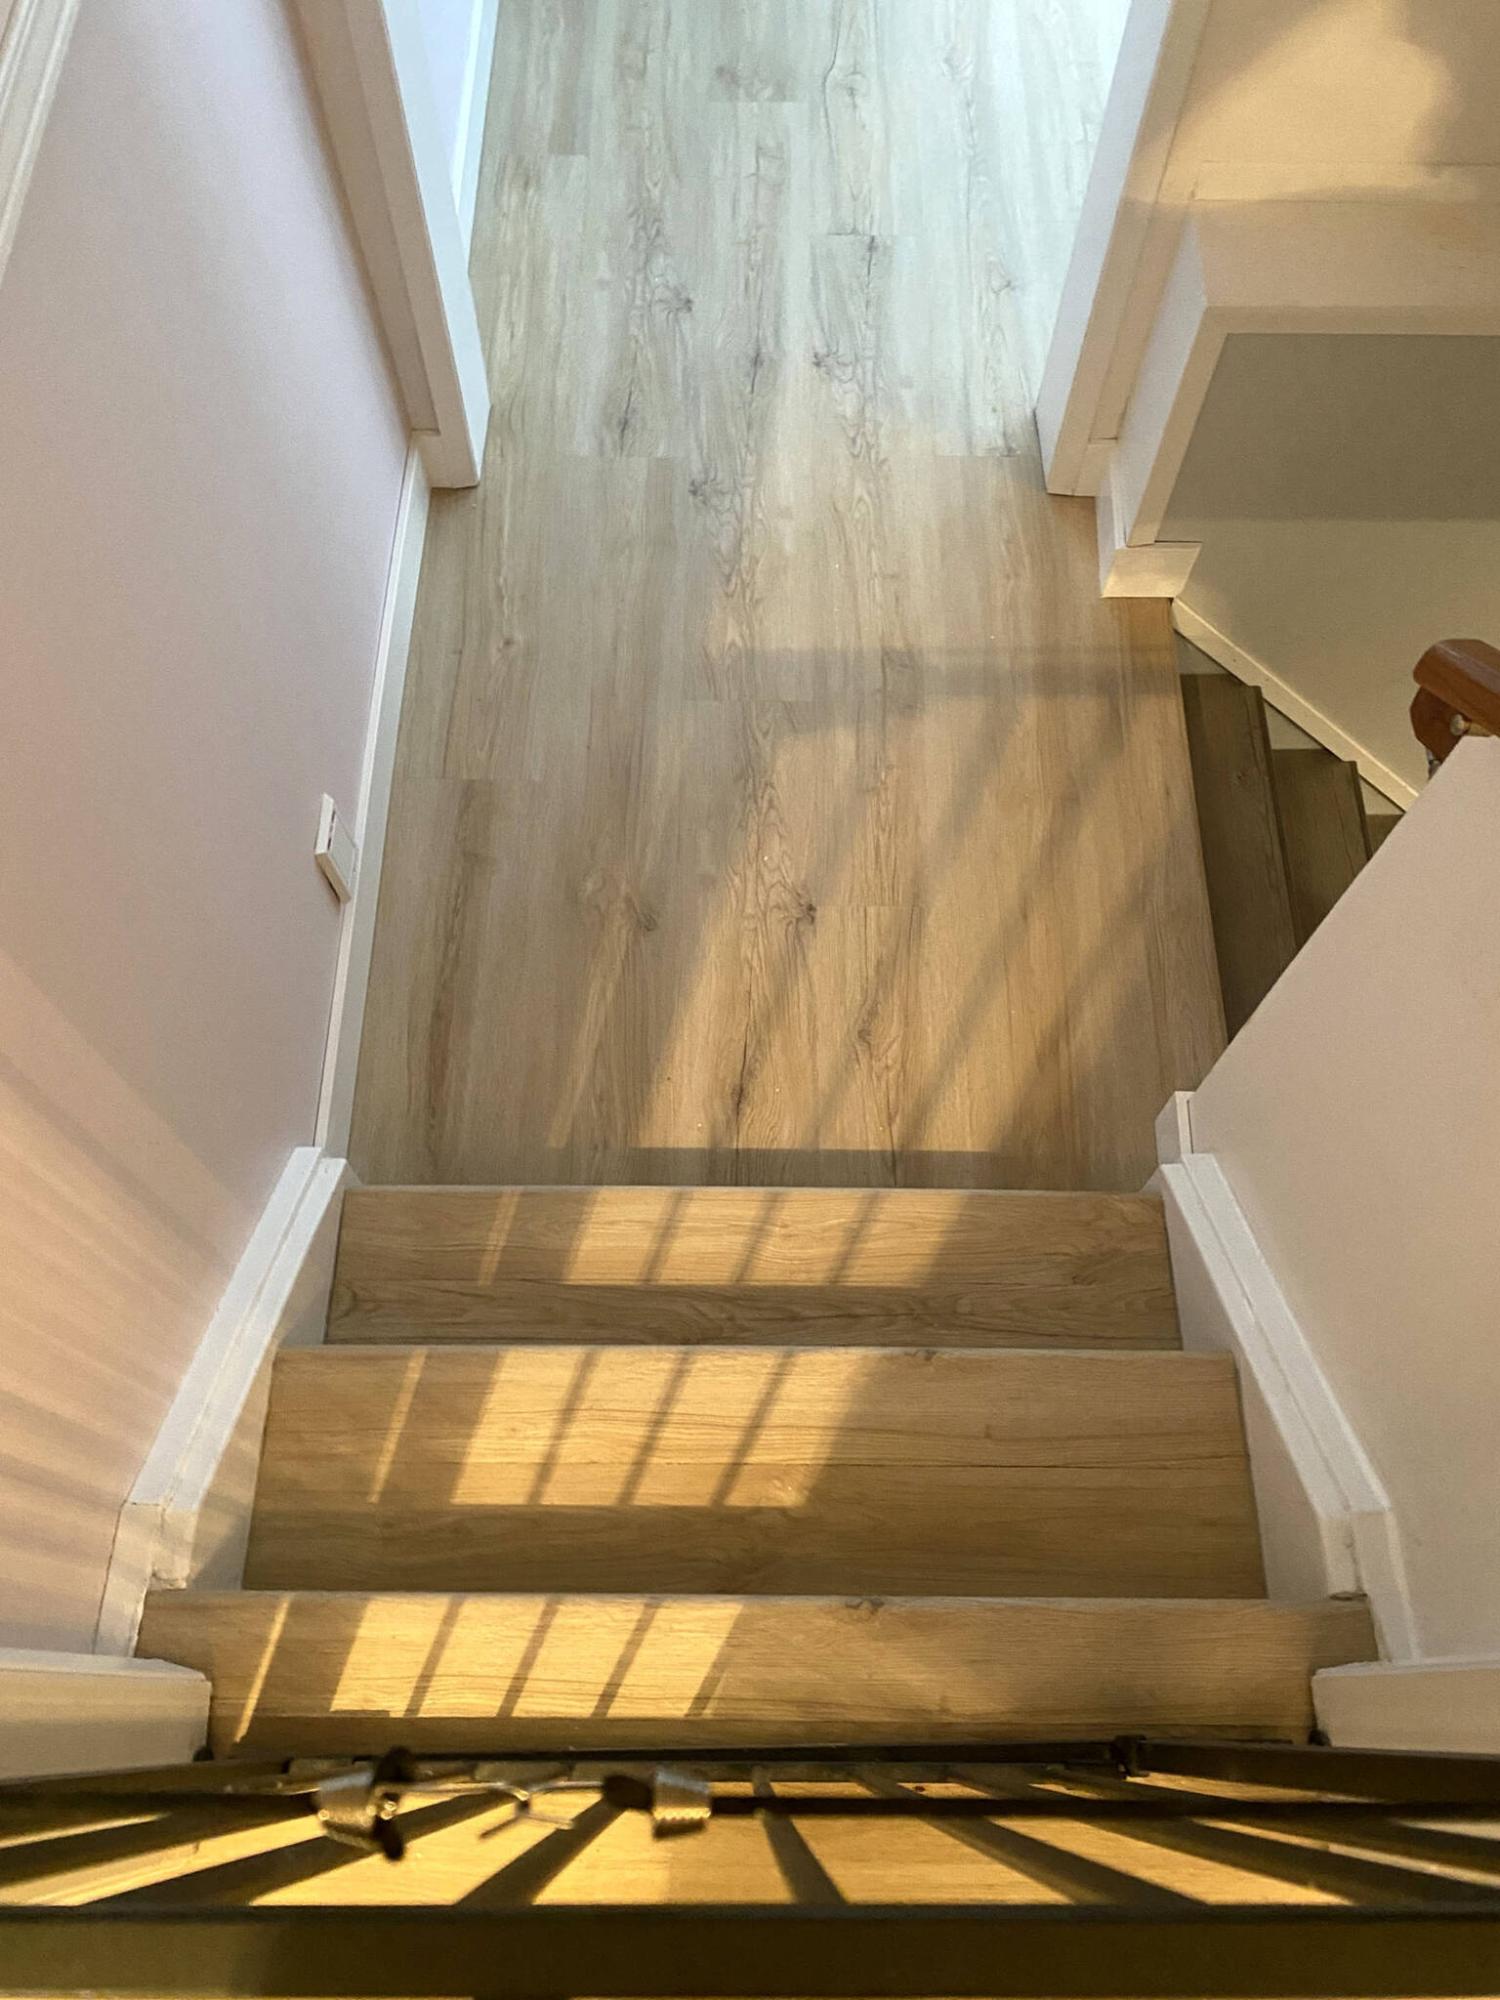
The vinyl along the floor of the step-down addition shifts orientation to meet with the basement stairs.
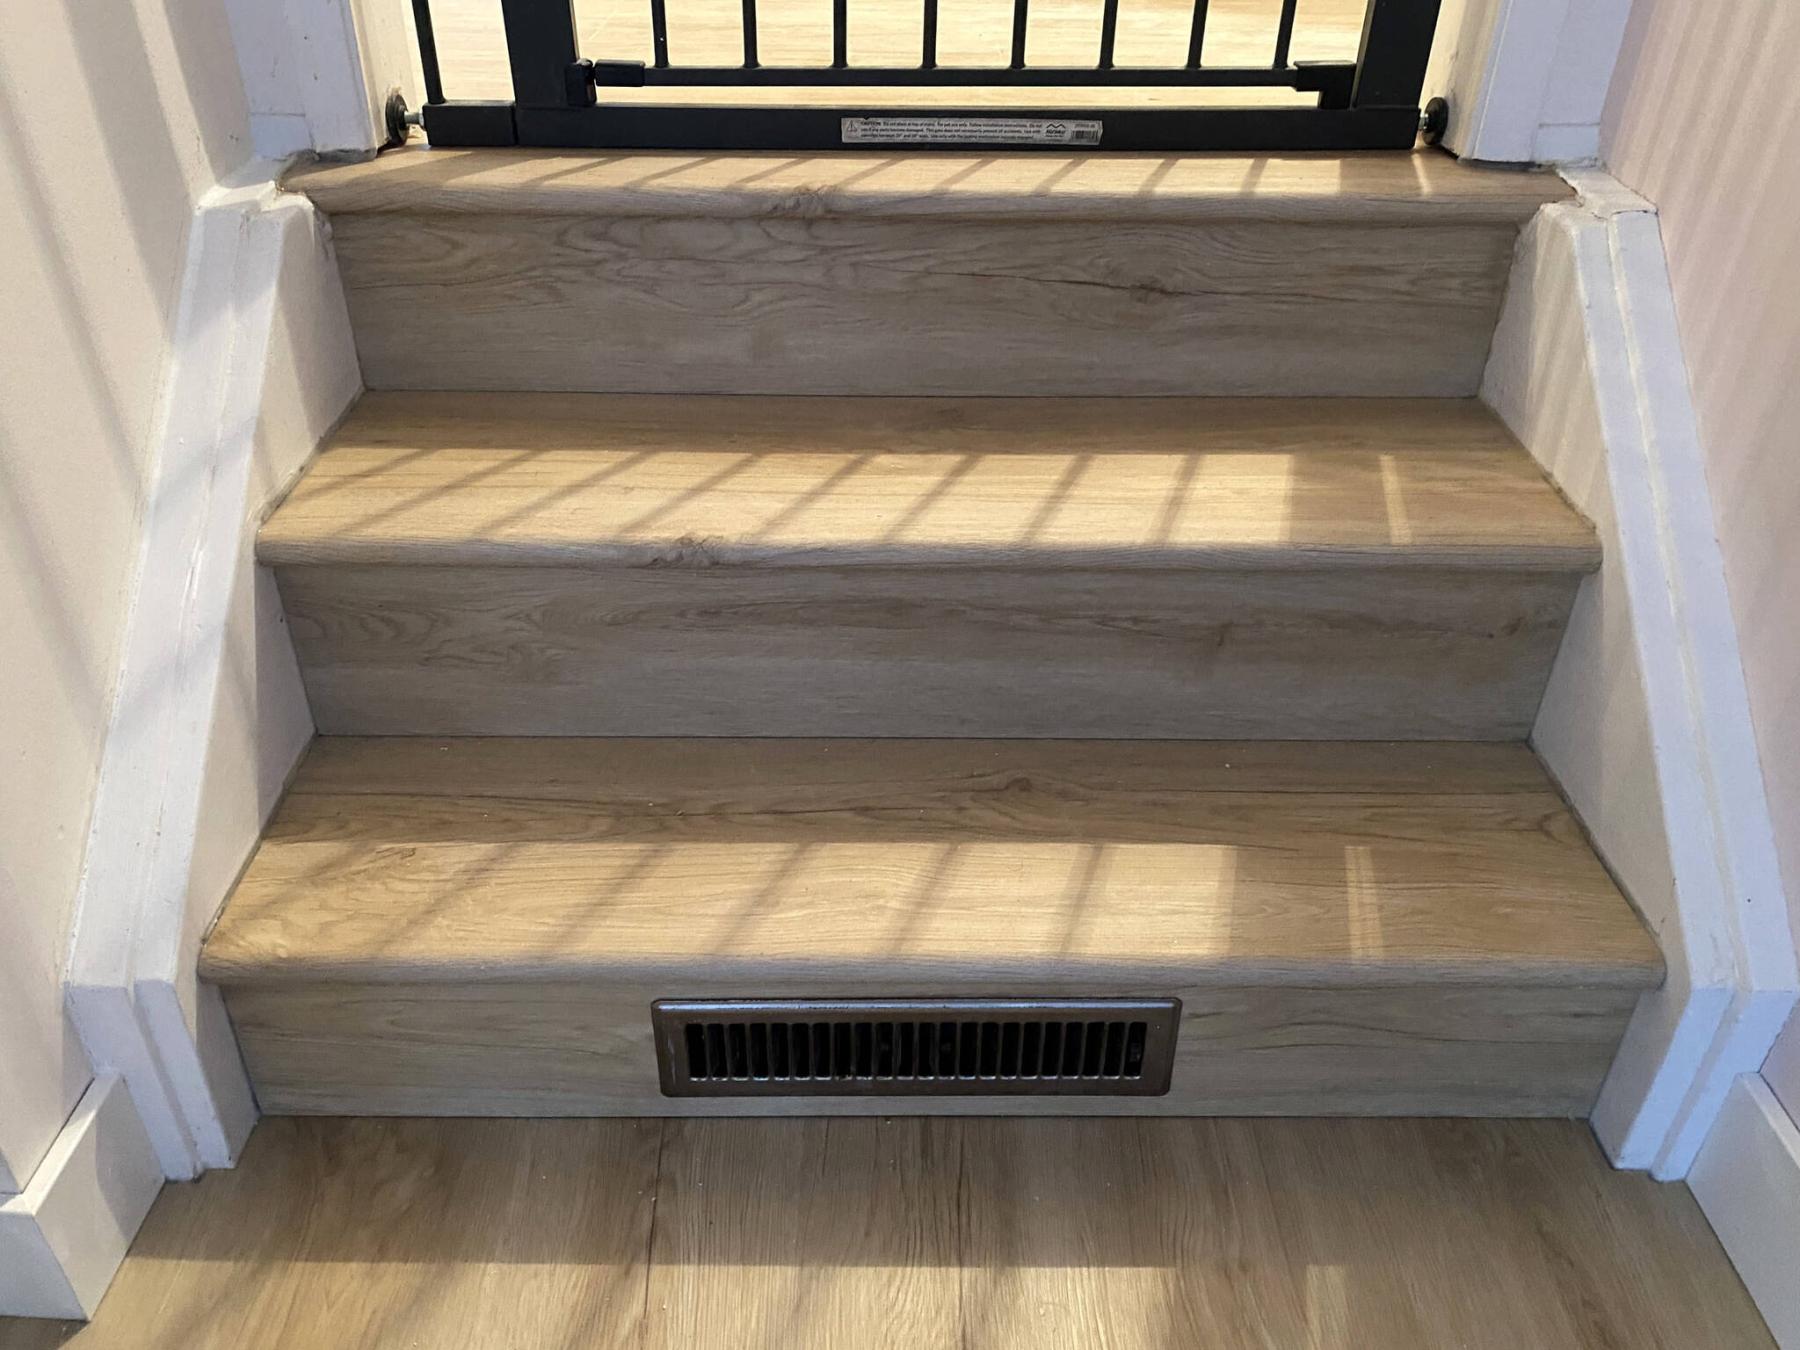
The three stairs from the upper main floor to the step-down addition have PVC nosing matching the vinyl planking.
When tasked with a project that involves the introduction of vinyl-plank flooring with underpad throughout the main level of a home, the endeavour usually includes a few stairs.
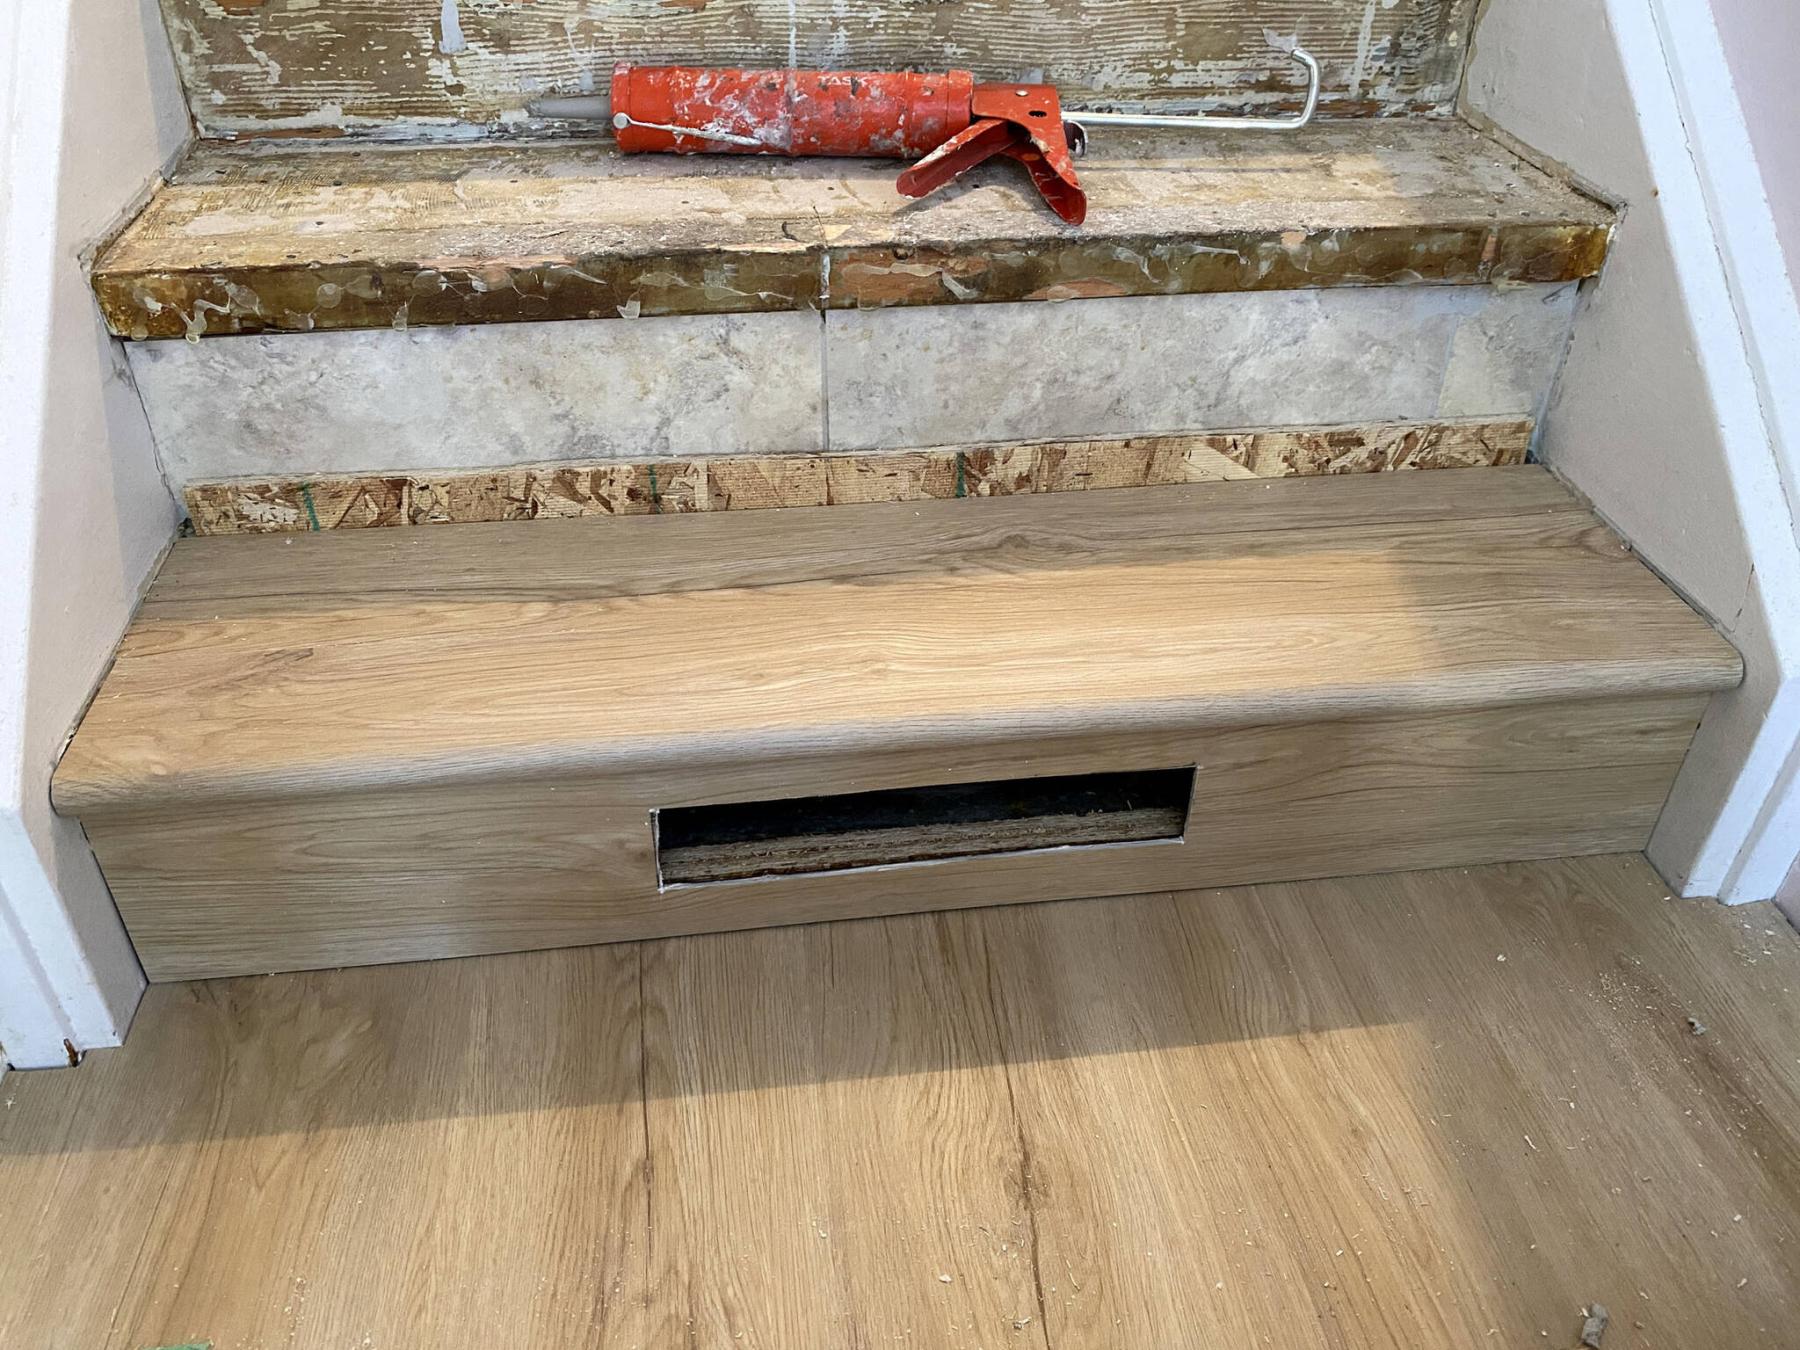
At a recent job site, the stairway leading to the basement had already been addressed during a previous renovation. As such, only the three stairs leading to the step-down addition required the flooring upgrade. No matter, just these three stairs still presented a few hurdles.
Most deluxe vinyl-flooring manufacturers offer “matching stair nosing” for the majority of their inventory. Instead of roaming the aisles of the big-box stores in hope of finding a close match in either PVC or aluminum, a nosing that is fabricated using the same vinyl style and colour is always the better choice. However, it’s best to inquire as to what type of nosing is available.
Although top-mount nosing can be satisfactory in some applications, the sleekest “look” derives from flush-mount nosing, as this type is simply an extension of the vinyl plank at the same elevation. However, there are a few things to consider before attempting the latter style of nosing.
Top-mount nosing installation is very straightforward. Once the rise and run (tread) of the stair have been installed, the top-mount nosing is simply glued to the front corner where the rise and run meet. Once the adhesive is allowed to set, the nosing decoratively finishes each stair. A flush-mount nosing will produce the same results, however the installation process requires a greater attention to detail, with very precise measurement and planning.
The vinyl chosen for the project at hand offered a flush-mount nosing that actually clicks into the adjacent flat board. As convenient as this may sound, it presupposes placement of the flat board along the main flooring at the first stair. In other words, that first board must be installed in the exact location to allow the stair nosing to click into place and provide the proper overlap at the stair rise.
Essentially, this means the entire process of installing the vinyl throughout the main floor is predicated on that first stair — and that makes zero sense from an installation perspective. Although the subsequent stairs can be installed in this manner (because there is only a narrow row of flat vinyl required to fill the backside of the stair tread), that first stair must be installed using an alternative and custom approach.
While keeping the impending stairs in mind, the initial placement of the first row of flat boards along the main flooring area was established by back-measuring from existing walls. This ensures that not only will the flooring remain parallel to other walls, but the layout also provides the best potential to avoid “slivers” or slim rows of vinyl throughout the space.
Once this was established, it was determined that beyond the initial row and towards the first stair, a slightly narrower board would be required to reach the stair nosing. As such, this board was cut wider than required, for reasons described a bit later.
Once the main flooring was completed, the stairs were then addressed starting from the lowest to the highest. The rough rise was built out along the bottom to ensure the vinyl board for the rise was plumb and level. Once in place, the stair tread was then created by ripping the main vinyl board slightly wider than required to fill the void once the stair nosing was in place.
In this application, I elected to negate the “click” side of the nosings by cutting them off using a table saw. By doing so, every stair would have the same look, including the top step that could only be installed in this manner.
A strong-bond adhesive was used to glue the back board and stair nosing in place. And once the two lower stairs were completed, the top stair was tackled in much the same manner, by trimming the top stair nosing to fit along the ripped flat board that was introduced along the first main row of vinyl boards at the entryway.
This top nosing, however, required some finesse — several specific notches were created on each side of the nosing to properly fit against the existing decorative stringer. Once these cuts were sorted out, the top nosing simply slid into place. After the dry run, adhesive was applied along the top-stair nosing area, completing the final phase of the vinyl installation process.
Fortunately, the vinyl style and colour chosen by the homeowners in this instance very neatly conceal both long and short seams of the vinyl boards. And because the girth of the PVC stair nosing matches the thickness of the flat boards with underpad, the ripped side of the nosing adjacent the ripped edge of the vinyl plank met at the same elevation, rendering the transition from board to nosing virtually undetectable. Thus, the stairs provide a functional upgrade with a very unified look — from the upper main floor to the matching vinyl installed at the step-down addition.
RenoBoss.Inc@outlook.com