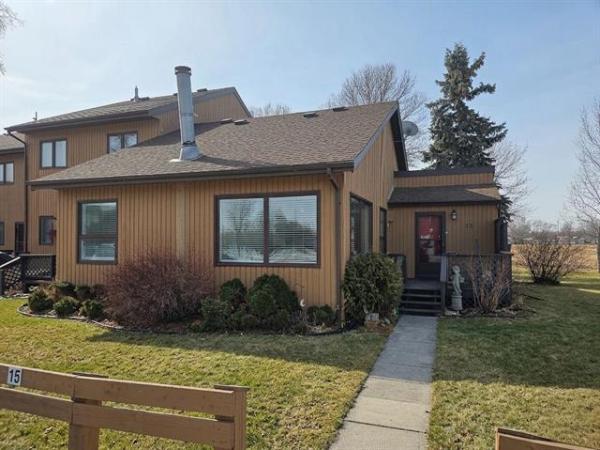
The completed stairway leading to the basement marks the completion of the entire basement renovation
Pulling double-duty has been a common scenario in all aspects of my life throughout the years.
Whether double-booked as a musician racing from one venue to the next to perform at the next gig, or changing hats when in the studio from engineer, to producer, to studio musician when needed, it’s go, go, go. This has led to near exhaustion on most days, but somehow “the show must go on” echoed in my brain. Even as a builder and contractor, the race to complete a project to remain on schedule is daunting and tiring, especially when double-duty awaits at home.
Throughout these past months, amid a hectic exterior build season, my basement renovation was finally being addressed after 20 years in this house. The project includes a full rec room, a three-piece bathroom with walk-in shower, a laundry room, a separate pantry room with adjacent storage closet that continues underneath the stairway, and finally a quarantined utility room. In theory, I had hoped to address each of these rooms individually. However, it was more practical to complete common tasks in each room, at the same time (i.e., all the electrical throughout, all the plumbing in the bathroom and laundry, all the drywalling and subsequent taping and mudding in every room, and so on). And because these tasks were being achieved on “off” hours, there was very little time to relax.
Every weekend and several evenings were devoted to the basement project over the past few months. Recently, only one aspect of the project remained, one that had been a burden on my brain: the stairwell upgrade leading from the main floor to the basement. Although I was not looking forward to it, I was well aware that I’d need to bite the bullet and get it done, despite my lack of enthusiasm.
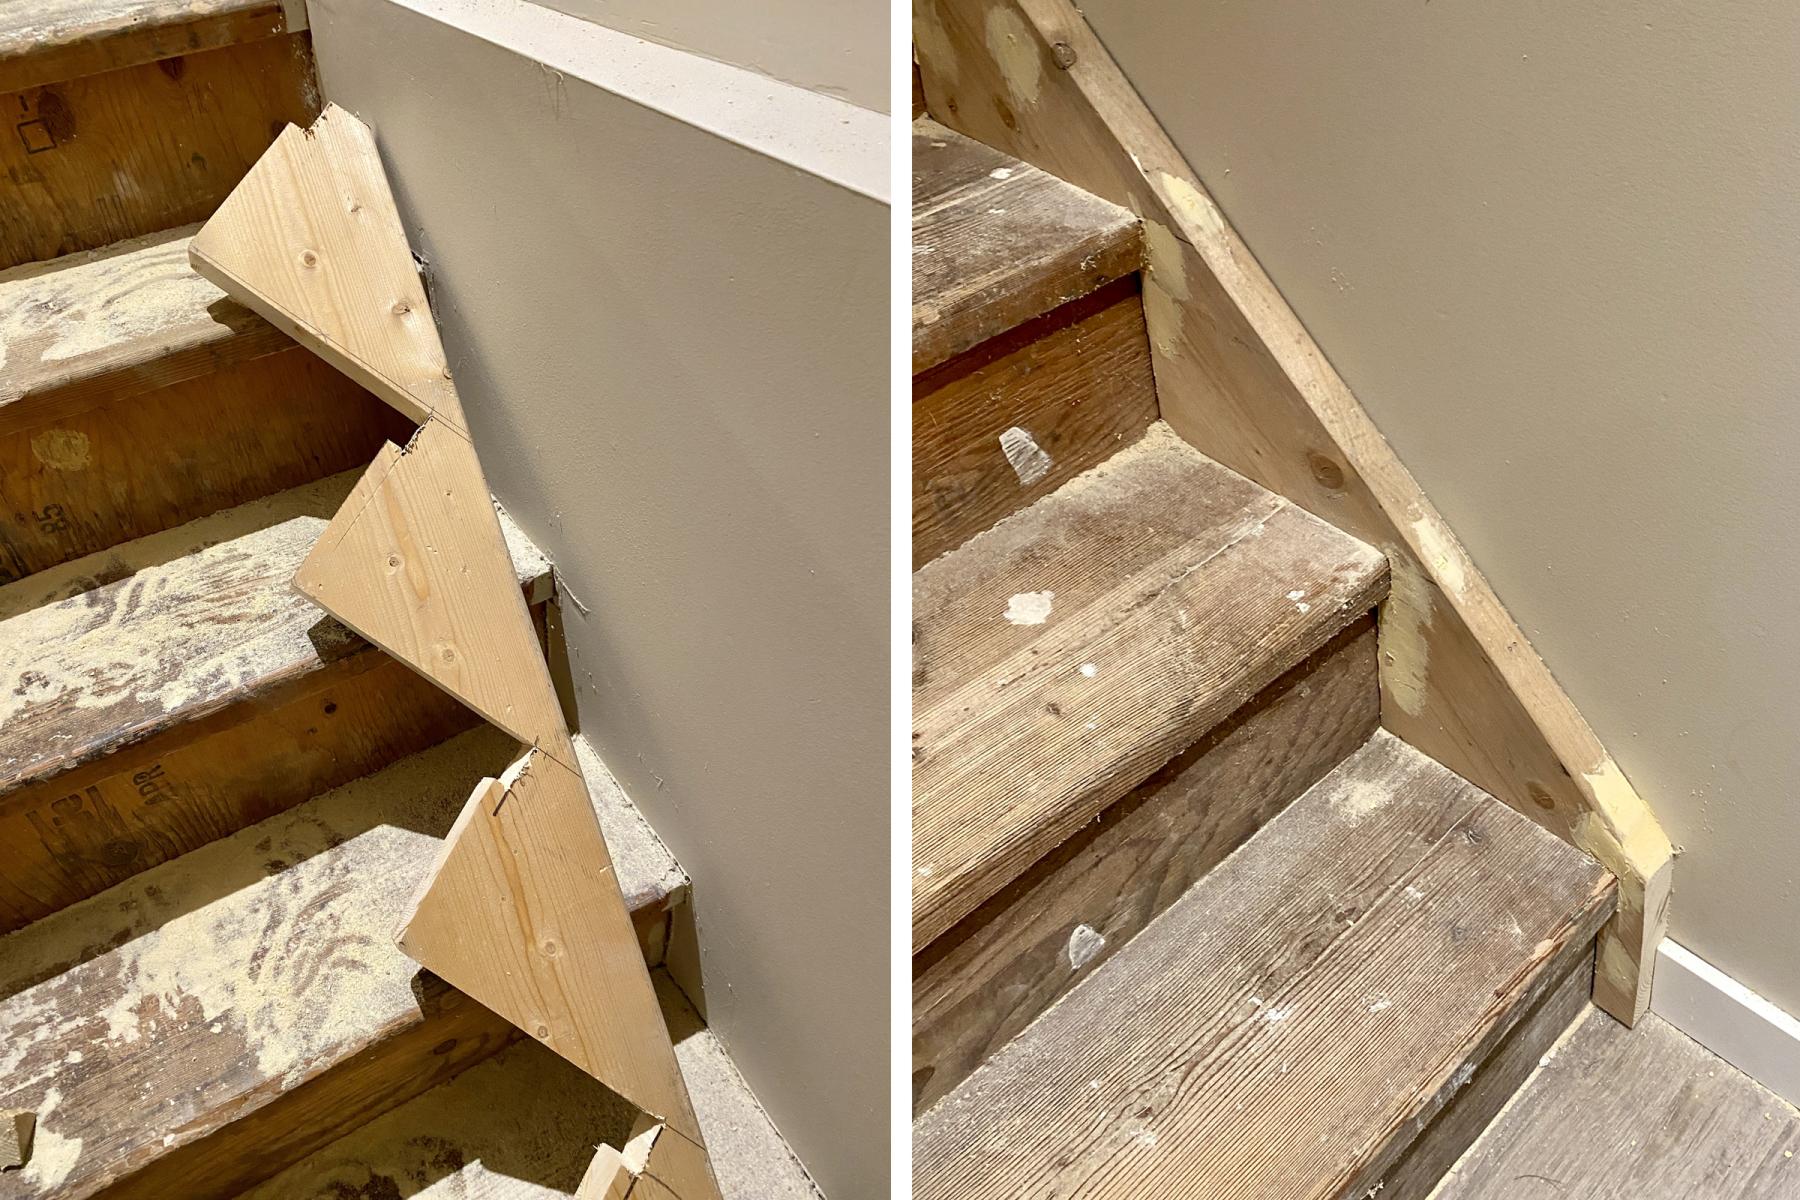
My main concern was the existing state of the stairs — simple unpainted timber stairs from when the house was built in 1984, with a decorative stringer on the open side while the other side was embedded in drywall. Having gone back and forth on how best to address the mismatch, I finally settled on creating a faux-decorative stringer on the wall side, to match the open side. This would entail a ton of measuring, and precision cuts.
With a 14-foot 2×8 leaning against the stairs, the run and rise angles were marked along the board. Once pre-marked, the nose protrusion of each stair was then stenciled on the marked rise of each stair. The stairs profile was then cut out, using a circular saw and jigsaw. With the board precut, the top and bottom angles that meet the respective floor levels were also cut. Once the board was fully prepped, it was pushed into position along the tops of the stairs, until the rise cuts tucked beneath the nose jig. Although it wasn’t a perfect fit, the board was fastened to the wall using construction screws. All screws holes and various gaps were then filled using wood putty.
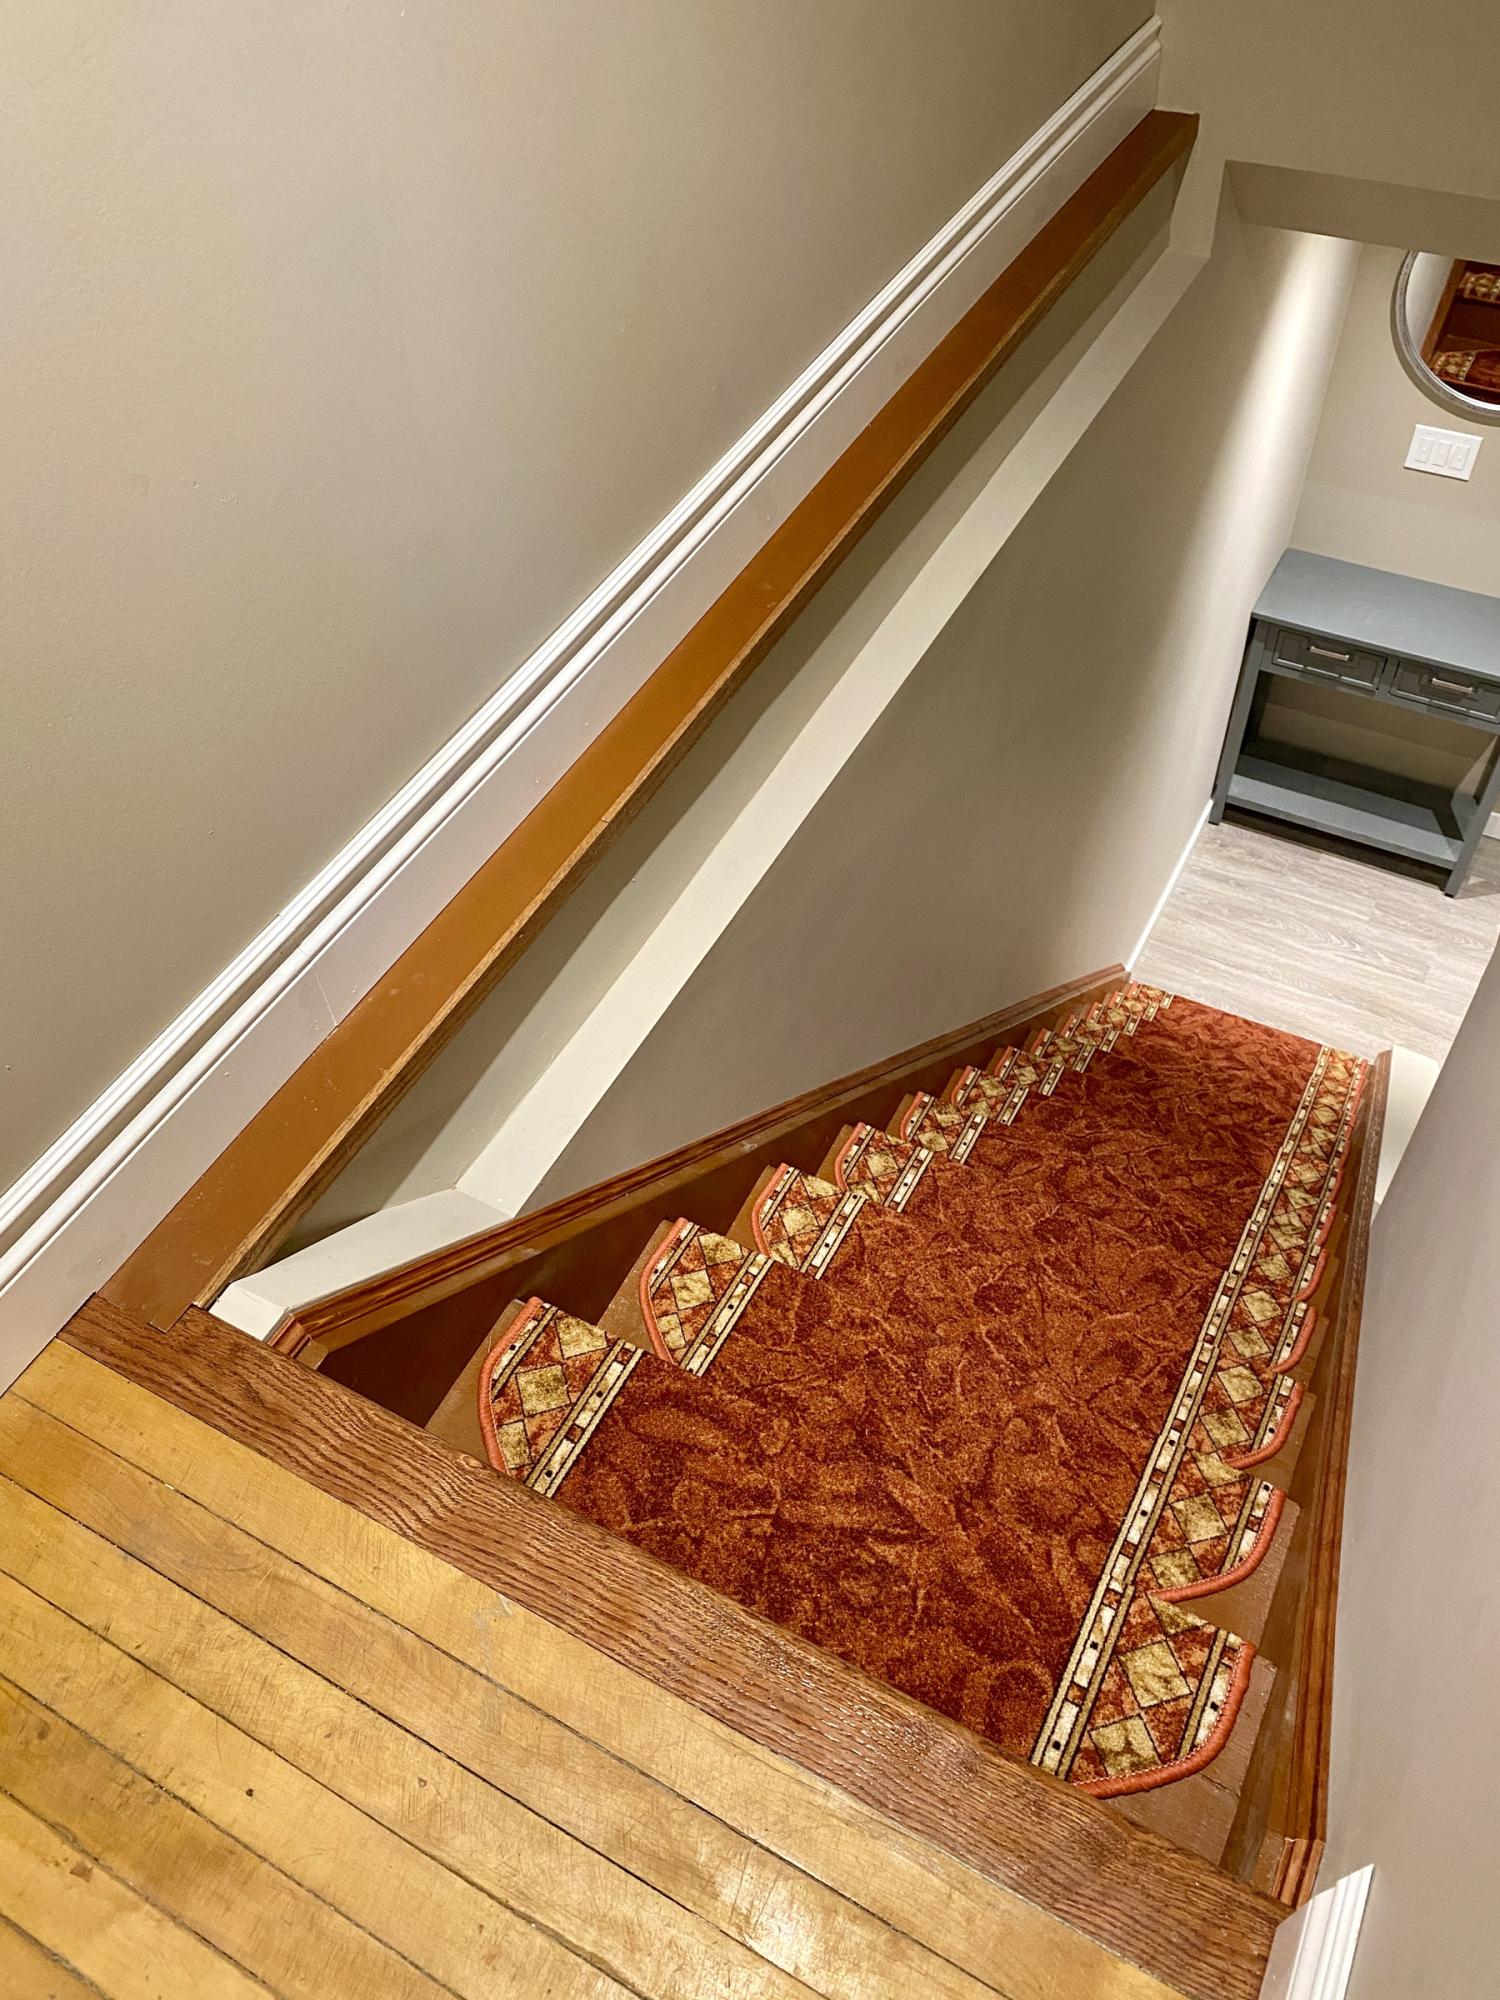
Once the putty had dried, the stairs were sanded throughout. A base coat of 1-2-3 primer was applied before the entire staircase was painted using an “oak-coloured” floor paint. After the second coat of paint had dried, an upper stair nosing was installed to match red oak hardwood found throughout the main floor. The wooden ledge along the wall was also painted using the “oak-coloured” floor paint. Once these elements had dried and cured completely, red-oak trim was also installed along the tops of the decorative stringers on both sides of the stairs. Remnant red-oak casings were custom ripped to fit around the basement door jamb, and a white basement was placed atop the freshly painted wooden ledge, which tied-in with the white baseboards along the basement floors.
Once the staircase was fully sheathed, decorative carpet stair treads (similar to treads on the staircase leading to the second floor) were added to every stair, secured to the stair tops using the provided two-sided tape on the reverse side of every tread. Once the treads were in place, the staircase was truly and finally finished, which meant the basement project was also fully completed. It was a glorious day!
I’m no stranger to multi-tasking, nor have I ever been afraid of over-commitment. However, working “all the time” is not for the faint of heart, nor is it healthy over long periods of time. There were a few years when I had been continuing interior projects throughout the summer, squeezing in decks on weekends. For years, I never had any free weekends as a performing musician. As such, transitioning to building decks on weekends seemed par for the course. I’ve since learned that some downtime is essential, for body and mind — I finally understand that. So, I’m sure you’ll appreciate how wonderful it is that my basement is finally completed — no more racing home from a jobsite simply to get the next task done, because they’re all done!
Weekends will now be spent enjoying these newly renovated spaces.
RenoBoss.Inc@outlook.com