Photos by Marc LaBossiere / Winnipeg Free Press
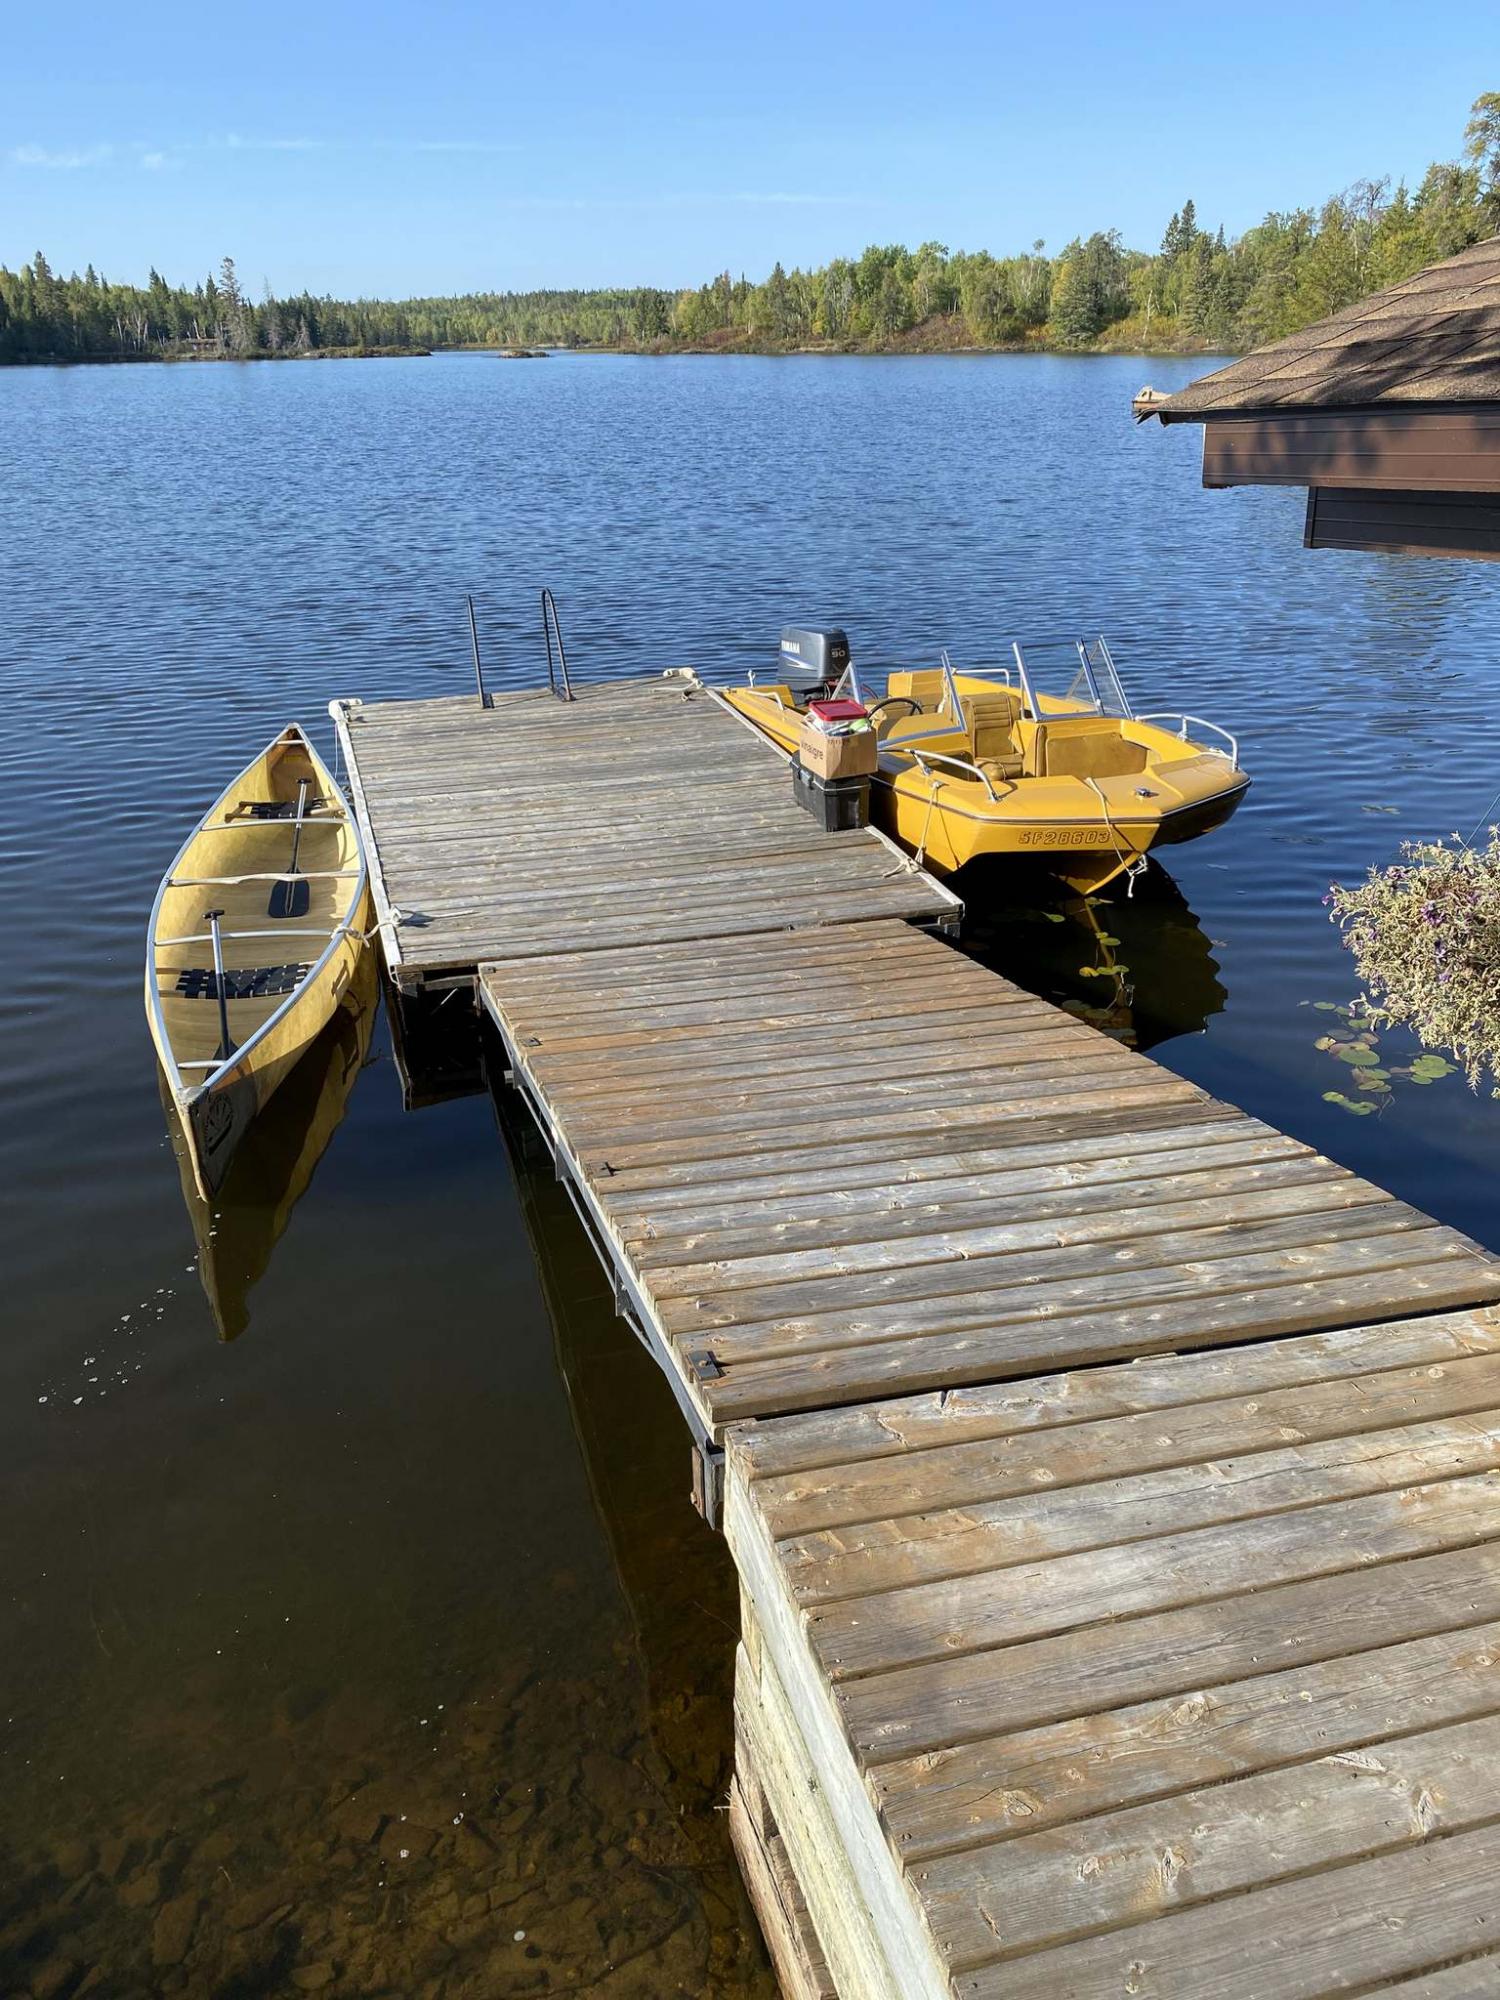
All tools and materials required for the kitchen lighting upgrade were transported by boat to this remote cabin.
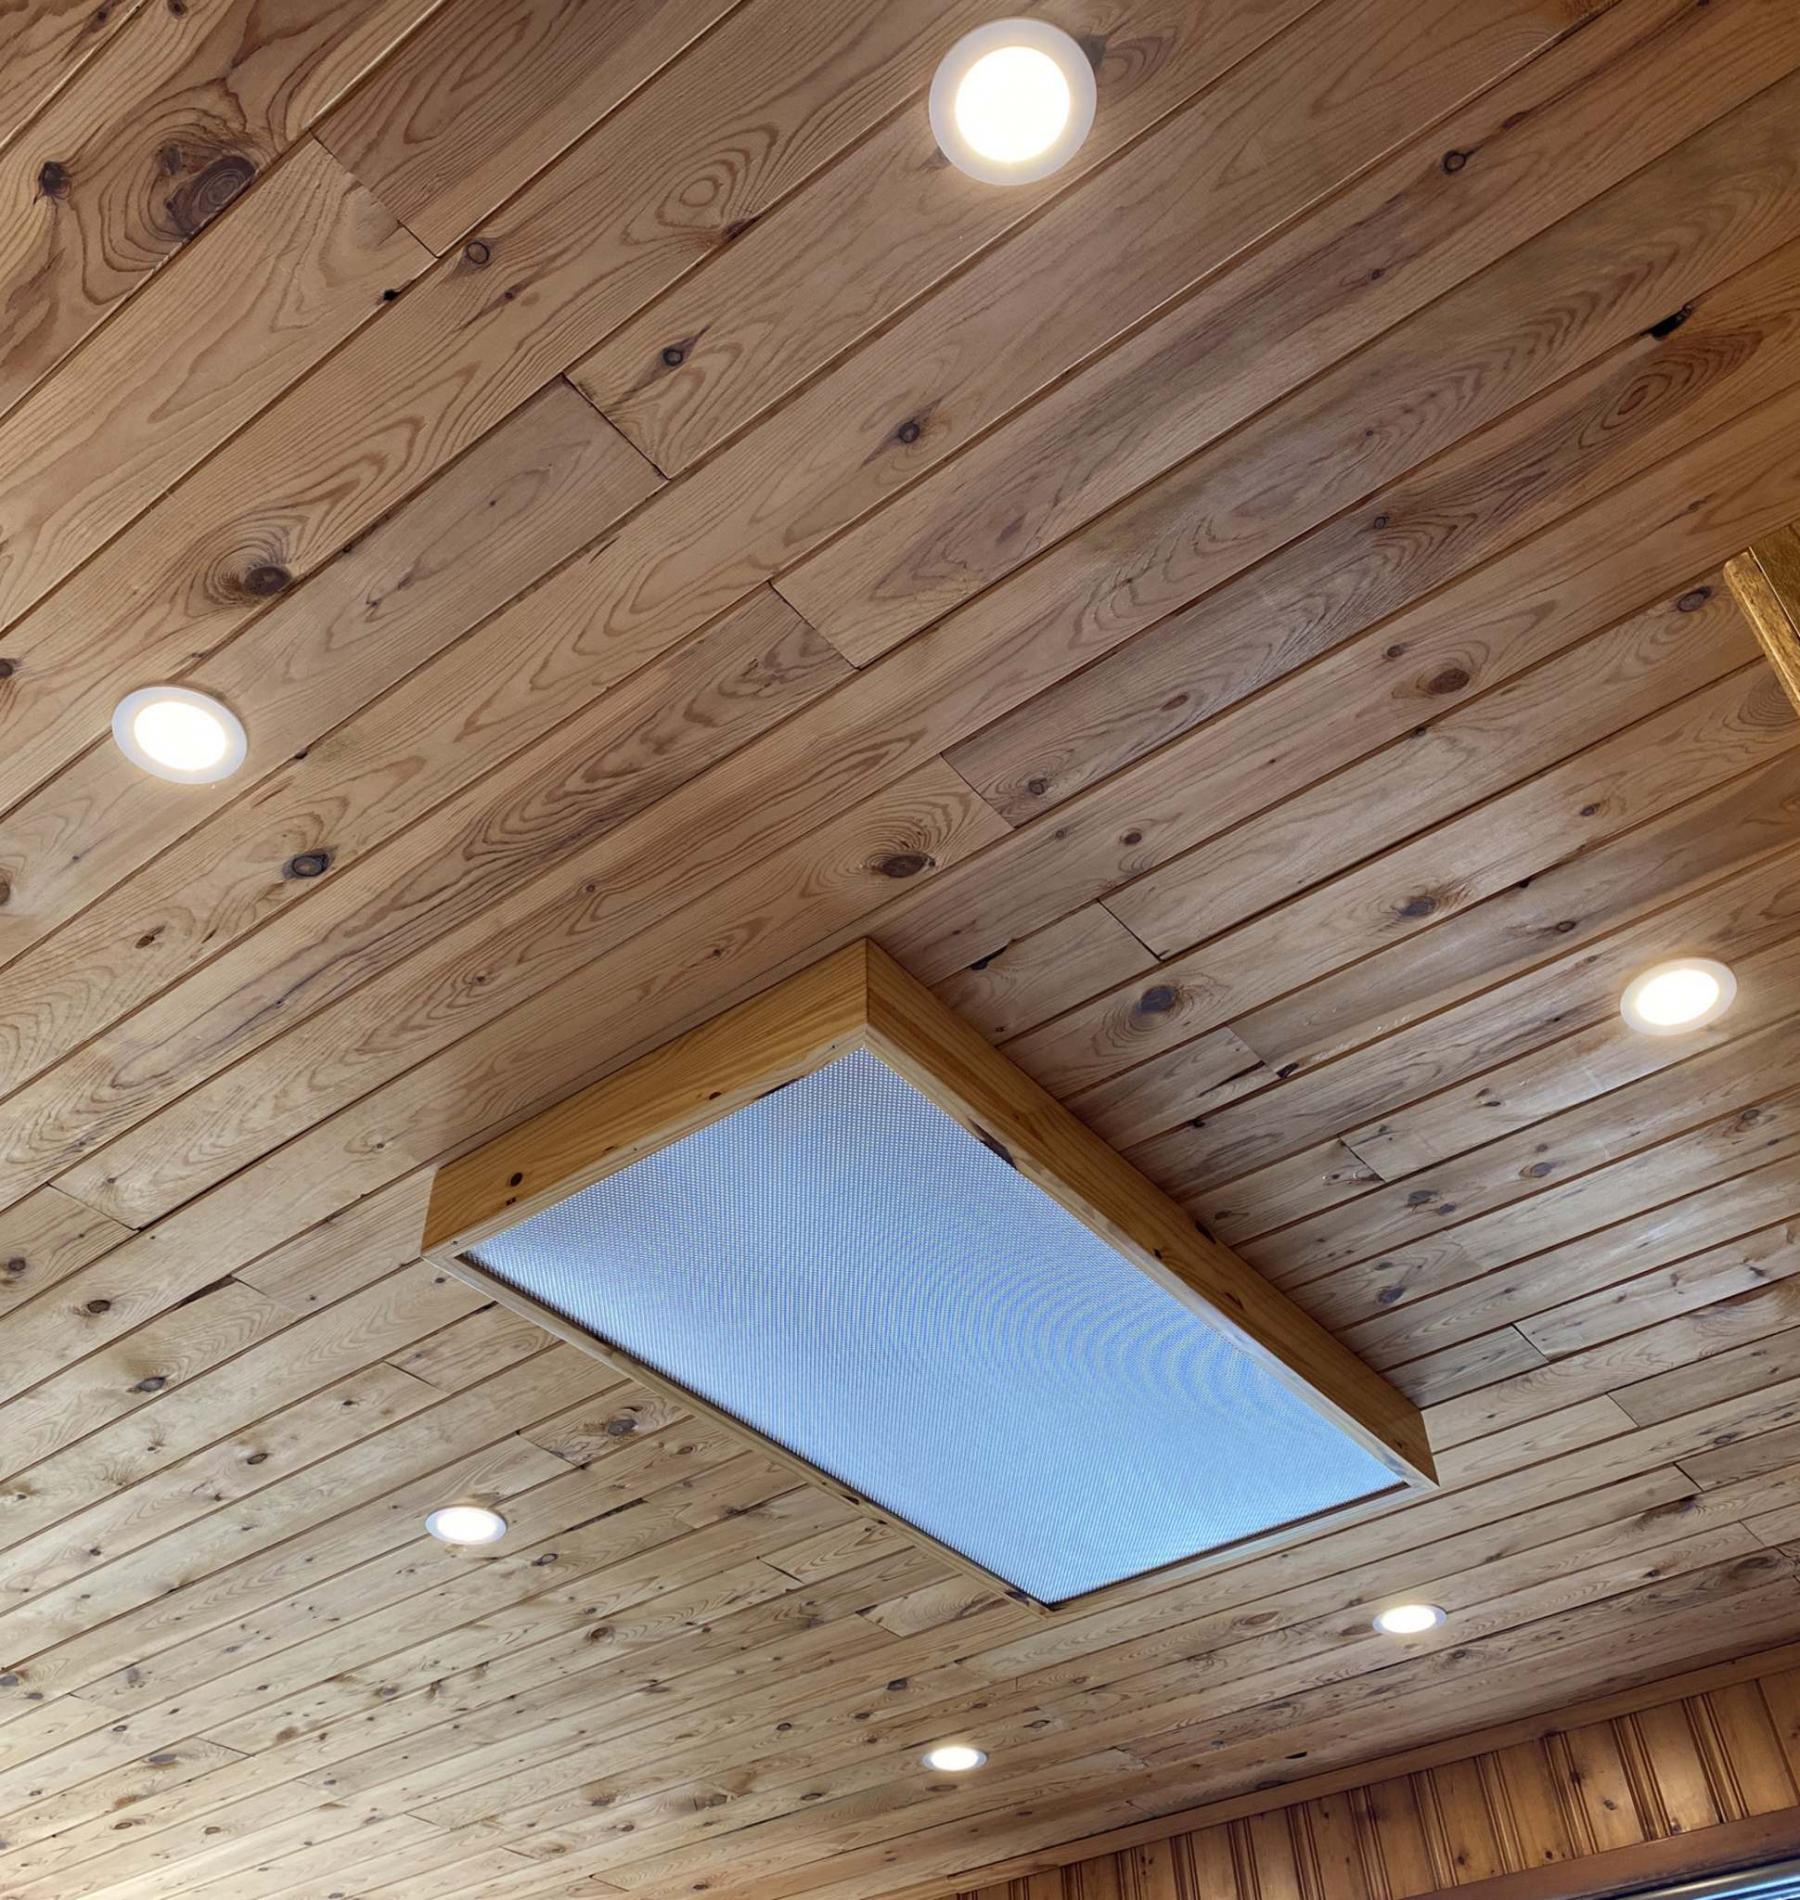
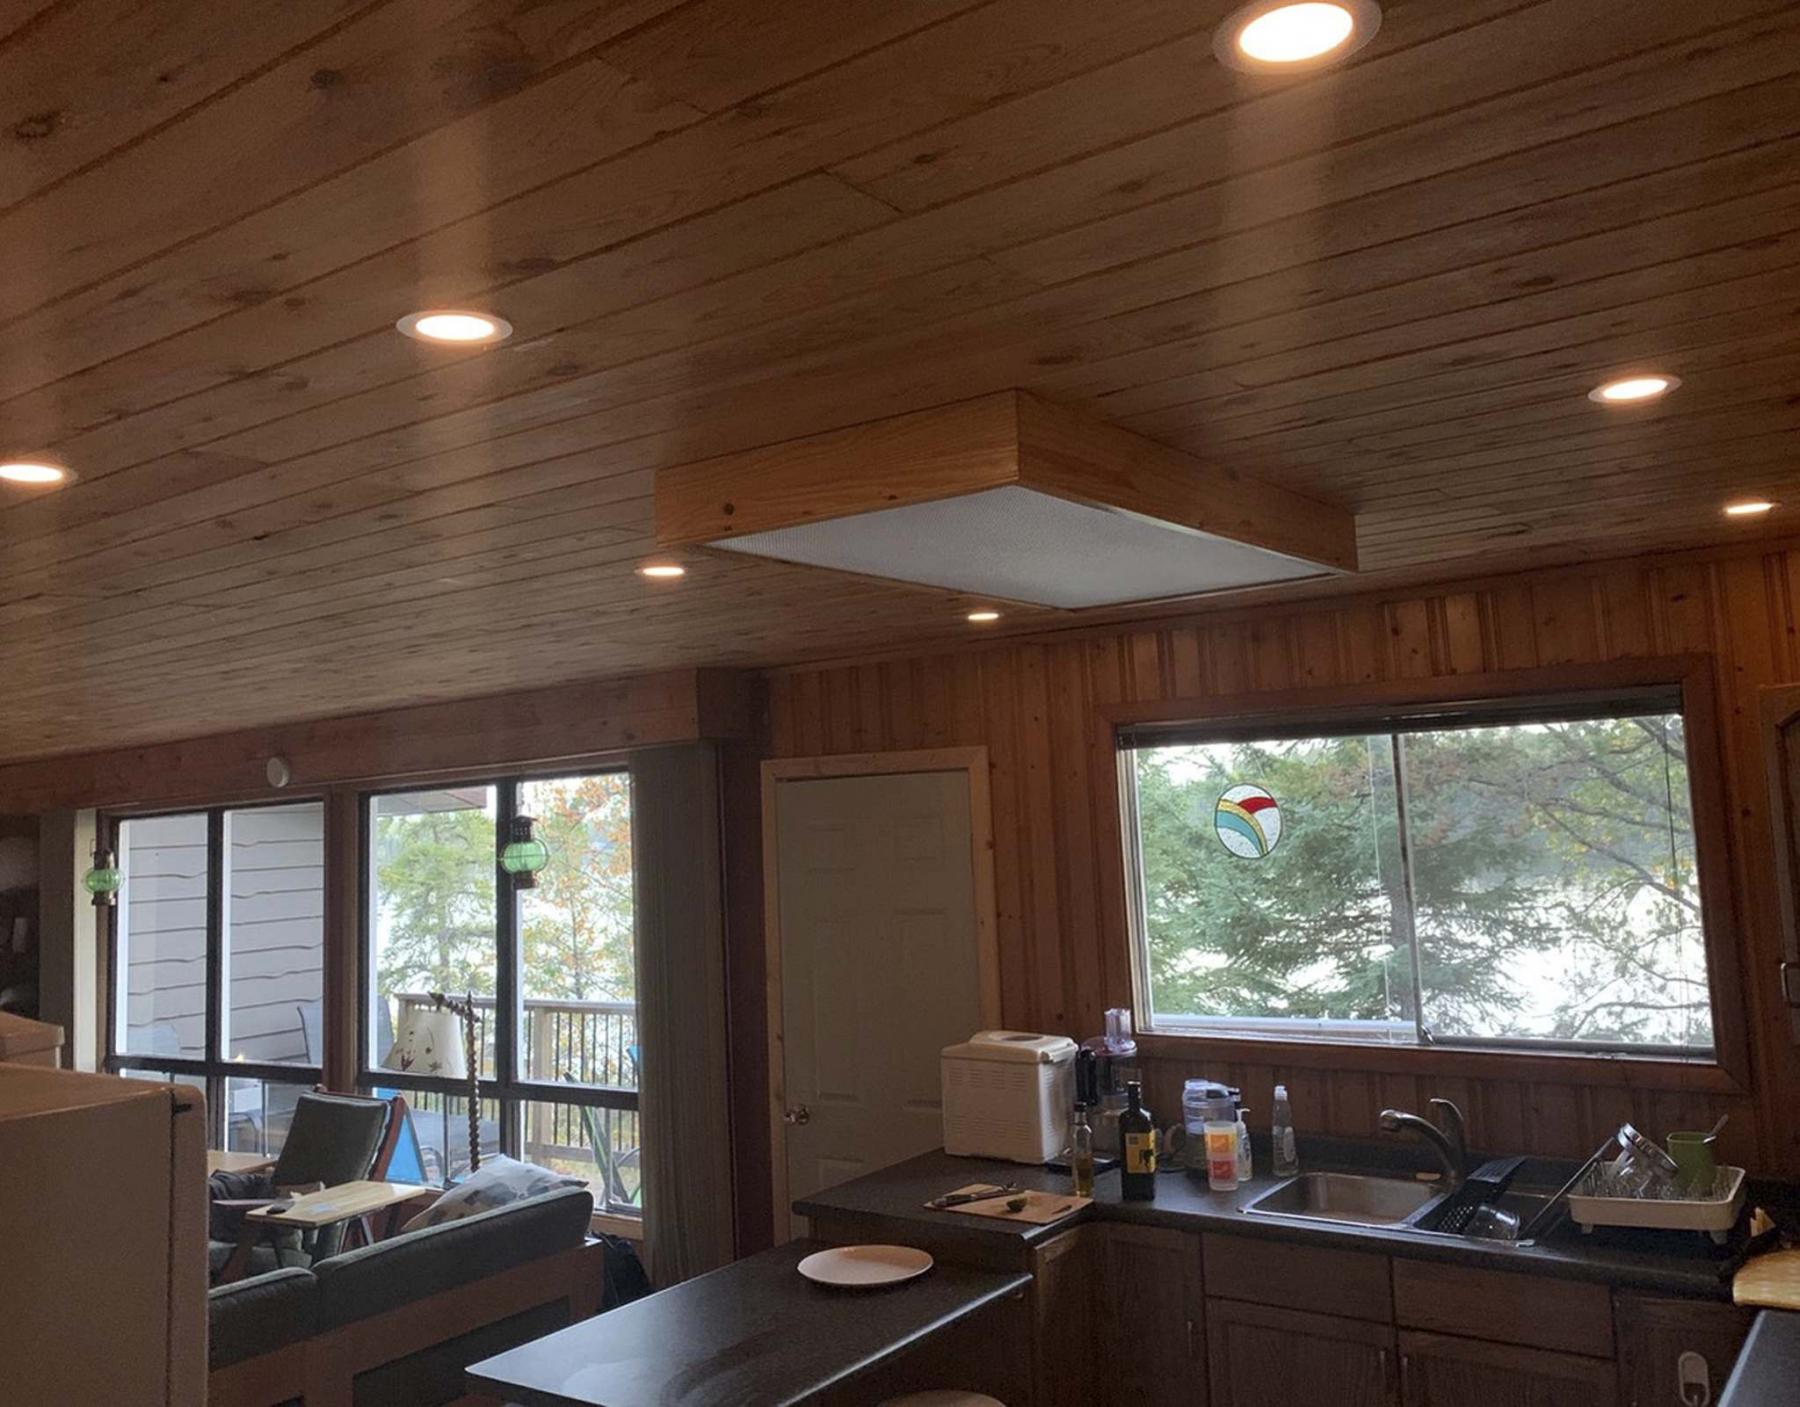
Eight LED slim recessed lights were introduced in the cottage kitchen along the perimeter of the existing boxed fluorescent lighting fixture.
Several weeks ago, before the weather turned polar, a client invited me to go fishing at his boat-access only cabin on Star Lake. So, early on a Saturday morning with gear in hand, I made my way down the Trans-Canada Highway east towards the West Hawk Lake area. After a few winding gravel roads, I then parked my truck near a dock and awaited my ride to the remote cabin. This was a different sort of fishing trip — I’d be fishing wires!
Having been to this very cabin last year to replace the top decking boards of a weathered front porch deck, the inadequacies of the existing kitchen lighting had also been discussed in great detail. As such, a remedy was determined – eight slim LED pot lights would be introduced along the ceiling of the kitchen space, as a supplemental light source beyond the boxed fluorescent fixture that already existed. A new dimmer switch instance was requested, to allow the greatest flexibility regarding light intensity.
Any fishing that would occur that Saturday did not require a reel and rod, nor could it be done from within a boat or standing on shore. This type of fishing was all about wires, and eventually getting those eight LEDs rigged up to a switch.
In most cases, running new wires within a finished wall can be done quickly by cutting a few carefully chosen access points into the drywall, pulling the wires up and along, down and through until the wire terminates in the area that allows tie-in of both light fixture and switch. Once the circuit has been achieved, the drywall can be patched, sanded, and painted, with no visible traces of the work. For this cottage job, the process was slightly more daring — because the walls and ceiling are sheathed with tongue and groove pine boards, a more strategic approach for inner wall access was required. Luckily, the placement of the existing kitchen light switch would hasten the entire wiring process.
The first step was to establish the best placement for the new eight recessed LEDs. Because the existing boxed fluorescent light fixture is virtually centered withing the kitchen area, it made sense to establish a perimeter of LEDs, that follow a congruent distance between the kitchen cupboards and the boxed light. Once all eight light positions were measured and verified for accuracy in placement, holes were drilled using a four-and-a-quarter inch auger bit at every impending light location. With this step completed, it was time for some fishing.
The boards nearest the doorway to the dining wing of the cabin were removed along the edge of the jamb closest to the switch, until access to the box was feasible. Holes were drilled through the top plate of the wall framing and into the attic space. This would feed the lights with the circuit interrupt wires from the switch. A new rectangular hole was cut into the decorative pine board, adjacent the notch for the existing switch box. The new single box was mounted to the stud, and power was drawn from the old box. Once the new dimmer switch was wired and mounted, the pine boards were then set back into their original positions.
One by one, 14/2 wire was fished from one hole to the next in series using a six-foot metal dowel, that can be shaped to negotiate the spacing of the trusses behind the ceiling surface. Once all holes were fished, the final feed from the switched was fished to the closest hole. With that step behind me, the wiring process was straight forward, all-be-it time-consuming. One by one, the junction boxes for each LED slim were tied-in to the next light location. At the final LED location, the interrupt feed was then tied to that closest light junction box. The boxes were all placed withing the ceiling cavity through their respective holes, and the slim LEDs were connected to the wire feed from the junction boxes. A quick flip of the switch revealed that all eight lights became active, allowing the final placement of all eight LED lights, recessed into the holes which had been strategically drilled through the decorative pine ceiling boards. The dimmer would now allow my clients to adjust the lighting to suit their mood.
At first glance, it may not seem all that tedious a project. However, when you factor in not be able to disturb any area of the walls or ceiling because patching was not an option, the complexity increases quickly. Moreover, the jobsite is located at a boat-only access cottage, which means you had better come fully prepared with everything needed on hand – a quick trip to the local hardware store is not an option. Fortunately, we did come prepared, and the approach was well thought-out ahead of time. Although I didn’t technically catch any fish on this trip, the day’s fishing activity will forever be remembered as a success in this cottage kitchen.
BossEnterprise@outlook.com