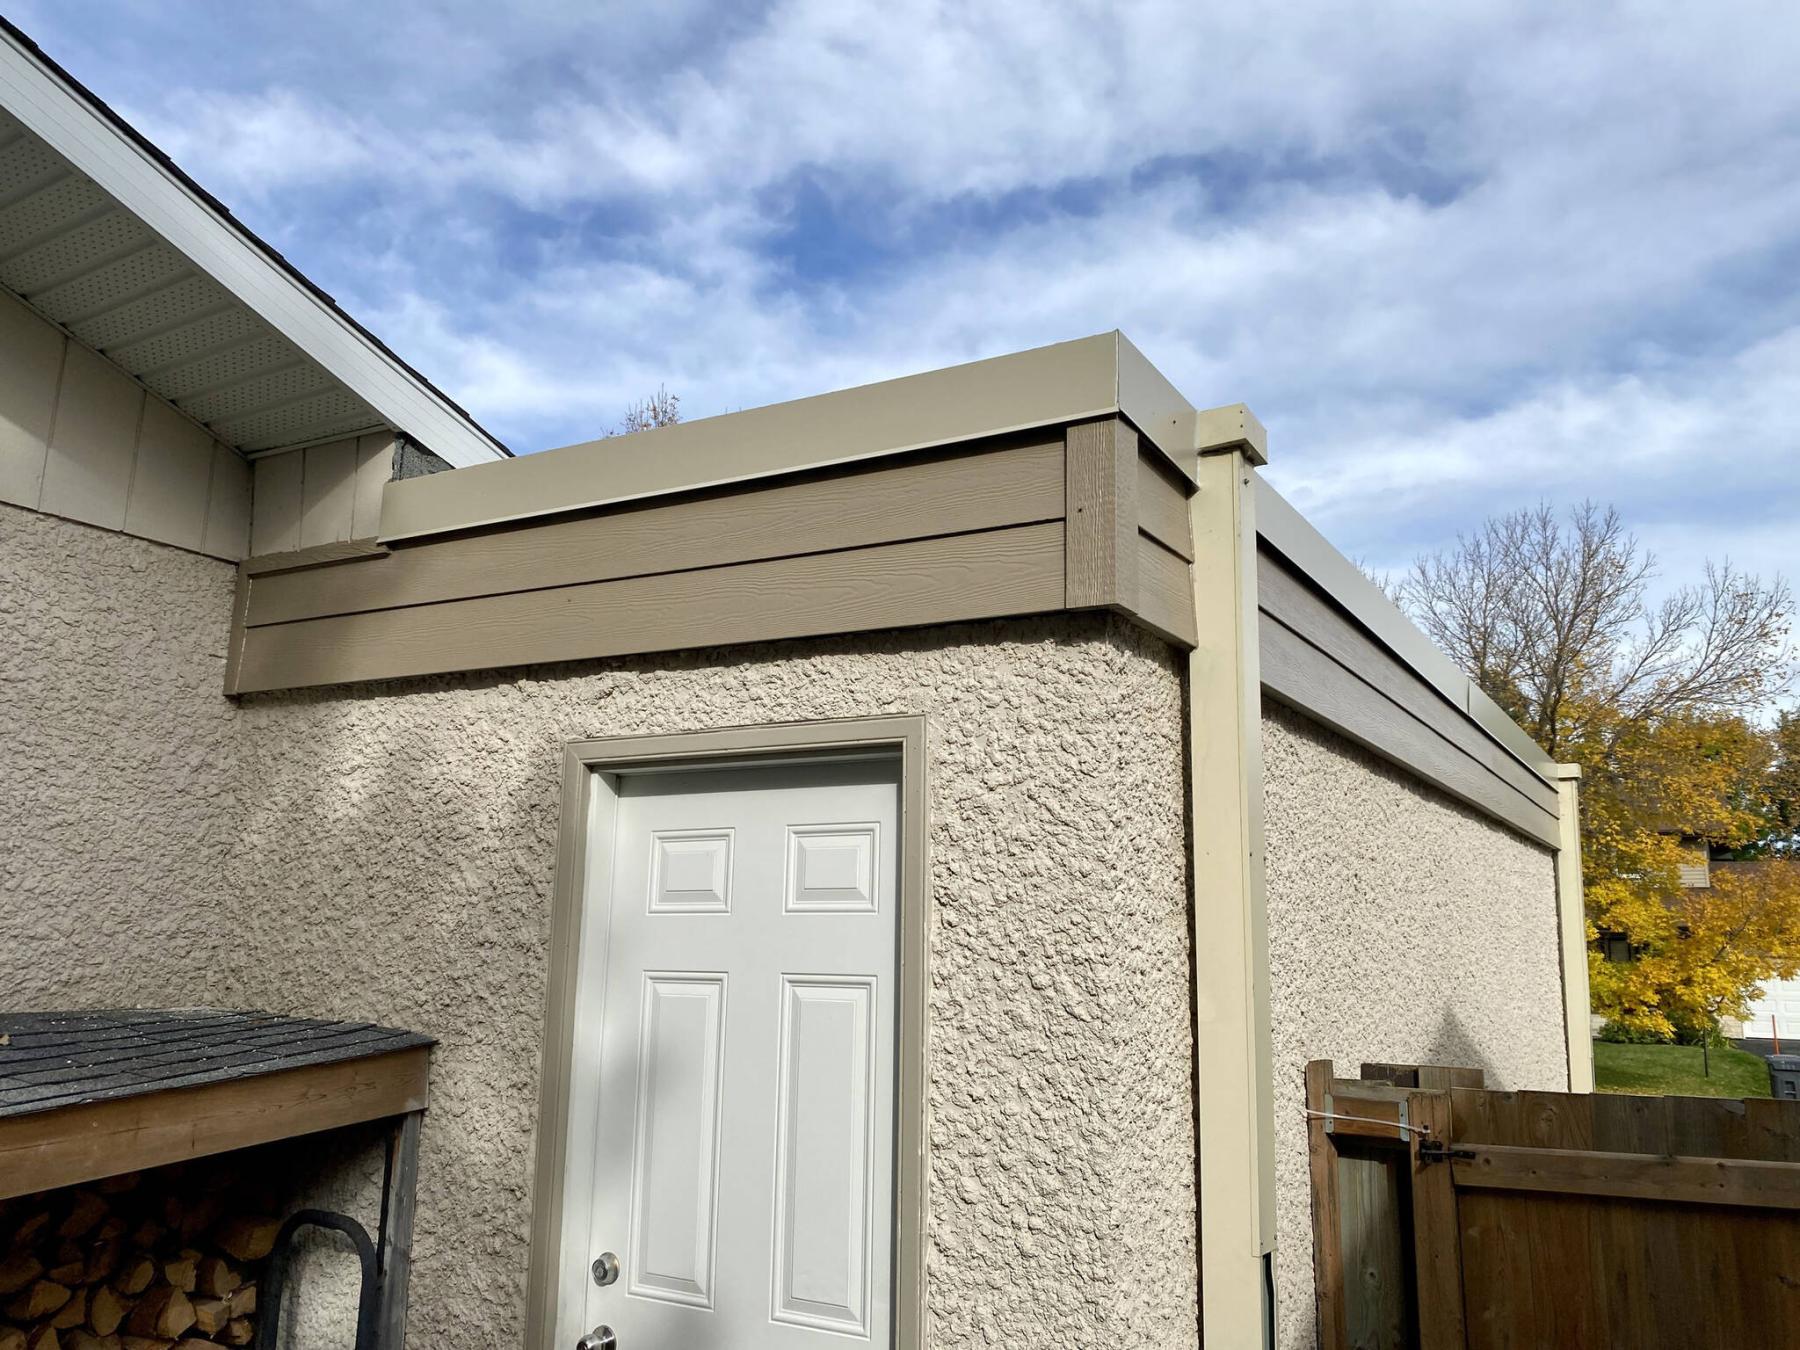
The vertical 90-degree corners create a clean look with the horizontal rows of Hardie board.
Phtoos by Marc LaBossiere / Free Press
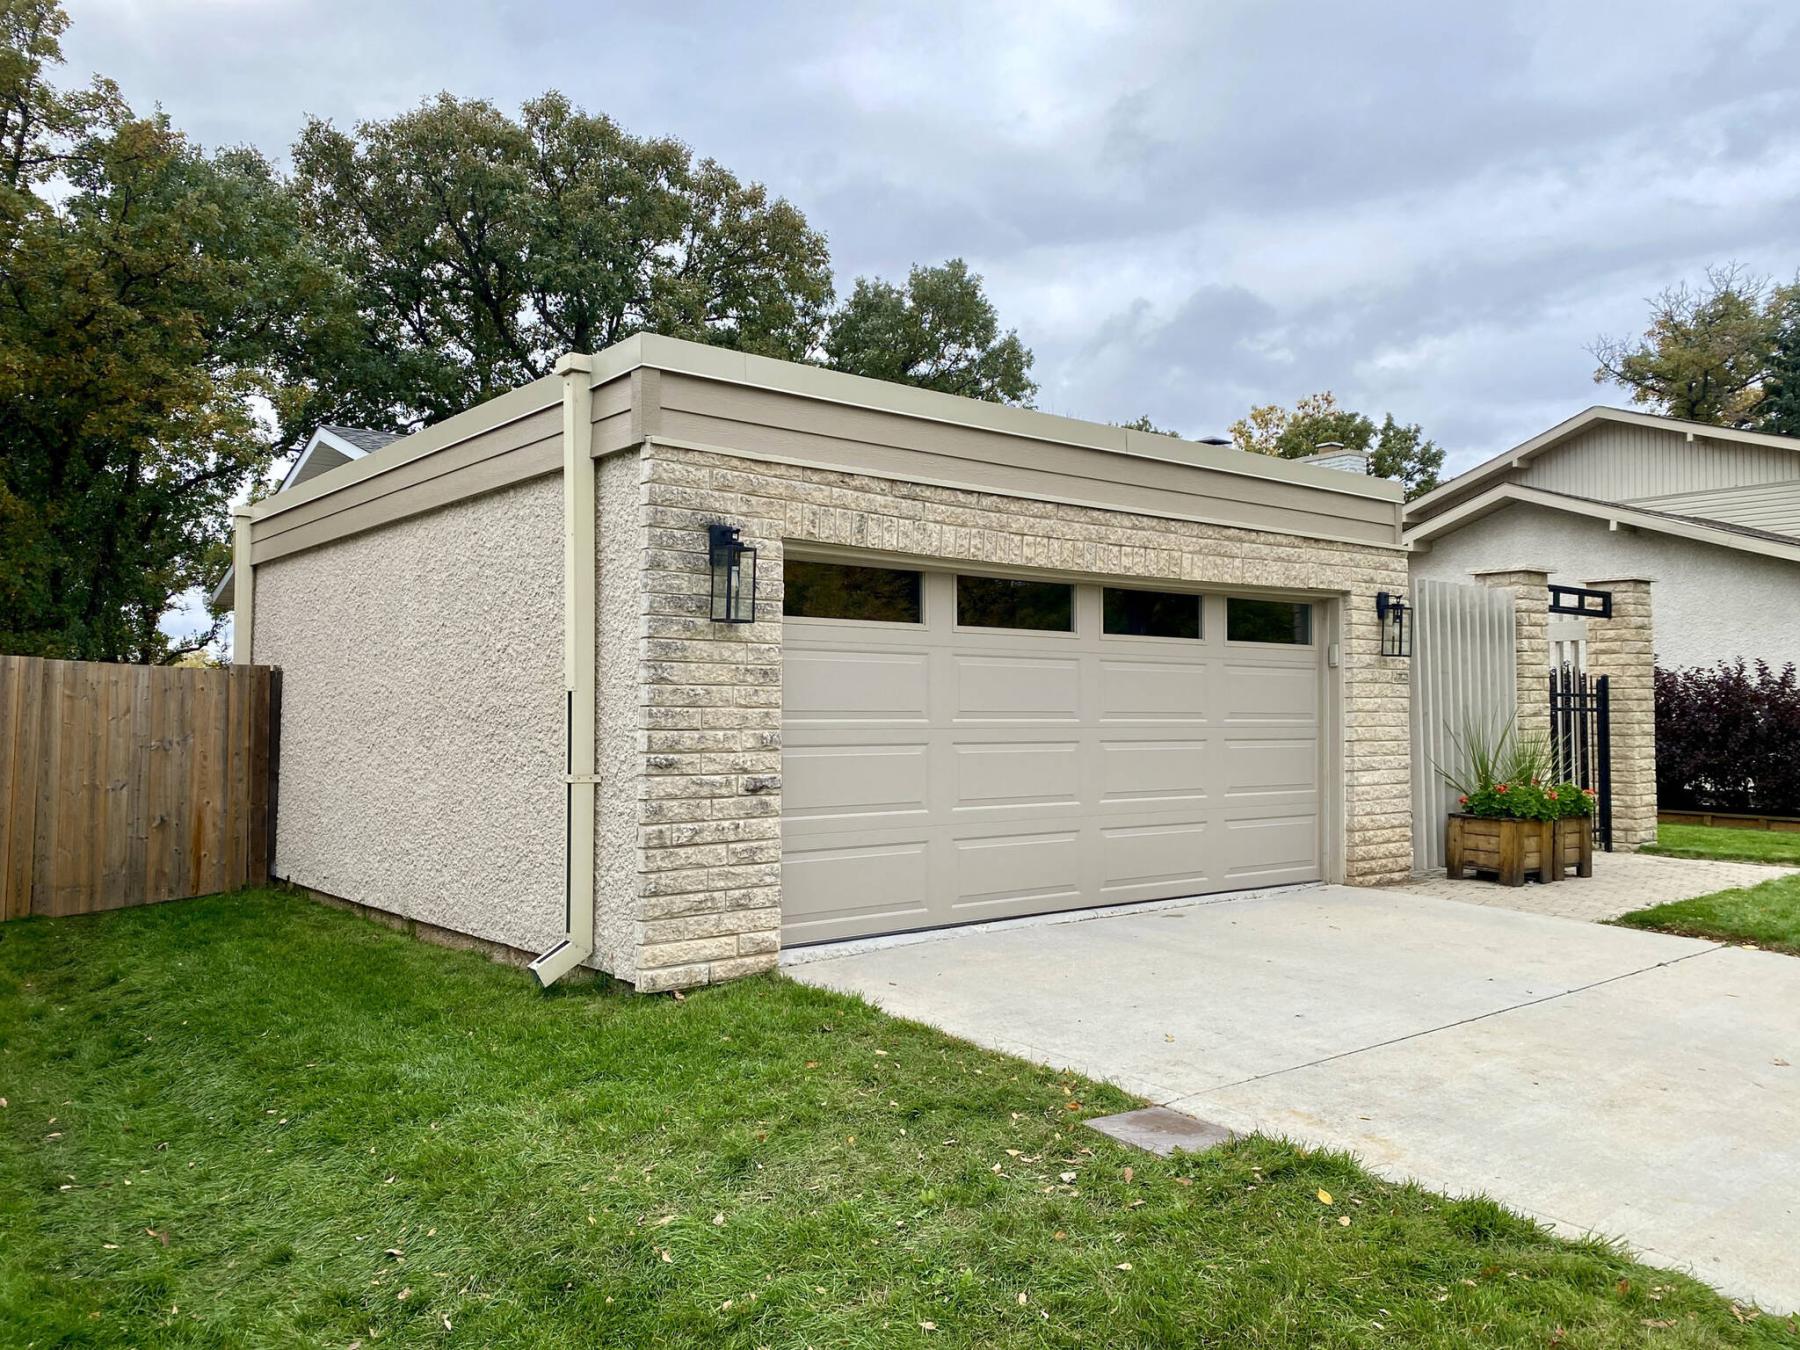
Once the dozen or so rotten protruded beams were cut back, the upper walls of the garage were finished with Hardie board.
Marc LaBossiere / Free Press
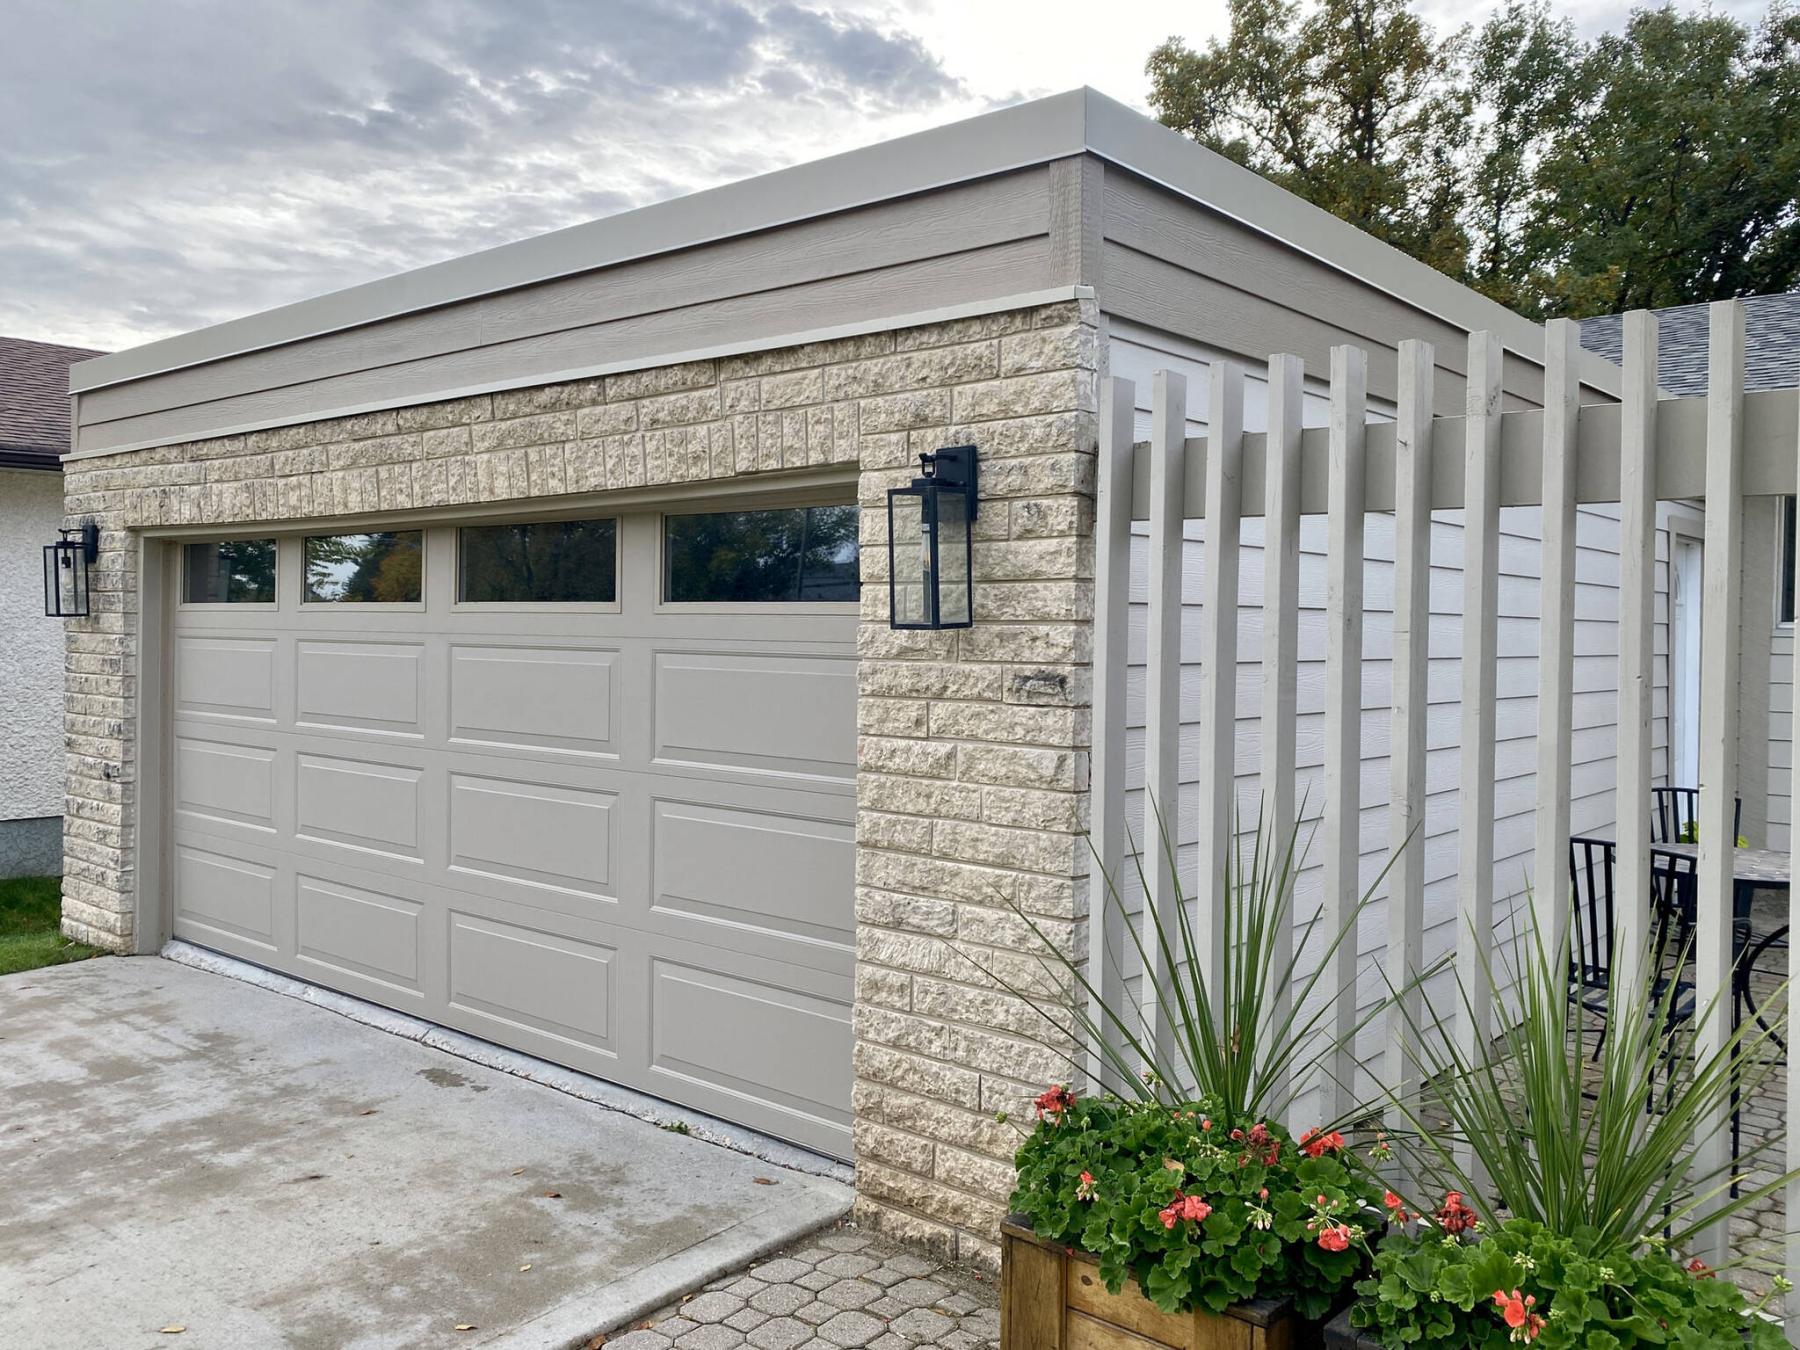
The streamlined look of Hardie board and new cap flashing greatly enhance thecurb-appeal of this property.
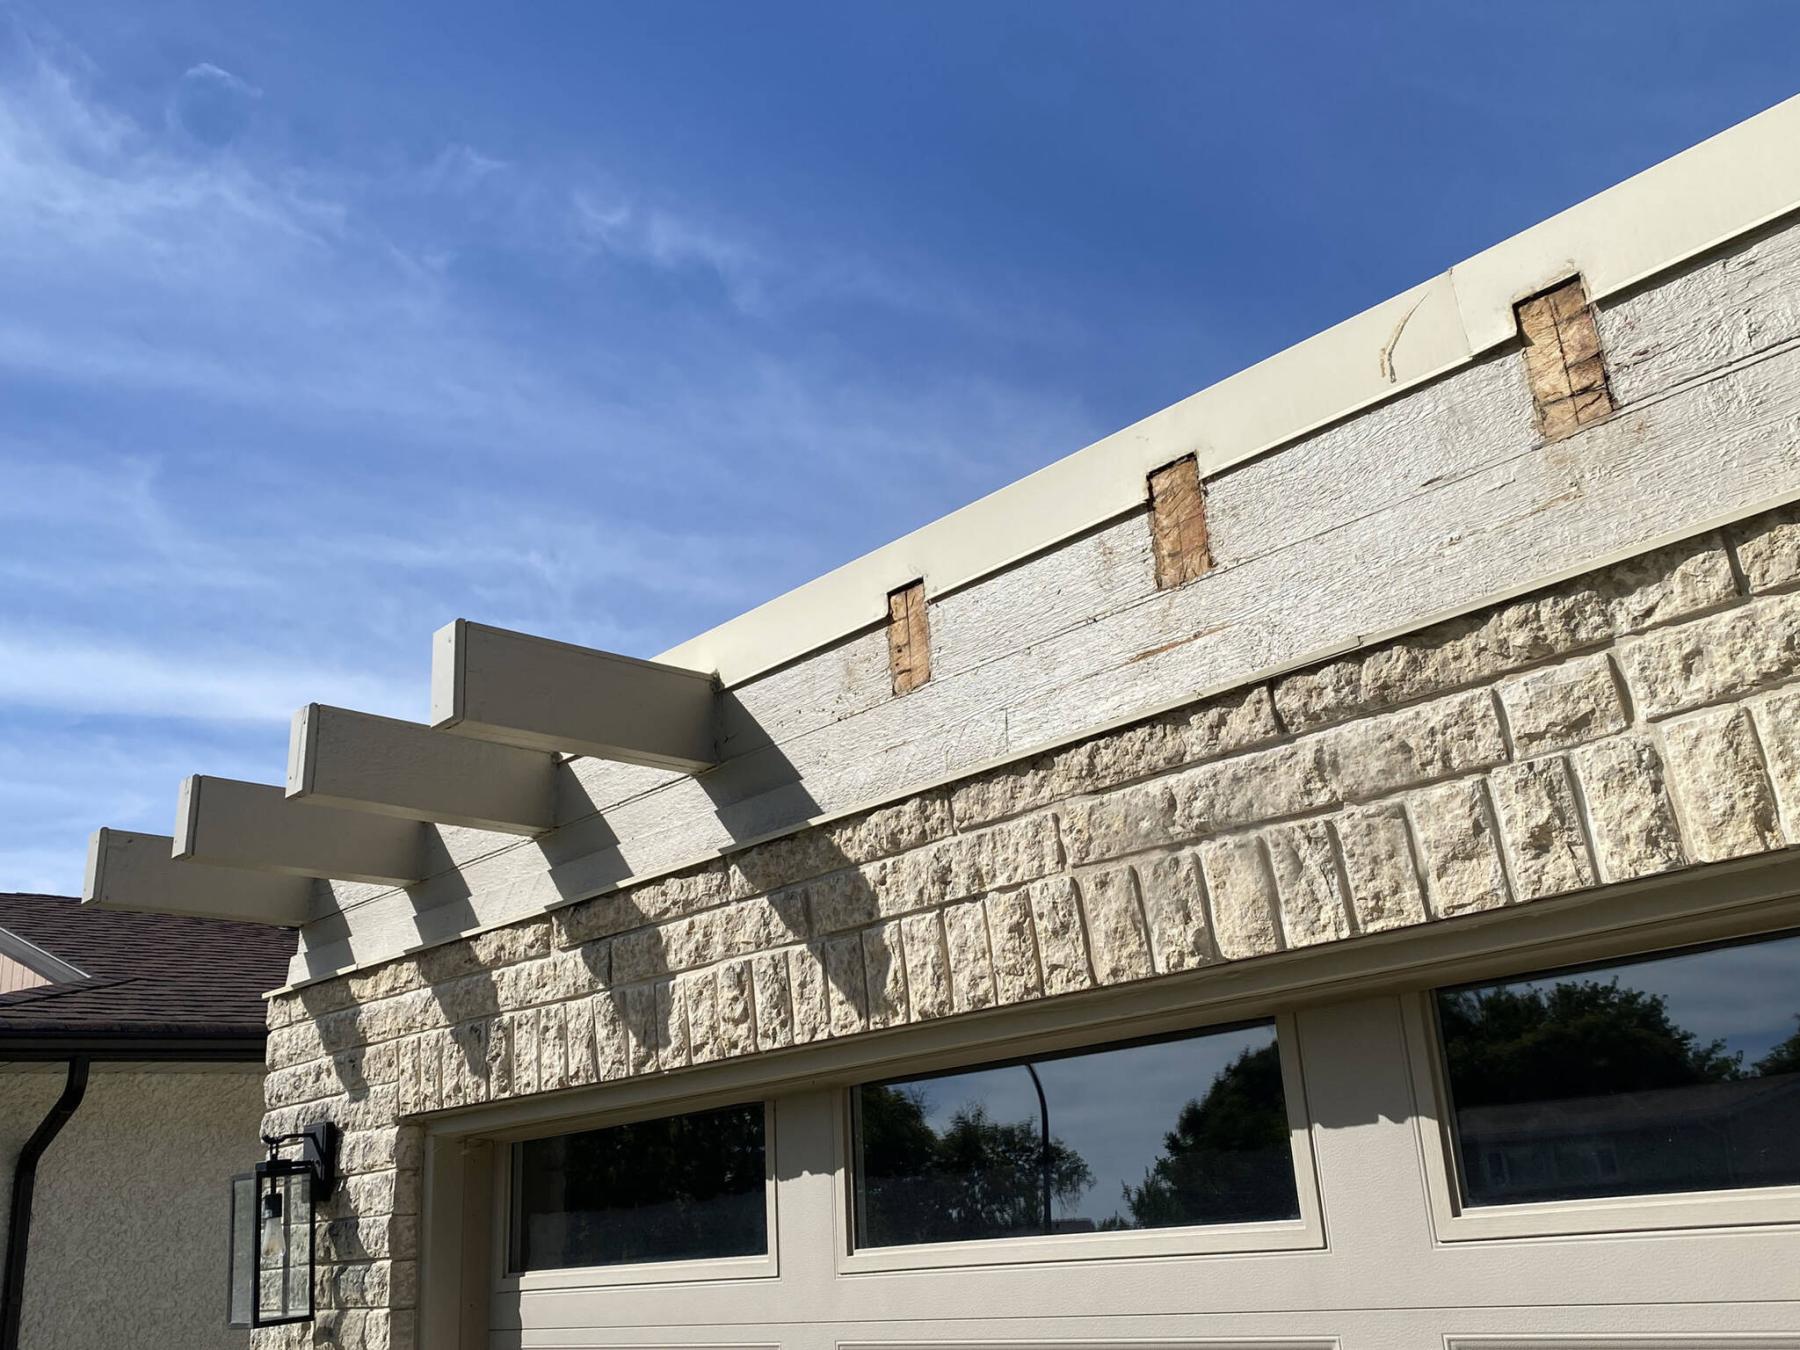
The homeowners had enough — after years of ongoing repairs, the days of the extended beams protruding from the perimeter of the flat-roof garage were numbered.
The question was, how best to tackle this outdated and cumbersome attribute? Although the introduction of full and partial rooflines was discussed at great length, any approach that required altering the existing roofline seemed far too complicated and somewhat cost-prohibitive. A far better and more elegant solution would soon provide a streamlined and eye-pleasing look.
It was true, each of the two dozen or so protruding beams along the entire perimeter of the flat-roof garage exhibited decay and rot to some degree. The process of cutting them off would require a long blade on a reciprocating saw, and fine-tuning of each cut with an oscillating tool.
Once the vertical faces along the upper portion of every wall were flush, the initial step would involve sealing the cuts along the flashing to eliminate the possibility of any moisture creeping in until the process to decoratively sheathe the upper perimeter was completed.
While awaiting some style and colour choices for the garage finishing, I embarked upon another project at the location that would challenge my current scheduling. As such, I elected to call upon my good friends at PrairieSky Roofing. After providing samples to the homeowners, Hardie board in a colour slightly darker than the existing hue was chosen to finish the upper portion of the garage. Aluminum in a closely matching colour was also chosen for the top-cap flashing. Once the colours were selected, an order was placed and a tentative date was pencilled into the calendar for installation.
A few weeks later, the PrairieSky crew arrived bright and early. Because I had already cut back the protruding beams, the crew began by creating a level line along the entire perimeter. The flashing along the top of the stone-face at the overhead door was then replaced with the new colour of cladding purchased for the project.
After the vertical corners were mounted at every 90-degree corner, two horizontal rows of Hardie board were then mounted and secured to the upper portion of the garage’s existing exterior walls. A partial third row (with boards split in half) was also secured to the top of the second row to create the build-out required for proper cap-flashing installation, which conceals the split-board spacer.
The boards were then permanently fastened and every hole concealed. Minor gaps along the vertical corners, as well at every downspout, were then filled with a matching exterior caulk. And just like that, the garage update was complete — with an elevated esthetic that greatly improves curb-appeal.
Generally, I enjoy the variety of tasks that arise with any given renovation project. Occasionally however, it becomes apparent that while I would enjoy a certain task, it is sometimes best left to the sub-trades that specialize in specific task. Not only are their endeavours expeditious, their specific tools and “tricks of the trade” can mean the difference between a good result and a spectacular outcome that surpasses all expectations. And that is exactly what every crew at PrairieSky Roofing works to achieve at any job site. This garage topper is a beautiful upgrade, and the homeowners are thrilled. Good riddance to those rotten protruded beams — and hello to streamlined and maintenance-free elegance.
RenoBoss.Inc@outlook.com