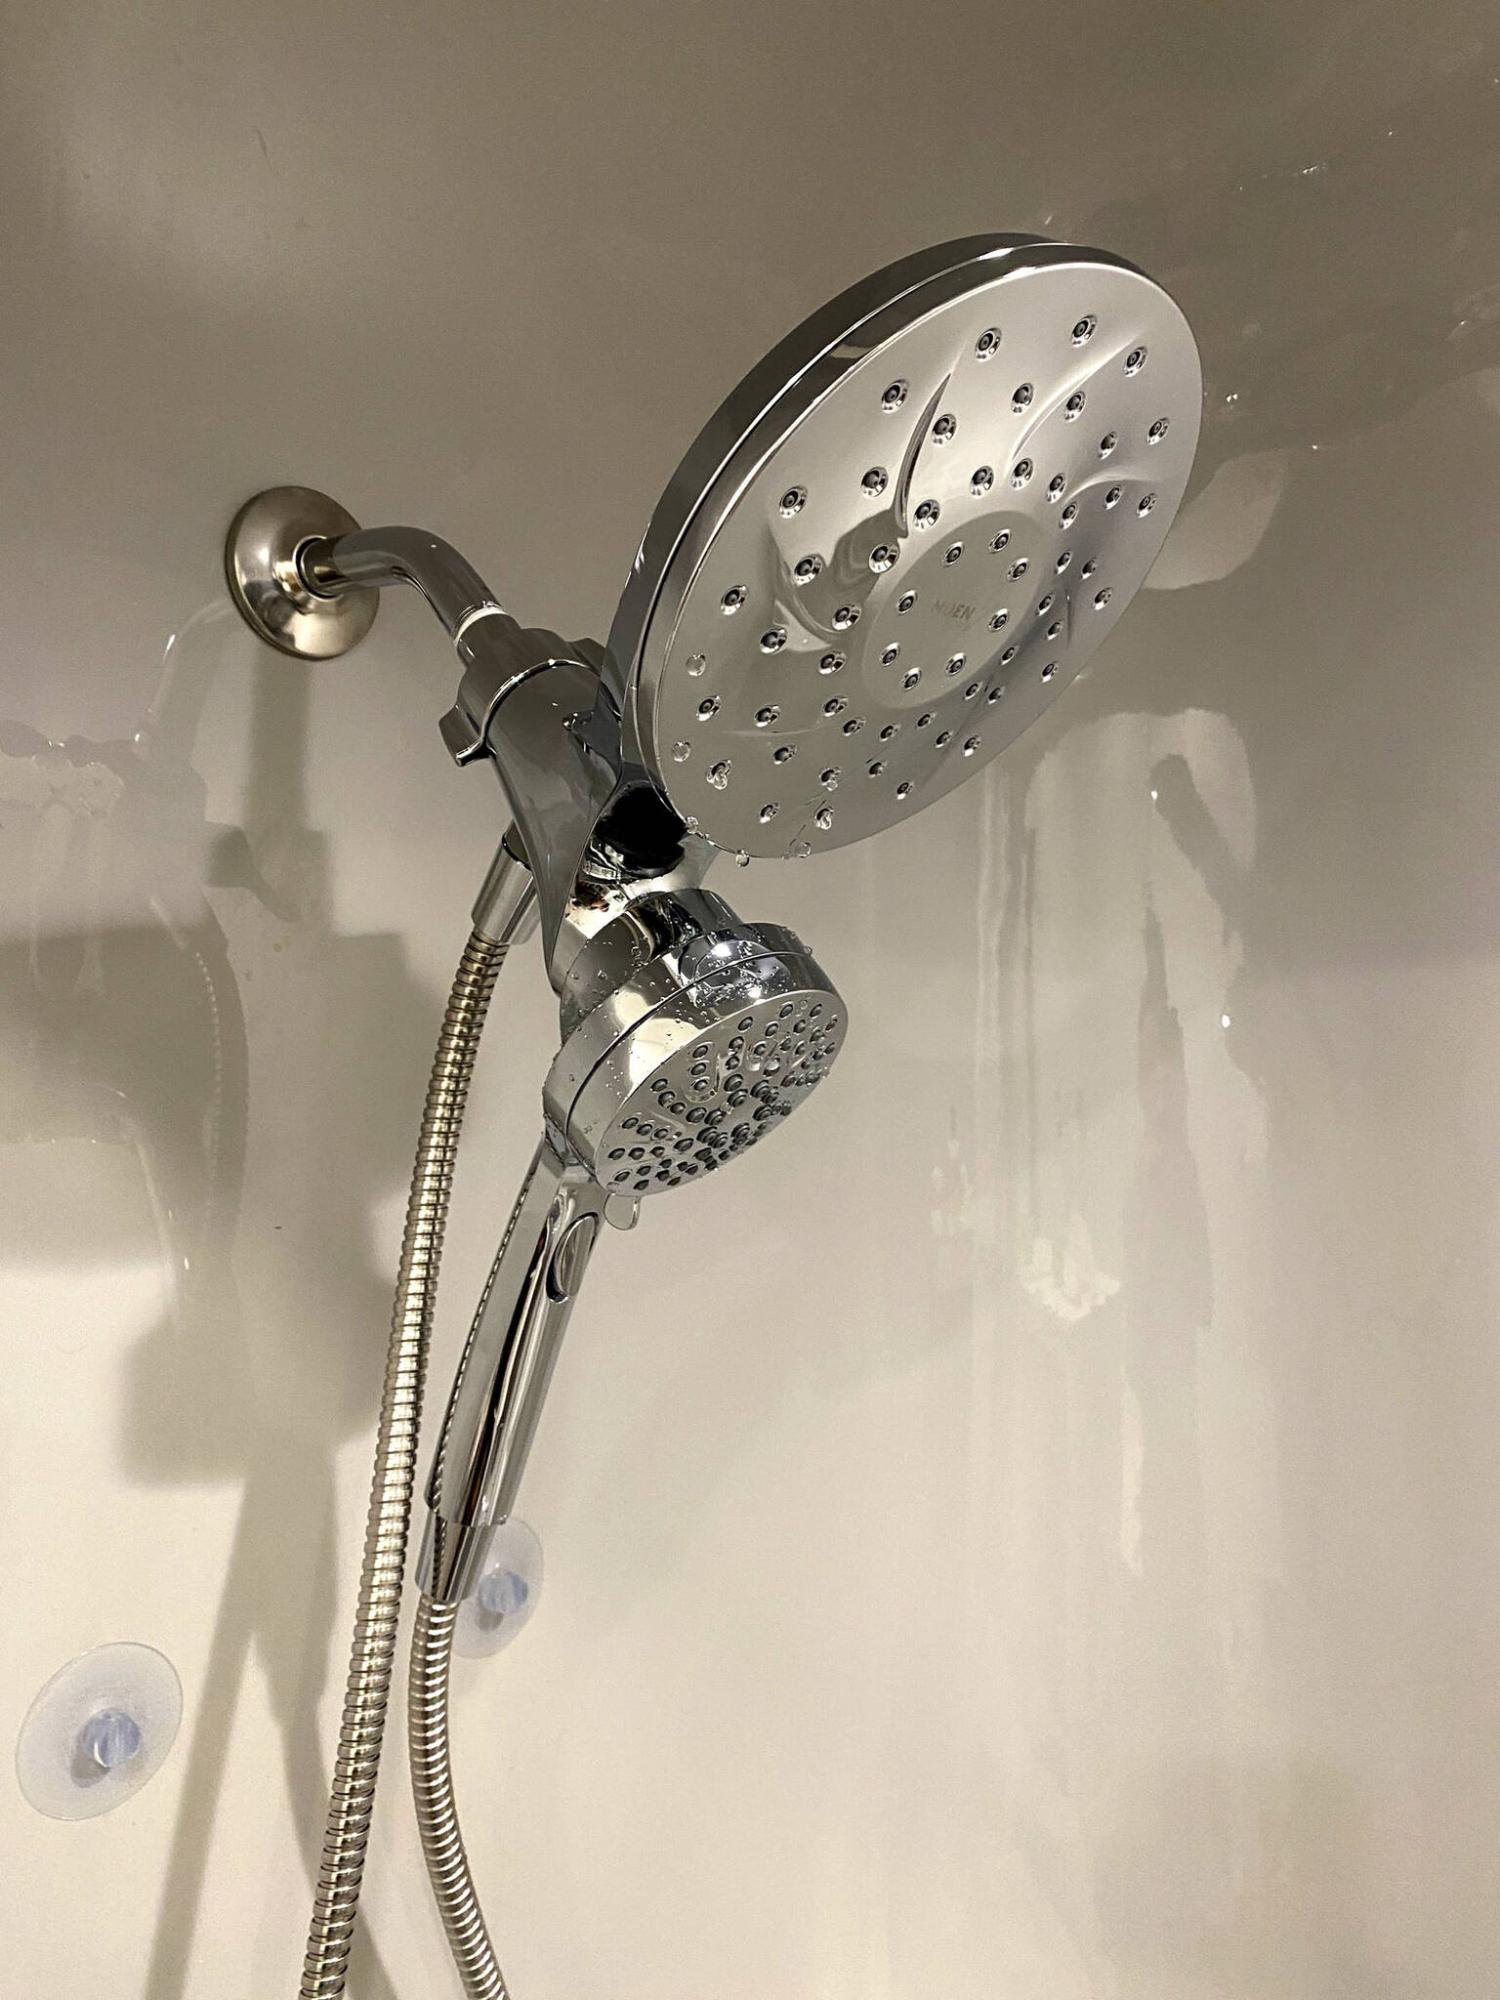
Marc LaBossiere / Free Press
A new Moen shower head with a hand wand mounts using a magnet.
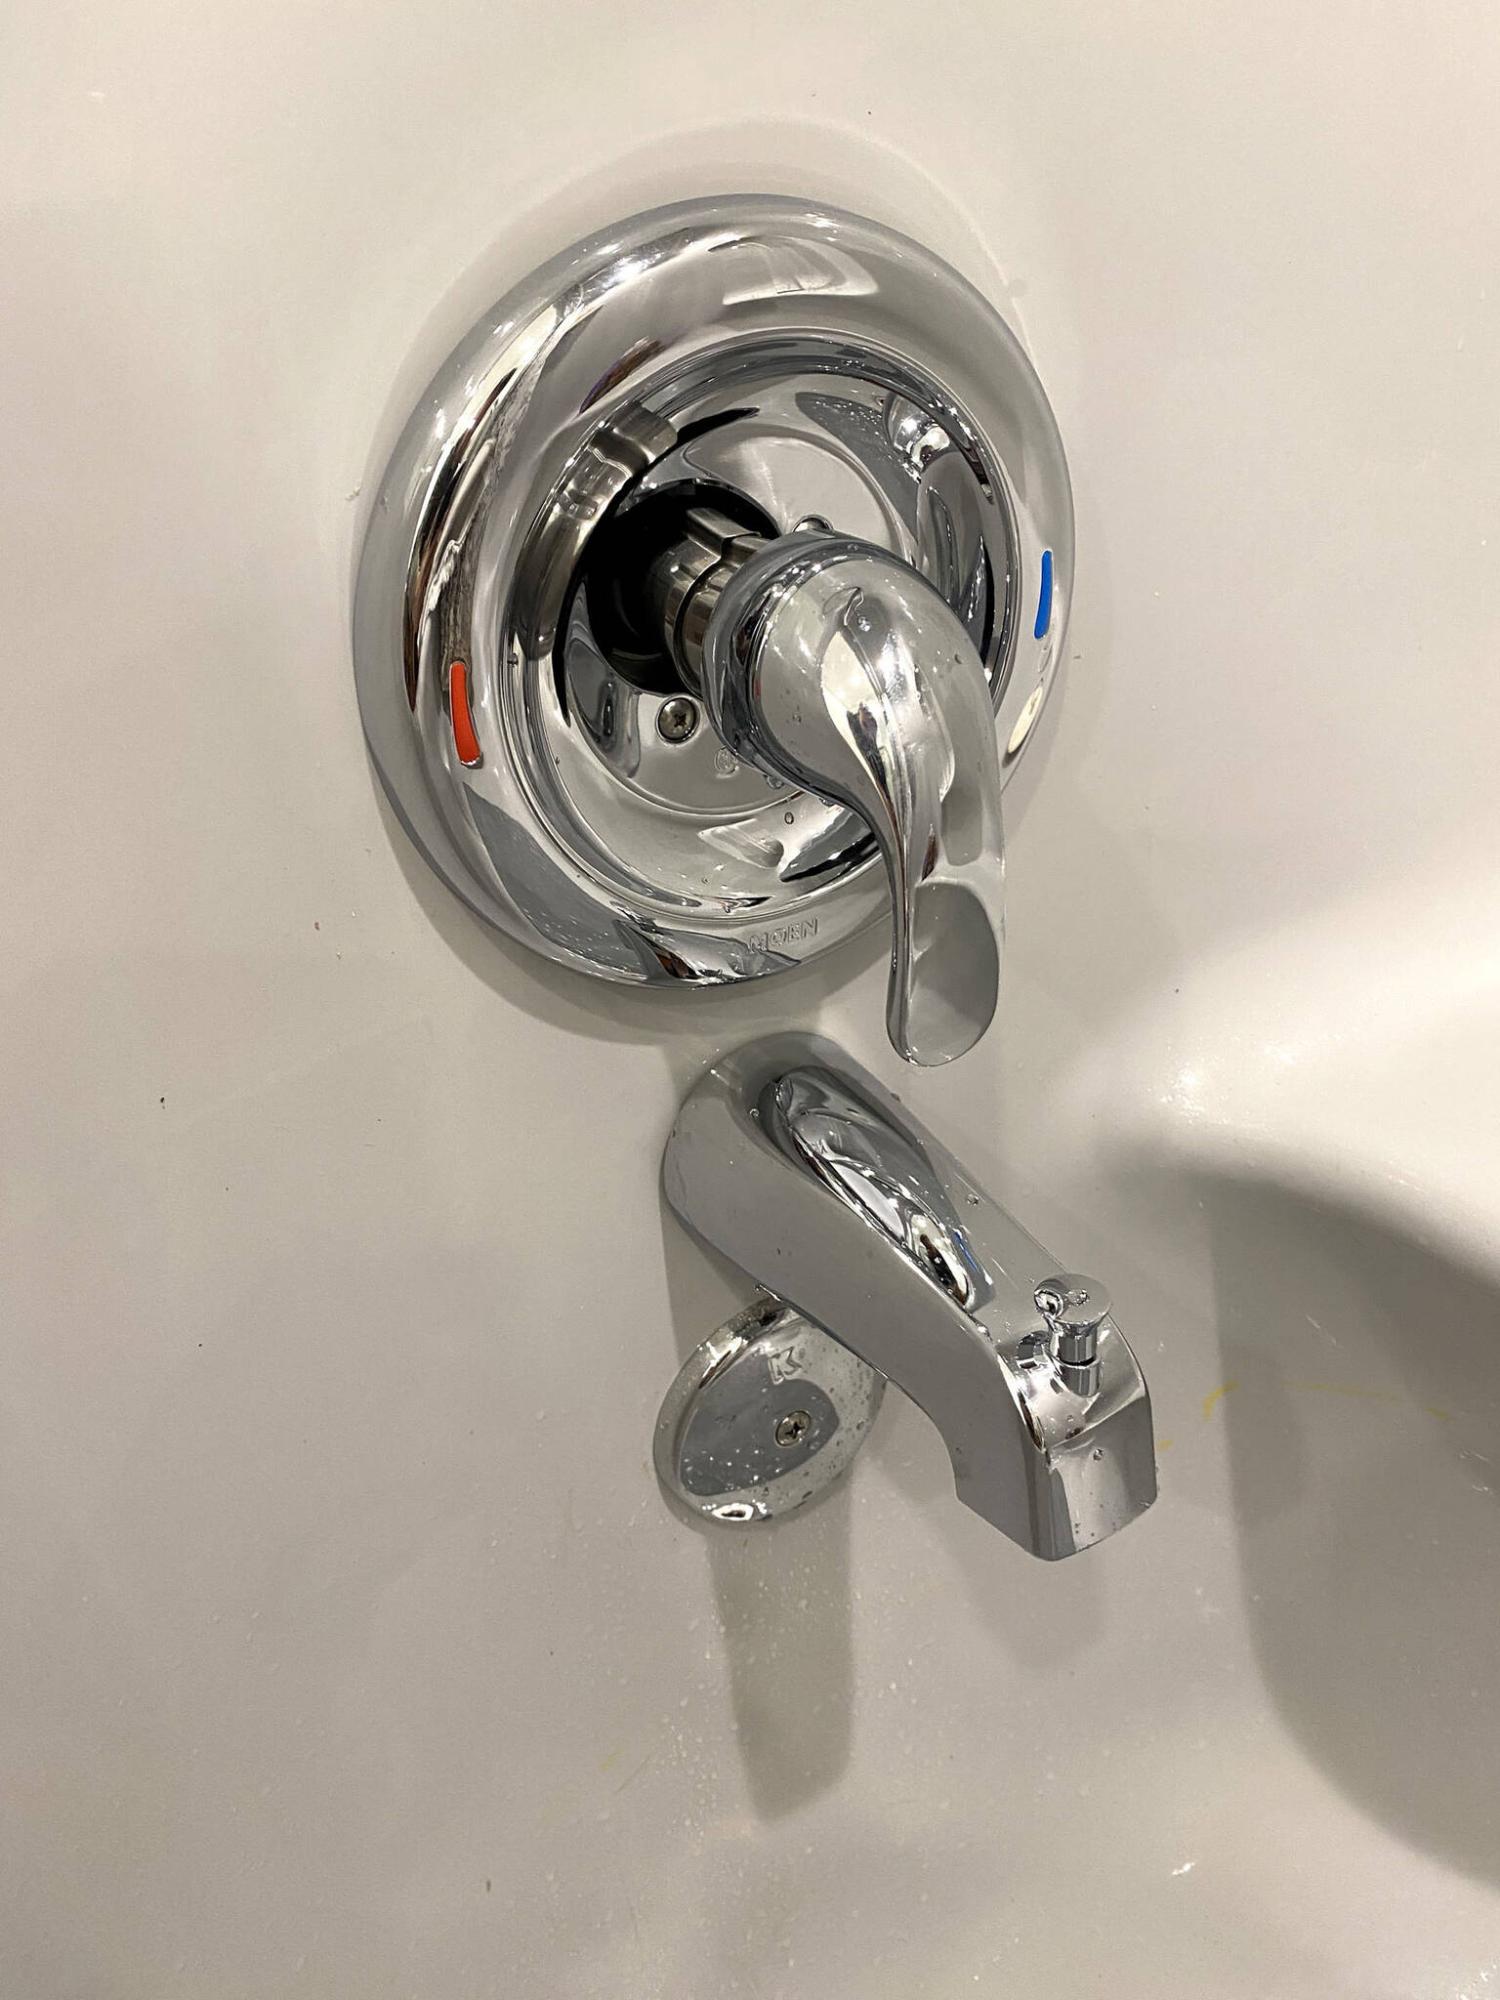
Marc LaBossiere / Free Press
A new Moen faucet, tub spout and overflow cap complete the new chrome feature array within the stall.
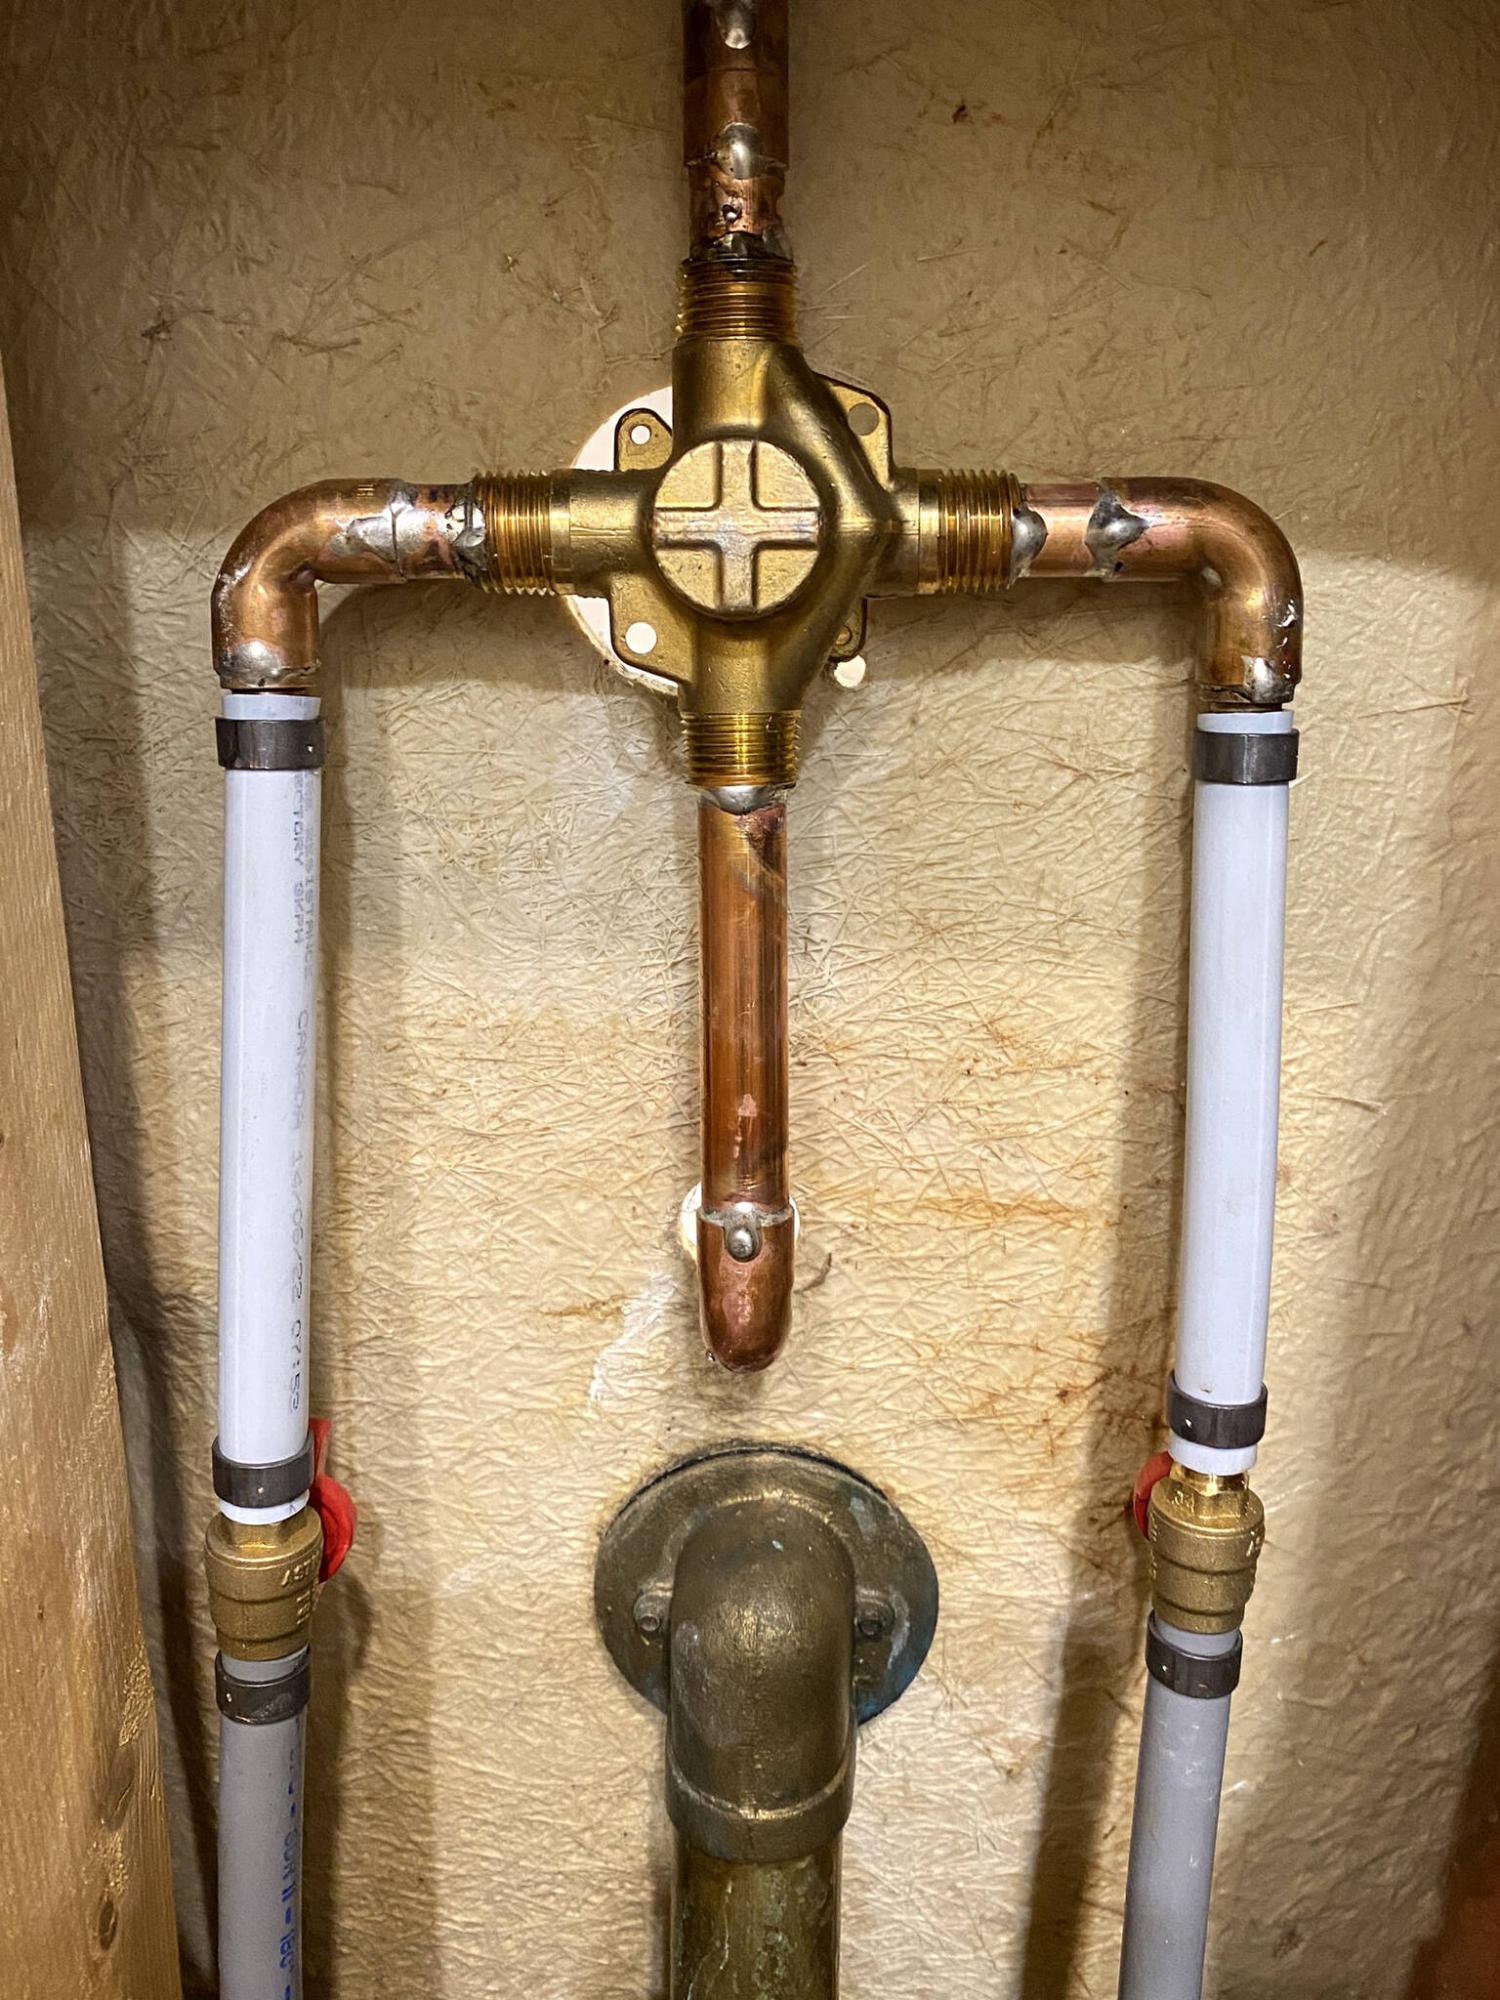
Marc LaBossiere / Free Press
The valve is mounted to the existing feeds, with inline valves plumbed before the hot and cold inlets.
Marc LaBossiere / Free Press
The shower-faucet valve is fitted with copper stems and PEX brass fittings to accommodate the existing water feeds.
Marc LaBossiere / Free Press
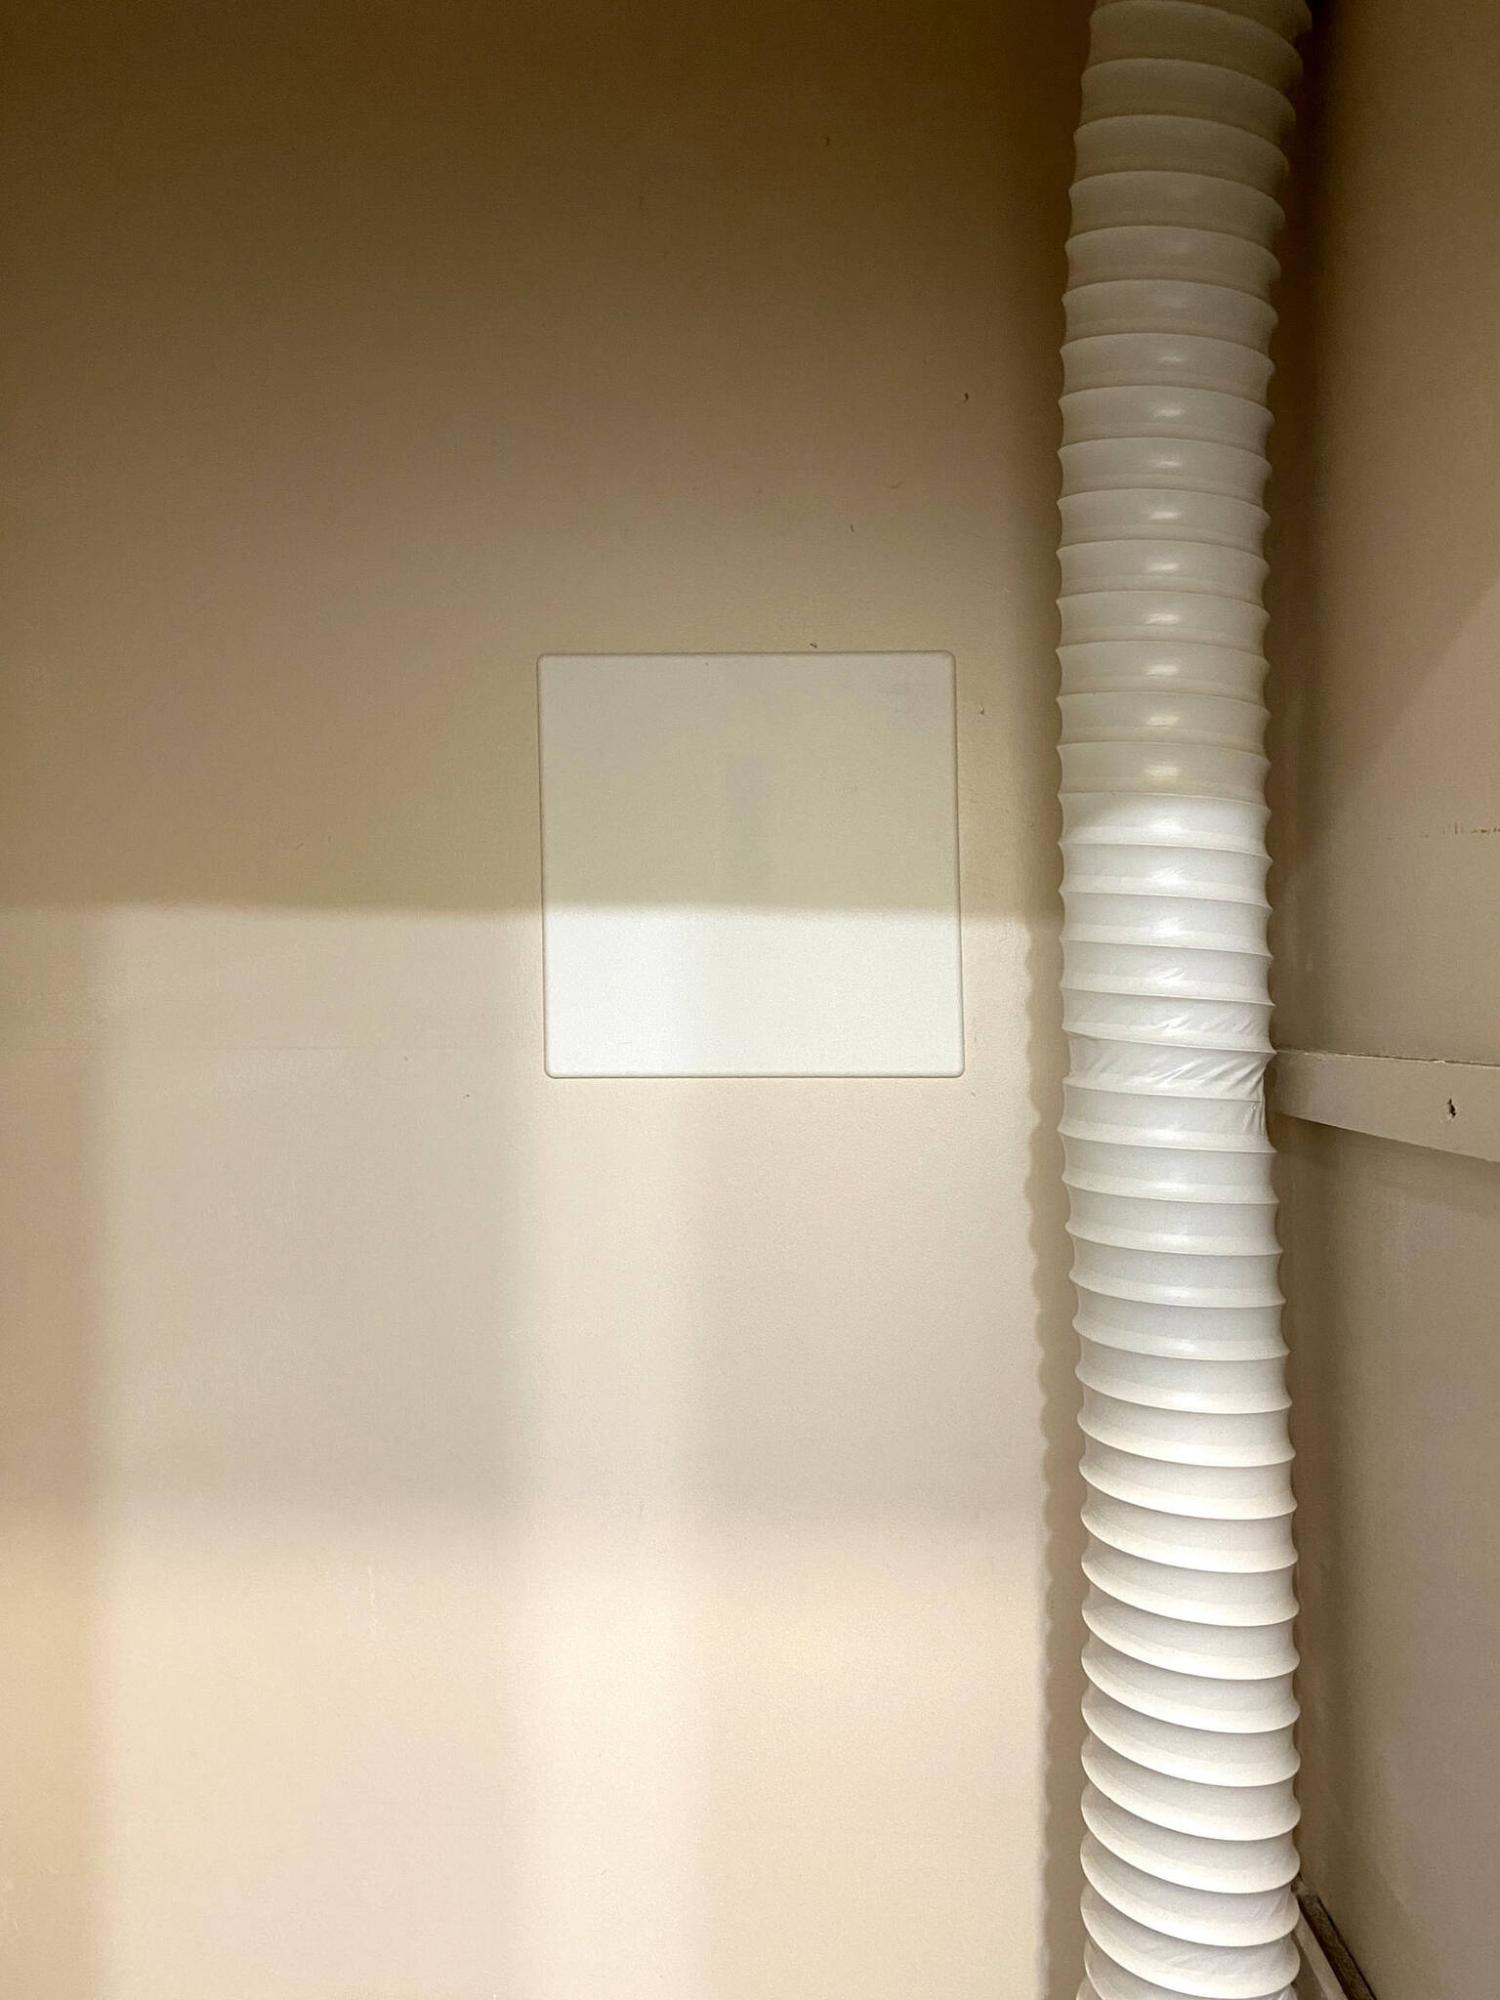
The proximity of the access breaches within the adjacent linen closet are closed using tension-fit access panels.
Through the years, a shower head and faucet will begin to show its age.
Although replacing a shower handle and cover can be a cost-effective and relatively simple option, a persistent drip from a faucet may signal it’s time for entire replacement of faucet and valve. Unfortunately, this requires a much more invasive task — one not for the faint of heart.
Unlike removing the old handle and faucet cover from the existing valve, and installing a new one to breathe life into a weathered shower feature, a leaking faucet should be addressed with a more diligent approach. Depending on the age of the valve, a new cartridge can sometimes be the solution, which requires shutting off the water feeds to the valve, popping the retainer clip and swapping out the old valve cartridge for a new one. Unfortunately, the shower faucet at a current job site was a much older design, which meant the cartridge was not accessible. As such, the entire valve body would be replaced.
With the shower faucet in question within a full tub surround, there was no easy way to address this replacement from within the shower stall without cutting through the tub surround itself, which of course is not an option. Fortunately, the opposite side of the adjacent wall next to the water feeds and shower-faucet valve is inside a linen closet, providing the access needed.
After carefully measuring the precise locations of both the valve and the shower-head stem fitting and marking them on the wall within the closet, a 14-by-14-inch square cutout was created at the valve location, exposing the existing feeds and valve housing. A similar, albeit smaller, access port was also created behind the shower-head fitting.
With the water feeds turned off, the old valve was removed and the existing PEX water feeds temporarily cut. The copper feed from the top of the valve to the shower head was cut in two places, to allow for easier removal from the wall cavity.
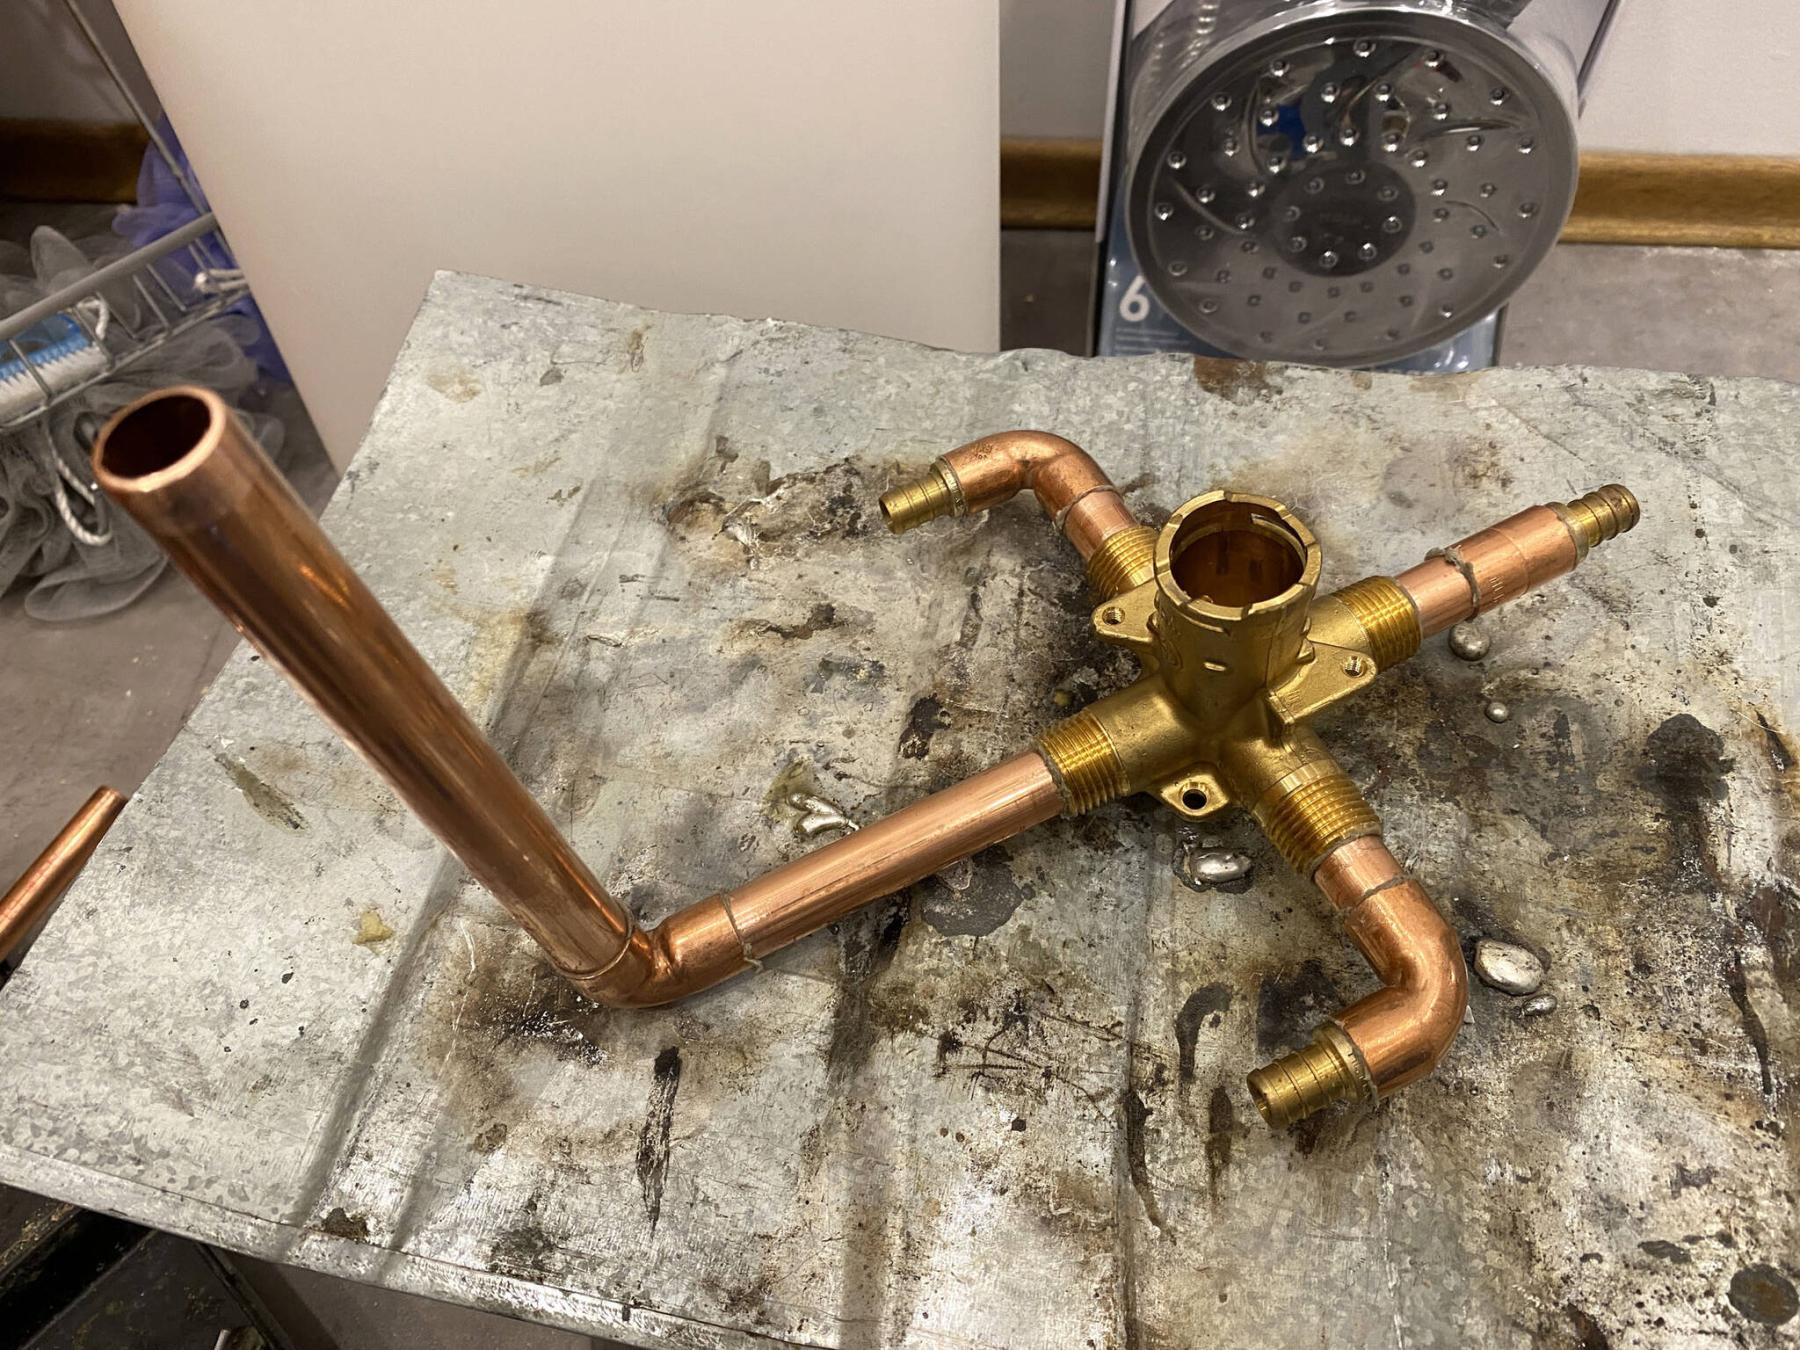
Prior to removing the old valve, the new shower-valve array was prepped. Copper stems were soldered to the four outlets, whereby the top, left and right stems also received sweat to PEX brass fittings. The bottom outlet consists of a six-inch copper stem with a 90-degree return for the tub spout — the dimensions required to properly fit into the existing pre-cut holes of the tub-surround.
In-line shut-off valves were added to the cut water feeds, before re-creating the shower-faucet array using PEX. Unlike the old feed to the shower head, the array feeds the head using PEX, as this was the only convenient way to manoeuvre the 48-inch length into the wall cavity using the existing pre-cut access points. A brass shower-stem fitting with a PEX nipple was then secured to bracing to ensure rigidity.
Once the fittings were crimped with O-rings and the water turned back on, both in-line valves were slowly opened to ensure there are no leaks along the newly created array. The shower faucet was also tested from the tub side to ensure proper flow. With no visible leaks, extra bracing was added within the wall cavity near the new faucet valve. Tension-fit access panels were then placed at each of the two access breaches, as it made the most sense to retain permanent access should it be required in future and they would be barely noticeable within the linen closet.
With the new array functioning, the decorative features of the faucet handle and cover were installed within the tub surround and the tub spout was tightened into place using the provided set screw. The new chrome shower stem was threaded into the brass fitting using Teflon tape, and the elaborate shower head and hand wand (which mounts to the shower head using a magnet) were then attached to the end of the stem. The entire system was then tested again to ensure no leaks were present and the job was complete.
Although the shower-faucet valve replacement process proved more invasive than a simple esthetic update of the shower lever and cover plate, it is often the best route, especially when a leaky faucet cannot be fixed by replacing a valve cartridge. Luckily, the shower-stall orientation allowed access from the other side. In situations where there is no access, the prospect of replacing a shower-faucet valve becomes very complicated, and often requires some outside-of-the-box thinking. And when there are no plausible options for action, the tub-surround itself may need to come out as well, and that becomes very pricey, very quickly.
RenoBoss.Inc@outlook.com