Marc LaBossiere / Free Press
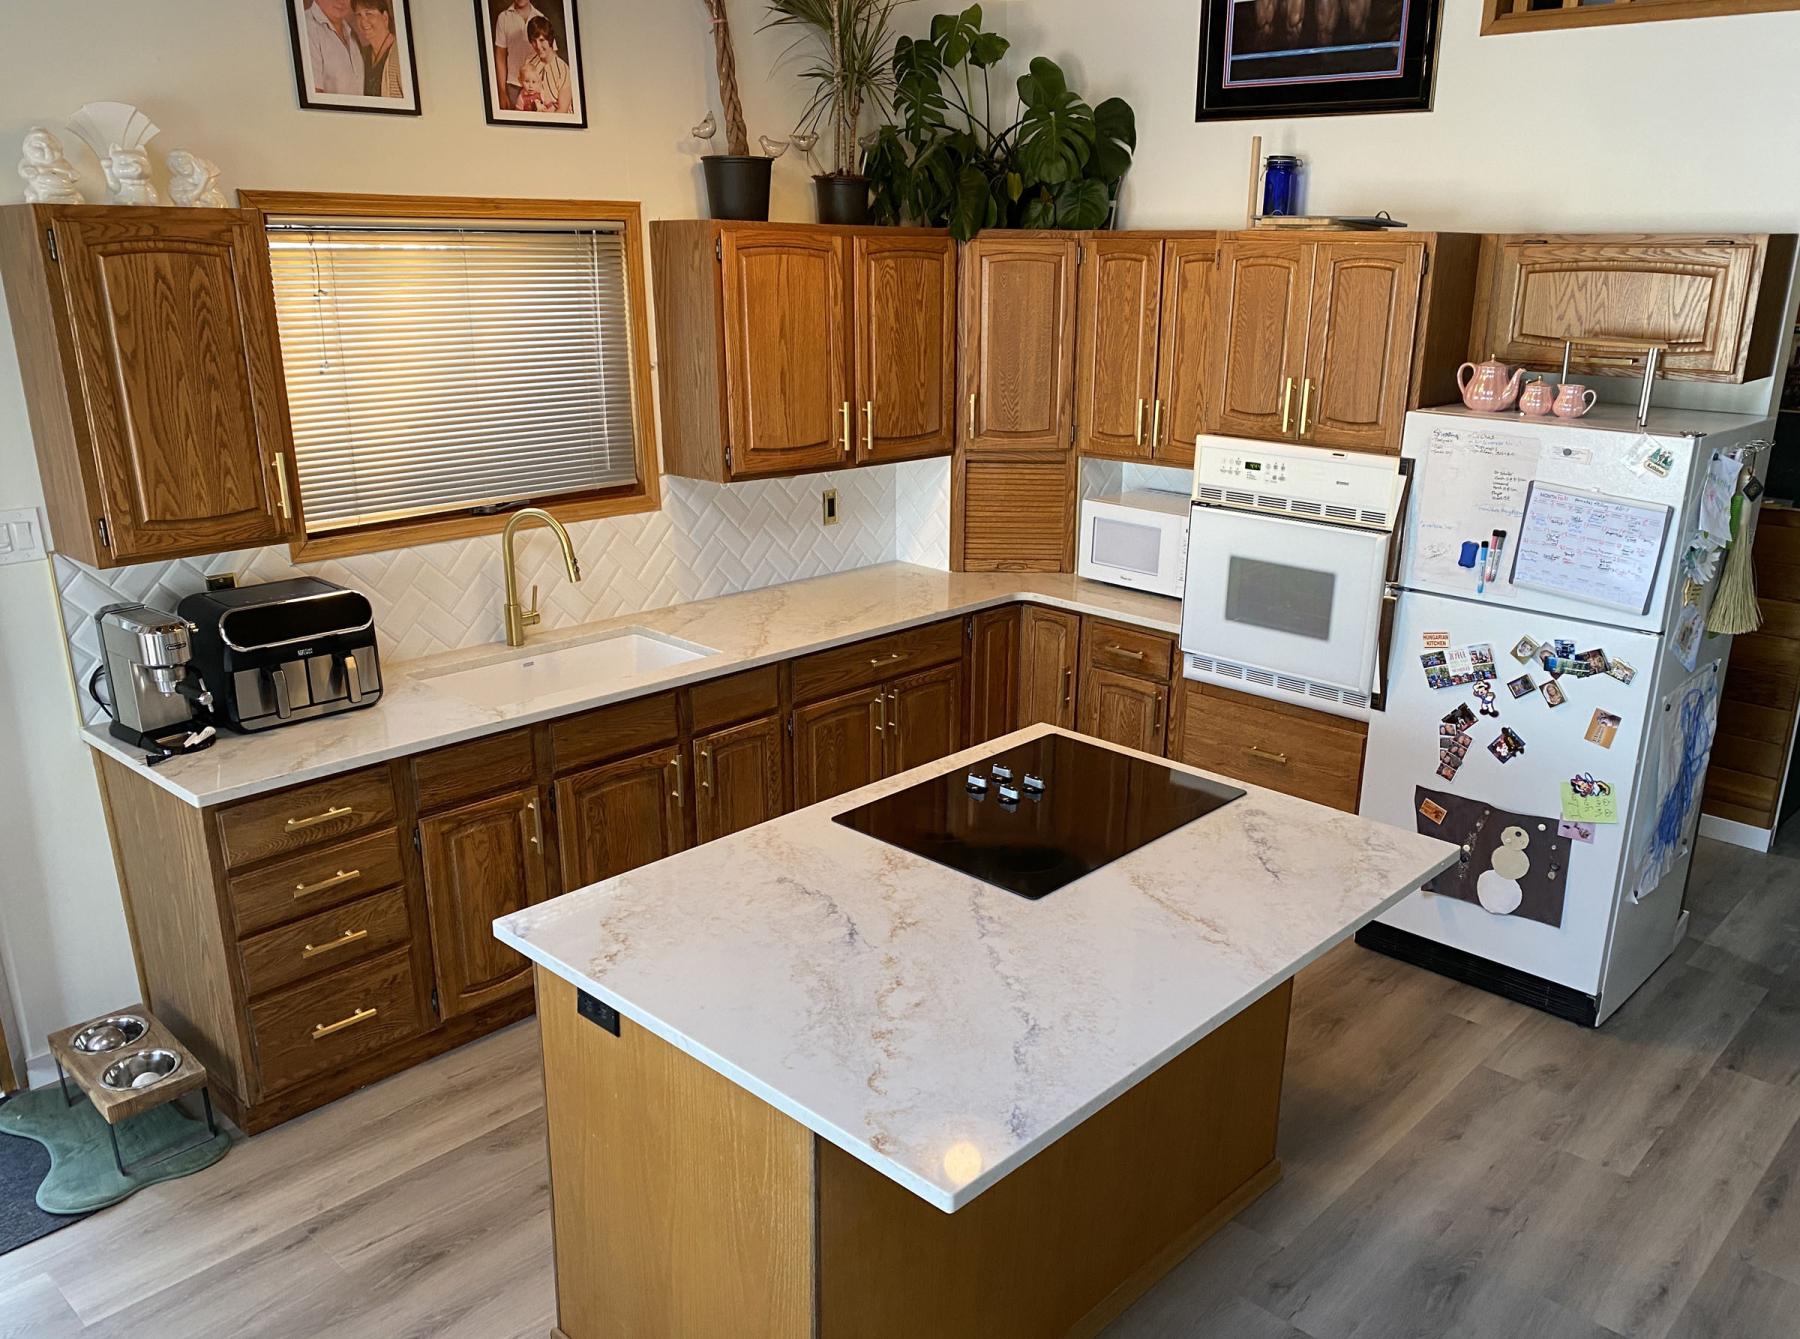
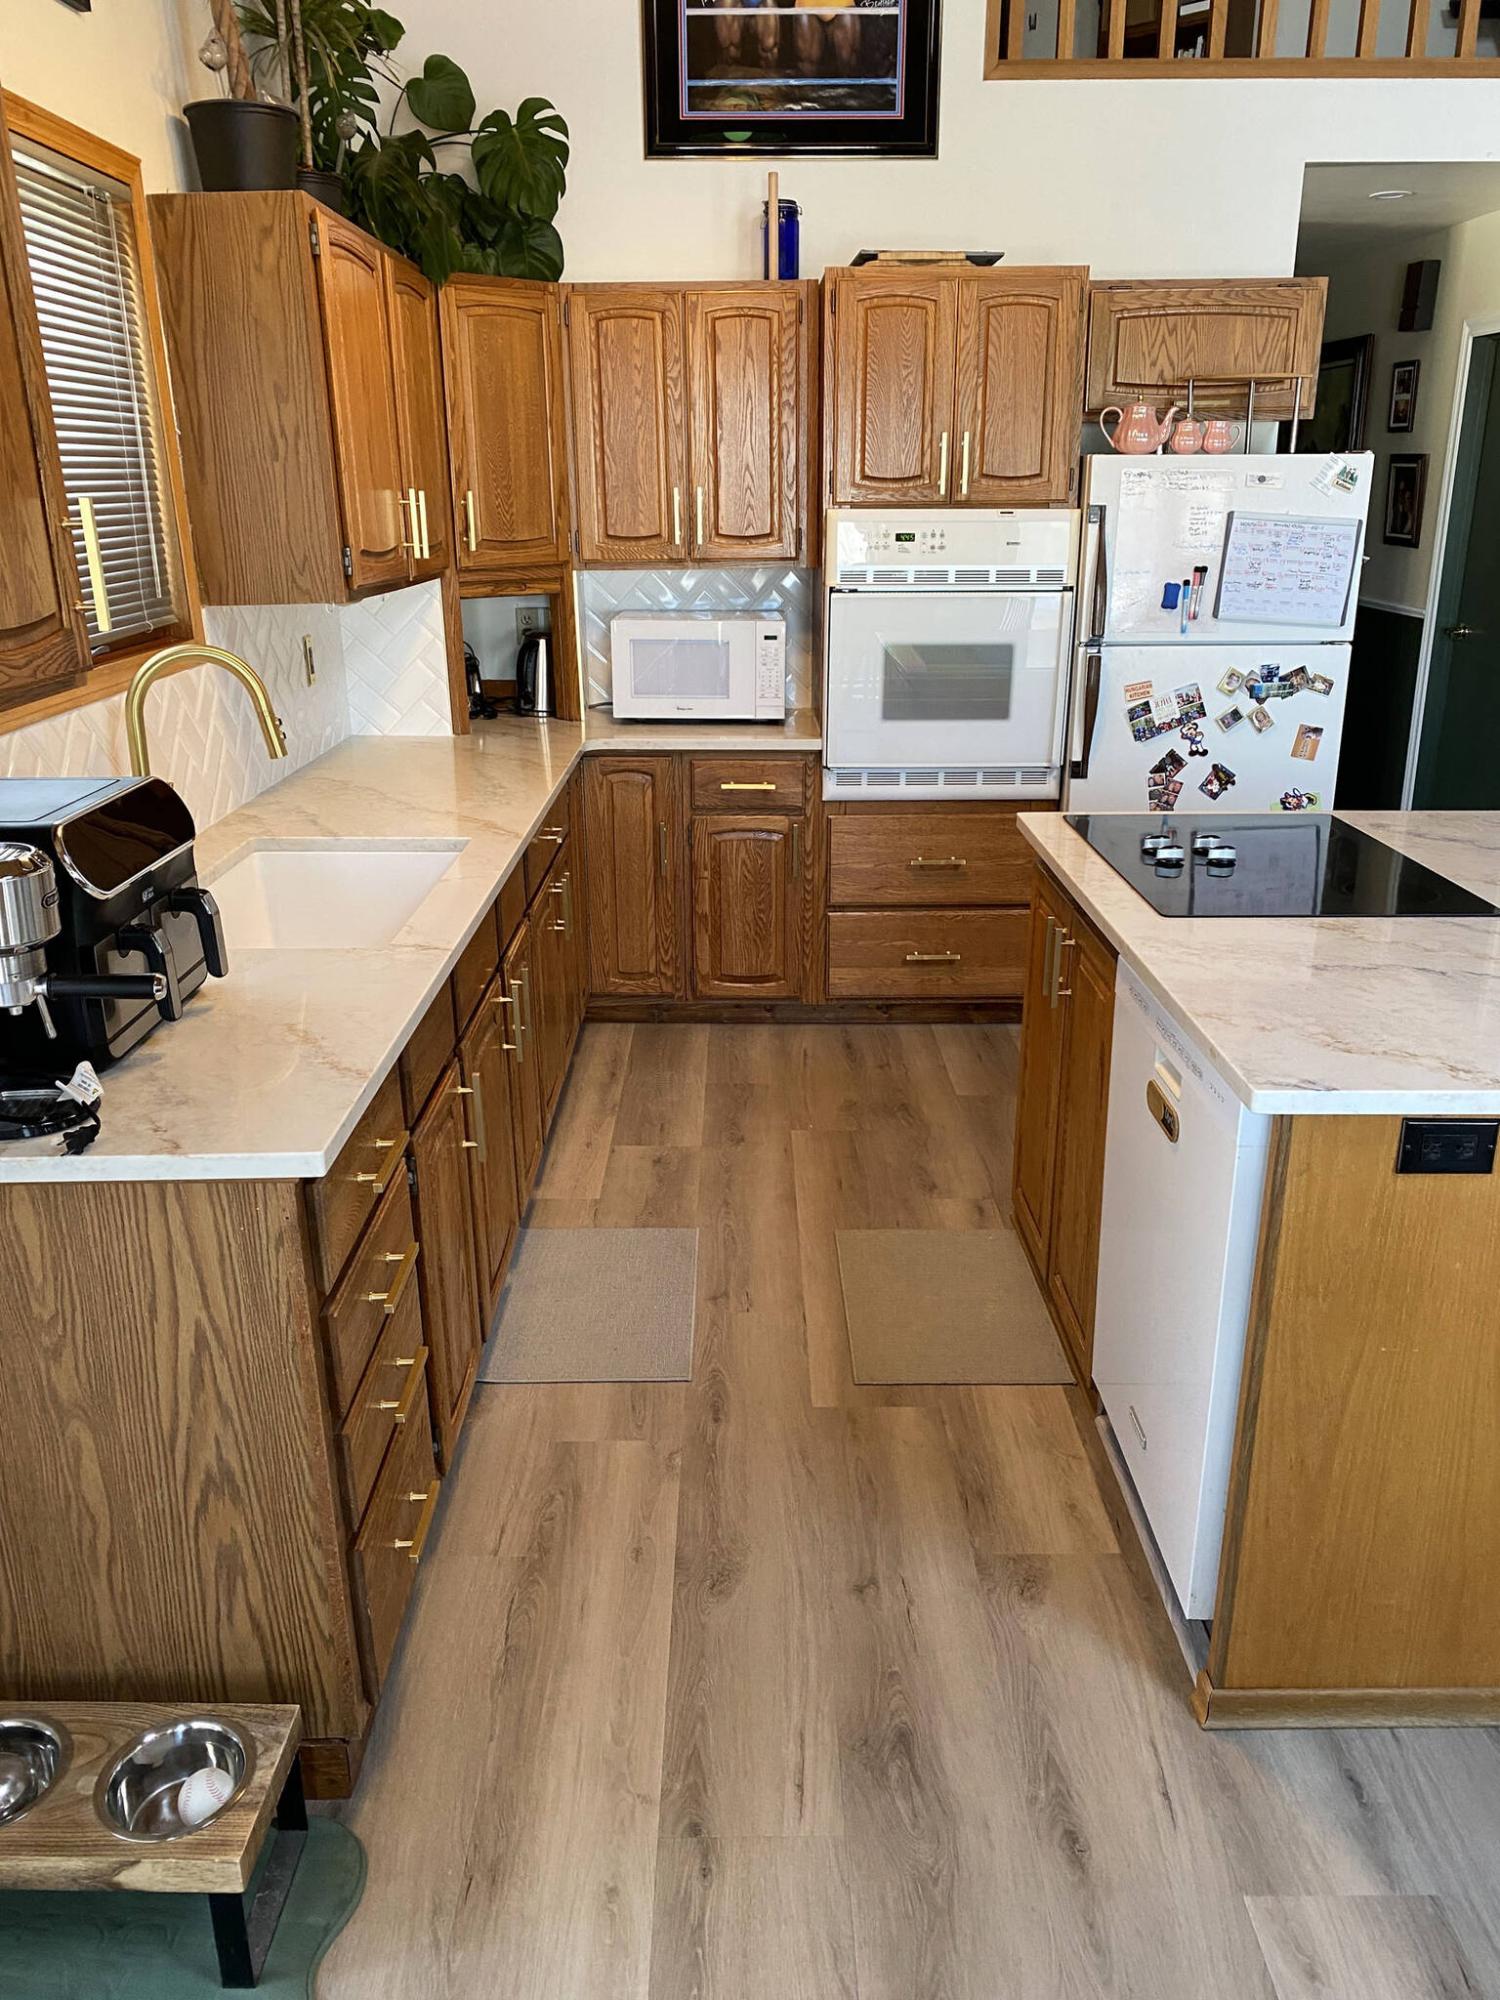
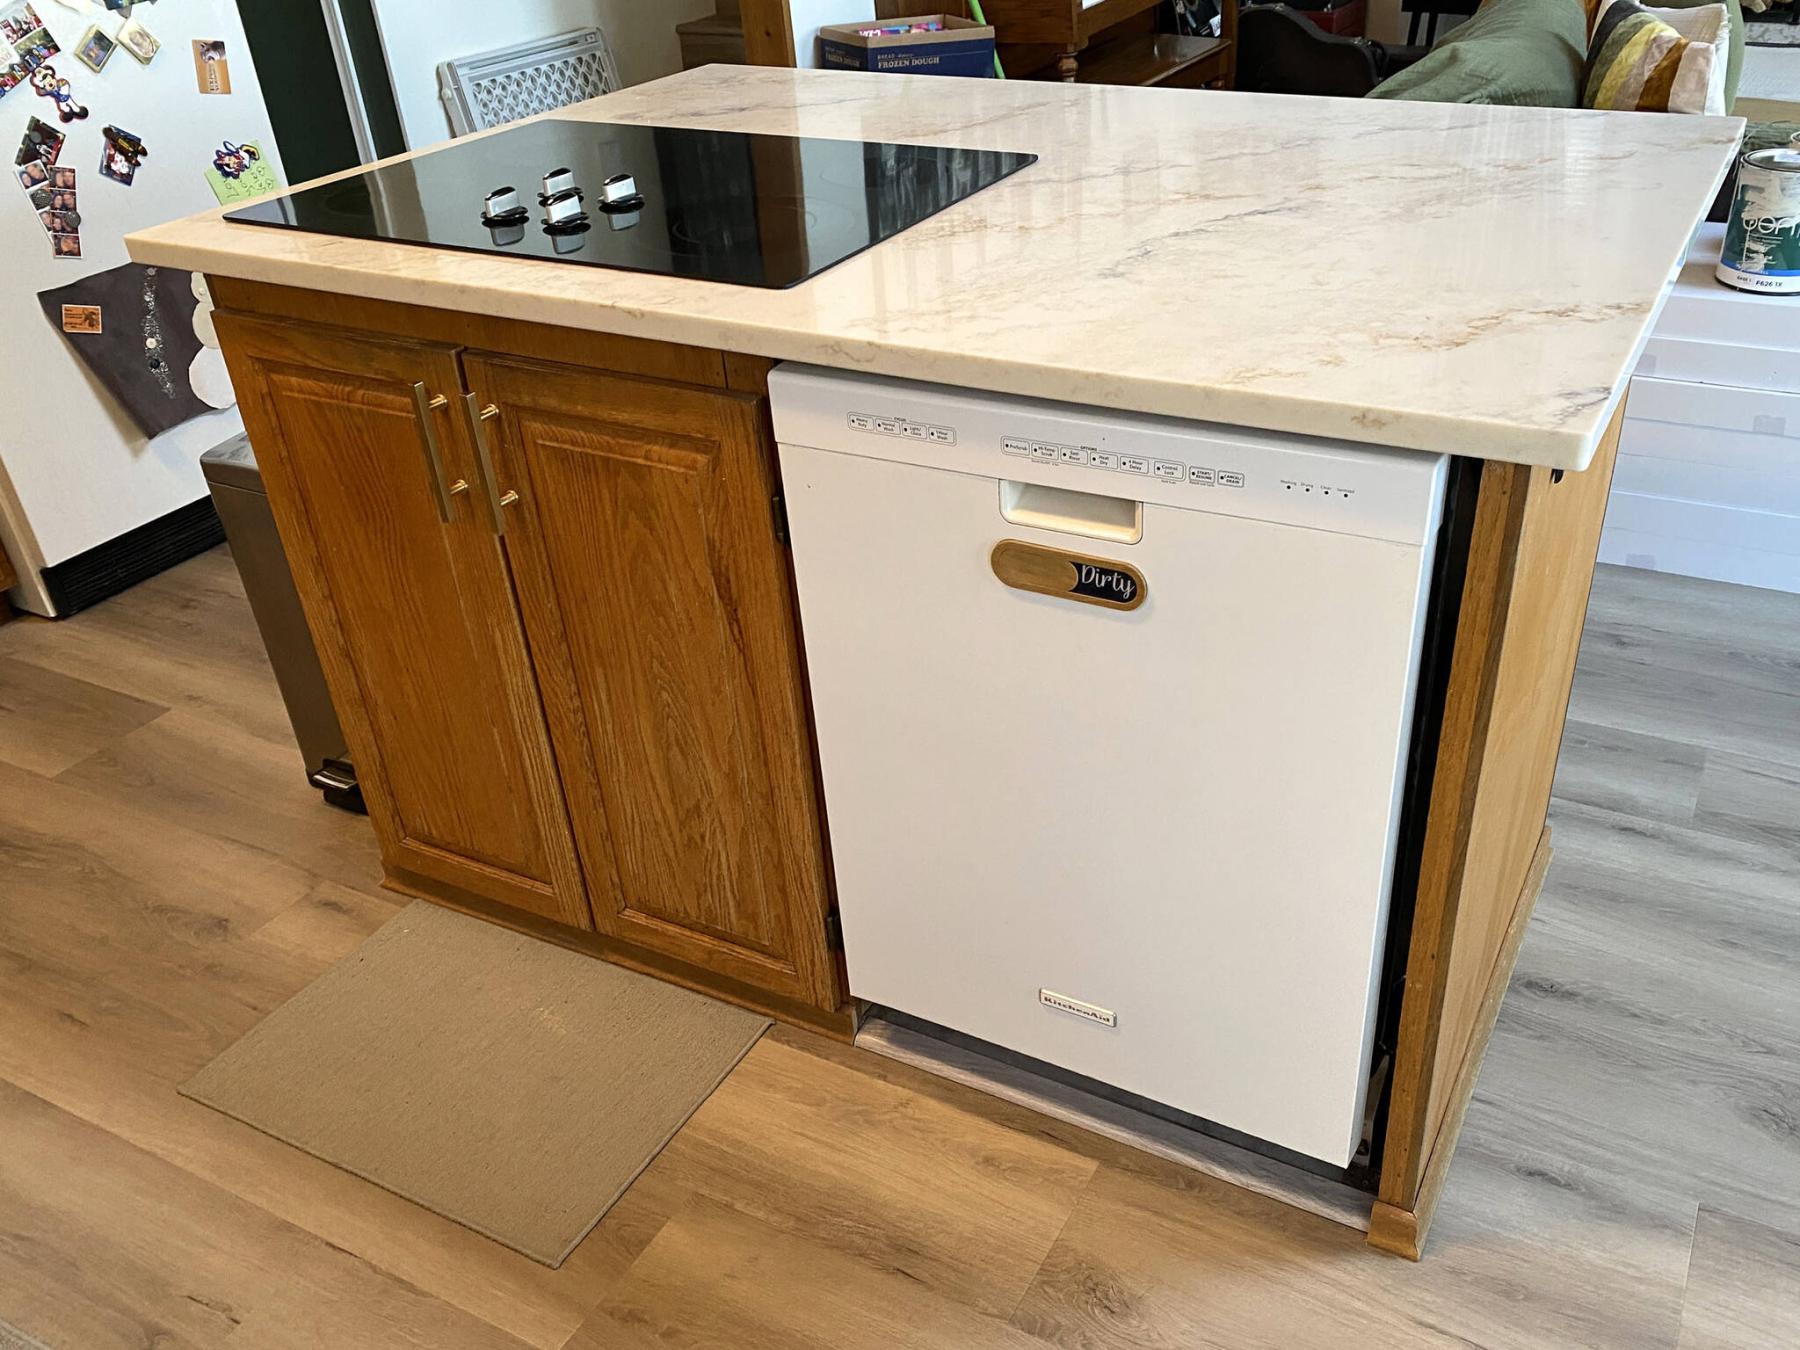
The placement of the island forms somewhat of a galley-style kitchen, in an open-concept layout.
Marc LaBossiere / Free Press
Once the quartz was mounted atop the island cupboards, the cooktop was set back into place.

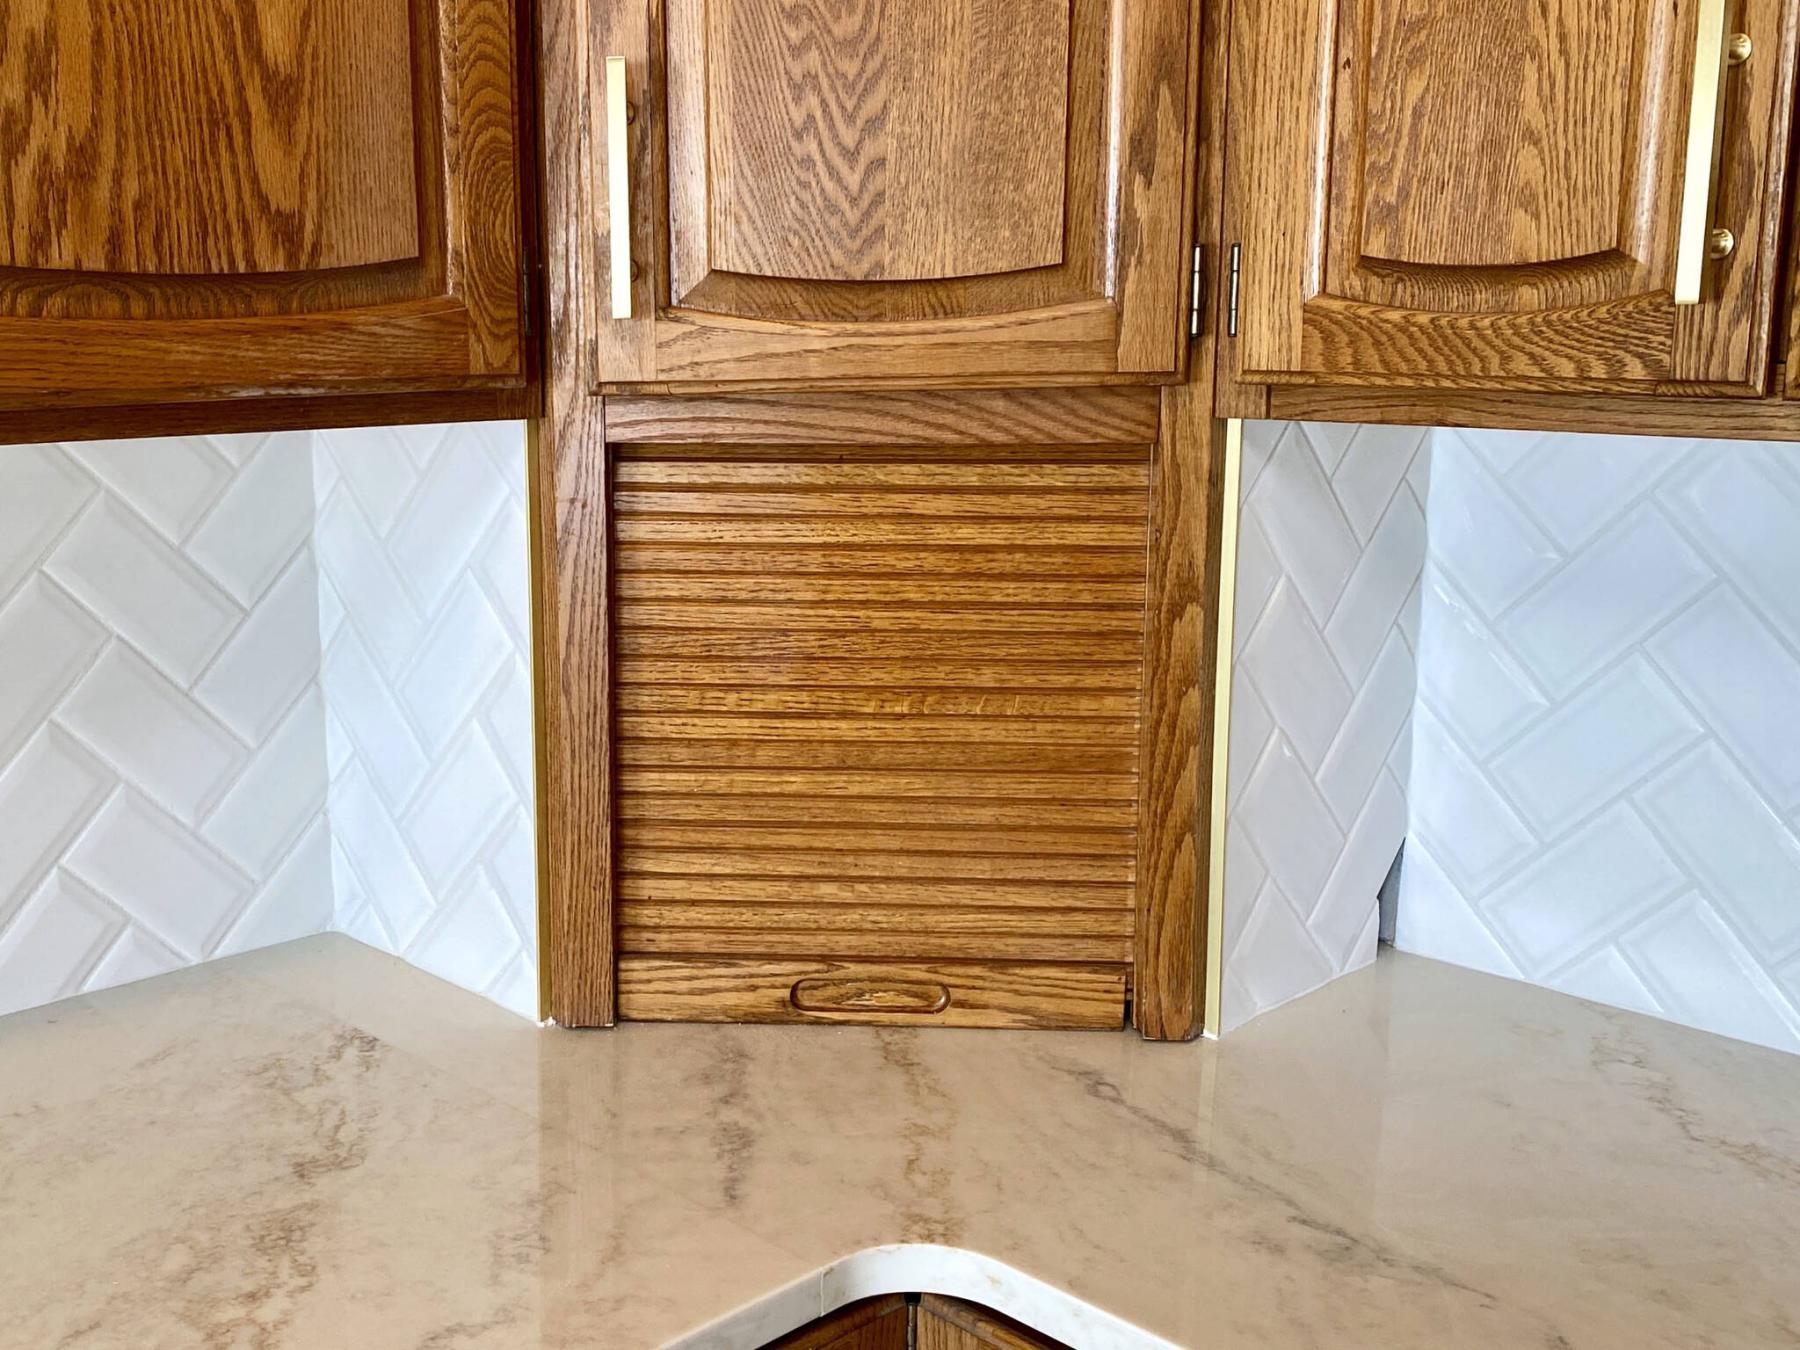
Along the area below the upper cabinets, white bevelled subway tile in a herringbone pattern serves as the new backsplash.
Marc LaBossiere / Free Press
The appliance garage received tile to conceal old adhesive where Arborite unfortunately covered the garage walls.
A full kitchen remodel is a very expensive prospect. As I’ve often mentioned in the past, salvaging certain elements of an existing kitchen layout, provided they still serve the desired purpose, can be one way of reducing what can become a cost-prohibitive project.
On a recent kitchen facelift project, the existing cupboards were retained, primarily because the layout is familiar and most importantly, they still seem to fit in with the style of the abode at large.
After concluding with the homeowners that the existing cupboards would remain, the focus shifted to the aspects of the kitchen that required change: new quartz would replace the old Arborite countertops; a white deep-basin sink in place of the old stainless-steel sink; a new kitchen faucet; new cabinet pulls; and a snazzy tile backsplash to replace the eyesore of matching countertop Arborite that lined the walls below the upper cupboards. While preparing the areas of concern, I also suggested the homeowners point out any failing elements of the existing cupboards that could also be addressed.
Once the old Arborite was removed along the L-shaped area of the main counter, as well as atop the island, the good folks at Solid Stone Countertops installed the new quartz. My prep for this installation included trimming the lower edge of the built-in appliance garage to allow the quartz just enough room to slide in underneath. However, an oversight was revealed as the longer length of the L-shaped top was set into position — the front edge of the lower cabinets revealed an upward bow of nearly three-eighths of an inch, preventing the long section from meeting the “L” below the appliance garage at the proper elevation.
The crew quickly removed the long section, as I then worked to trim the front top part of the bank of lower cabinets to a perfect horizontal line, along with zipping off the perpendicular box framing towards the level line against the back wall. With this task achieved, the long section was remounted and the two quartz sections creating the “L” were seamed together.
The island top was set onto the island structure, with the cooktop cut-out already prepped in at Solid Stone’s shop before being delivered. The cooktop was set back into place, and the electrical was reengaged. Along the main countertop, the pre-prepped cut-out for the sink allowed the crew to undermount the sink using adhesive and corner brackets. Once in place, the faucet hole was drilled using the appropriate auger bit, and the Solid Stone crew’s tasks were completed. I then mounted the new kitchen faucet, tied-in the water feeds and re-plumbed the ABS drain which was tied into the existing rough plumbing.
With the quartz in place, the white three-by-six-inch bevelled subway tiles chosen for the backsplash were installed in a herringbone pattern along the back wall, on either side of the appliance garage.
I decided to continue the tiling along the garage walls, primarily to hide the old adhesive used to stick on the unsightly Arborite that covered the walls, which was a shame because the appliance garage had been constructed using the same decorative oak showcased by the cabinetry throughout the room. No matter, the continuation of the backsplash along these areas helped conceal the previous shortcomings nicely.
Beyond the aforementioned tasks, a few areas of the existing cupboards were in dire need of attention, such as several misaligned drawers and door fronts. While a bit old-school, the hinges did thankfully allow for minor adjustments.
The biggest issue arose along a bank of wide lower cupboards where none of the drawer glides seemed to function properly. As such, the glides for the upper drawer were completely replaced.
For two pull-out drawers which hide behind two doors, new boxes were built and installed along with new glides, as the old boxes were frail and unable to withstand any kind of repair.
Finally, new pulls were introduced throughout the cabinets. By carefully selecting pulls with the same post spread (in this case, 3¾”), the old handles could be easily swapped out. The homeowners elected to introduce gold pulls, which in turn influenced the decision to choose a gold faucet and drain, as well as gold edging along the visible sides of the tiled backsplash.
As a final hint of gold, existing black outlet covers were changed to gold as well. With that golden task, the kitchen facelift was nearly completed.
While addressing the main issues, it became apparent in certain high-traffic areas of the cabinets that wear-and-tear had taken its toll. To remedy these blemishes, a gold-oak stain was used to help blend these areas in with the more pristine finish of the other cupboards. This process worked like a charm, and the old cupboards were truly revived.
Despite a few unexpected challenges, the kitchen facelift process transformed a dated space into one than can facilitate a new and improved culinary experience. The old cabinets were brought back to life, and the quartz and tile backsplash combo truly complements the style throughout the house.
Admittedly, I was initially resistant to the choice of gold accents, but after watching the space come together as it did, it’s now obvious the choice was pure gold. Kudos!
RenoBoss.Inc@outlook.com