Photos by Marc LaBossiere / Free Press
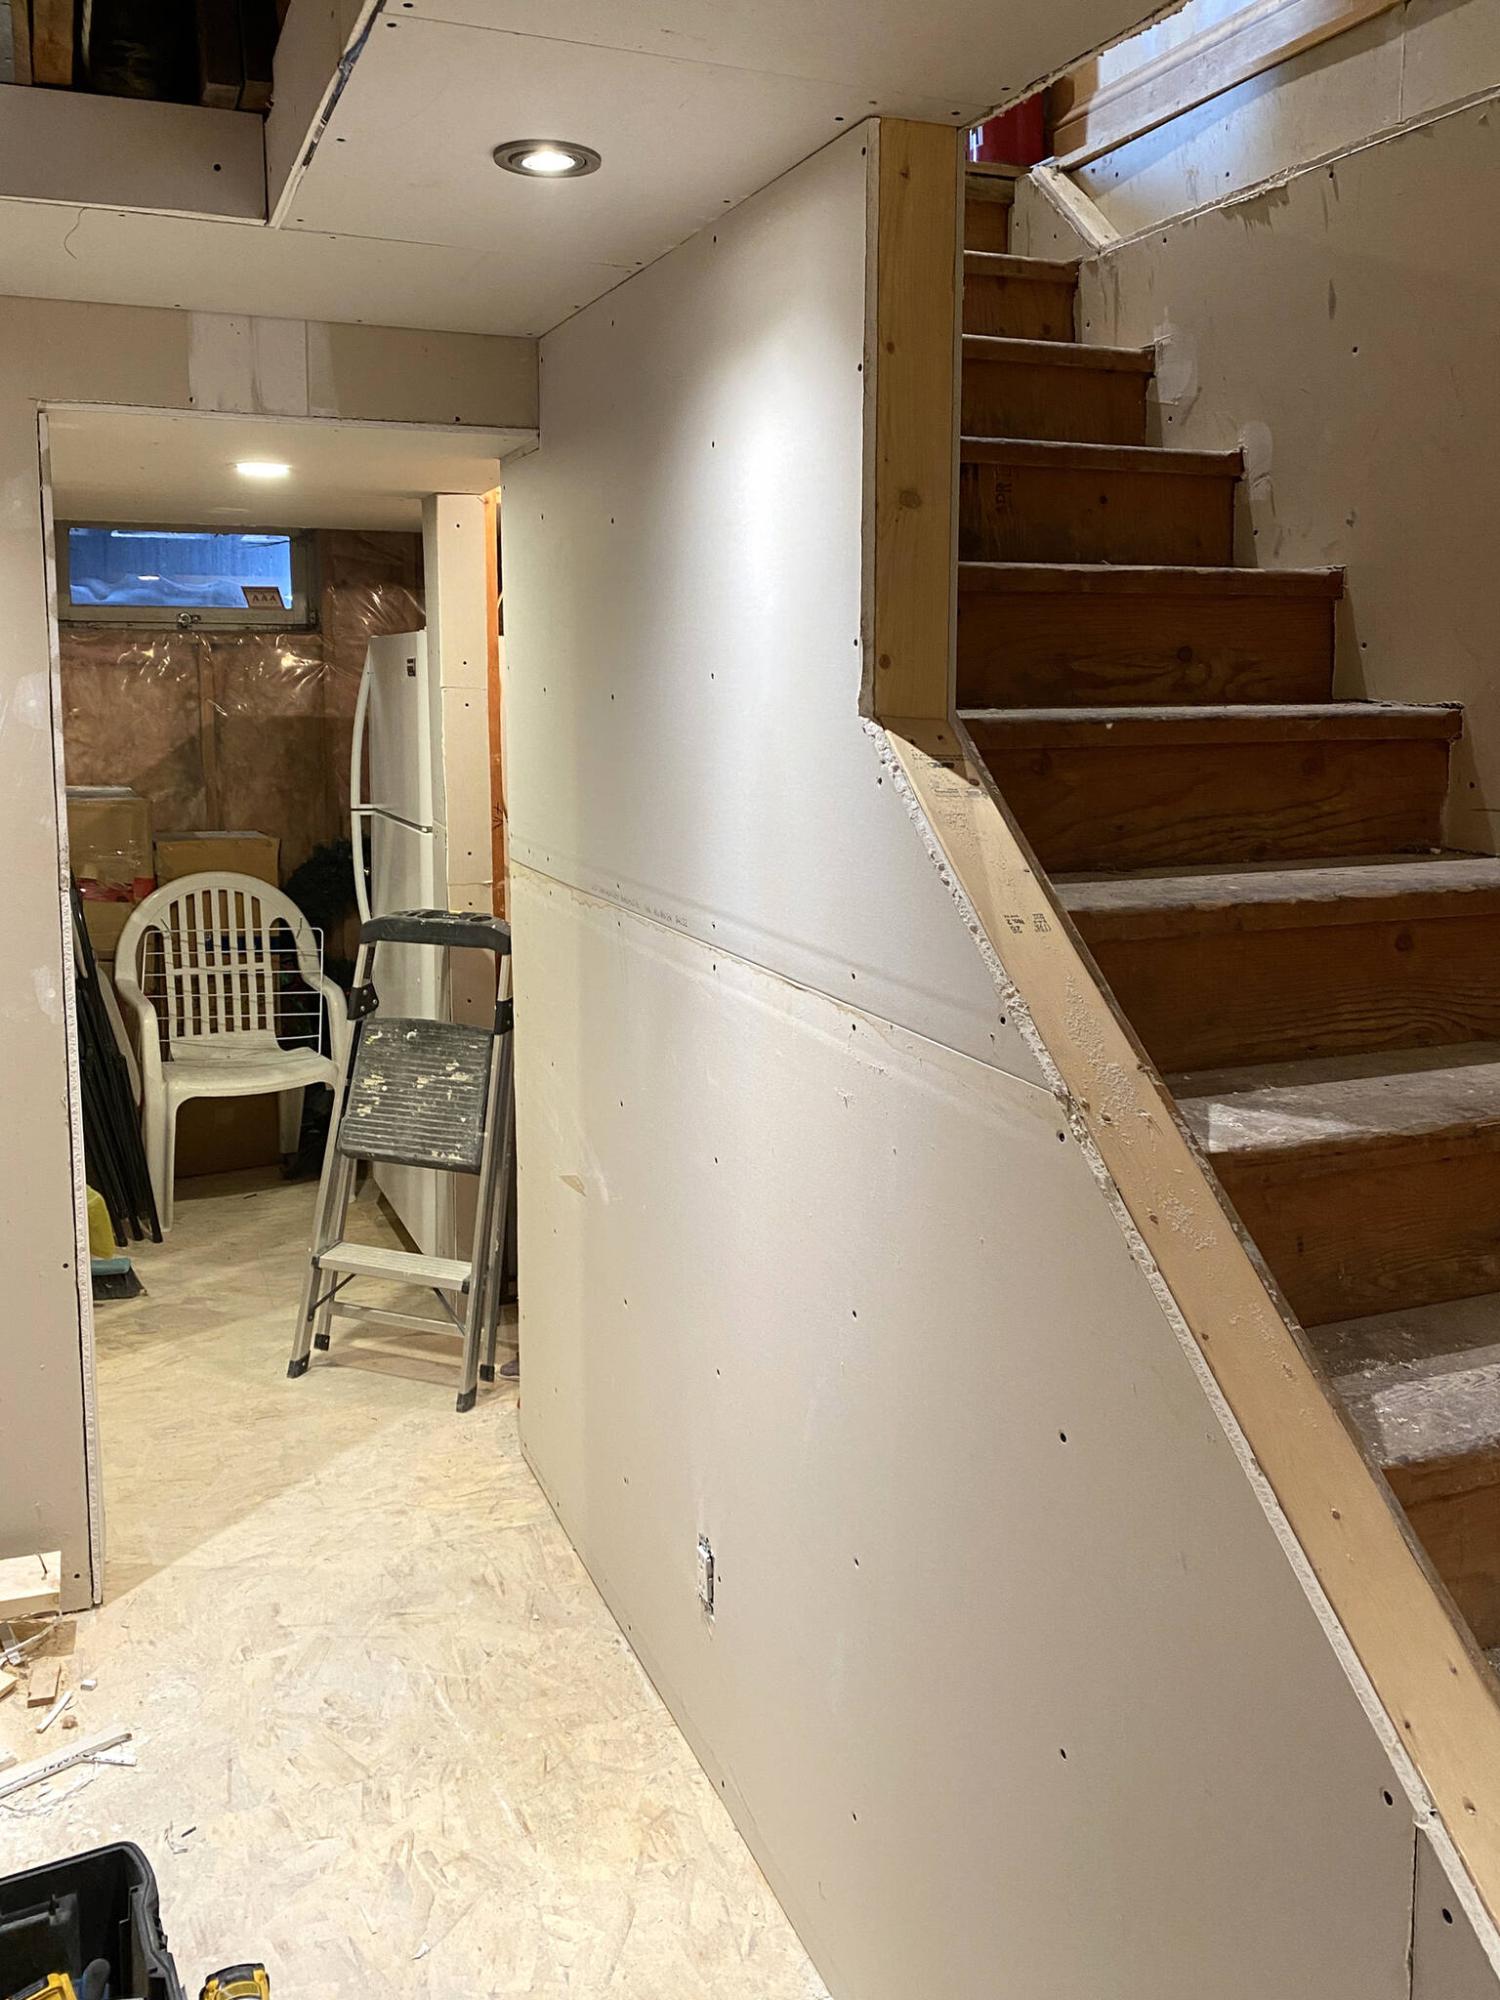
The staircase presented a challenge for negotiating full sheets of drywall downstairs.
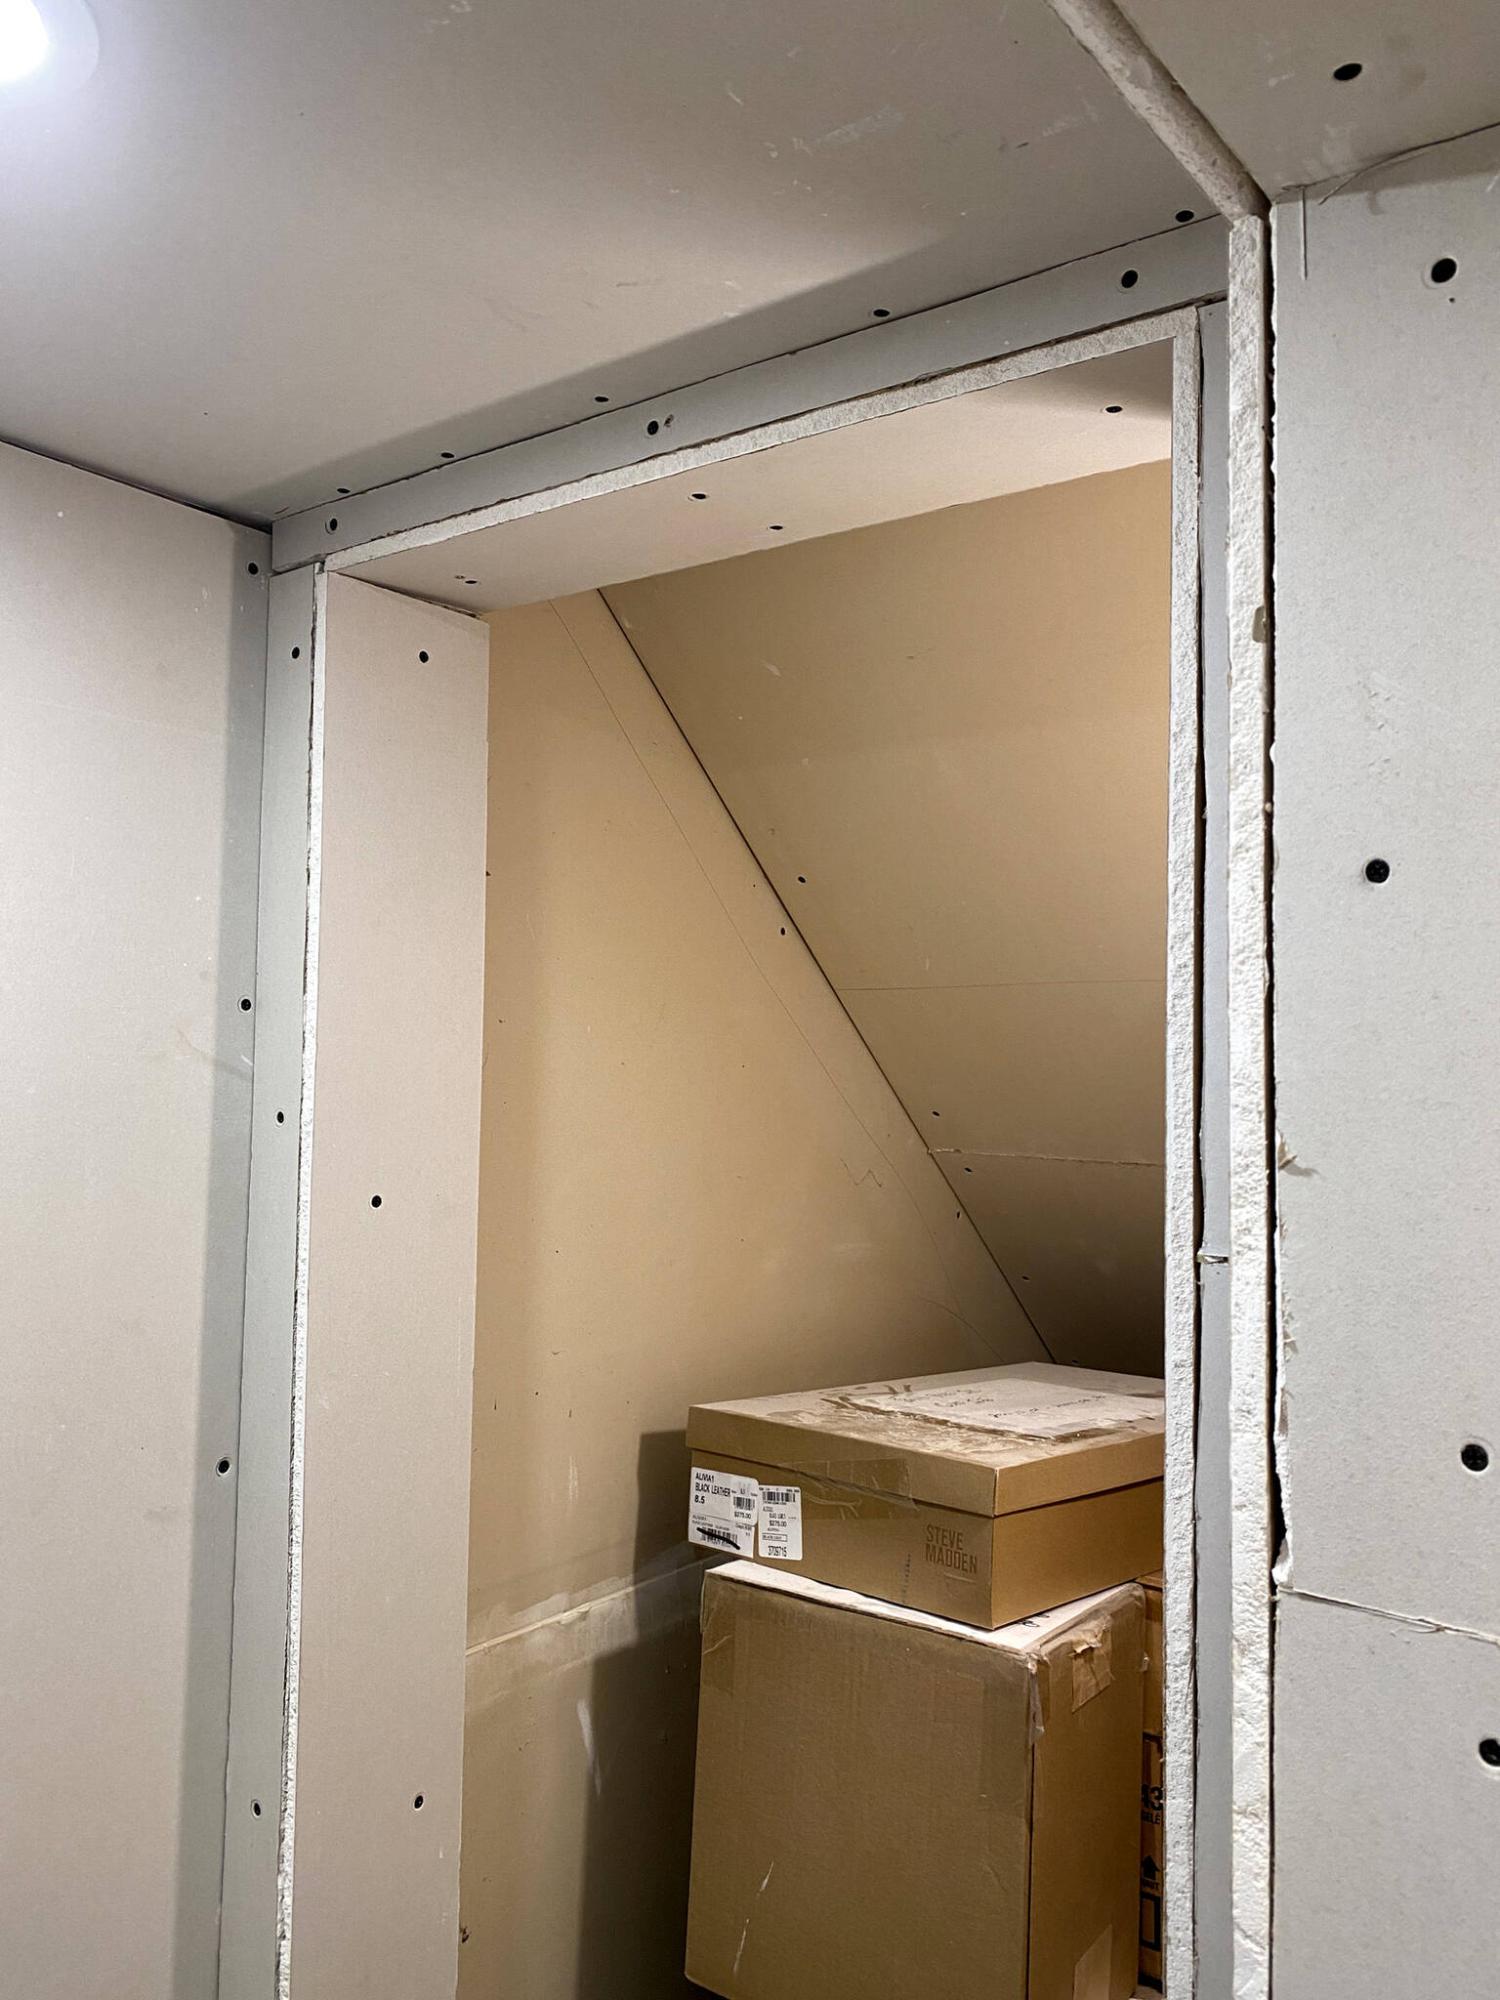
The closet required a bit of creativity to install the drywall.
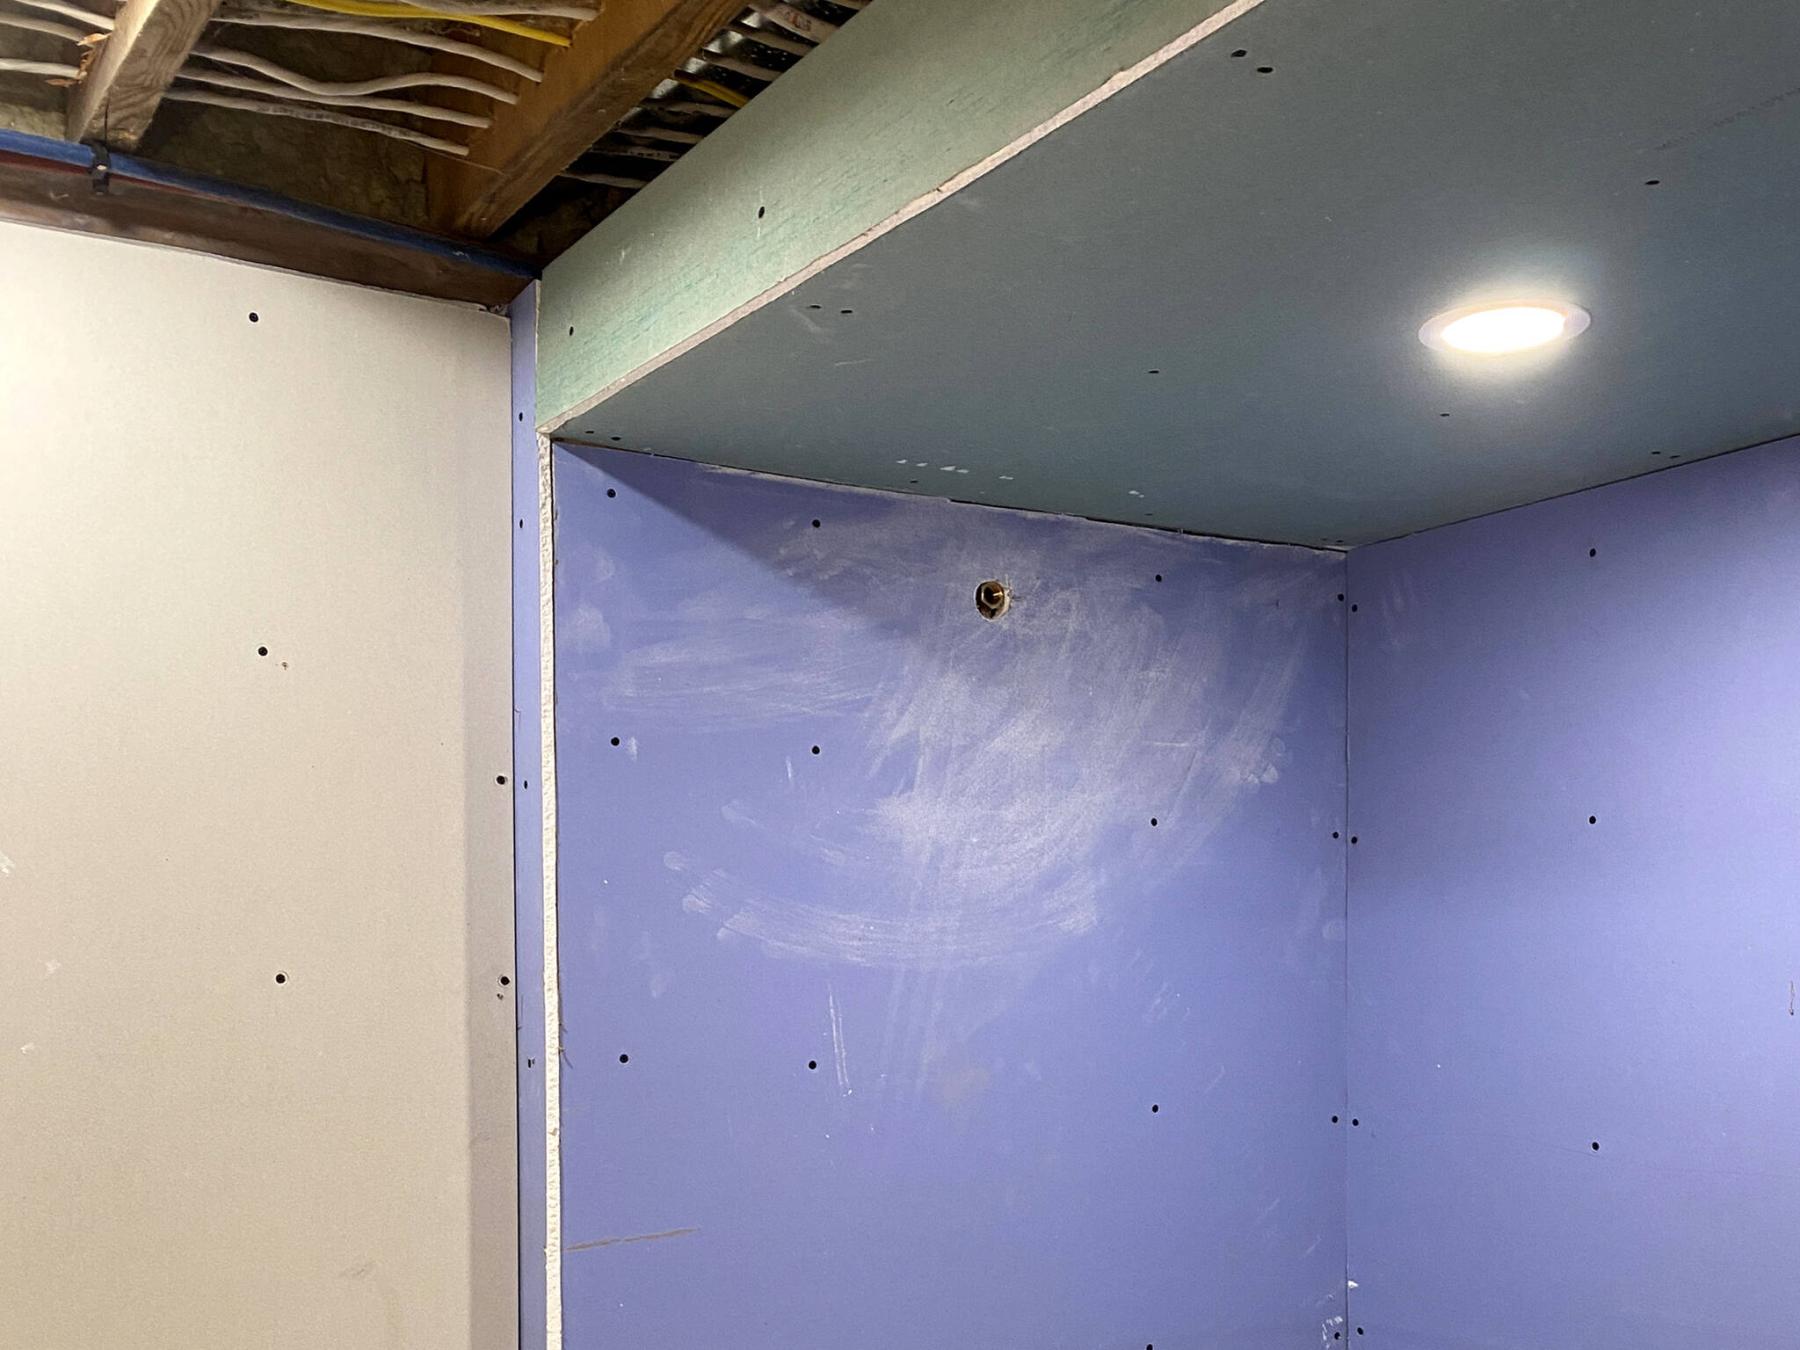
The bulkhead above the shower shortened the vertical drywall enough to make it down the tight staircase.
Anyone who has lugged around and installed multiple sheets of drywall will attest to the awkwardness, and sheer difficulty of the process. During a lower-level walk-out renovation in a newly developed area, the project required 96 sheets at eight feet, and another 30 at twelve feet to sheathe the interior space. Walking those sheets from the top of the driveway to the backyard, along a makeshift walkway that consisted of several 2x8s partially sunken in the wet mud is an activity I will not soon forget.
Despite the challenges, installing drywall is somewhat of a necessary evil. The number of sheets is obviously a factor of the inherent square footage of the space, walls, and ceilings inclusively. When loading in the drywall, it’s always best to prep a workspace that allows for the sheets to be piled one atop another, so that as the drywall is installed, the stacked drywall is never inconvenient. This is easiest when the space is mostly empty, allowing lots of wiggle room. When the area is somewhat filled with objects that cannot be easily removed temporarily, these objects are simply moved around as required to allow for the installation process to occur. It can be quite time-consuming.
Unfortunately, there are those projects that inject another hurdle into the mix, one that is not easily overcome — the improbability of negotiating large sheets into the destined workspace. At new jobsites, contractors will often hold-off on installing all windows until all required drywall has been successfully introduced into the space. Moreover, many basements often have egress windows that are wider than four feet, to allow for future basement renovations. Unfortunately, older homes do not often offer such convenience. As a result, the drywall must then be hauled down the stairs. What happens when the drywall can’t be carried down the stairs in full sheets? This presents a serious challenge, and there are a few ways to overcome it.
In my home, the last area to receive the Reno Boss touch is the basement. Although partially framed with two-thirds of the exterior walls drywalled, the majority of the existing and all newly introduced framing required drywall. With eight-foot basement ceilings, the first step was to ascertain whether the staircase would allow full sheets into the basement. Unfortunately, it does not. However, this didn’t bother me much for two reasons: firstly, my desire to have easy access to the services that run through the main-floor joists is satisfied by choosing suspended ceiling tiles in lieu of drywall eliminates a substantial amount of drywall, and secondly, introducing box framing along the perimeter of the main rec room shortened the height of the required drywall to 84 inches, a length my staircase allows down the stairs and into the basement. Moreover, the bulkheads that encase the main ducting in the other three main areas (bathroom, laundry, pantry) also shorten the drywall to heights that my staircase will allow. For two of these rooms however, I elected to install the drywall on the horizontal, which is also helpful when the space’s wall widths are less than eight feet. Essentially, there were a few ways to accommodate loading drywall down my staircase, by ensuring lengths never exceed what my staircase allows. As such, the drywall was pre-cut in the garage, and loaded down the stairs one-by-one. This made for a very tedious endeavour, albeit productive, nonetheless — there’s always a way to make things work.
Come to think of it, the last sheet of drywall I installed did present a challenge — the back wall within the closet. Although it was skinny enough to remain at nearly 90 inches tall and still make it down the stairs, it could not be negotiated into the closet itself due to the lintel height of the closet door. The quick fix was to score a straight line along the top backside (lower than the lintel elevation), carefully “snap” the board and temporarily fold it over onto itself. Once positioned in the closet, the fold was lifted, and that final board was summarily secured to the wall without having to create a cutline. With the board fully fastened, the fold just disappeared, which reinforces my point — there’s always a way!
RenoBoss.Inc@outlook.com