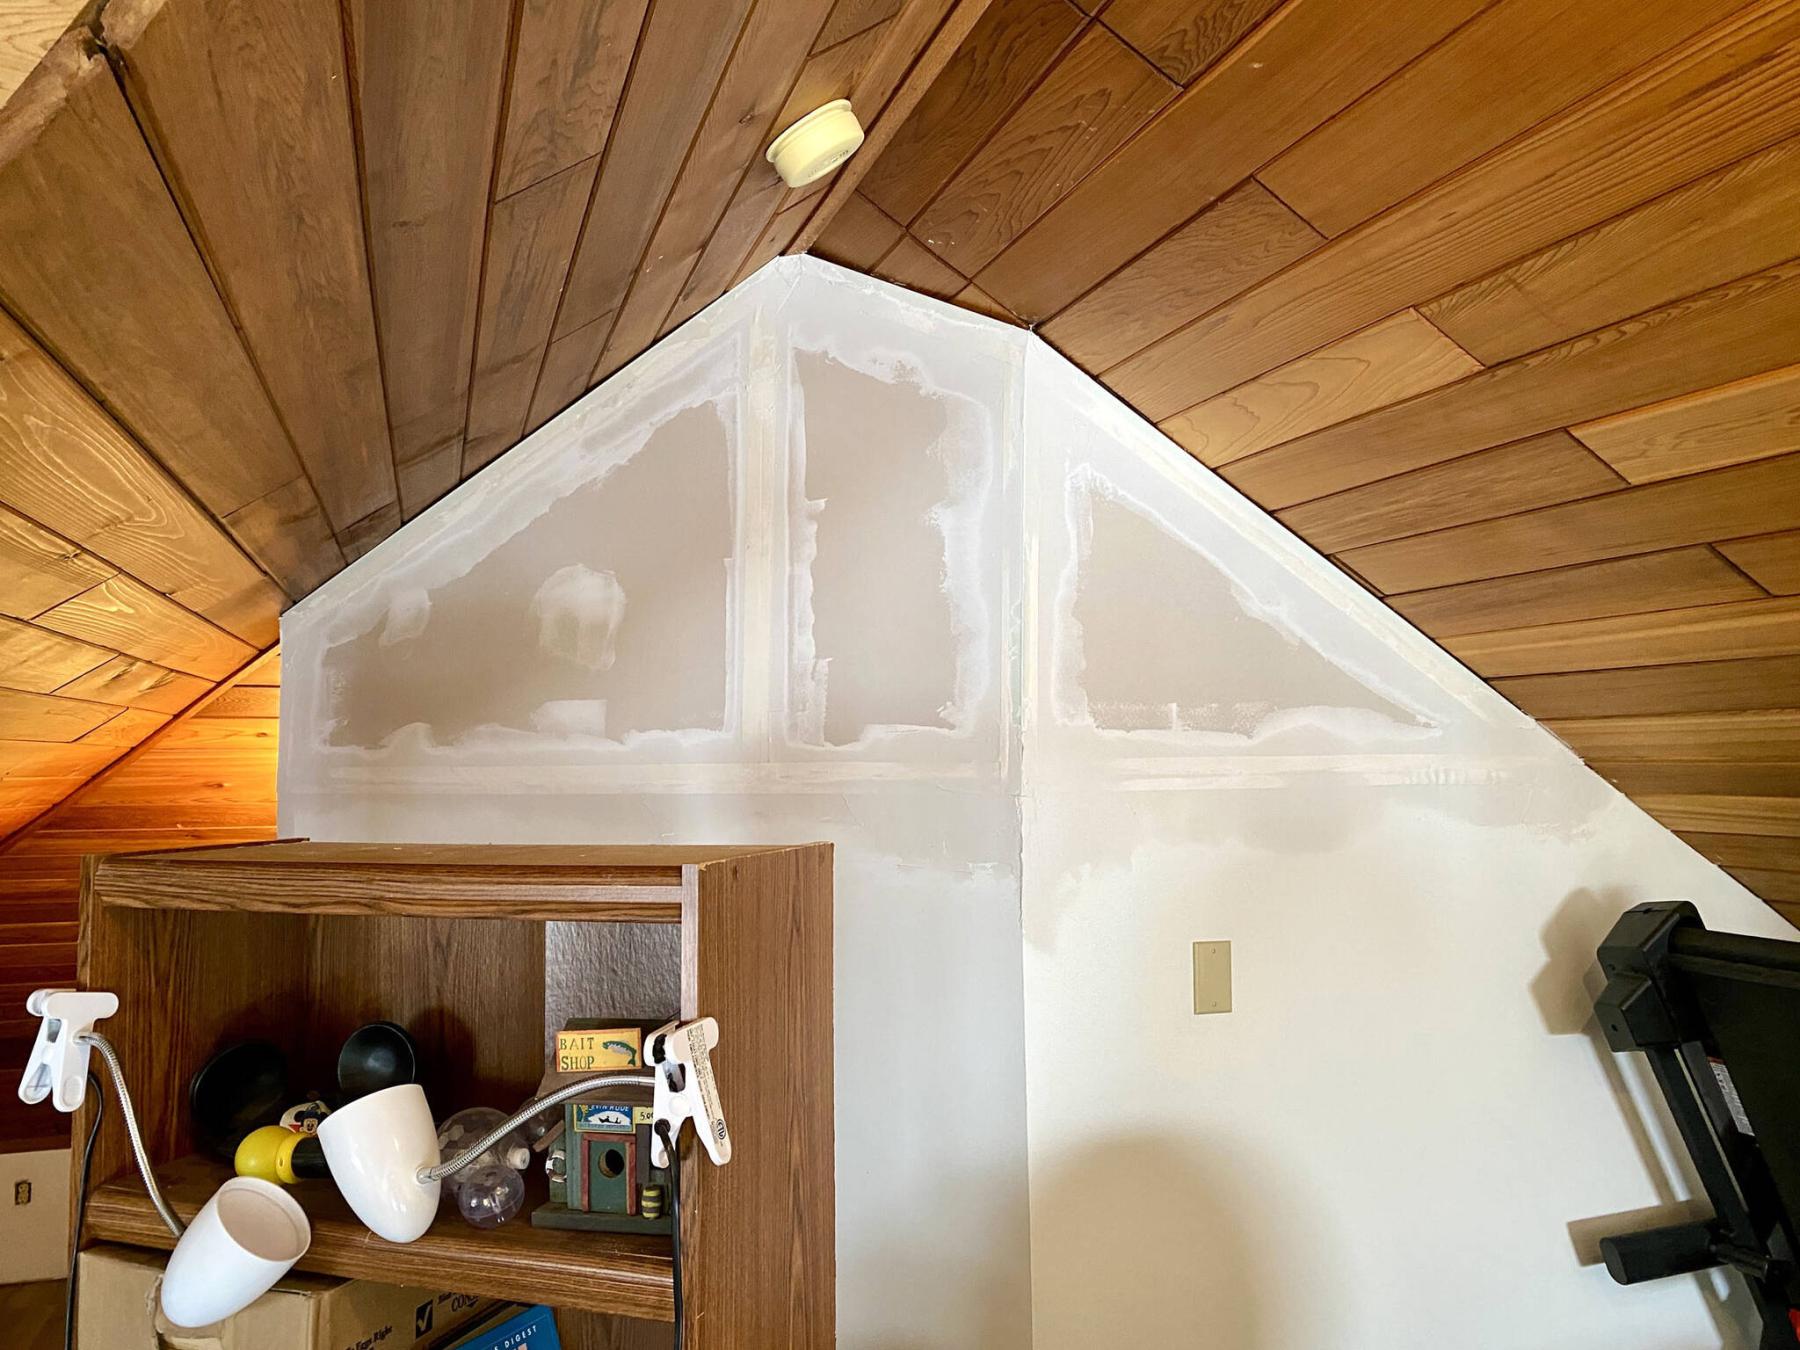
MARC LABOSSIERE / FREE PRESS
All seams and angles were taped and beaded before several coats of mud were introduced.
MARC LABOSSIERE / FREE PRESS
One section at a time, pre-cut drywall was carefully lifted and mounted to the framing.
MARC LABOSSIERE / FREE PRESS
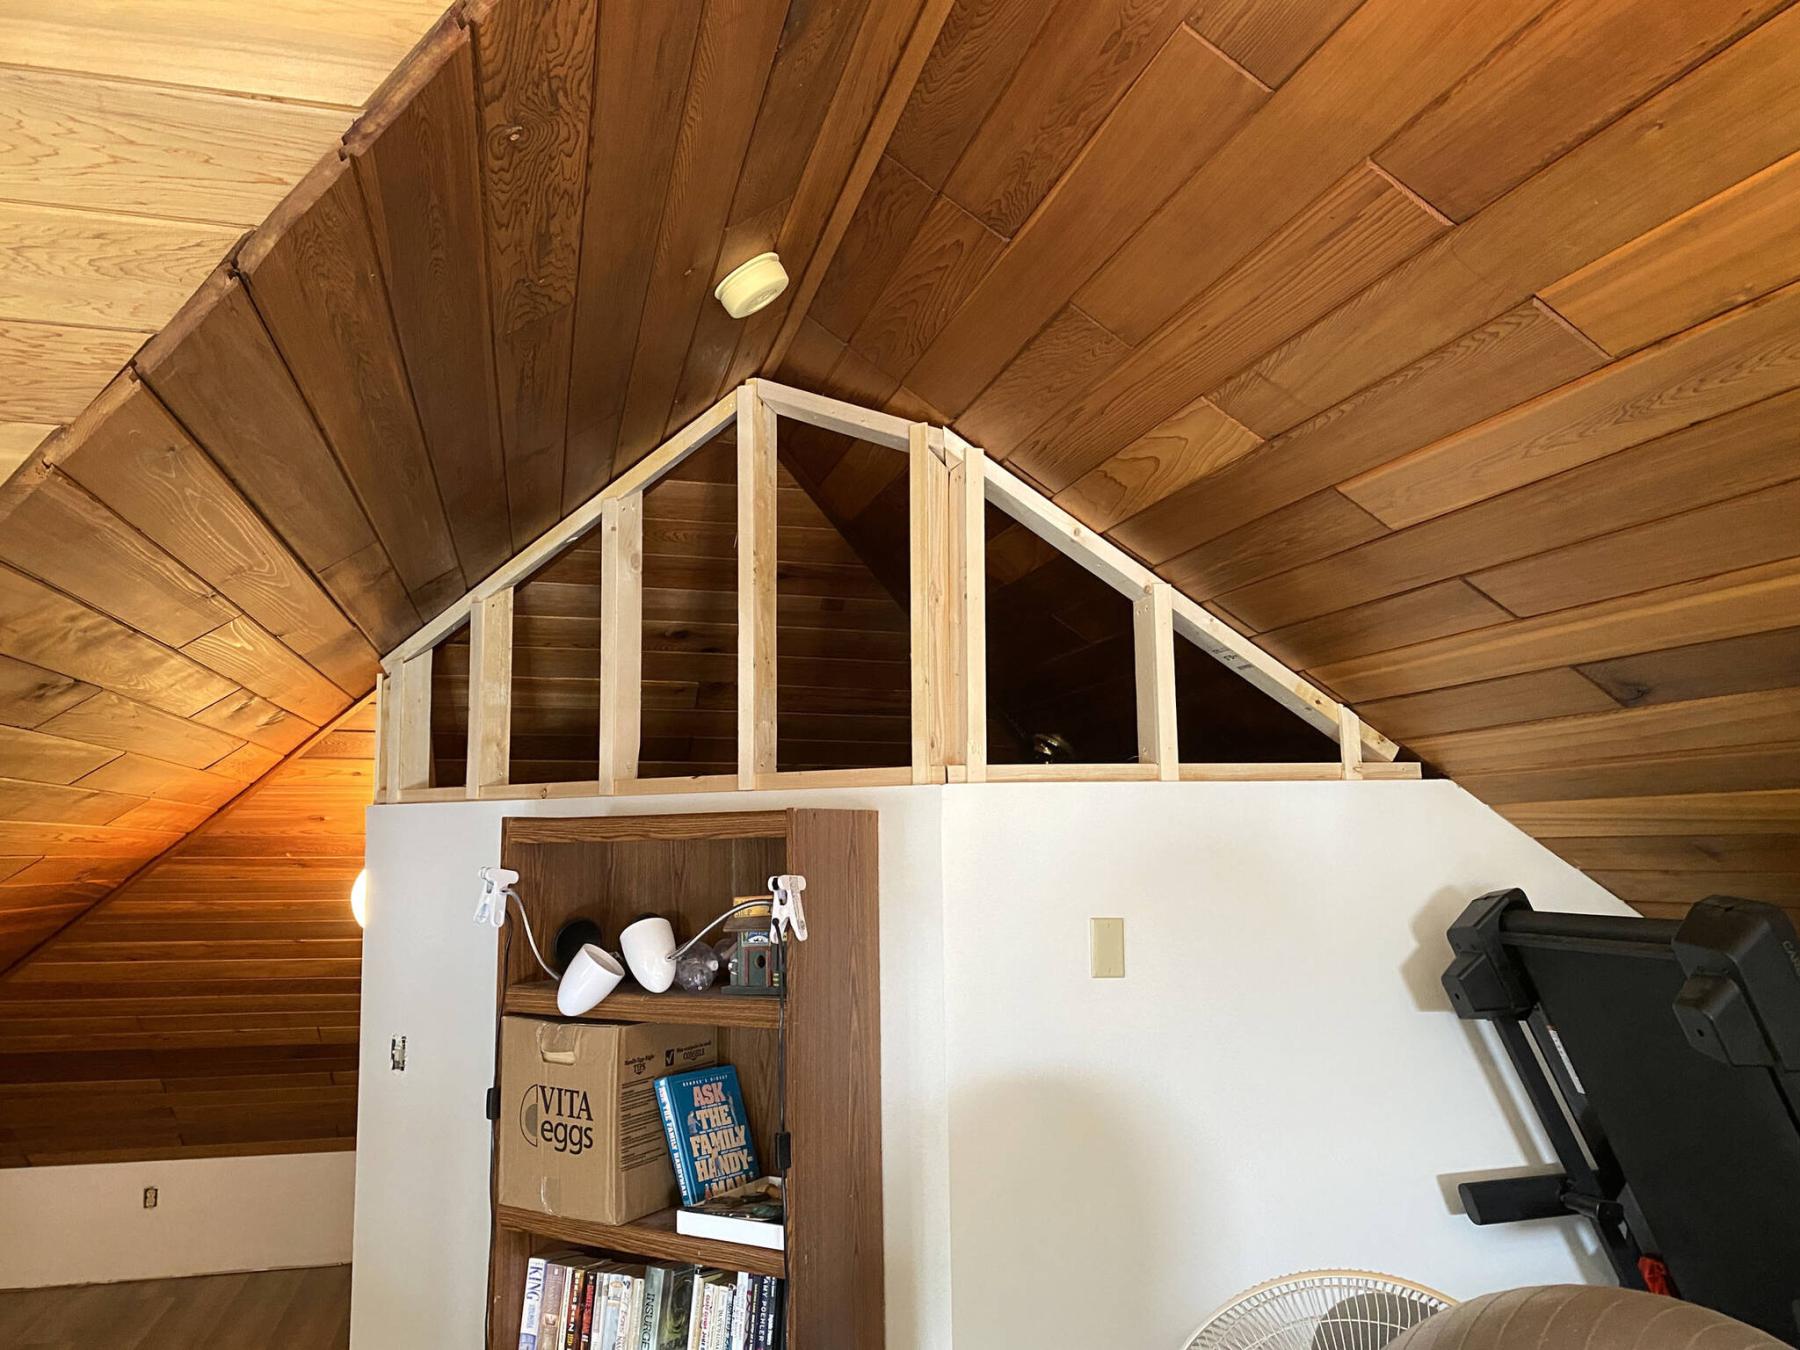
This upper wall framing consists of many compound-mitred angles to meet the multi-vaults of the ceiling.
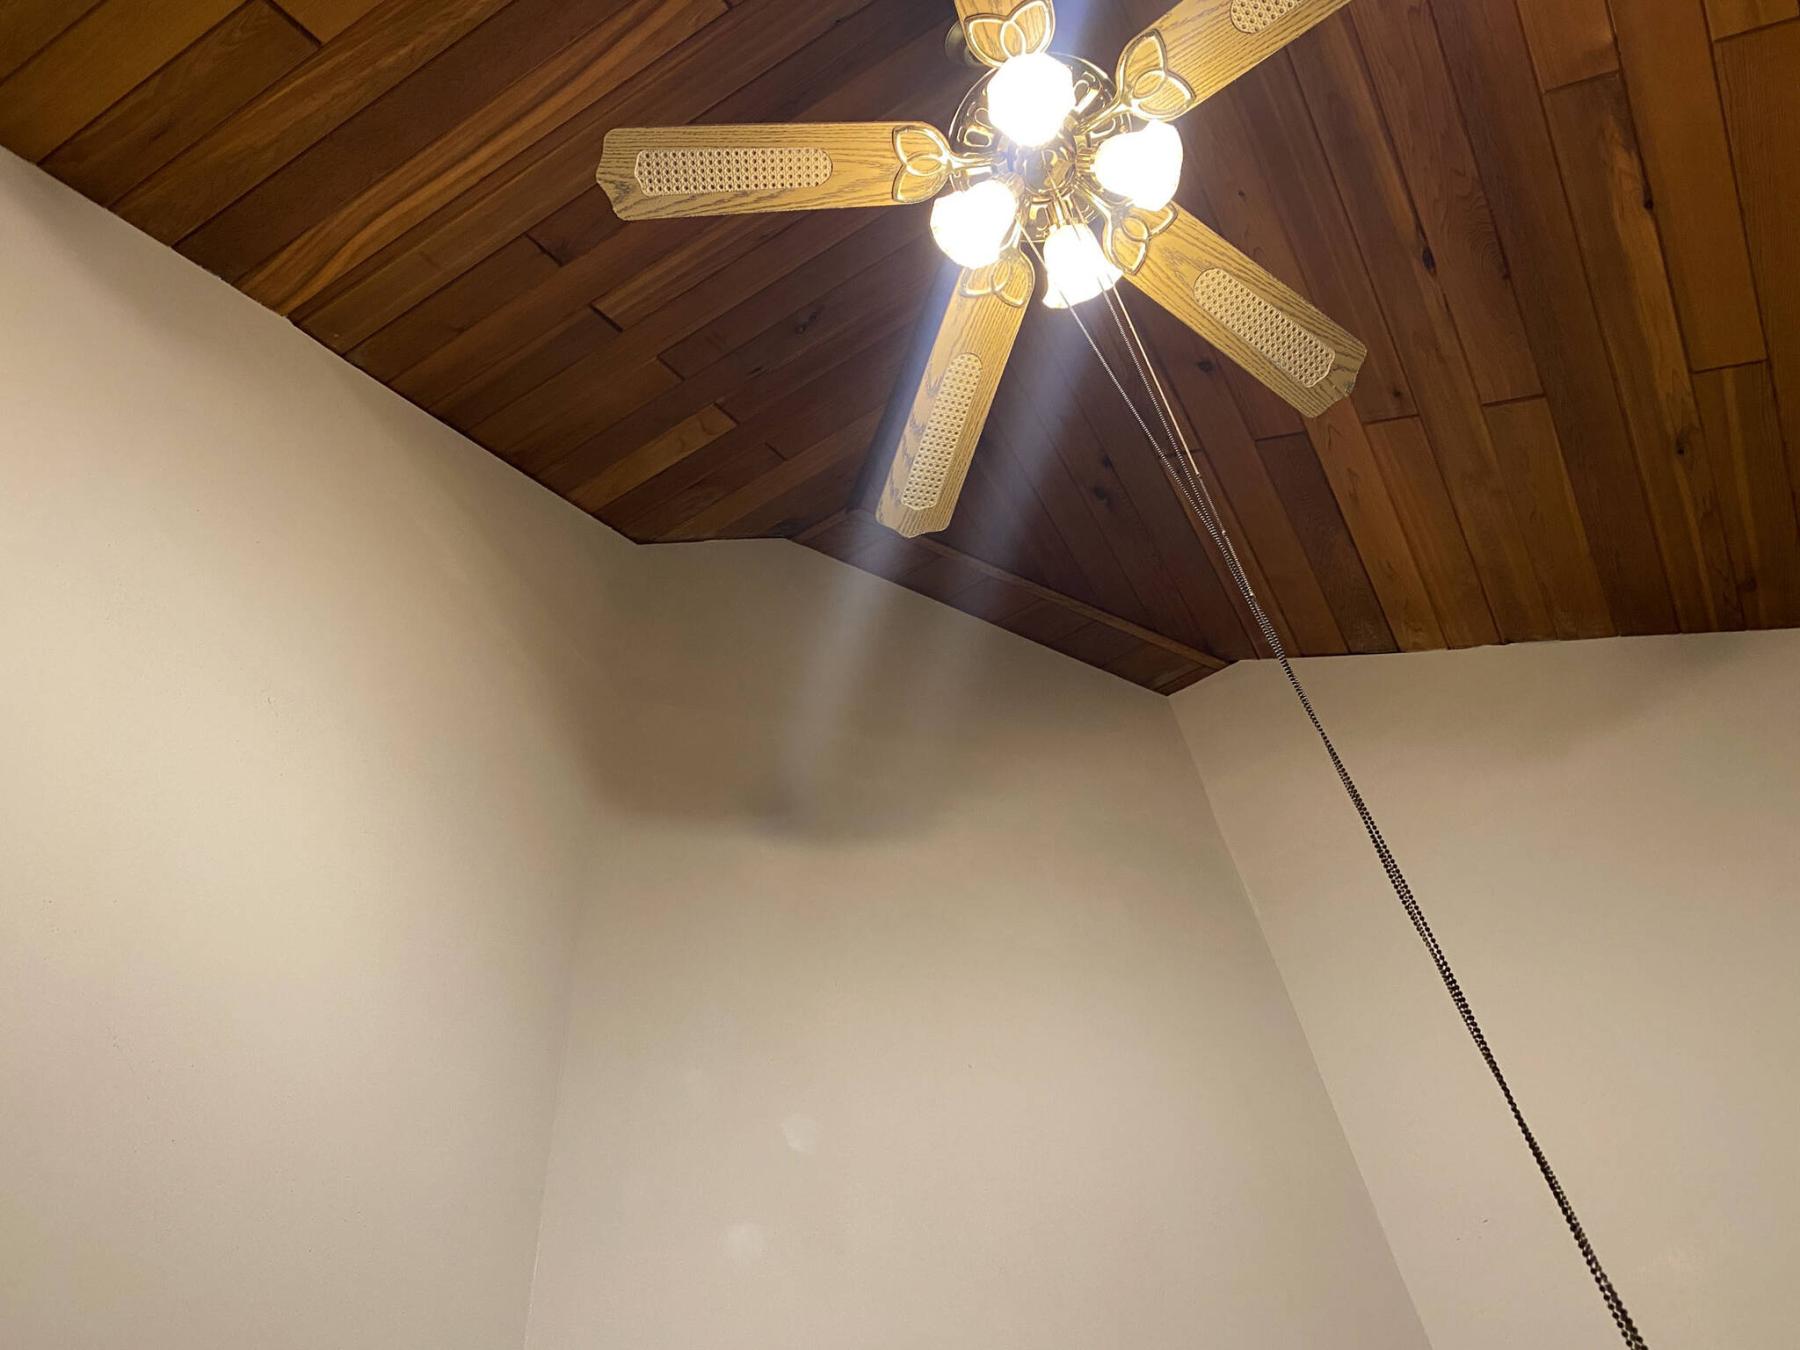
MARC LABOSSIERE / FREE PRESS
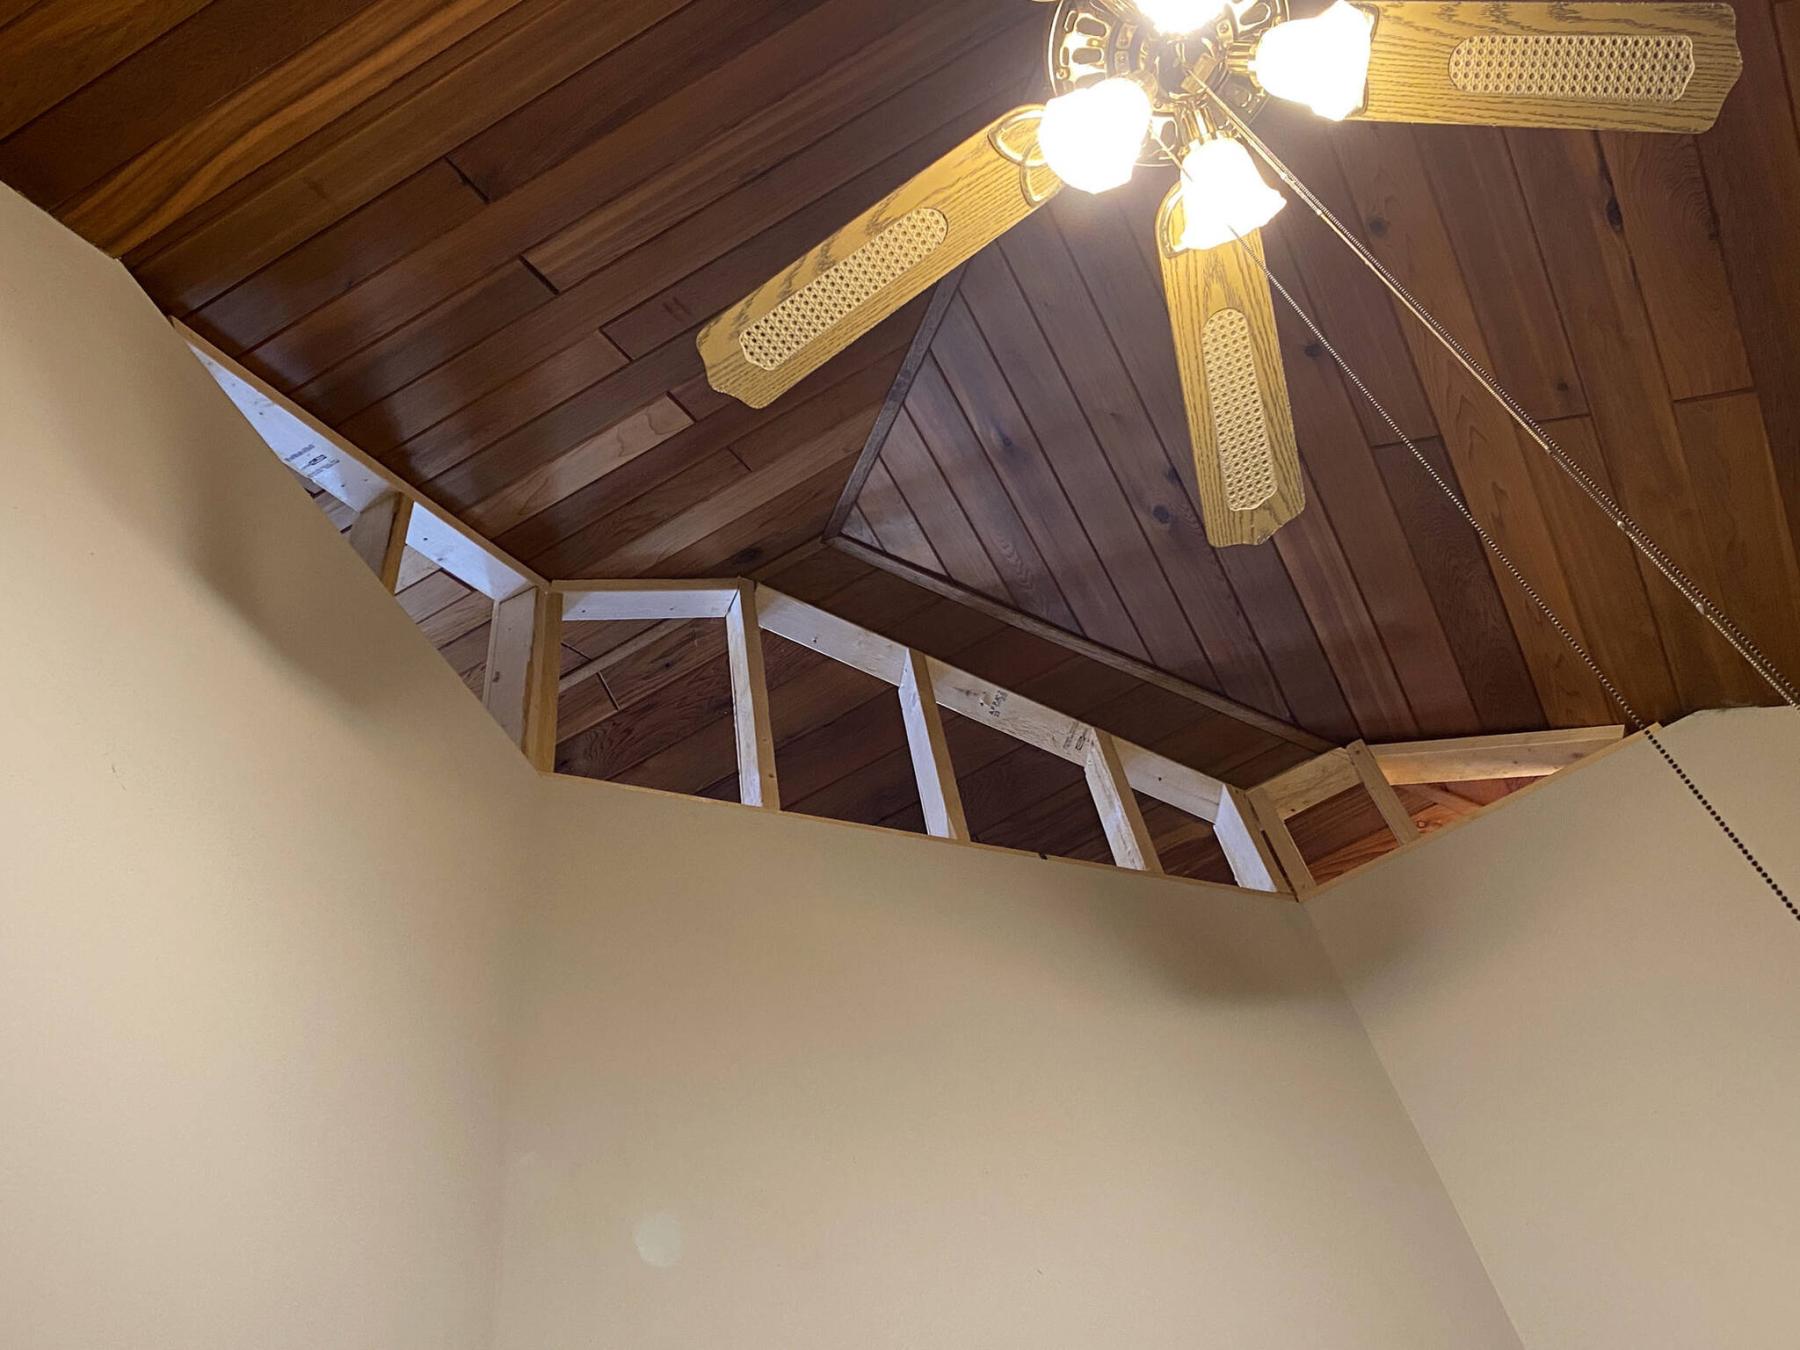
The framing was completely finished on the second-floor side, revealing the inner angles from the main-floor master bedroom.
Nearing the completion of a multi-faceted, five-week project during which the homeowners had wisely elected to stay elsewhere for the duration, a ninth-inning query resulted in one of the trickier tasks of the entire project.
Since the homeowners had not yet “moved back in,” I was asked whether it was feasible to close the open walls on the second floor, adjacent to the vaulted ceiling of the master bedroom below, while I was still there, to avoid further household disruption at a later date. Although it wasn’t a large amount of framing, the compound angles and the 16-foot height inside the bedroom did present a few challenges.
I’ve often joked about clients who take full advantage of my presence by asking me a slew of questions, expecting prompt advice regarding impending and yet-to-be-discussed tasks. The “Hey, while you’re here…” adage has become something of a running joke.
However, it all fairness to the homeowners, it makes perfect sense to make an inquiry while I’m on site, as it’s much easier to discuss a potential task or project when being shown the parameters of said task, face-to-face. That being said, I’m not always able to squeeze the newly proposed work into an already hectic schedule.
In this instance, however, it made a lot of sense to get the task done while the furniture remained to one side. As such, measurements were taken and materials were purchased and brought to the job site the very next day.
To close in the partial wall, the framing could be achieved from the second-floor side of the partition. To meet the width of the existing wall, two-by-four studs were mounted along a base plate that was secured to the top edge of the existing walls. The cap met the vaulted angles of the ceilings.
Framing a wall with two 45-degree angles that meet a multi-vaulted ceiling requires a series of compound mitre joints to establish level and plumb lines that become an extension of the existing walls toward the vaulted ceilings. This is tricky business. Fortunately, as exacting as one aims to be, minor imperfections would be concealed by drywall, so the main goal was to remain plumb and level, at a matching girth of the existing walls.
Due to the nature of the mud, tape and bead processes, the top of the existing wall was slightly wider than the true four-and-a-half inch girth of a two-by-four with half-inch drywall on either side. As such, thin strips of two-by-six were ripped into appropriately thick shims using a table saw and deployed to widen the second-floor side of the framing to allow the new drywall to meet flush with the top edge of the finished drywall.
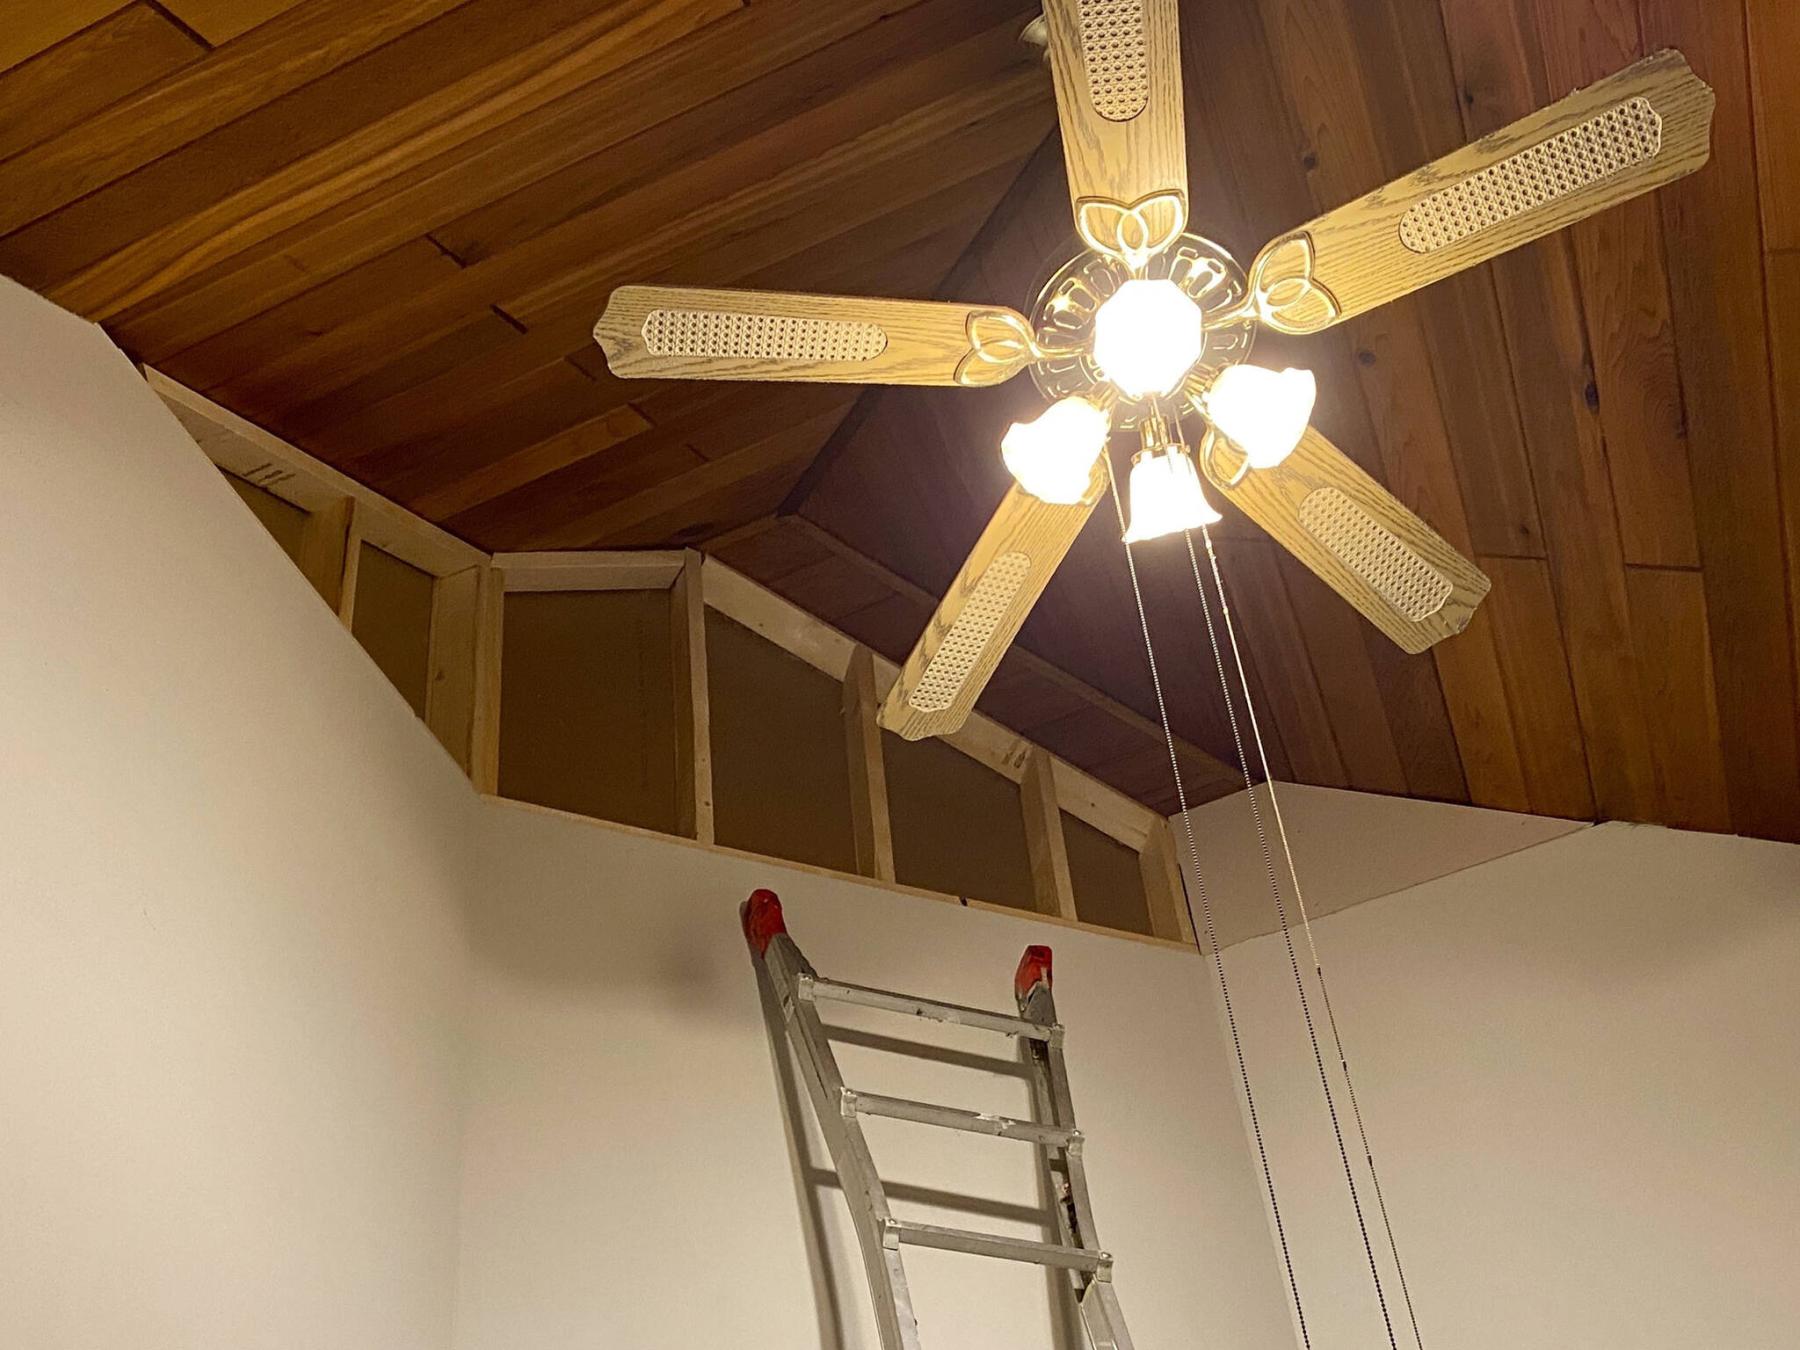
Once the structure was completely framed, drywall installation began. The sections of drywall along the second-floor side of the framing were relatively easy to mount, once the pieces were carefully cut to meet the ceiling angles.
Achieving the same tasks on the master-bedroom side of the newly erected wall would prove more difficult. Using a 16-foot step ladder, the smaller corner piece was pre-cut and carried up in one hand while I climbed the ladder. Once the section was in position, a single screw would hold it in place until the entire piece was firmly fastened. Although the main middle section could have been cut as one piece, I elected to break it into two for safety purposes, as I hoisted and secured each piece individually.
Once the other end section was completed, all seams on both sides of the newly introduced wall were taped and mudded. Over the next few days, intermingled with other scheduled tasks, another three coats of mud were added to the seams and 45-degree corner bead of the new wall.
Allowed to dry for a full day, the mud was then sanded smooth and all areas were primed for painting. After a couple coats of paint on both sides of the new wall, the “Hey, while you’re here…” job was complete.
The actual volume of work paled in comparison to the amount of effort required to scale the ladder multiple times to achieve the various tasks along the master-bedroom side of the wall. Nonetheless, it would have been terribly inconvenient to undertake the project at a later date. I’m happy I was able to accommodate the homeowners’ request “while I was there,” and they are thrilled their master bedroom is now totally private from the adjacent space on the second floor.
I caught myself revealing a wry grin as the clients led me to yet another area of the house that needs a little reno attention. All joking aside, it is always my pleasure to take the time needed to discuss other potential work while I’m at a job site. Scheduling a later visit doesn’t always prove convenient, so it makes sense to have a quick chat while on site.
And you never know, I may be able to squeeze in the added task after all, as long as my ever-evolving schedule will allow it. Most of the time, I’ll make it work, so by all means, always feel free to utter the words I love to hear: “Hey, while you’re here…”
RenoBoss.Inc@outlook.com