Photos by Marc LaBossiere / Winnipeg Free Press
Marc LaBossiere / Winnipeg Free Press
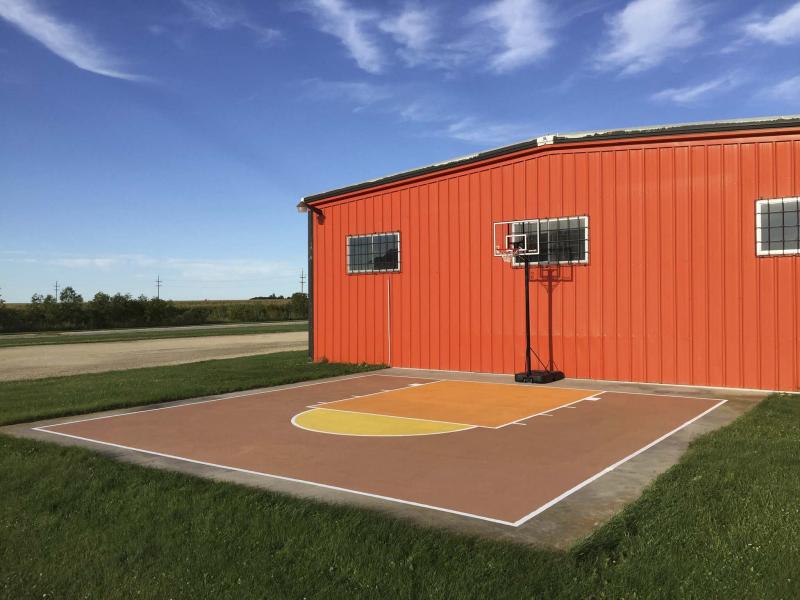
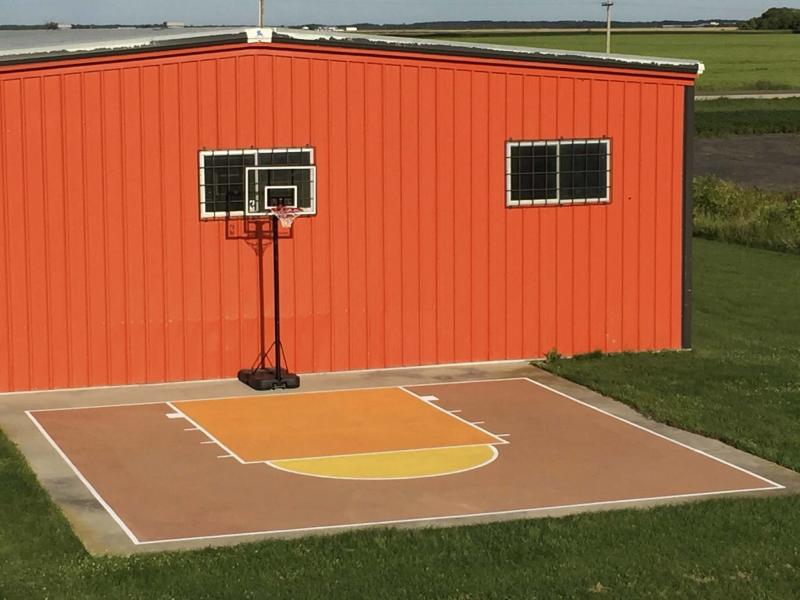
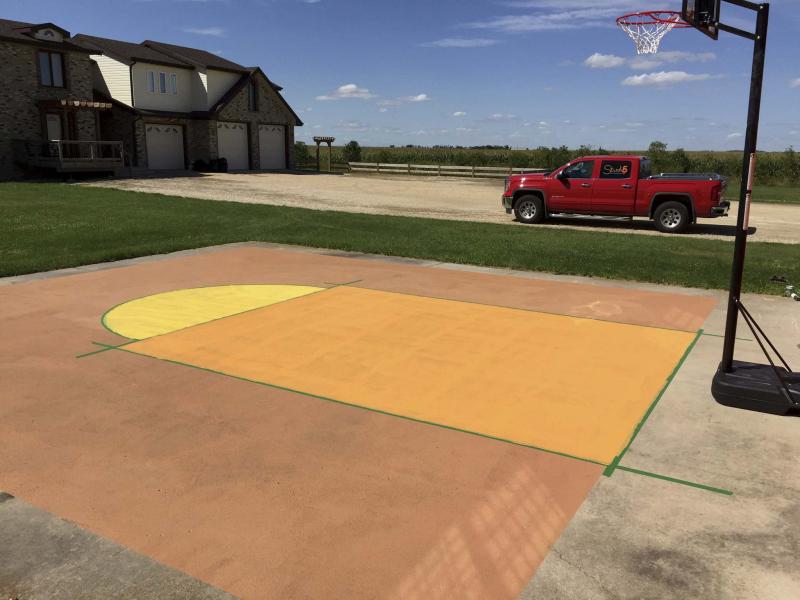
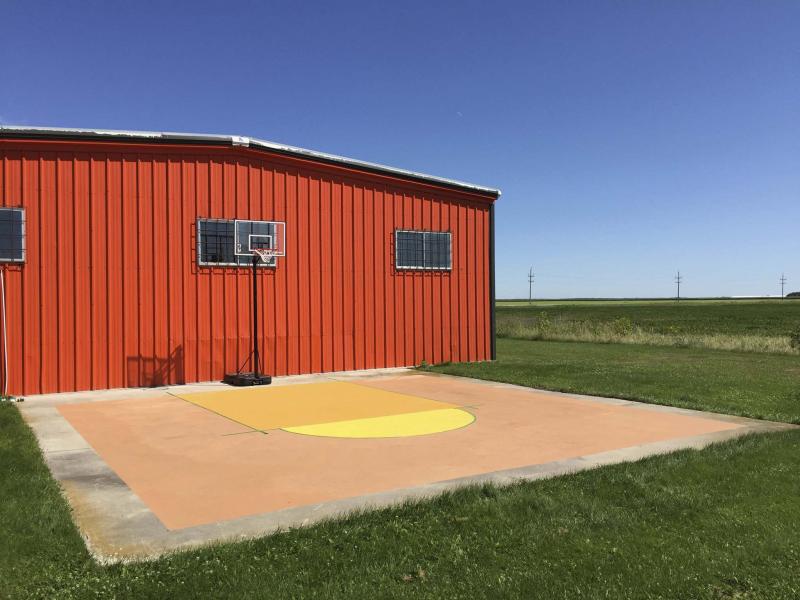
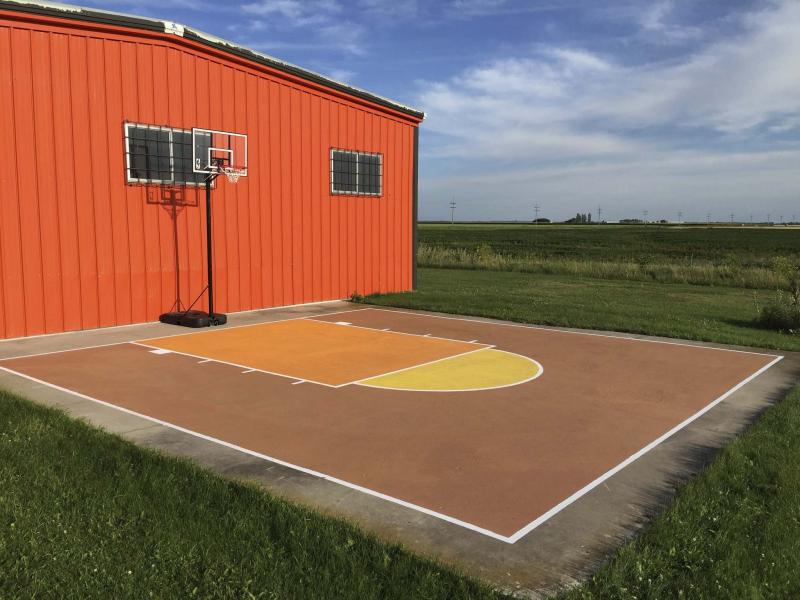
It was a bit of work, but this basketball court I made in my yard has been a welcome addition to my property that has kept my wife and I busy on many spring and summer nights.
The mild temperatures these past few weeks have awoken an urge to start planning outdoor projects, which are always put on hold due to the cold of the winter. One of my favourite projects from last spring involves an area on my property that had remained idle for many years.
An unused concrete pad adjacent to the back side of my 120-by-50-foot commercial shed mocked me each and every time I drove passed it. My initial thoughts were to increase the shed’s storage capacity by extending on that side. Or, maybe adding onto the shed could simply give me an area to park my John Deere tractor — but my tractor already fit nicely in one of my garage stalls, which is attached to the house.
Ideas came and went — nothing ever seemed practical or viable — until a comment my girlfriend, Carole Parisien, made in passing early last spring.
While playing catch, Carole said, "I miss playing basketball, maybe we should build a court over there."
That was the perfect idea — a partial basketball court!
Research on basketball court dimensions and layout began that very night. An official basketball and portable backboard system were purchased the next day. I assembled the backboard system and centred it on the concrete pad against the shed wall (for proper perspective when measuring out the court layout).
Although the concrete pad was smooth and in relatively good shape, there were a few cracks and areas of erosion that needed to be filled prior to painting. As such, I carefully applied an outdoor levelling concrete to the troubled areas on a hot, dry and sunny morning (with absolutely no rain in the forecast) — it was imperative the concrete set without being disturbed for at least 24 hours before the painting process could begin.
I’ve dabbled with outdoor concrete paints and textured paints in the past, so it was rather easy for me to locate and purchase what was required. Stone Affects outdoor paint served as the primary base colour for the entire court. The two other main colours that detail the court’s inner free-throw area dimensions, as well as the white trim, would need to be durable concrete paint. Bold colours were chosen to create a strikingly happy court surface, in a manner that suited the shed’s already daring exterior colour.
A single coat of Stone Affects did the trick as a base coat; it went on nice and thick. After allowing the base paint to dry completely, the most challenging aspect of this project began — taping off with precision the separate sections of the partial court, based on standard basketball court dimensions and measurements.
With the use of a measuring tape and a large 90-degree square, I initially mapped out the larger of two areas with solid colours with Frog Tape. This rectangular area was relatively easy to tape, but the semicircle proved slightly more complicated.
I took a predetermined length of string, one end was temporarily attached to the concrete pad with two-sided tape, and the other end was used to hold a black marker within a knotted loop. I marked small dashes on the textured surface at one inch intervals, creating an arc of them from one side of the court’s top of the free-throw rectangle to the other. This large, makeshift protractor was the easiest and most accurate method to produce an arc for a semicircle.
I then placed short pieces of Frog Tape one by one, alongside each of the dashes from one side of the arc to the next, forming a circular border edge for the paint colour being used inside the semicircle.
I repeated the process for the white outline found along the outer edges of the court, as well as where any two individual colours met within the court surface. Before any of the top coats of concrete paint cured completely, the Frog Tape was carefully removed, preventing the newly painted edges from lifting with the tape.
Although the Stone Affects base paint gave the court the desired and intended traction, the rough texture permitted the other colours of concrete paint above it to bleed slightly. A few touch-ups were required here and there, but it’s hardly noticeable.
The following morning, I sealed the entire court with two coats of Stone Affects Sealer, which when applied goes on white and dries clear. By late that afternoon, the court was ready for use.
That evening, Carole challenged me to our first game of 21 — it did not go well for me. It’s been hard to resist the court since that first night.
And although the court remains buried under several feet of snow at the moment, the basketball net towers above, like a flag waving in the wind… and a gentle reminder that spring is just around the corner.
BossEnterprise@outlook.com