Marc LaBossiere / Free Press
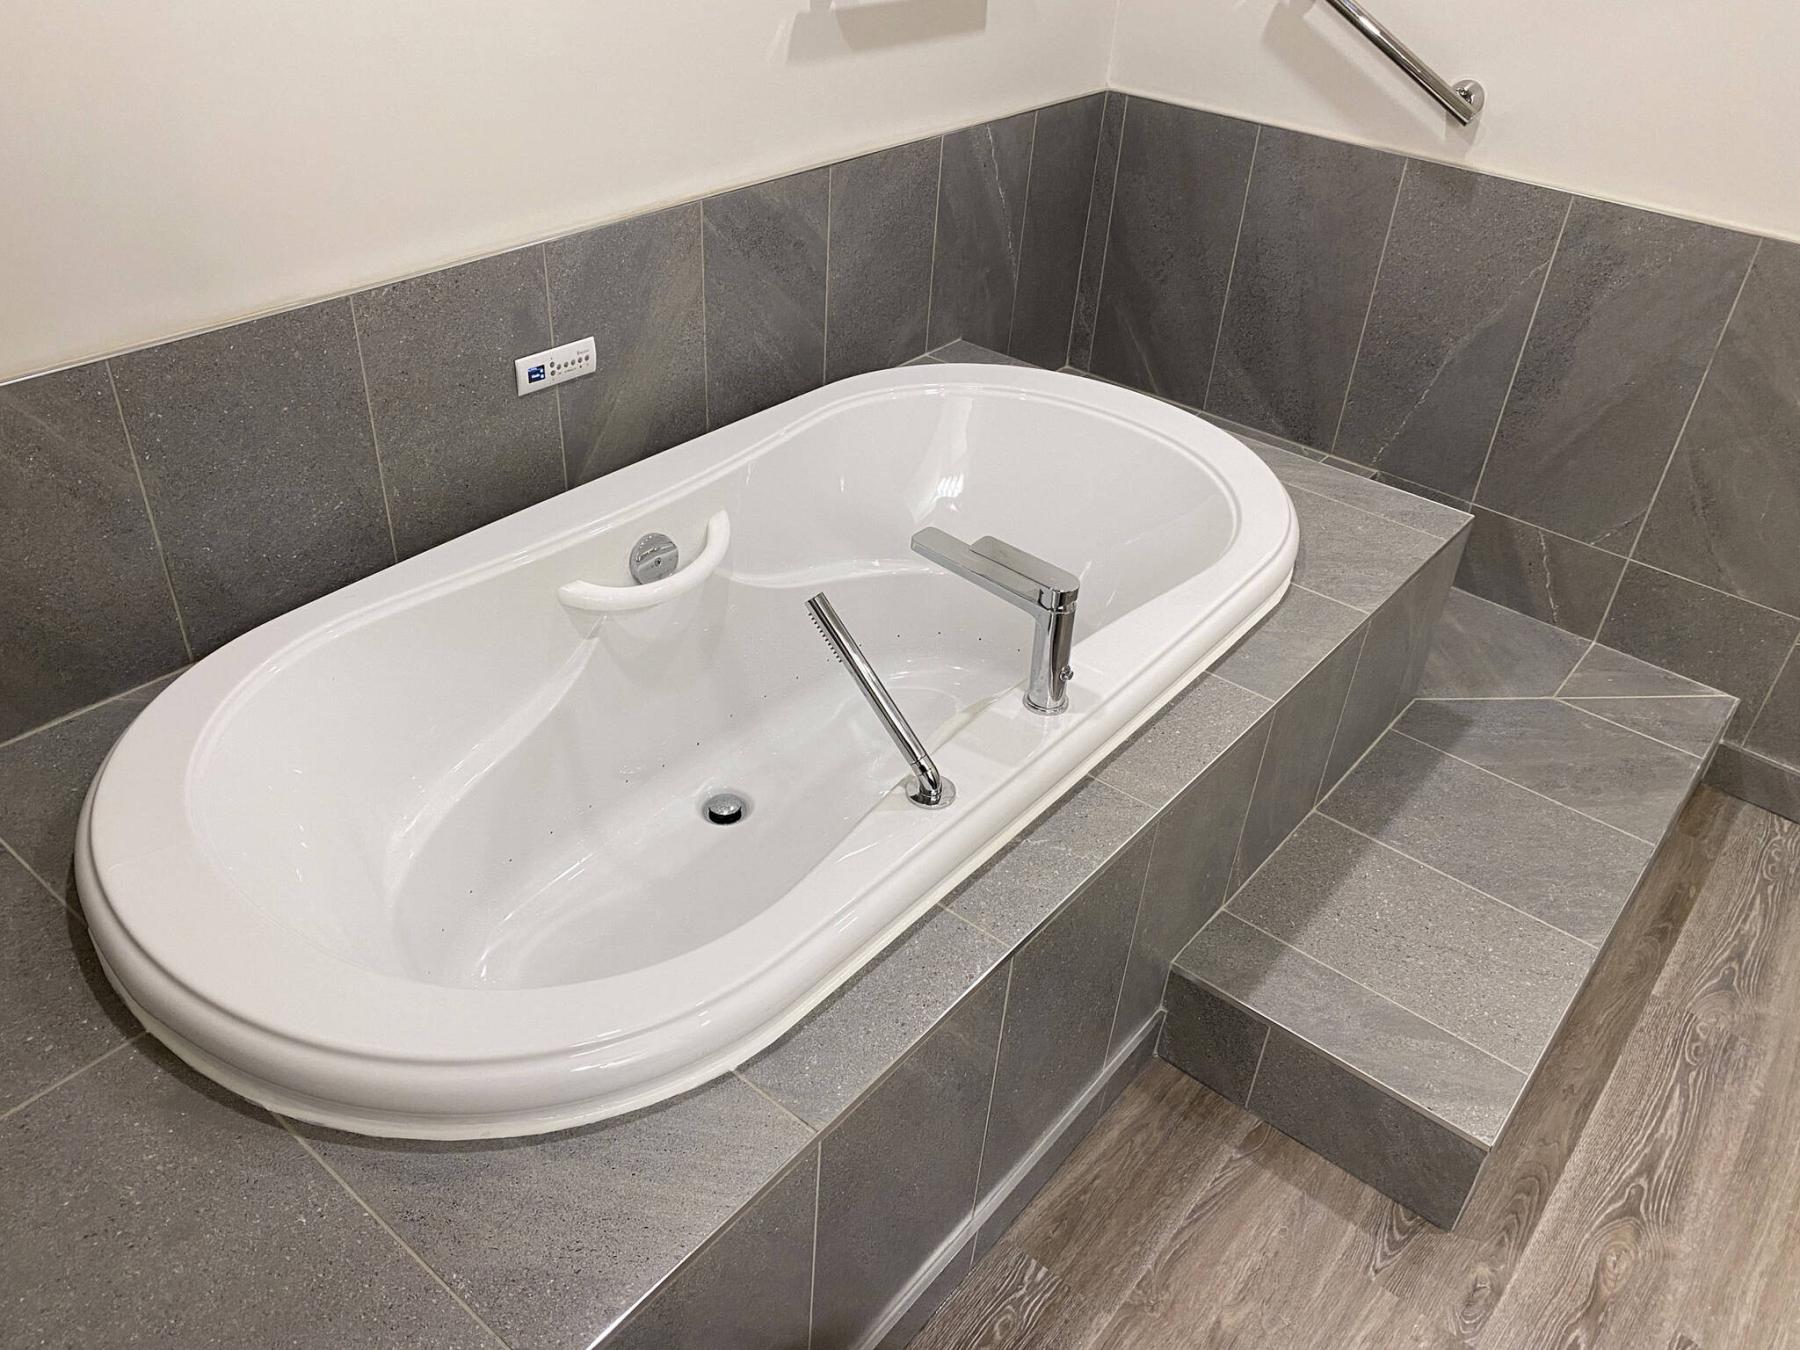
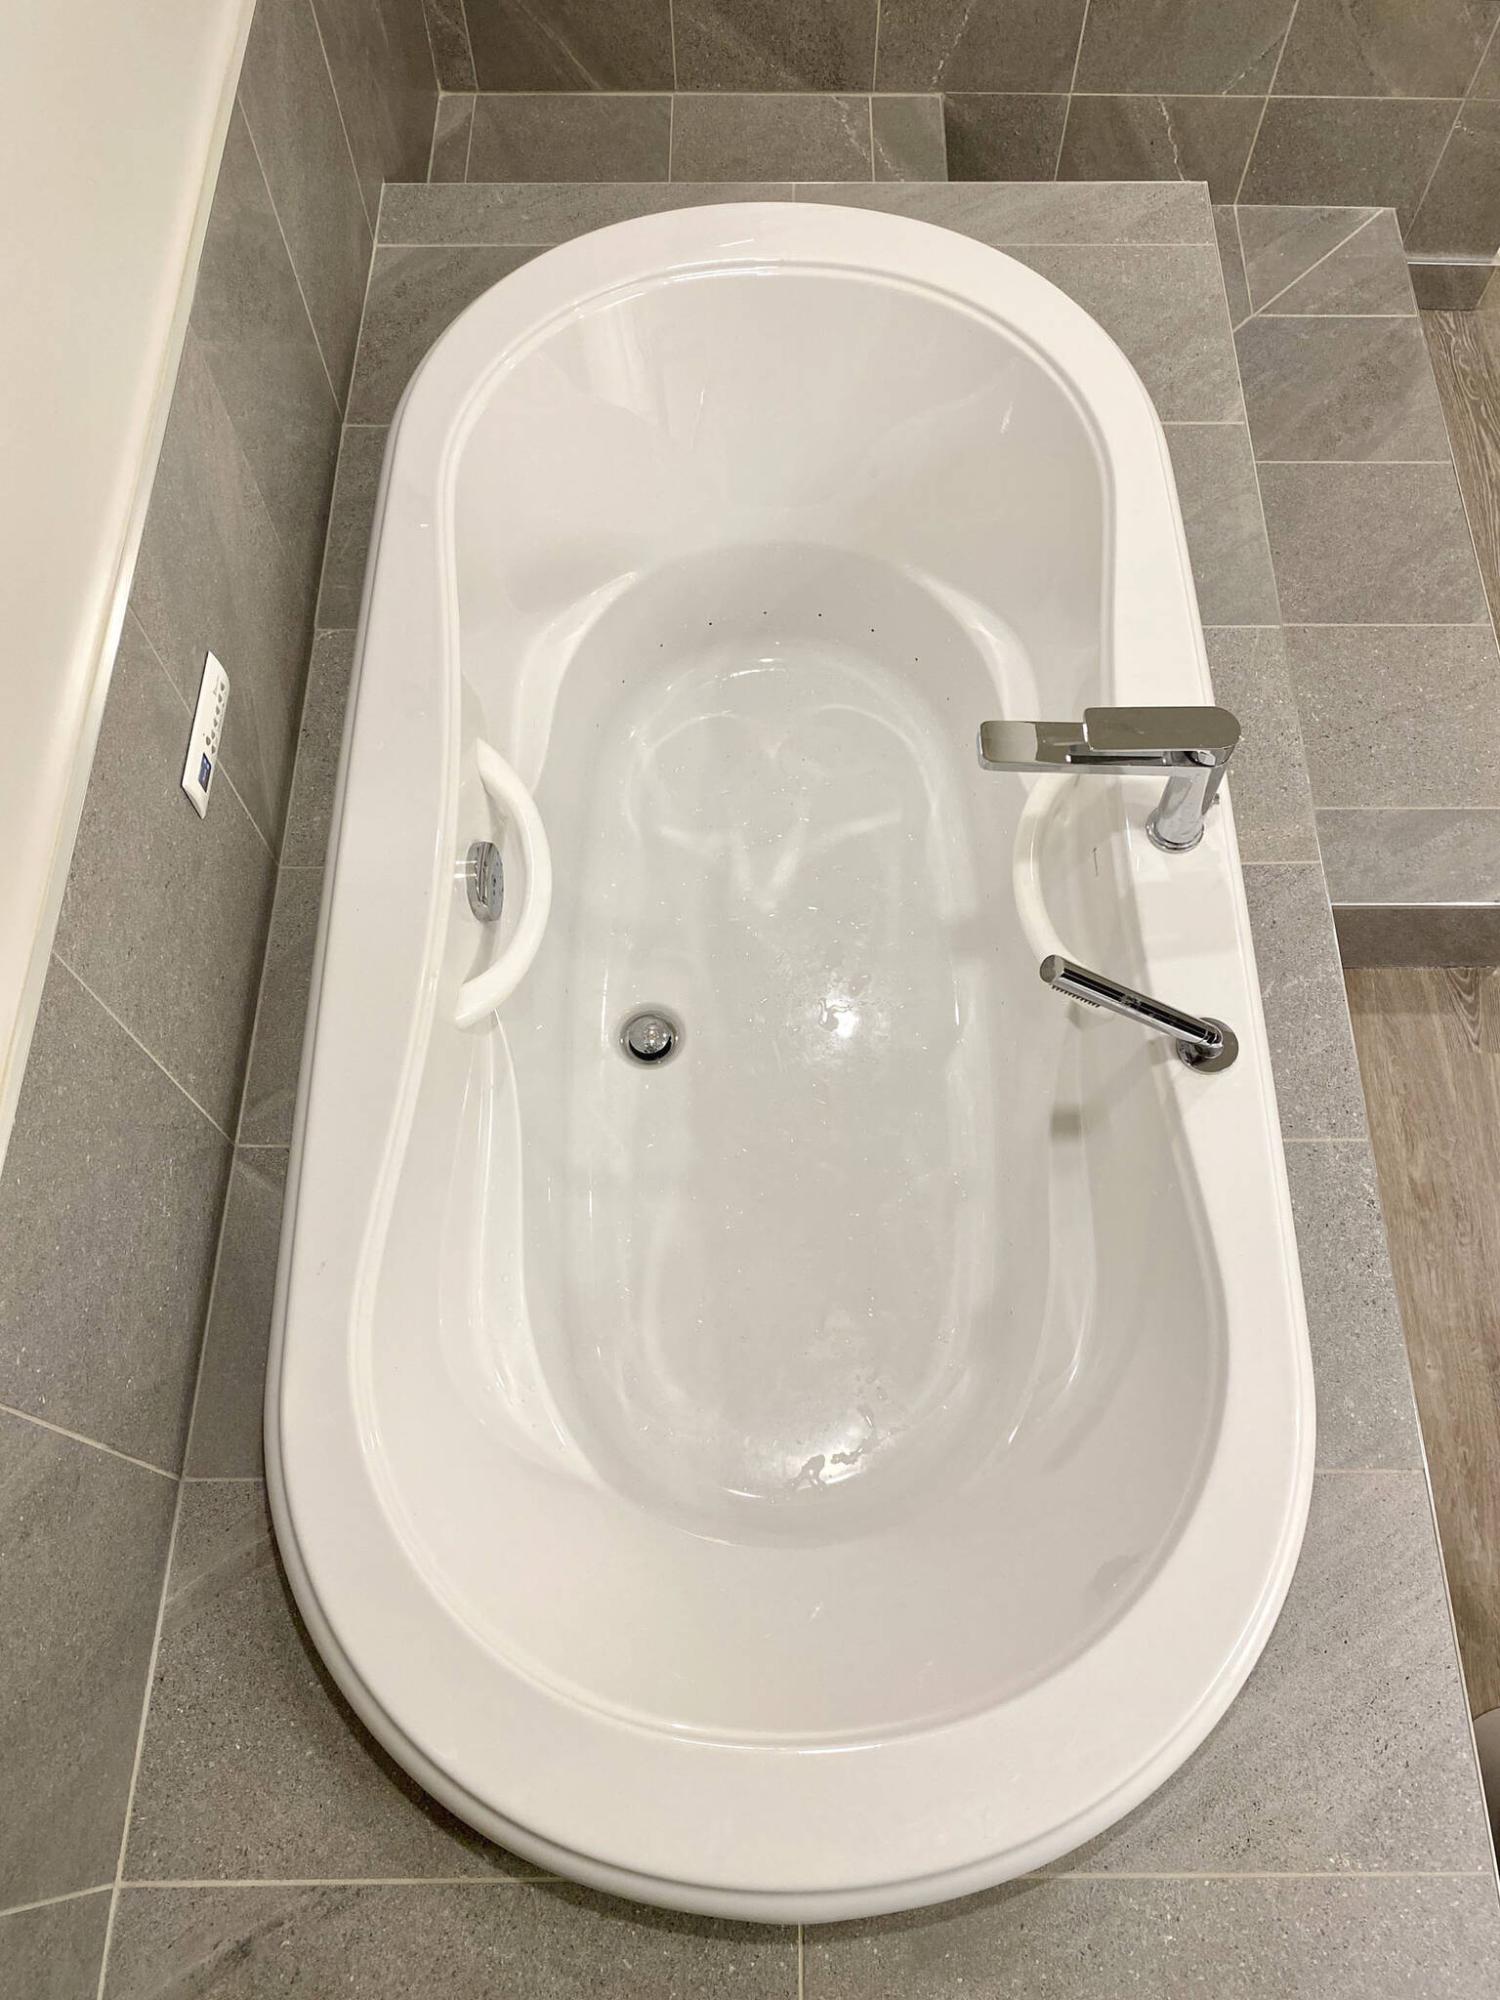
A view from above the tub showcases the air-massage holes along the bottom perimeter.

Marc LaBossiere / Free Press
The newly introduced air-massage tub is positioned parallel to the back wall to maximize both function and esthetics.
Marc LaBossiere / Free Press
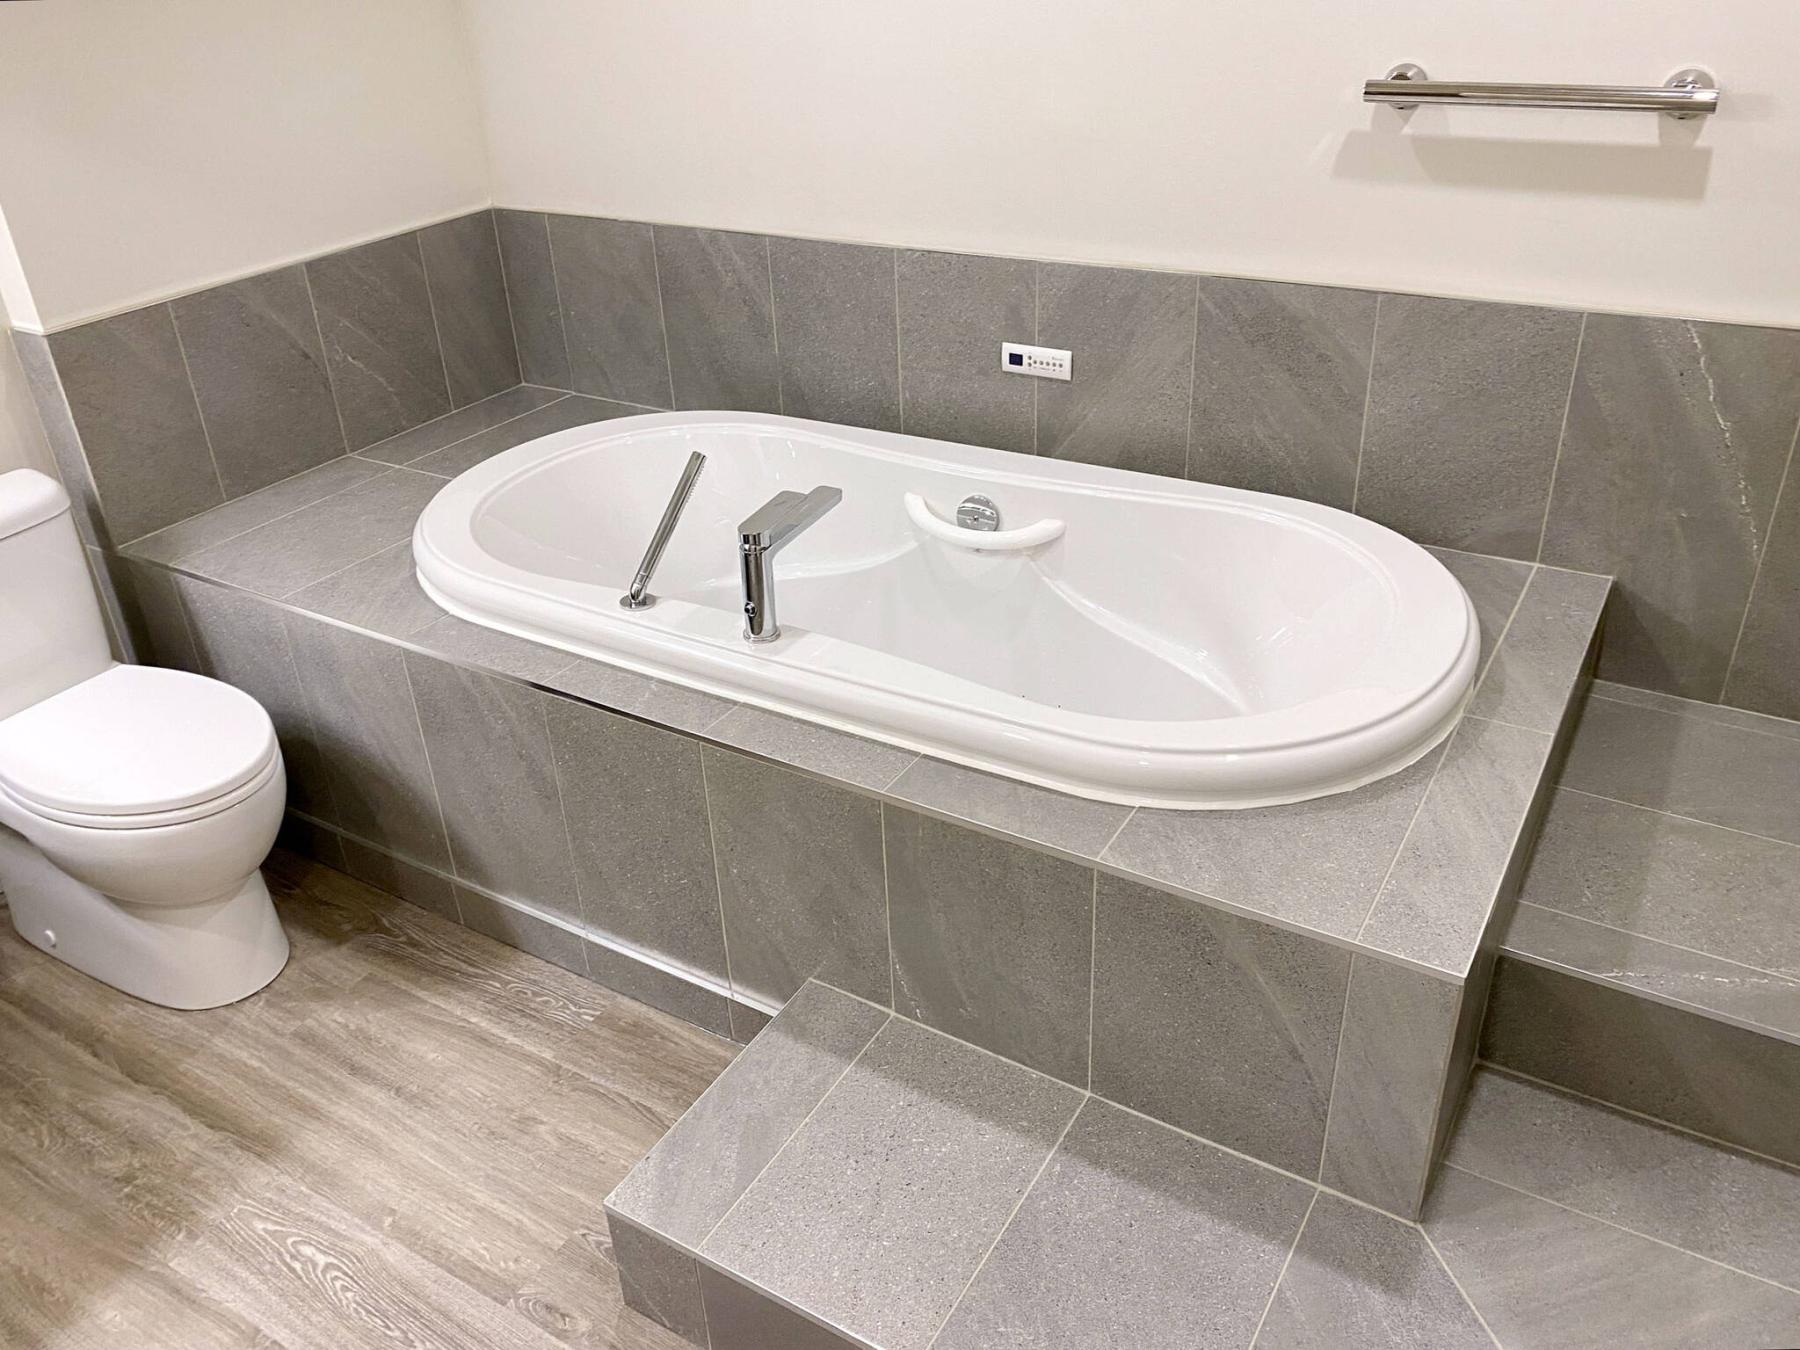
The massage tub’s controller is mounted along the tiled backsplash, for easy access to the tub’s many features.
Marc LaBossiere / Free Press
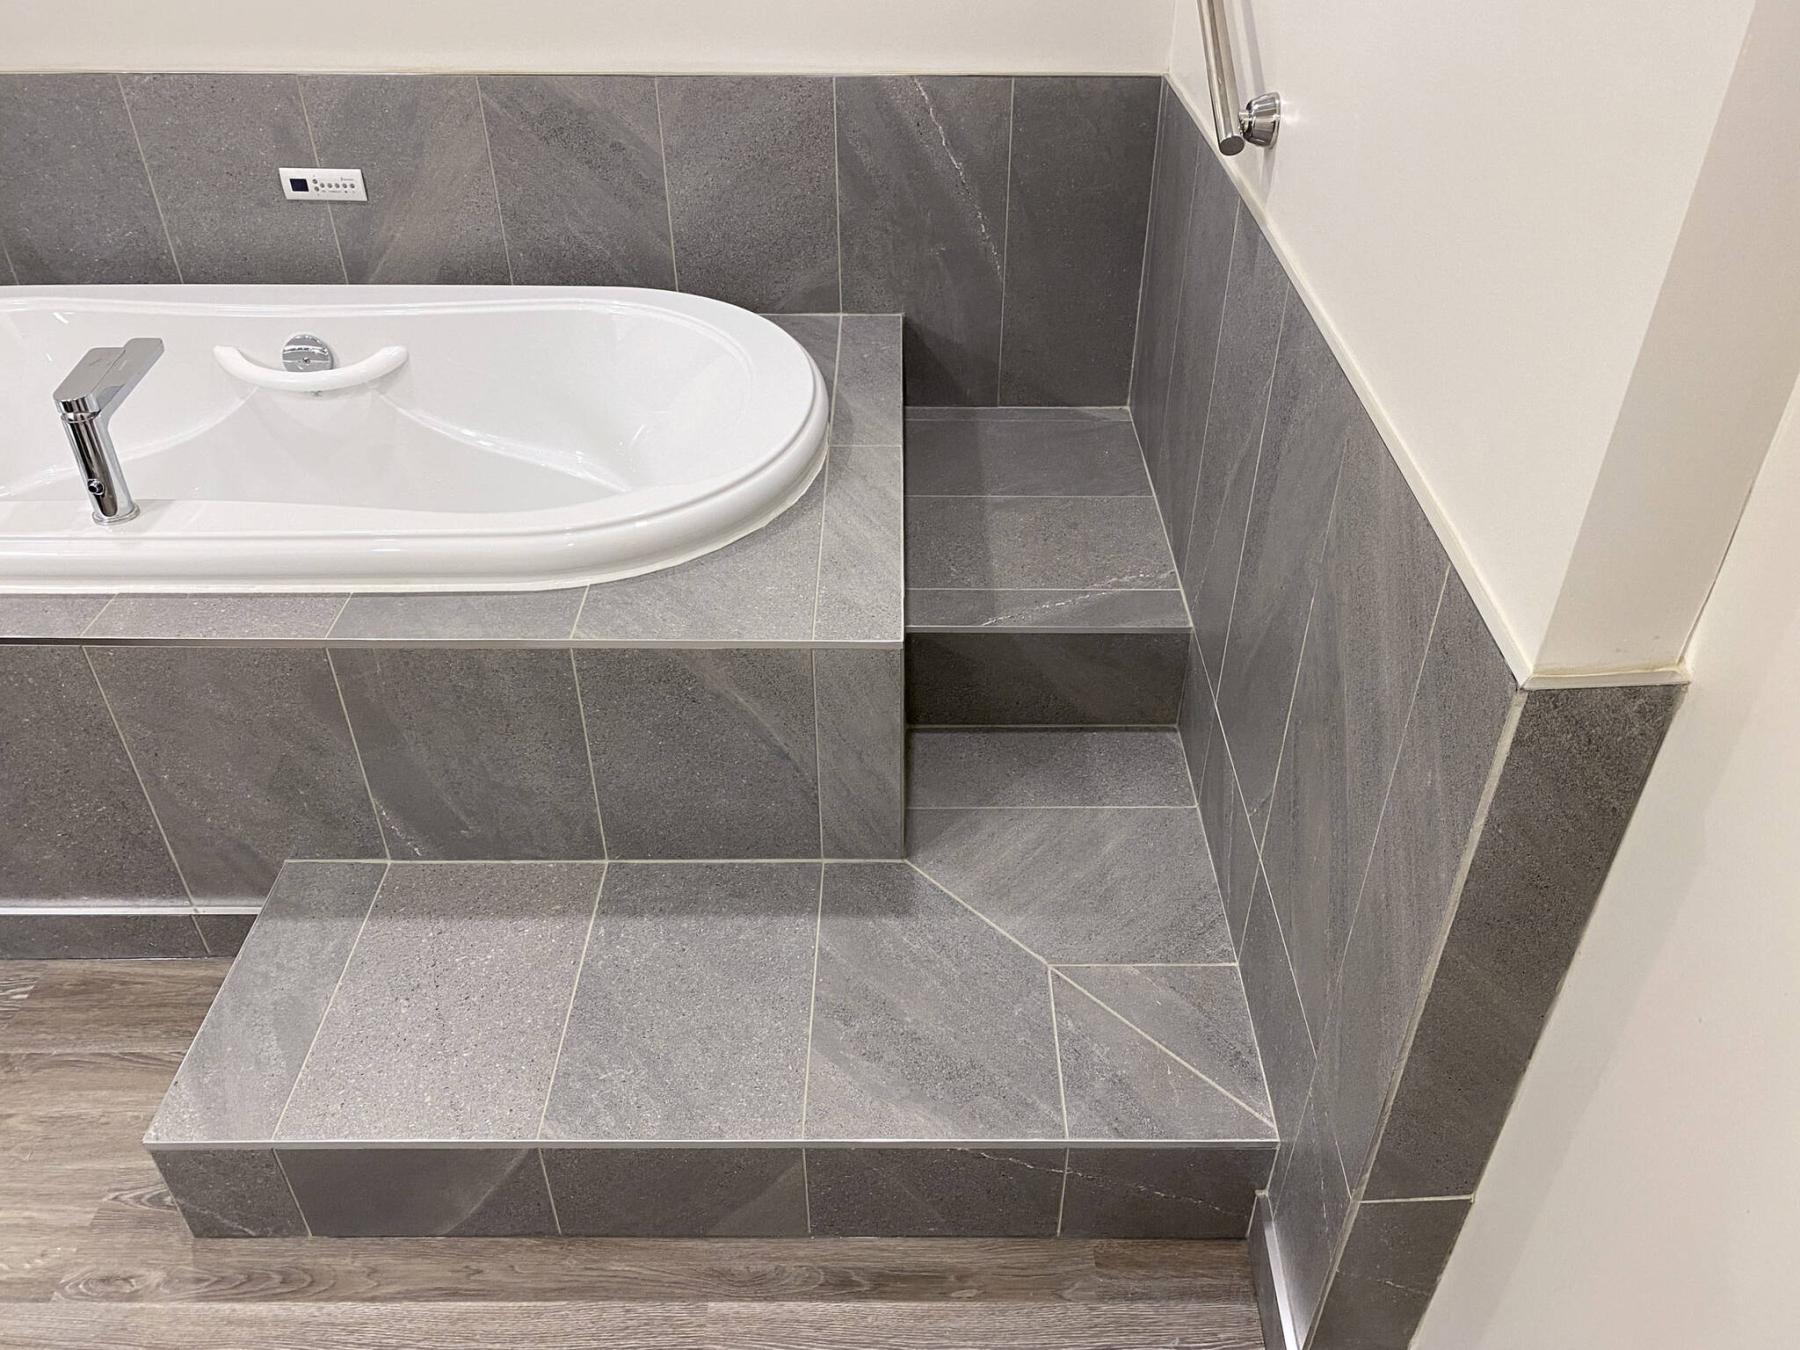
Tiered levels create a stairway to the tub entry, with grab bars for safety.
Pain management is an arduous daily reality for so many people. With the consensus of several health-care professionals suggesting the introduction of daily hydrotherapy could produce positive results, homeowners reached out to me to discuss a basement bathroom remodel that would include an air-massage tub, converting the space into what would essentially become a home-based hydrotherapy room. The rarely used basement bathroom was in need of an update anyway, so what better way to better utilize the space?
During the initial discussions, it was clear the space required an overhaul. The old corner walk-in shower was dated and failing, and the old corner jet tub was in similar shape and had barely been used in 15 years. As such, the two amenities would be completely removed, as would the existing sink vanity and toilet.
Beyond the new features to populate the area, the bathroom shell would also receive minor upgrades: the introduction of four slim LED pot lights strategically placed to even the lighting on either side of the bulkhead; a wall build-out along the far side of a vertical protrusion that concealed a tele-post; and more obviously, new paint and vinyl flooring throughout.
While planning the room design early on, it had always been suggested the new tub orientation would parallel the side wall to the right, upon entry. I now believe this may have been a hasty oversight tantamount to an unconscious choice due to the placement of the old shower stall, which was still in position while plotting the design.
Once the room was vacated, however, it became apparent the tub should be positioned parallel to the back wall, perpendicular to the initial placement decision. The revised orientation would benefit the room in several ways.
Once framed, the tub structure with access steps would now conceal the tub drain tie-in and also permanently hide the abandoned and capped shower stall drain location. The steps now on the right allow entry into the tub on the proper side, with the heated back feature.
Most importantly, the tub’s revised orientation would be parallel to the ceiling bulkhead, which greatly increases safety by minimizing the potential of bonking your head as you get in or out of the tub. Esthetically, the new tub and tiled platform also becomes a desired focal point upon entry into the newly remodelled bathroom.
Once the tub was in position and structurally sound, the 20-amp GFCI protected line was connected to the tub’s electrical junction box. The water feeds were then tied in to the faucet and hand-wand, with a separate hot feed supplying the heated back feature of the tub.
With the tub filled, the controller was engaged to ensure full functionality of the tub’s many features. The platform structure and stairs were then fully framed and sheeted awaiting their decorative sheathing, a grey-tone 12-by-24-inch stone tile. With a chrome edge introduced along all horizontal tile edges, the entire structure was then finished using a slightly lighter grey grout, that purposefully matches the chosen light-grey wall paint colour.
Beyond tiling, the vinyl floor planking was then installed throughout. With these steps completed, the space could then be fully populated.
The sink vanity was set into place along the near wall to the left of the entry. Once the water feeds to the new faucet and drain were connected and tested, new PVC baseboards were installed along the bottoms of all walls where vinyl meets painted wall. Along the base of the tub tiling, a secondary layer of tile was created as a tub baseboard, fitted with chrome edging along the top.
To wrap up all remaining tasks that create dust prior to caulking and silicone, two grab bars were installed at the access of the tub, fastened to studs for rigidity. Various towel bars were also mounted where most convenient for use, and the new vanity mirror was hung, centred below the new vanity light fixture.
After ridding the space of any dust and debris, the tub edge was summarily sealed using white silicone along the entire perimeter. White silicone was also used along the tops of the baseboards, while clear silicone was used along the bottom, adjacent to the vinyl plank flooring.
Finally, the new barn door was hung along the exterior wall of the bathroom entry, which greatly increased the usable space within the bathroom by eliminating the interior swing of the old door. As such, the inside right corner has been reserved for an impending stand-alone linen closet, which is now unencumbered by a door’s movement.
With the barn door closed and standing within the newly renovated space, the basement bathroom now looks and feels like a soothing, functional therapy room.
No matter the ongoing and various alterations to the original design layout of this basement bathroom project, the space eventually became what the homeowners had envisioned — and even more.
From the colour choices to the types of flooring and tile, everything came together in concise fashion to provide an atmosphere that caters to relaxation. One can only hope the success of this room reno translates into improved pain management. After all, access to a home-based hydrotherapy room is very convenient — it’s open 24-7, no appointment required!
RenoBoss.Inc@outlook.com