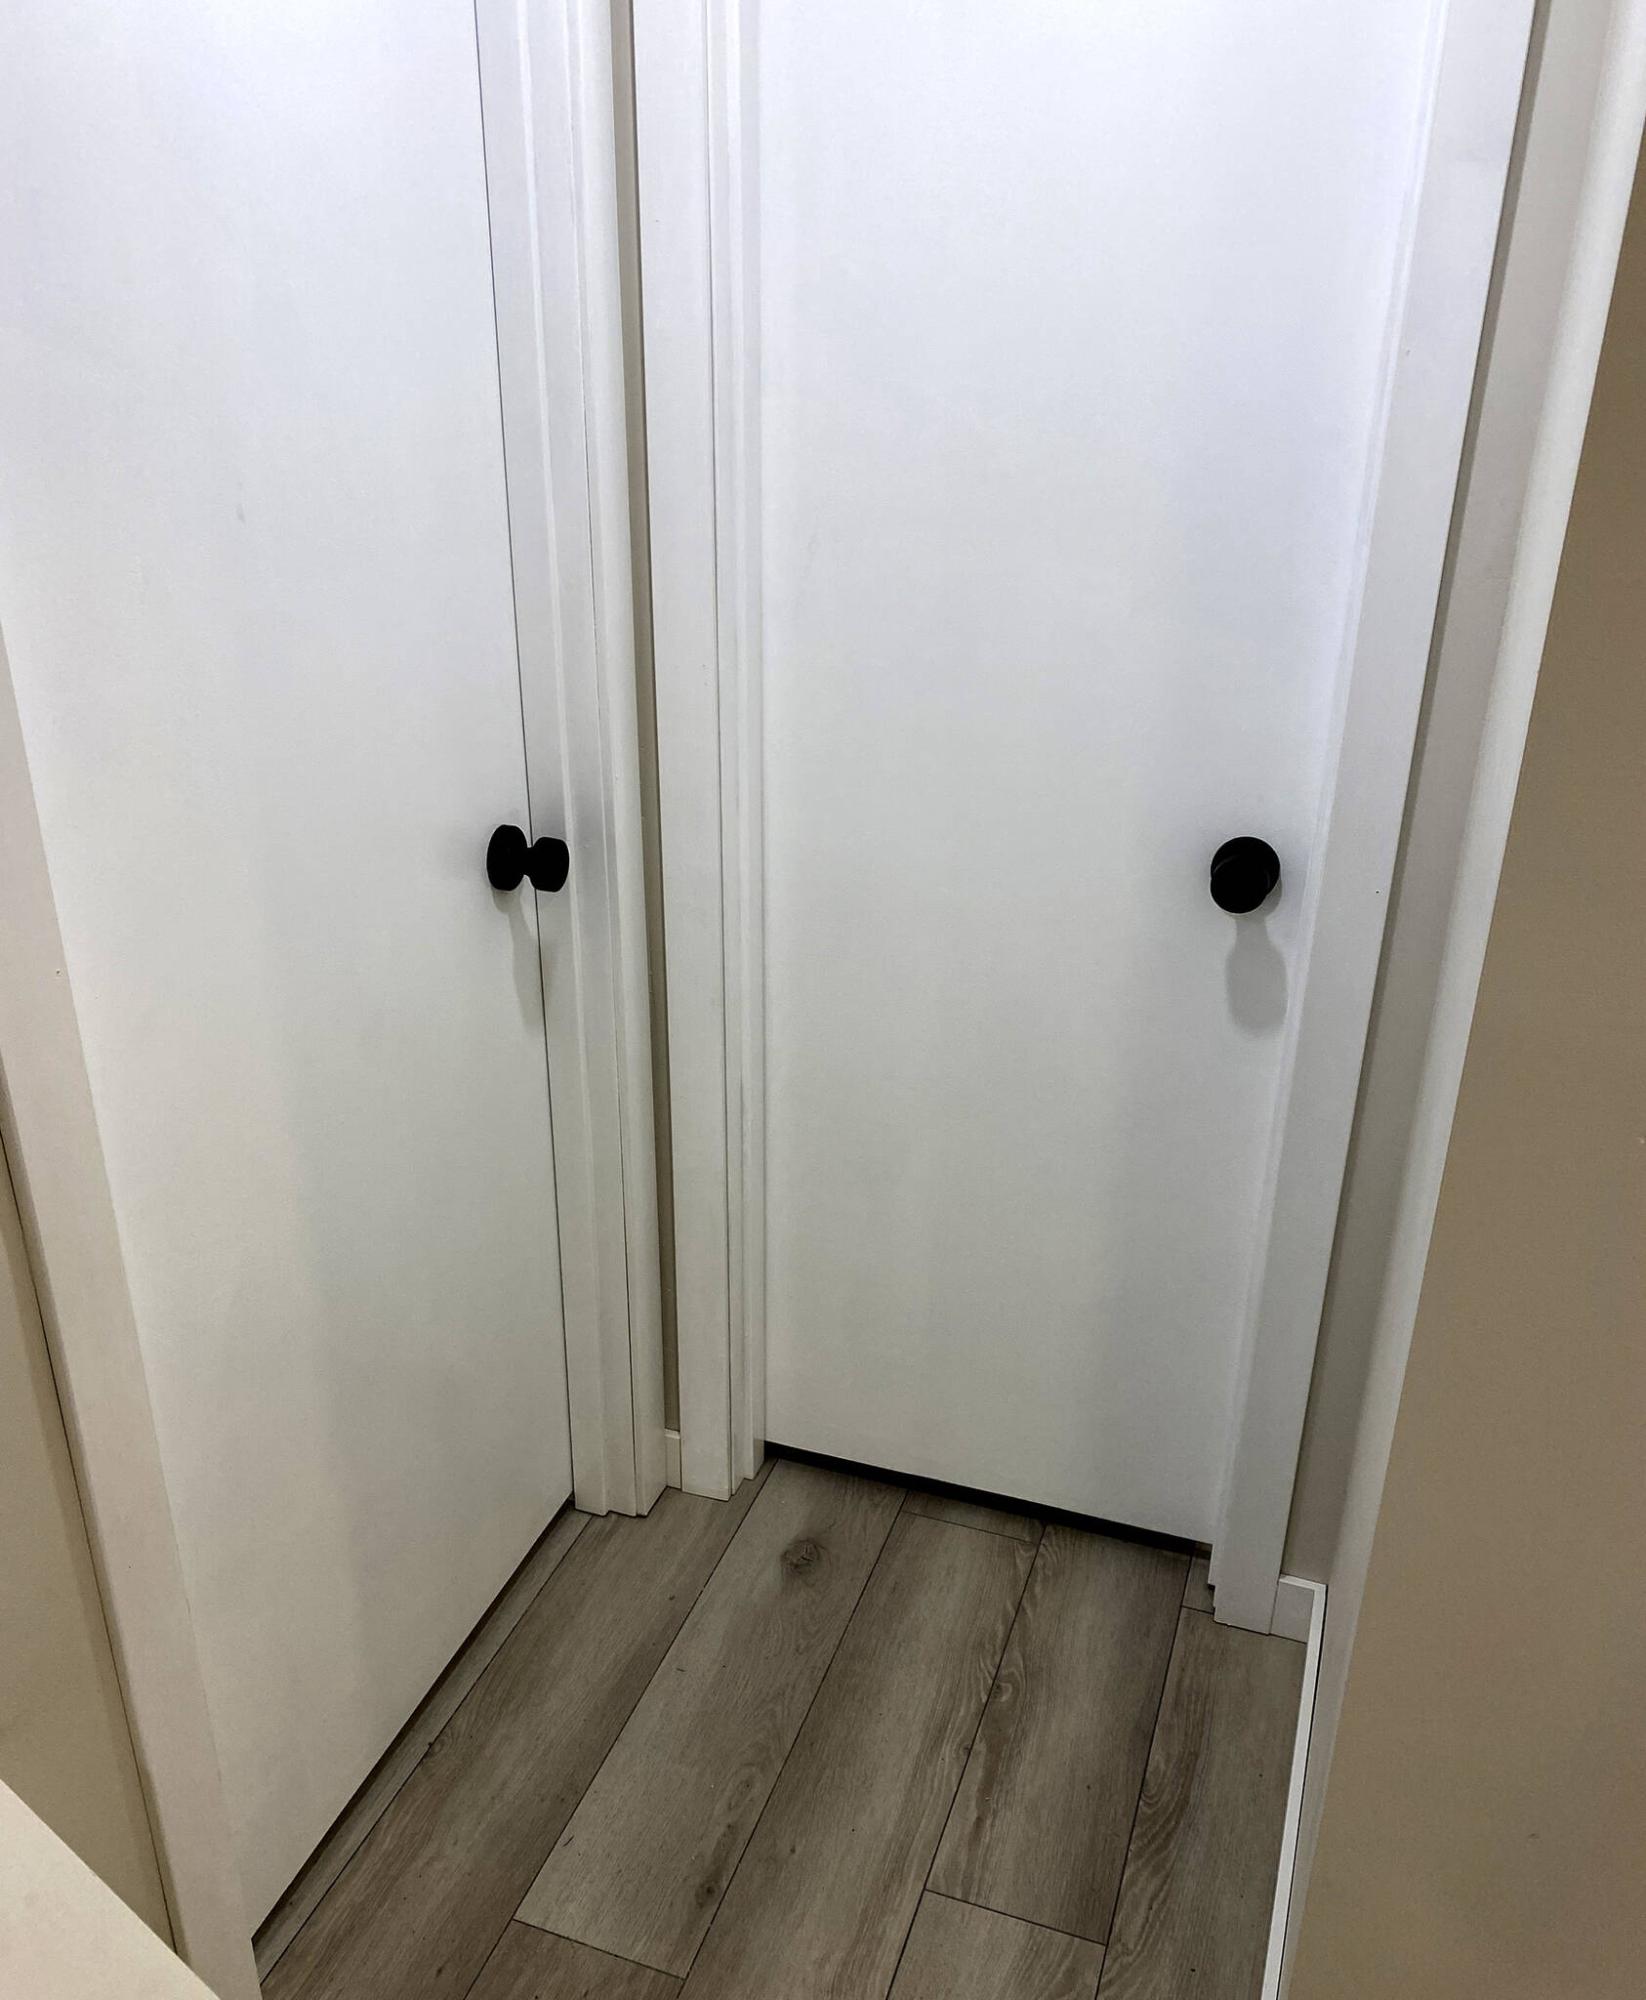
Bedroom and bathroom doorways are in close proximity.
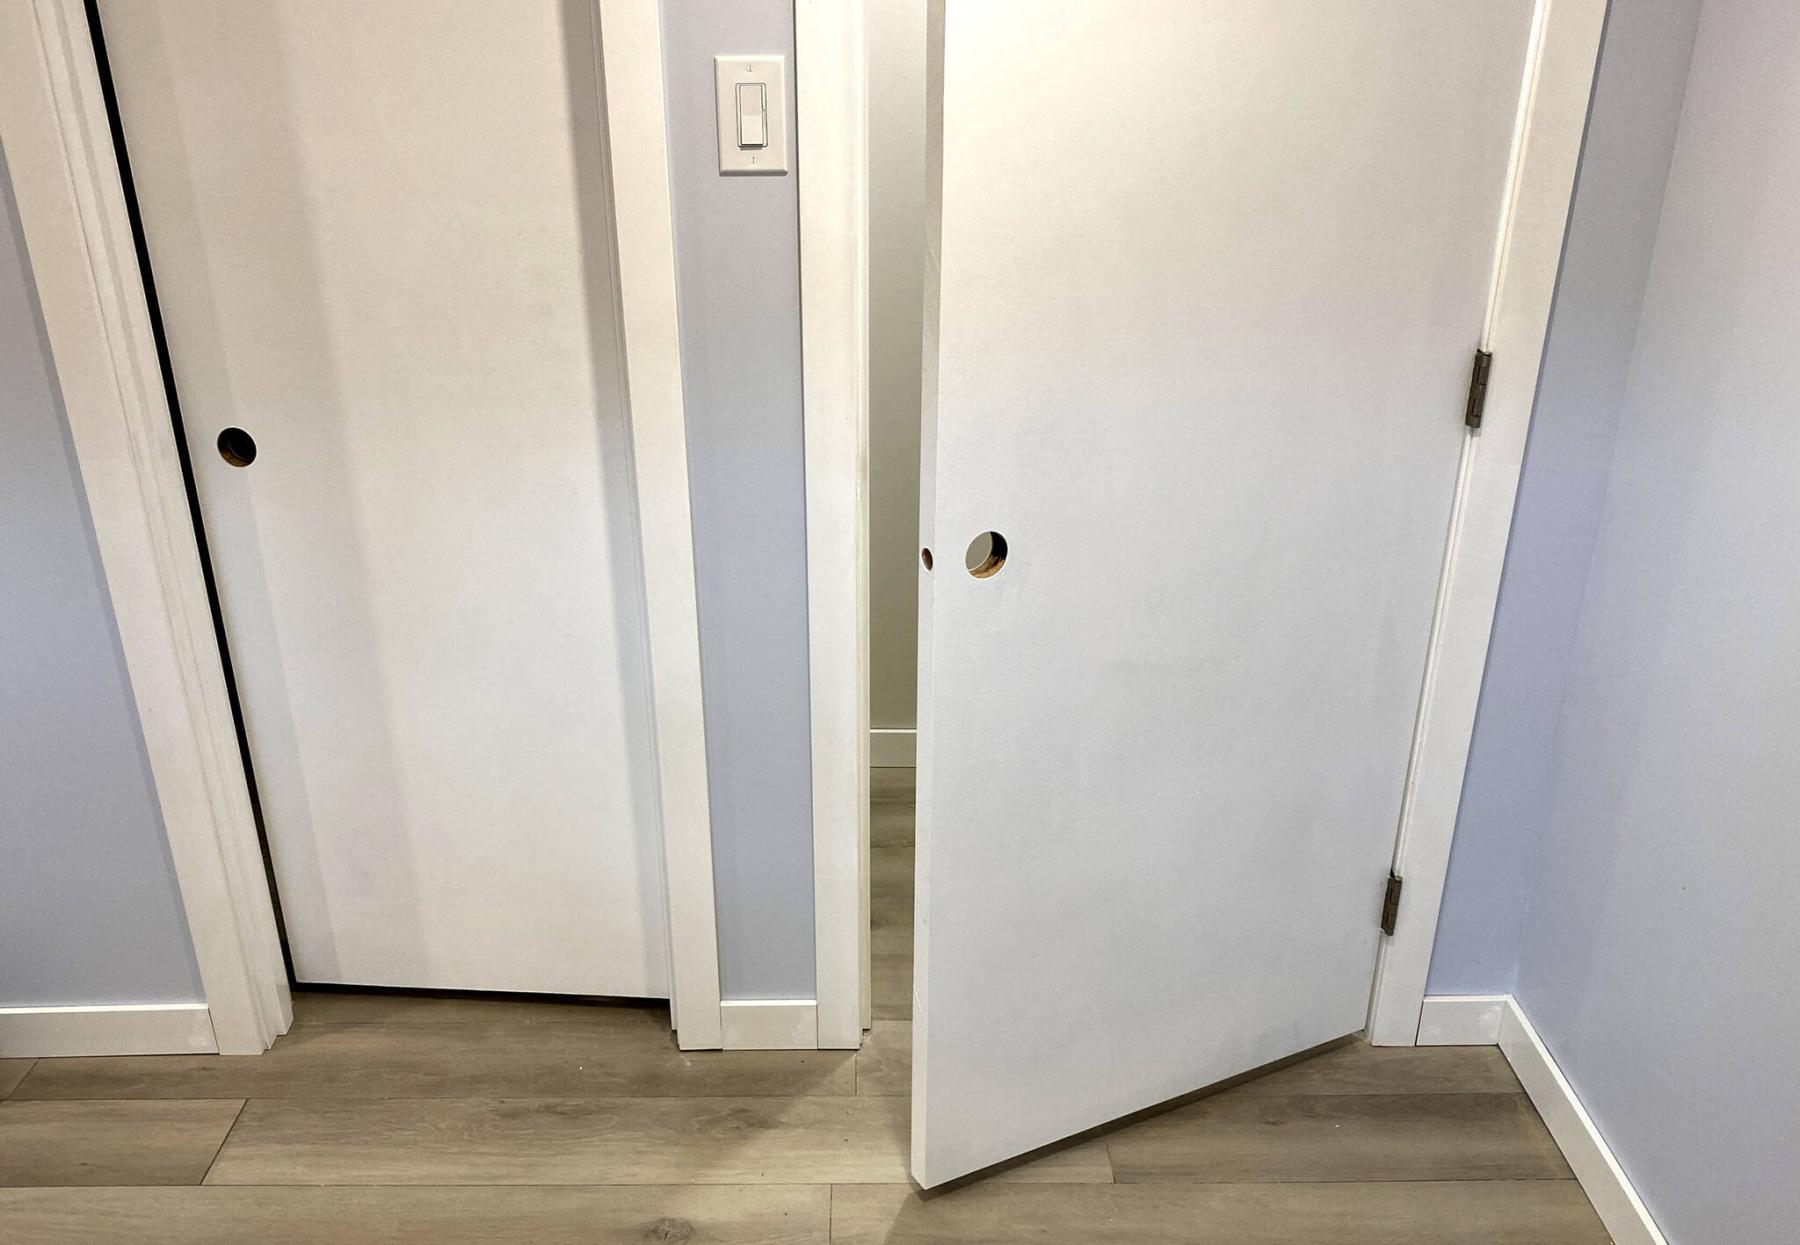
Once the pre-hung doors are installed, the doors and jambs receive two coats of semi-gloss paint.
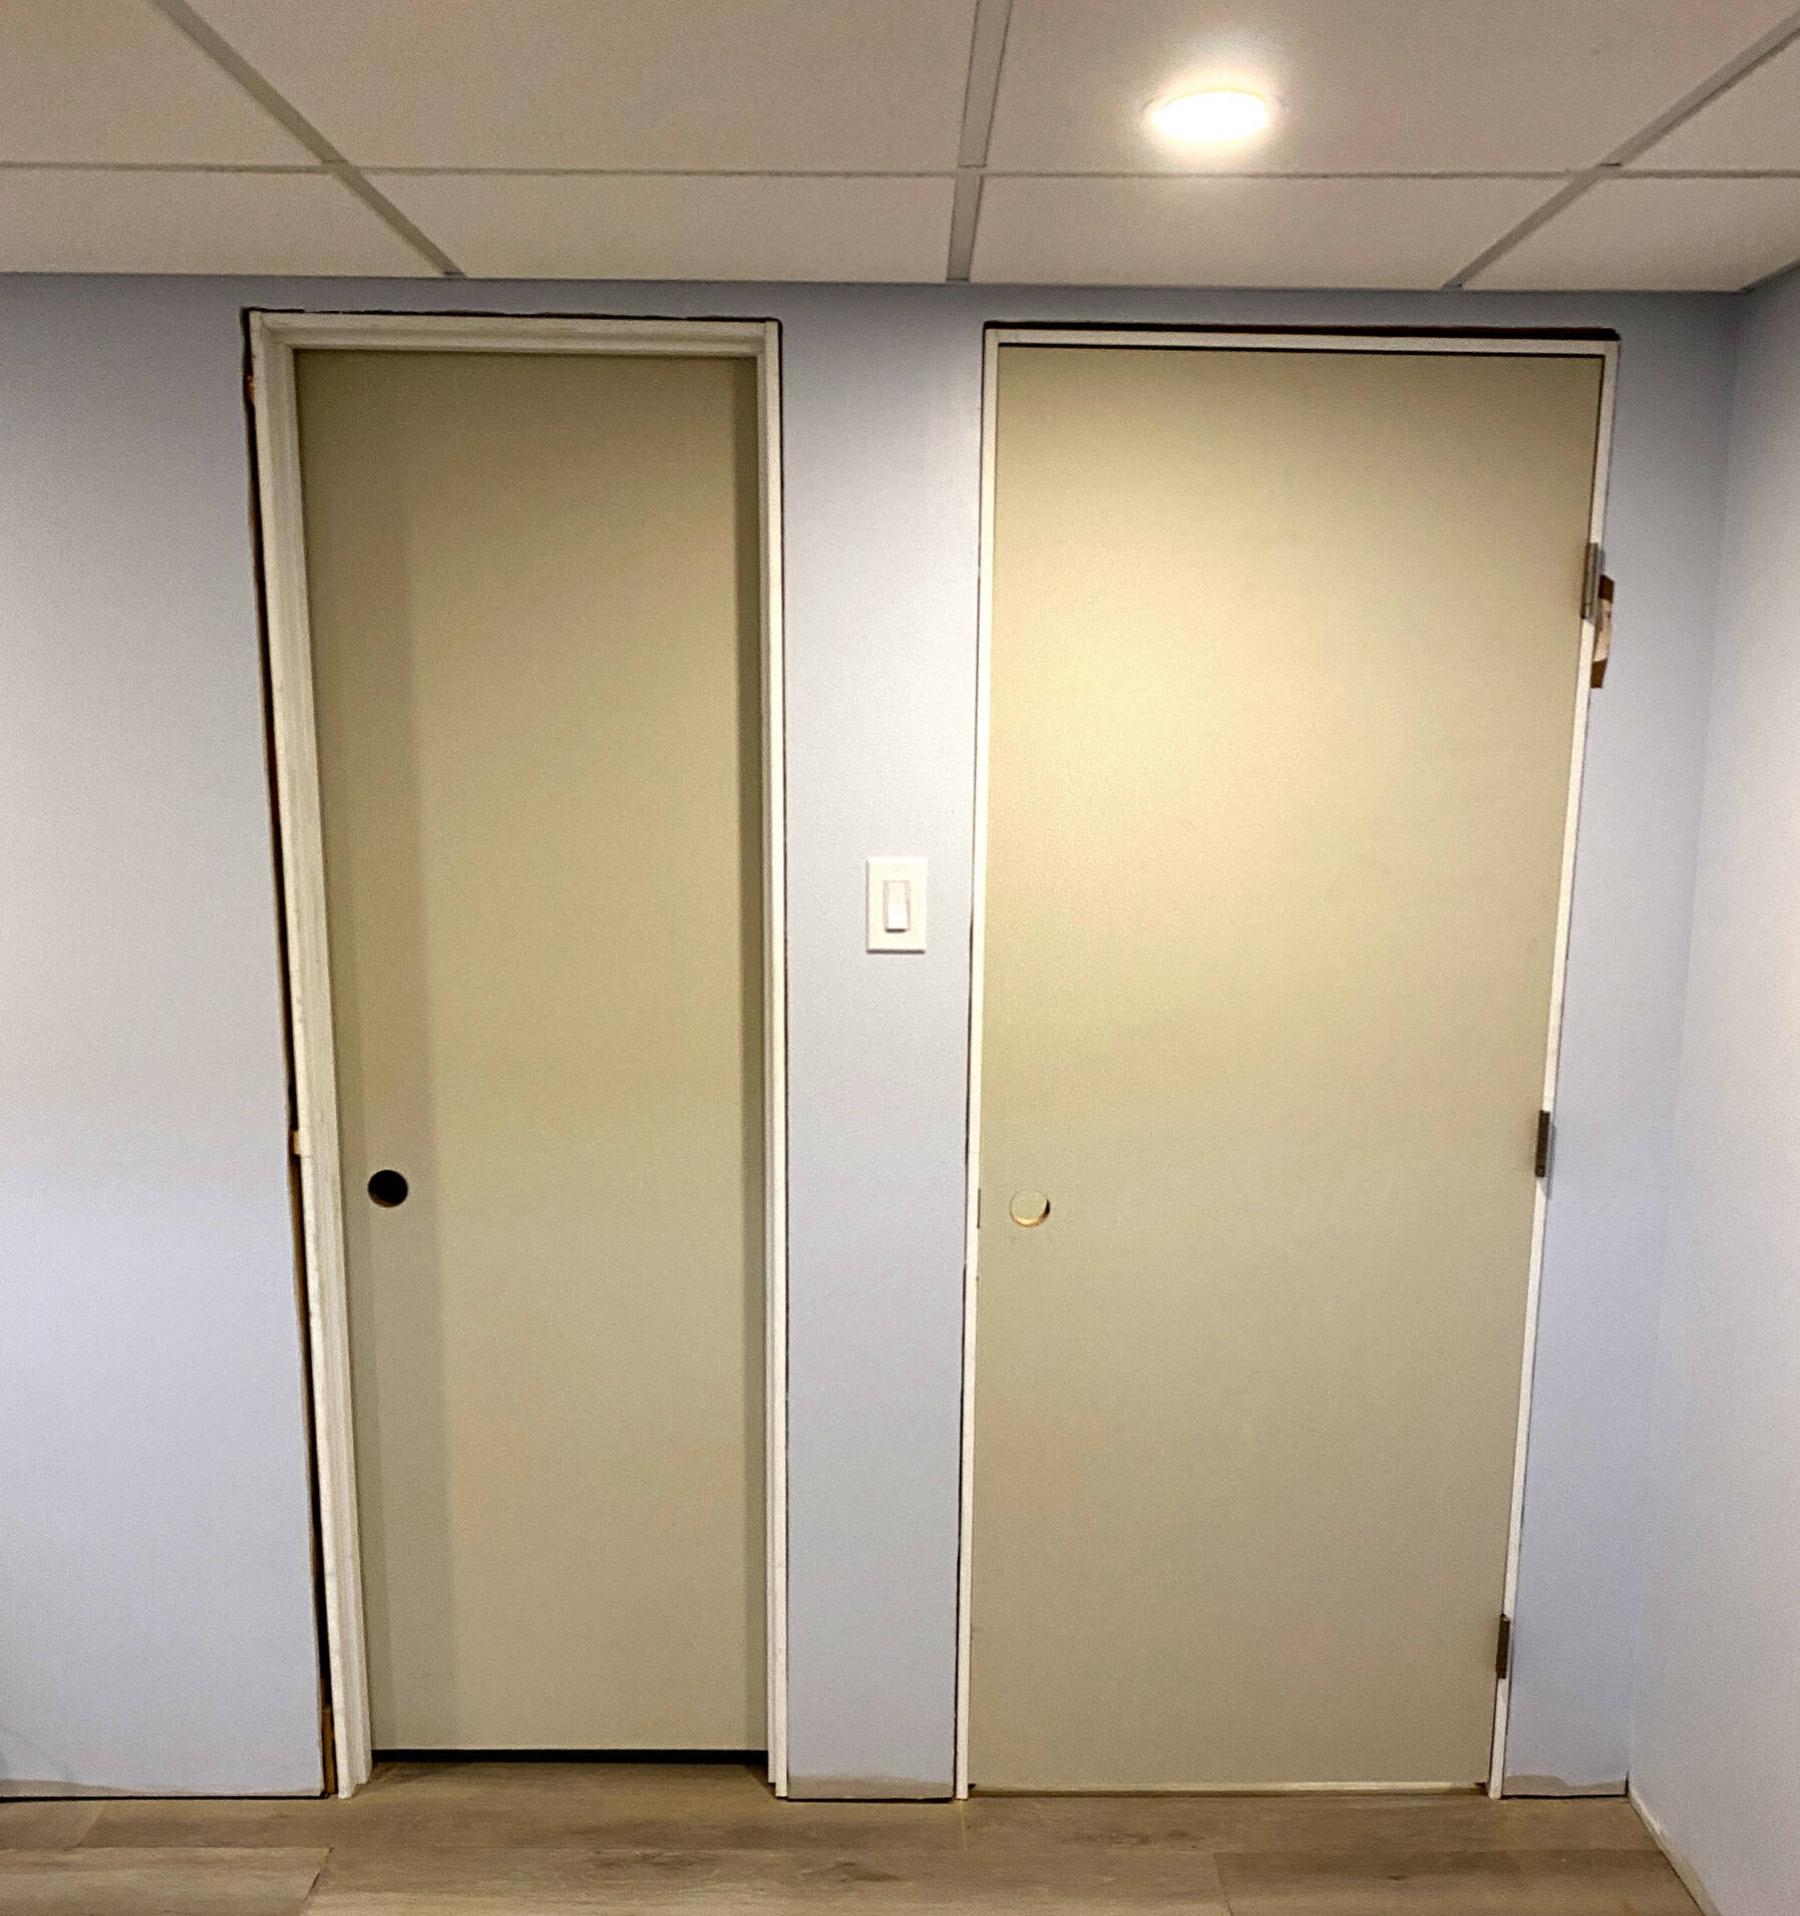
The lower basement ceiling required all pre-hung doors to be cut to fit their rough openings.
When it comes to basement overhauls, previous experience has prepared me for potential hurdles.
The usual suspects include uneven concrete floors, shabby ceilings and questionable window seals. And although I’m always prepared for the unexpected, a recent renovation threw a few extra curveballs my way.
Fortunately, I’m always ready to swing.
Once the basement had been re-framed, including introducing new walls to create a better flow in the space, subfloor panels were installed throughout to level the existing concrete floors, as well as to insulate between the planned vinyl plank and the cold basement shell. I had anticipated the extra height required to compensate for the rise in subfloor elevation when framing the doorways, but the existing ceiling joists (taking into account the gap needed to hang suspended tiles) no longer allowed for a traditional rough framing height of 81.5 inches for a standard 80-inch pre-hung interior door.
One of the doors that leads to the new office in the basement would have to be an inch or so shorter to offset perimeter boxing throughout the rec-room space. However, the other four main doors would also need to be cut to fit the standard rough frame height, minus the higher elevation with the subfloor panels and vinyl. As such, all five doors were cut to varying heights to fit their respective rough-framed openings.
To achieve this, the pre-hung jamb (with the interior door still on its hinges) is laid flat on the ground. Each of the two ends of the jamb are then cut to create the appropriate height within which the jamb will fit the rough frame. Once the jamb is cut, the interior door is then carefully cut along the bottom edge, an inch shorter than the newly cut jamb ends. In some cases — and depending on how much of the door is cut away — the bottom of the hollow door must be filled with the door framing from the cut-off, glued within the inner cavity along the cut, to ensure the door stays rigid at the bottom.
Once each of the doors was cut, they were hung as normal.
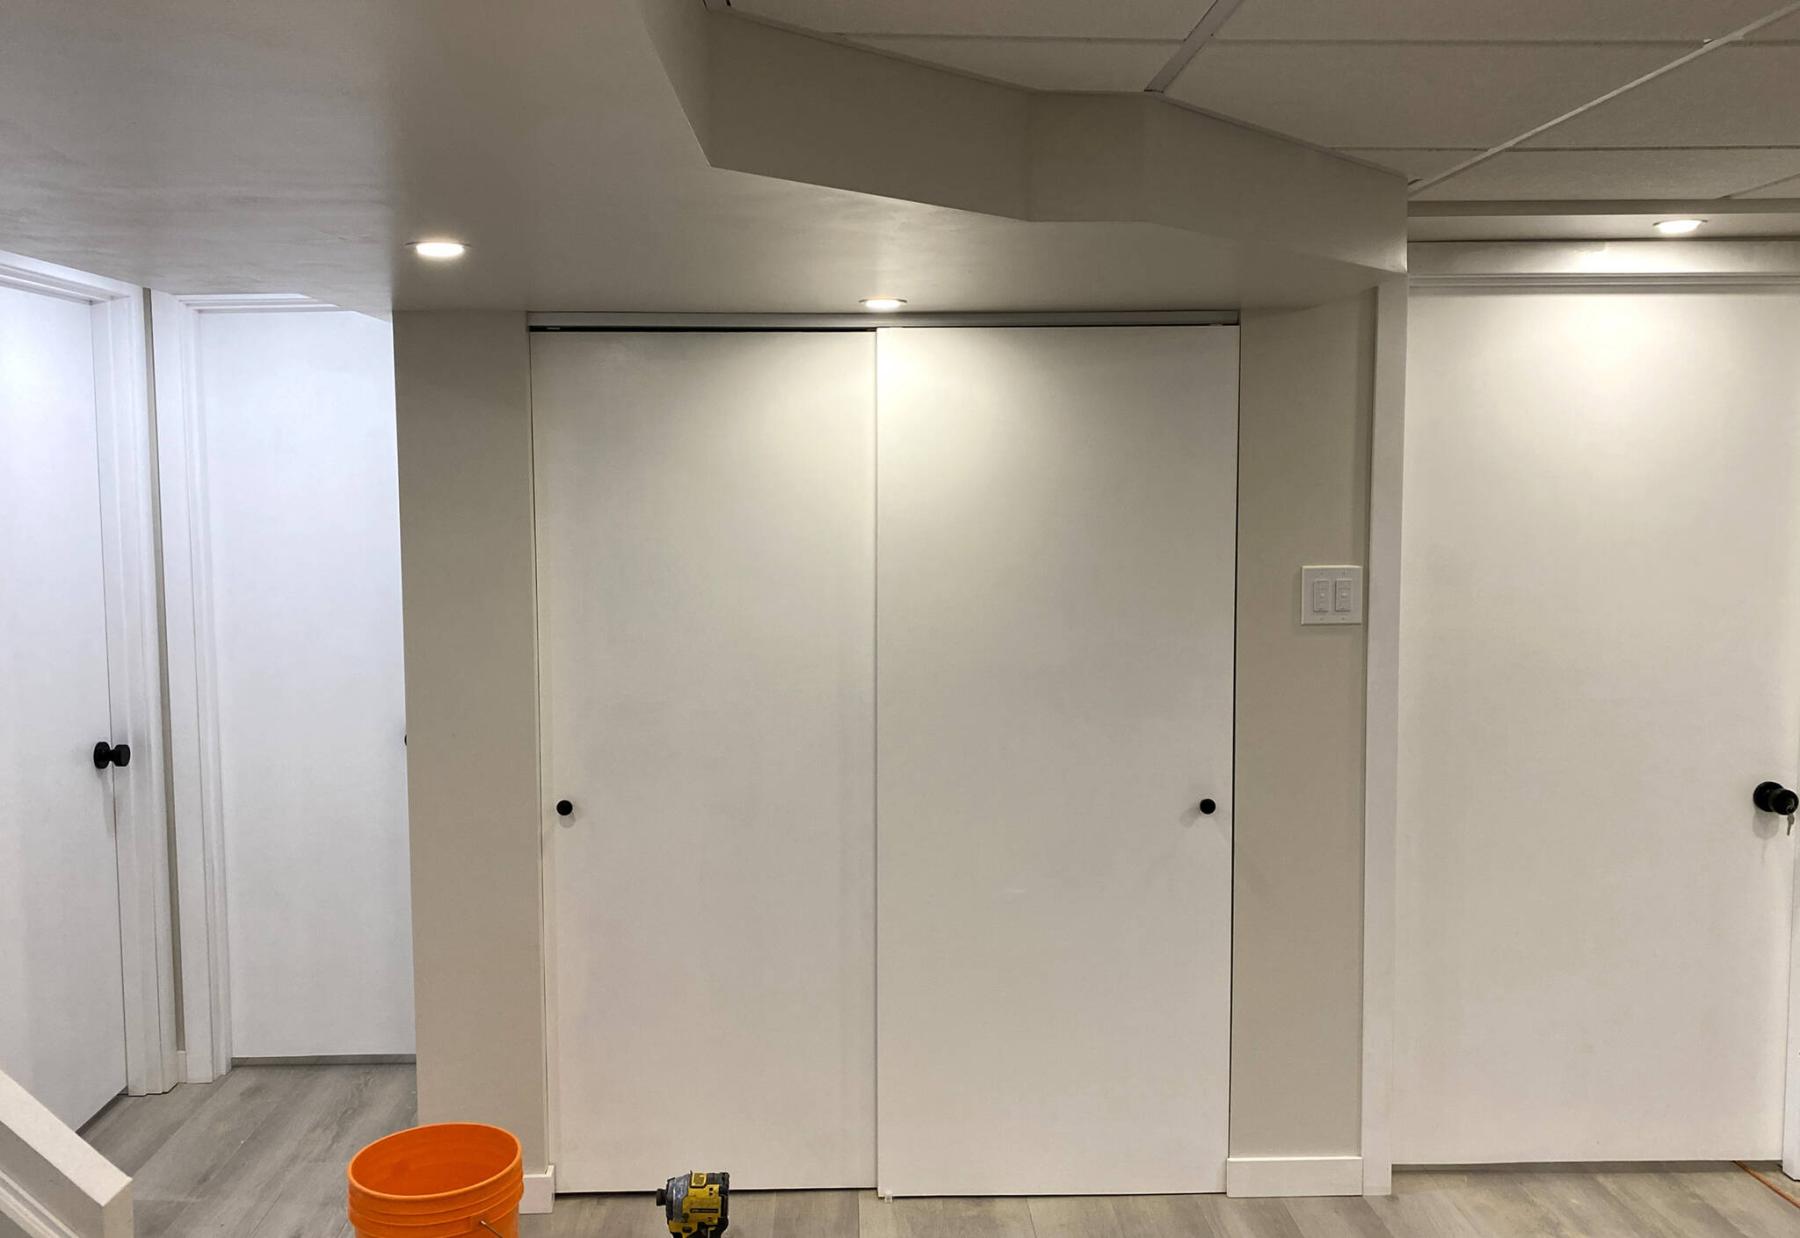
The bifold door in the bedroom closet was cut slightly to fit within the finished rough frame (drywalled on all surfaces, with no need for casings) before being hung. The double sliders in the utility room, however, required a drastic cut to accommodate the shorter finished rough opening below the main HVAC duct within the lower box framing. Once the lower edges of the two hollow-core sliding door panels were made rigid, the upper track was installed, along with the separator guide along the floor.
The pre-primed doors and jambs, as well as the bifold and sliders, were then given two coats of semi-gloss trim paint. The doorknobs and pulls on the bifold and sliders were mounted after the paint had dried and cured for at least 24 hours, rendering the door-mounting process complete — definitely more challenging than simply hanging a pre-hung door in a standard rough opening.
Author’s note
This column “closes the door” on a milestone — the 500th Reno Boss column. Writing about my escapades as a renovator continues to be a very rewarding experience. And although I sometimes struggle to settle on a new topic for the next column, ongoing projects for clients always manage to reveal new angles on what you’d think would be familiar tasks. Until next weekend, thank you for reading.