MARC LABOSSIERE / FREE PRESS
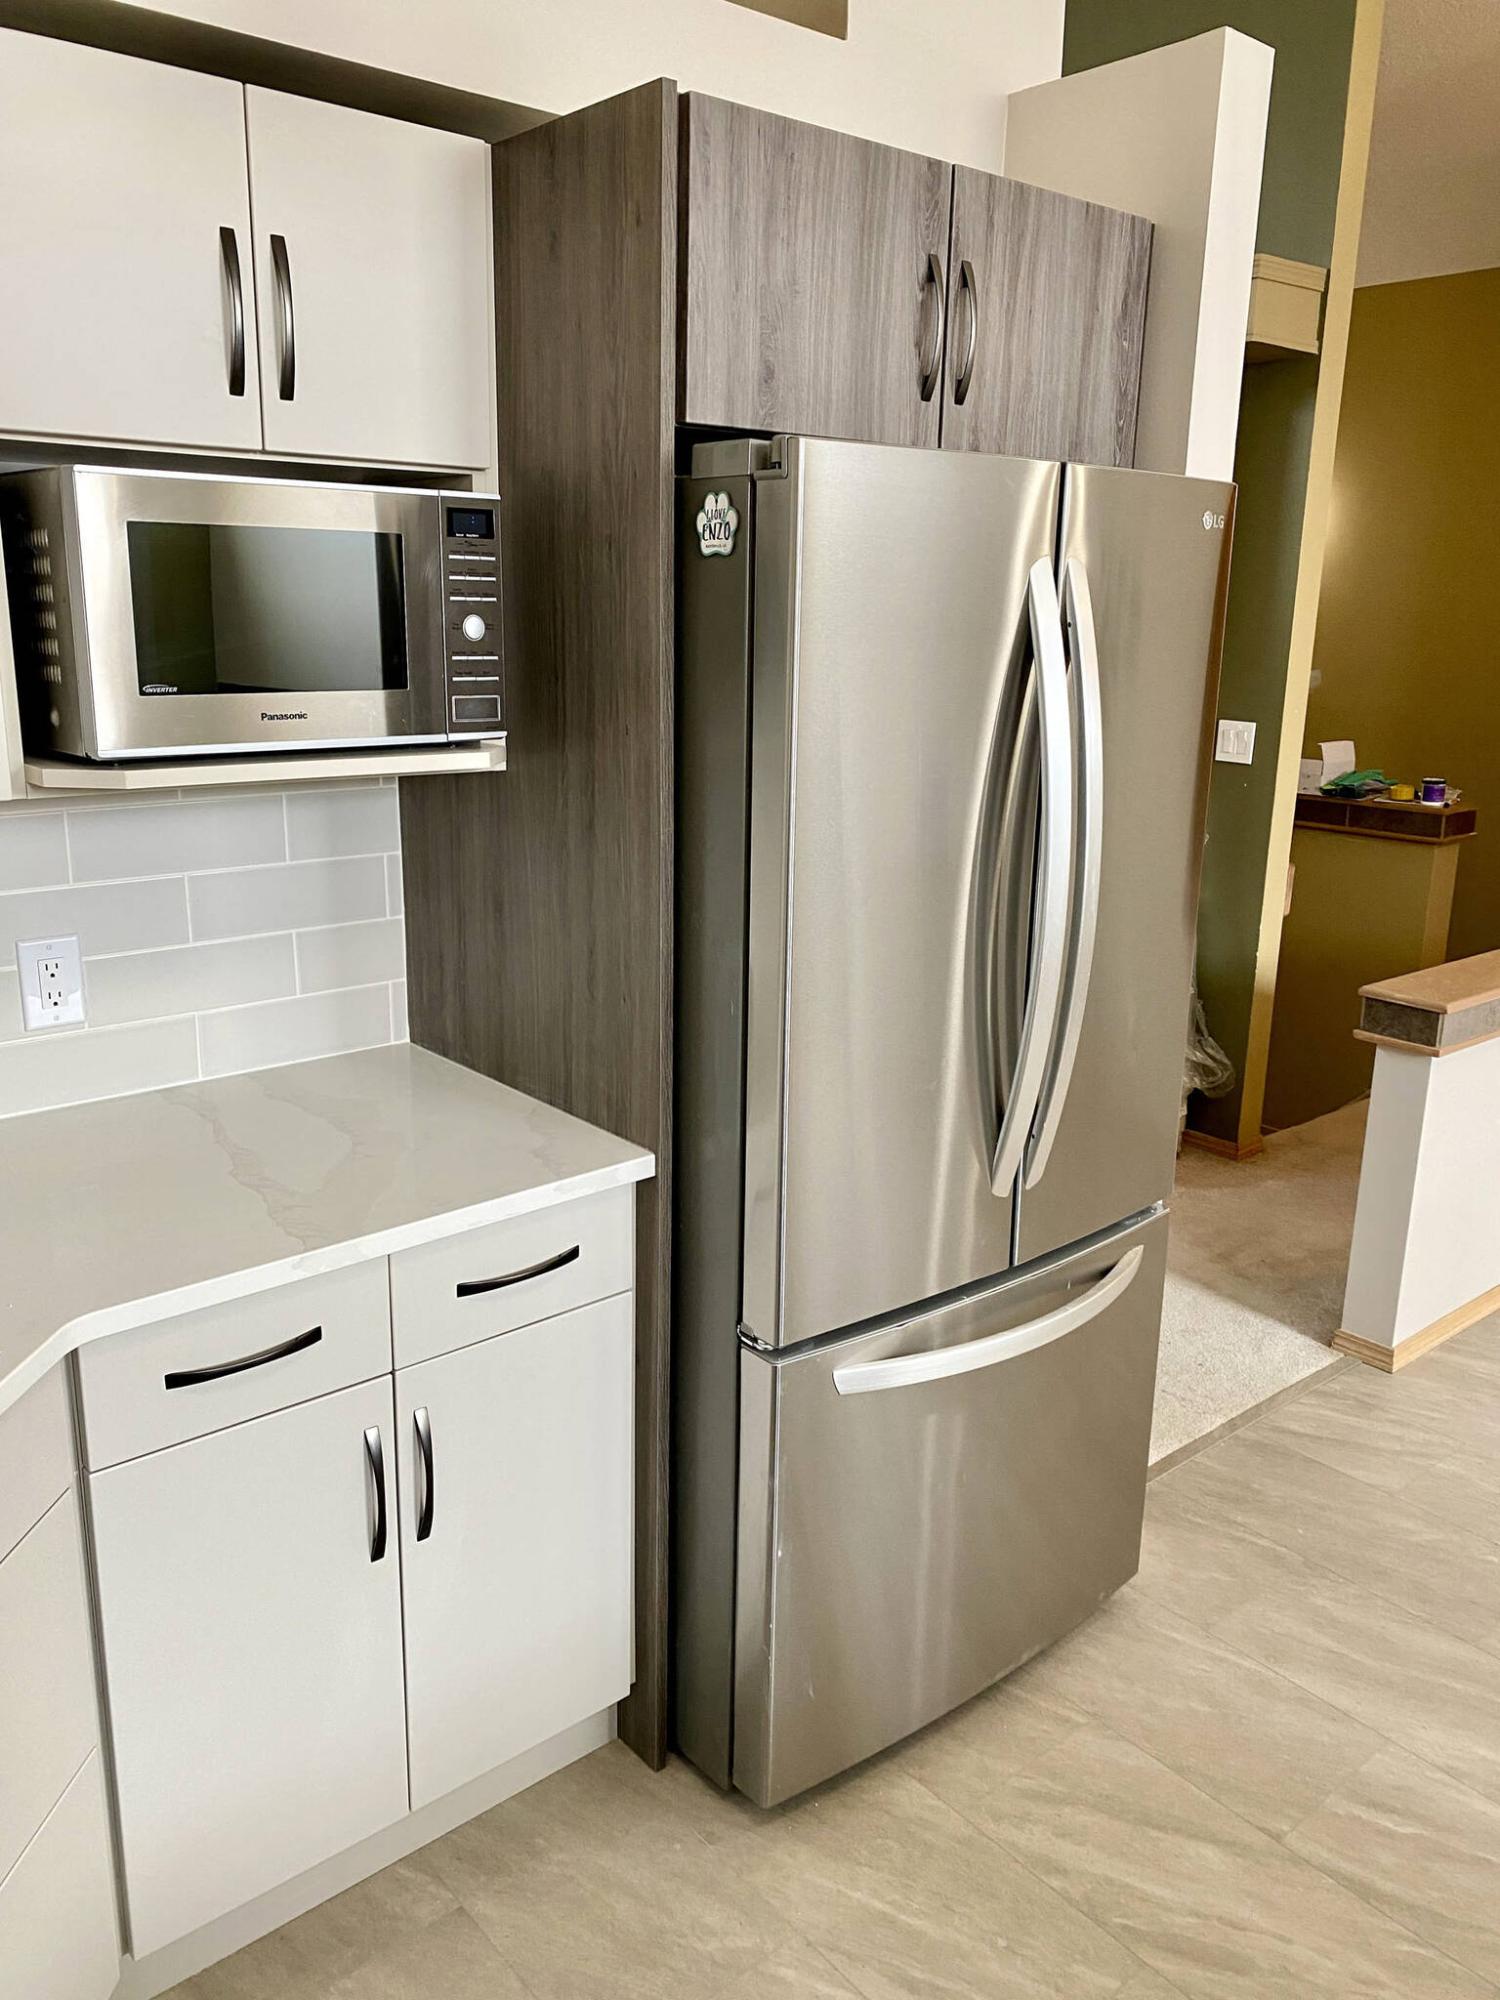
The fridge area now boasts deep upper cabinets, along with a divider of a different tone which functions like a feature element.
MARC LABOSSIERE / FREE PRESS
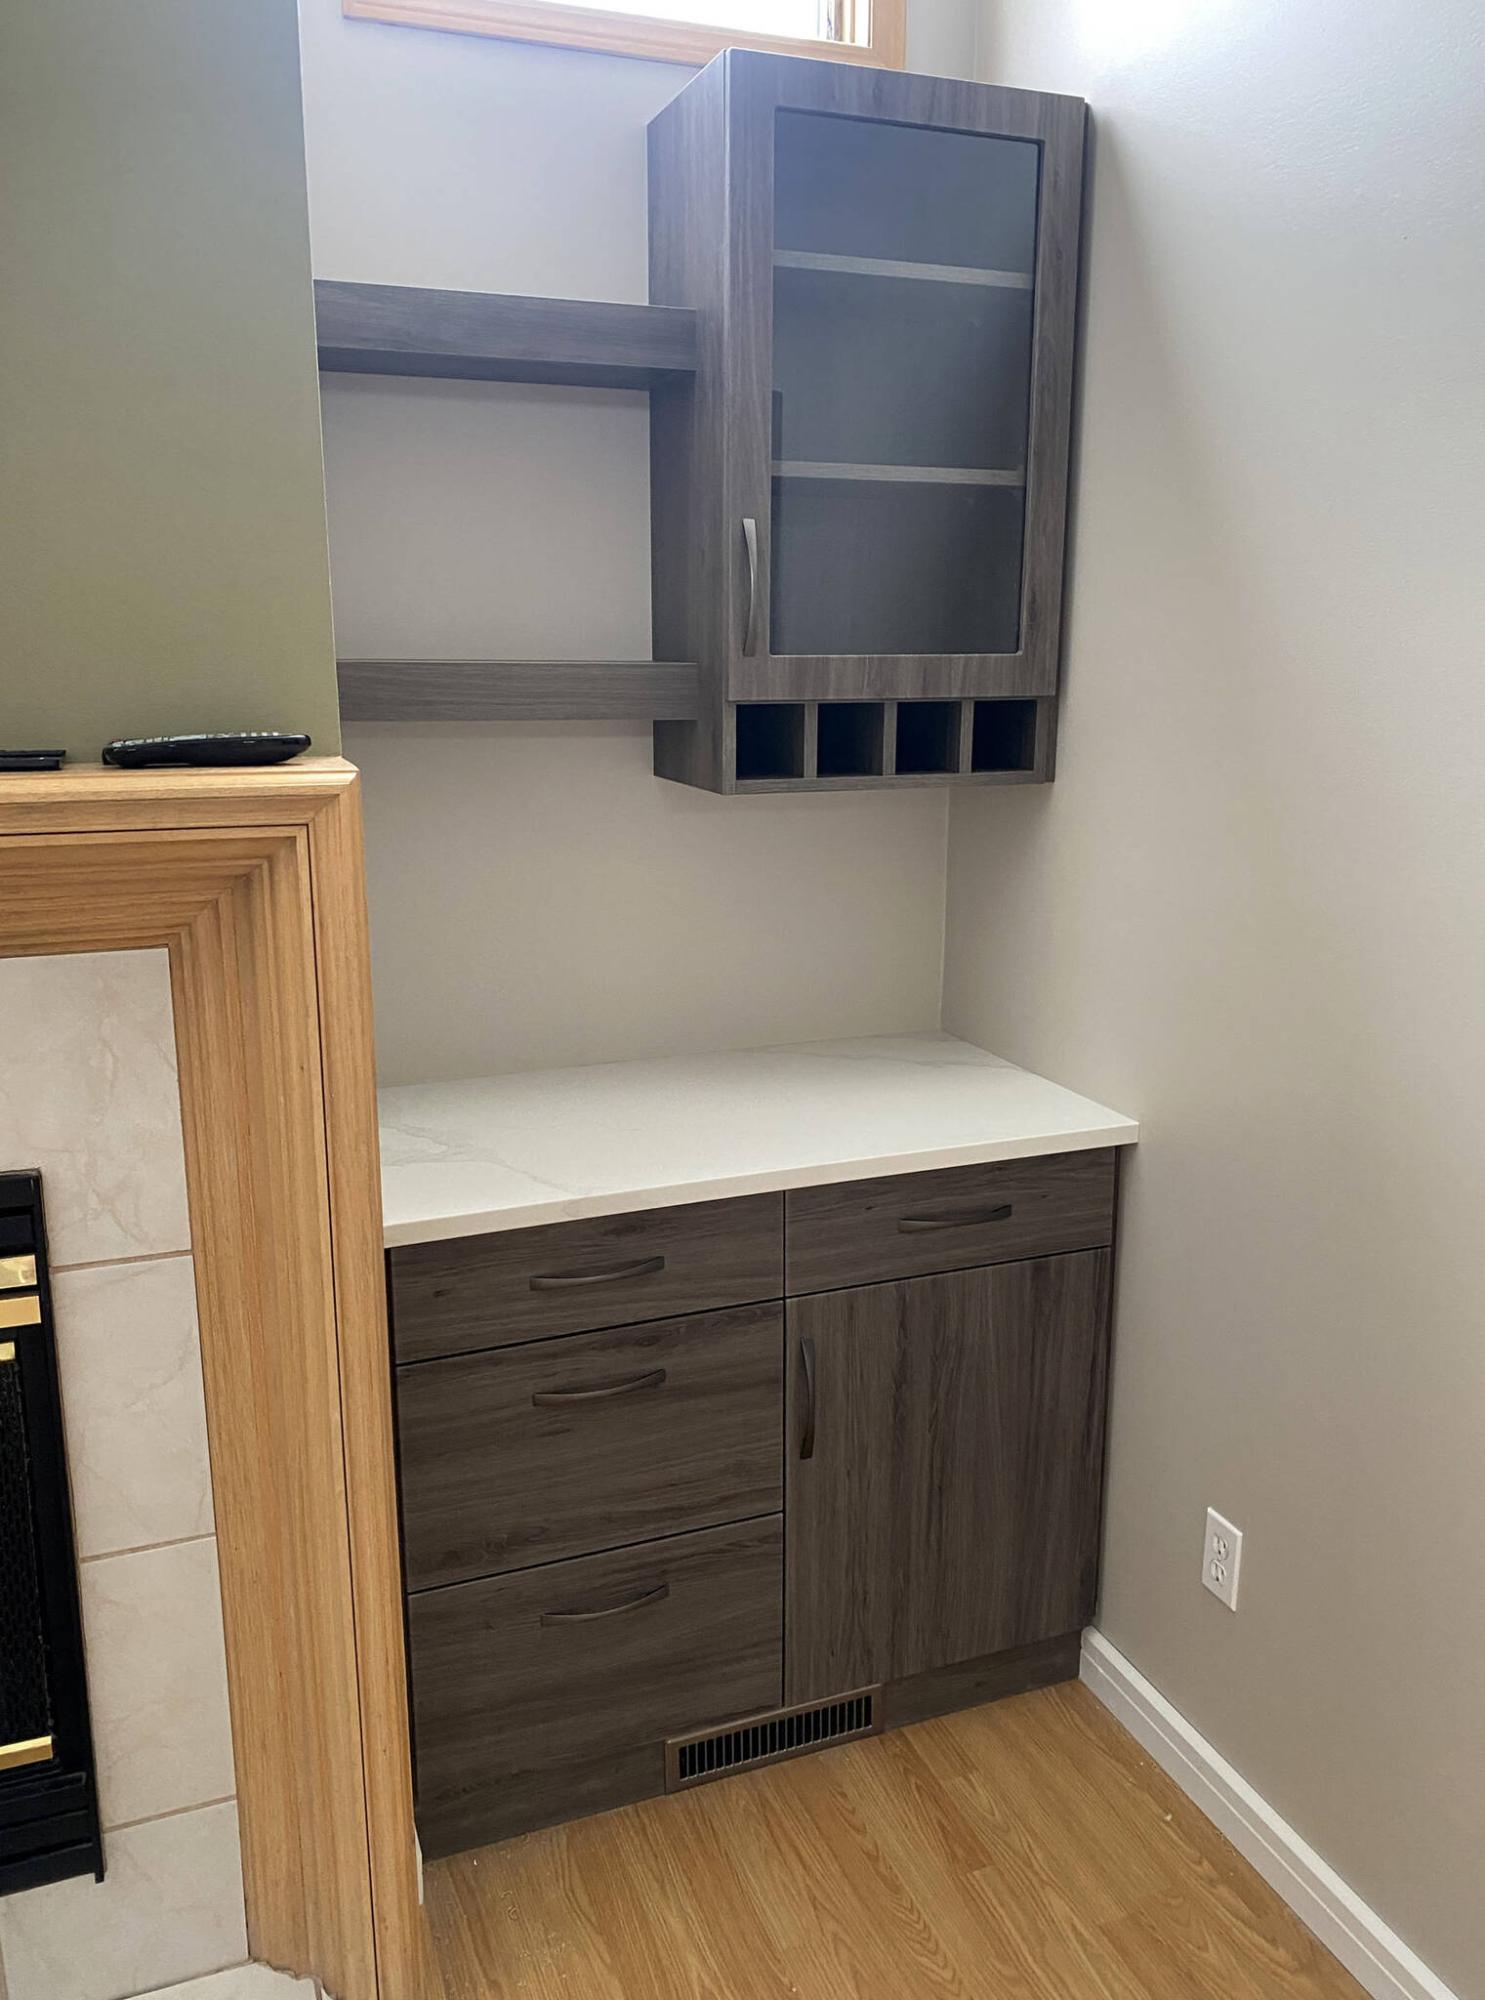
Tucked into a corner of the sunken TV room, a dry bar is introduced with floating shelves, all matching the feature tone of the kitchen fridge cabinets.
MARC LABOSSIERE / FREE PRESS
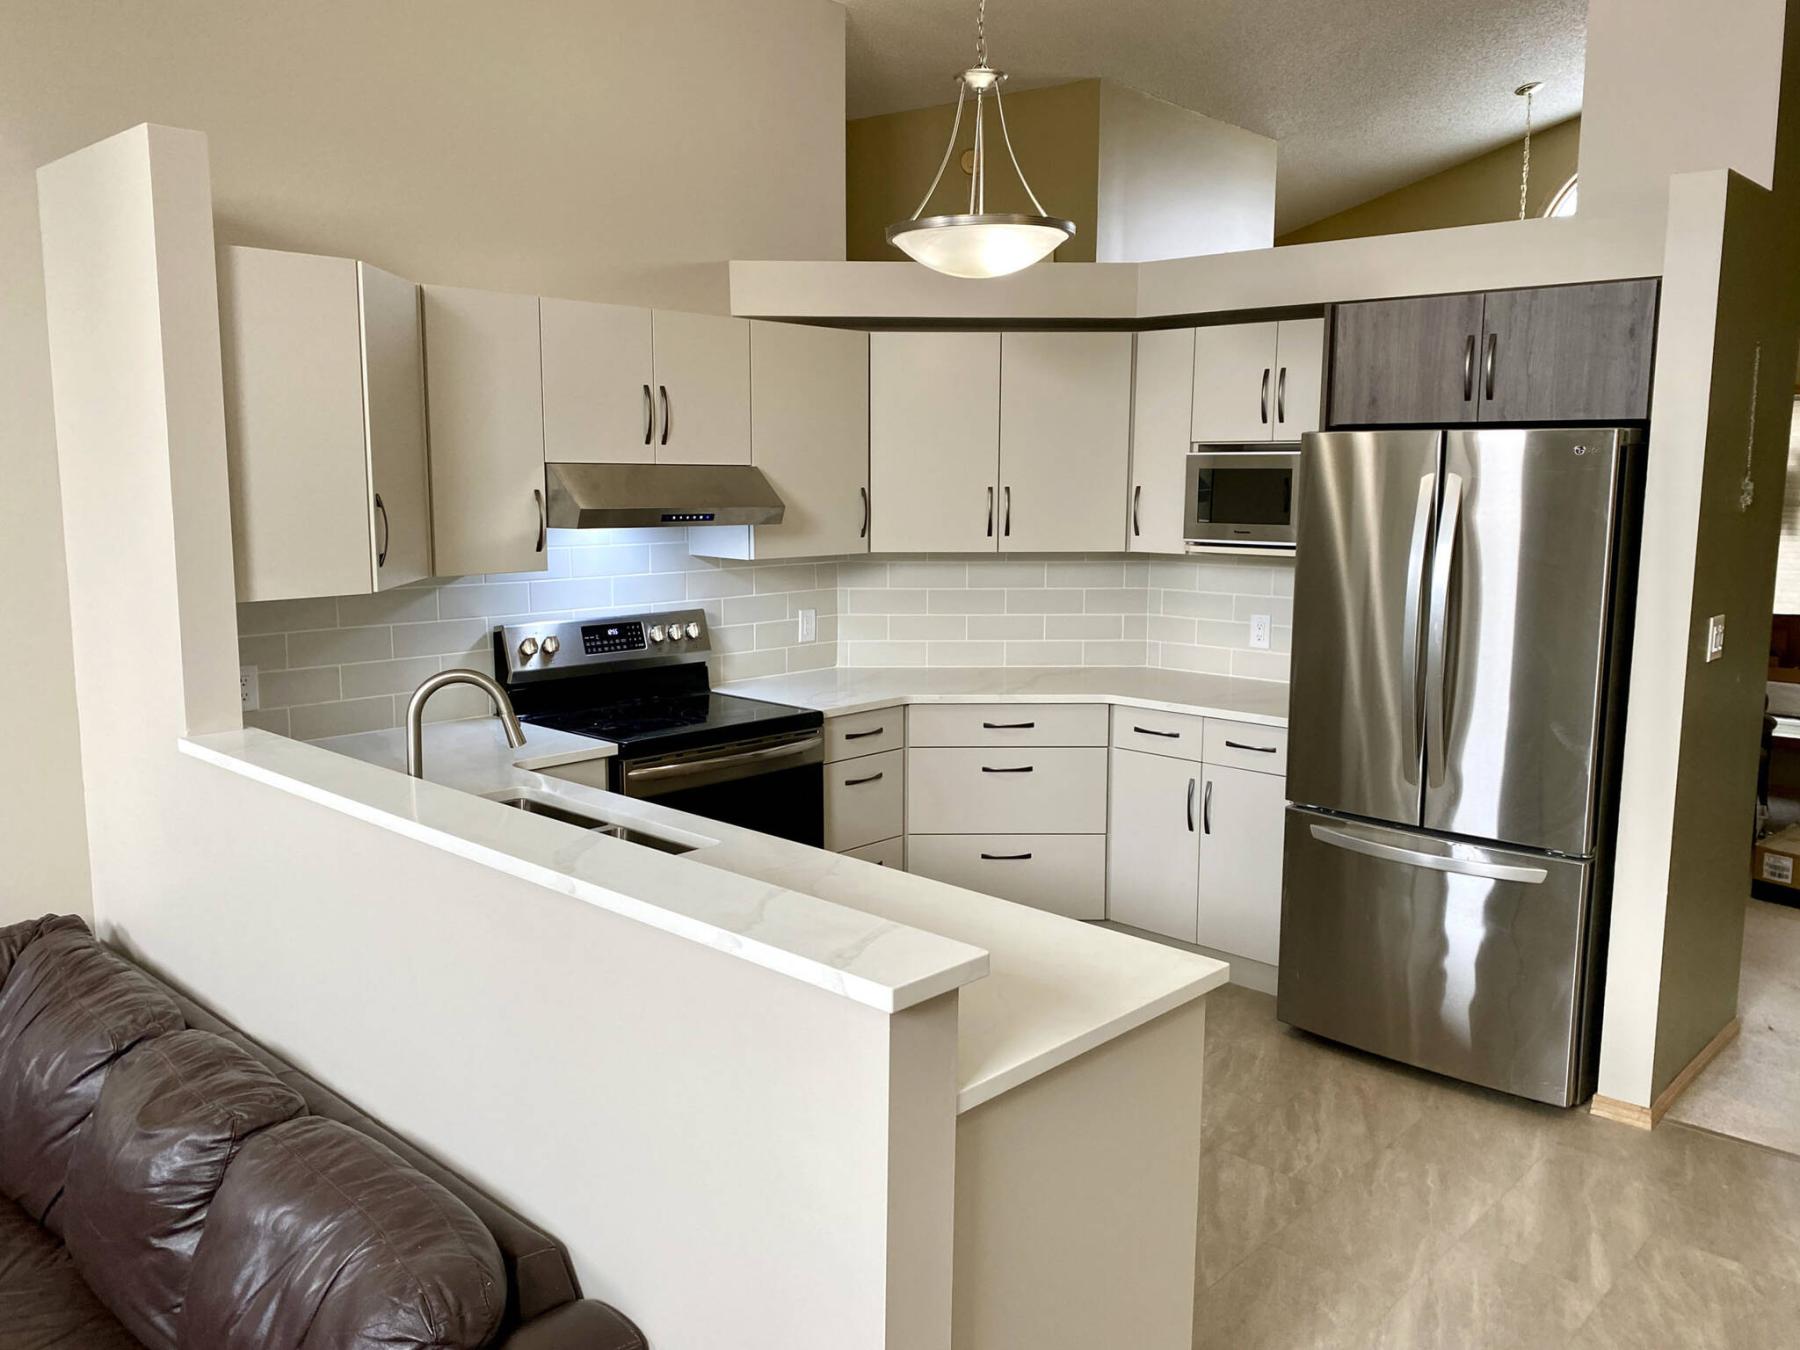
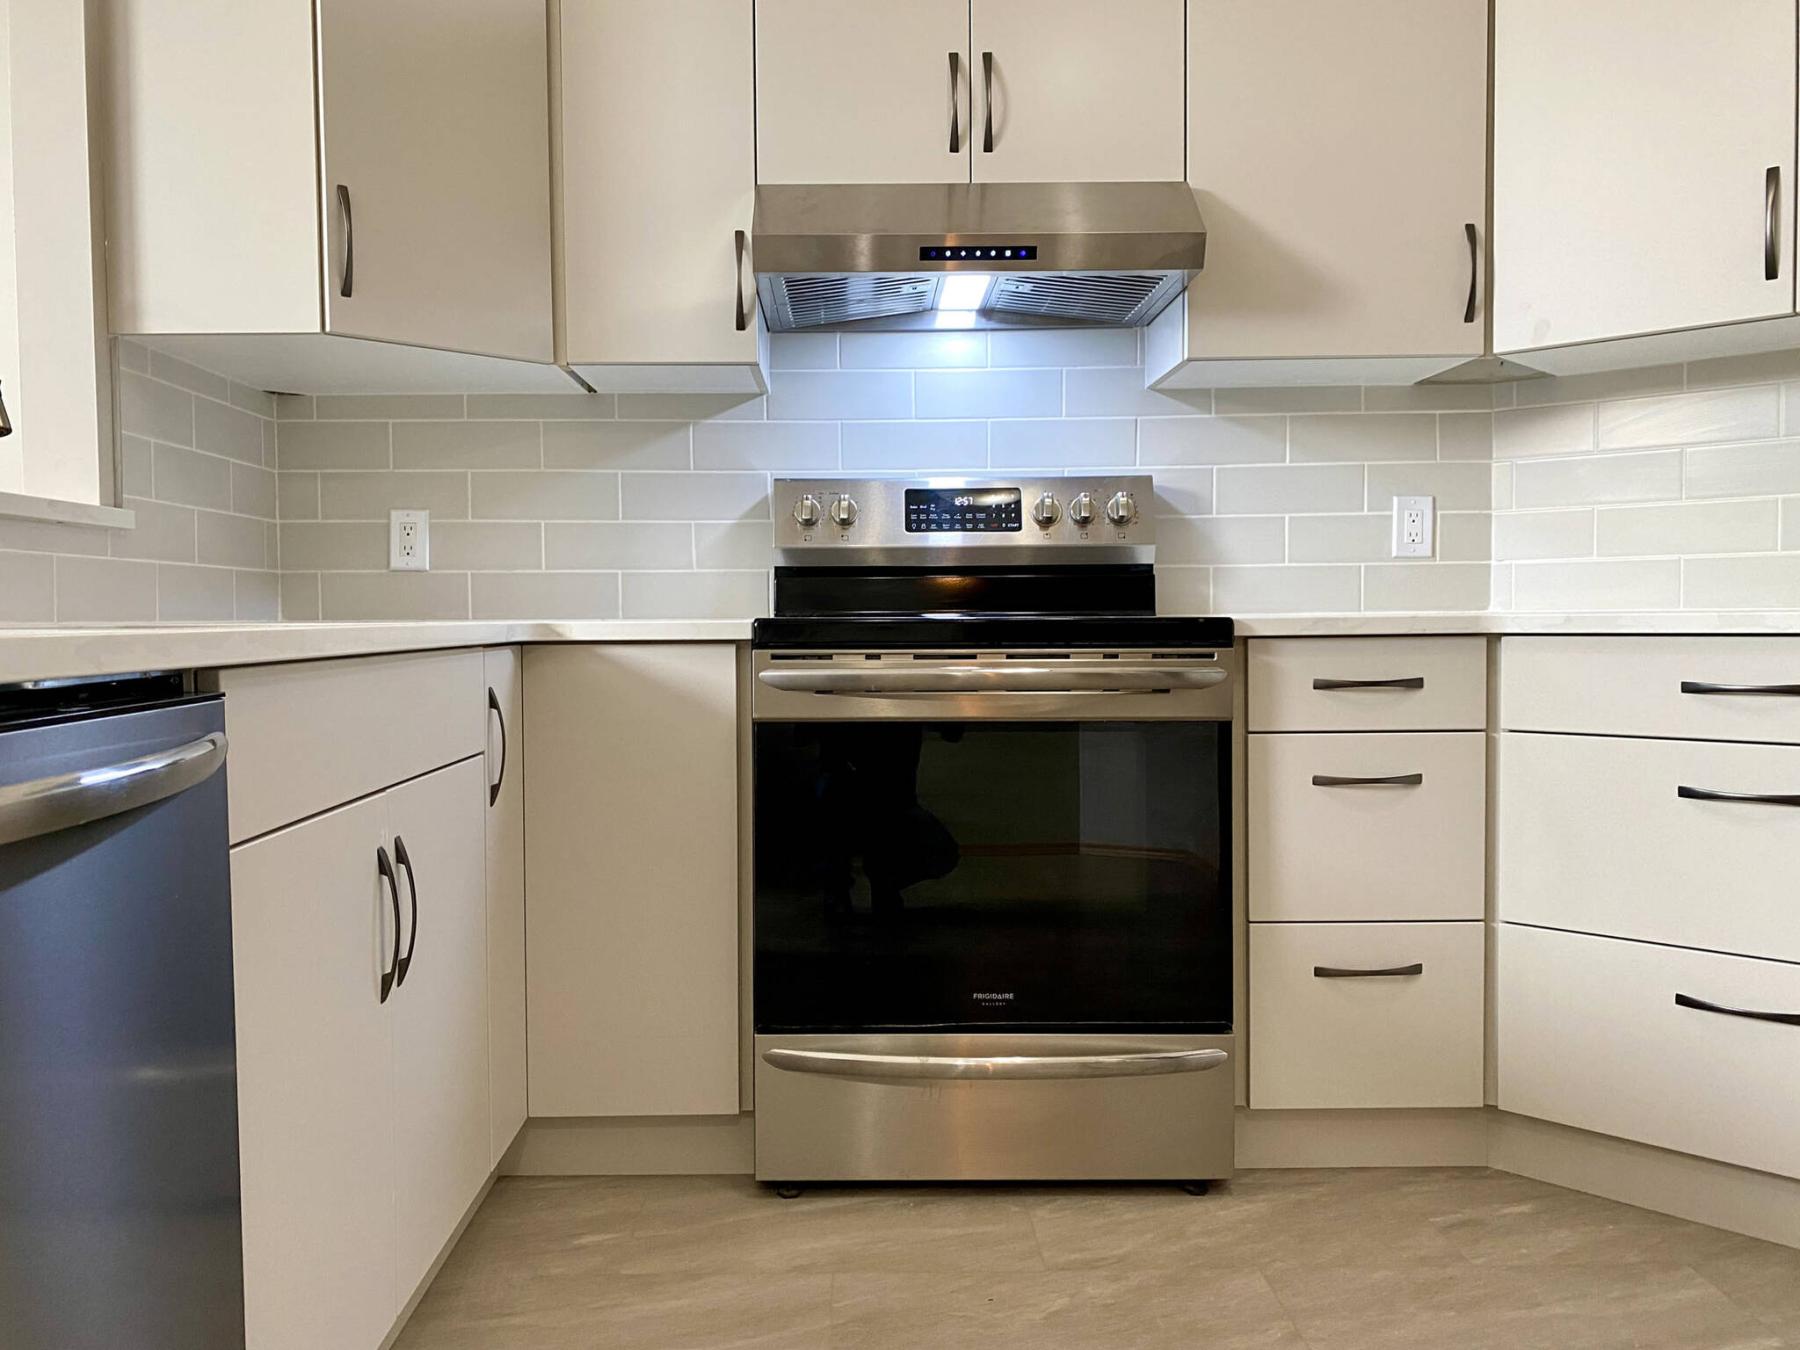
The stove location shifts slightly due to the improved cupboard layout, which also affected the placement of the range hood.
MARC LABOSSIERE / FREE PRESS
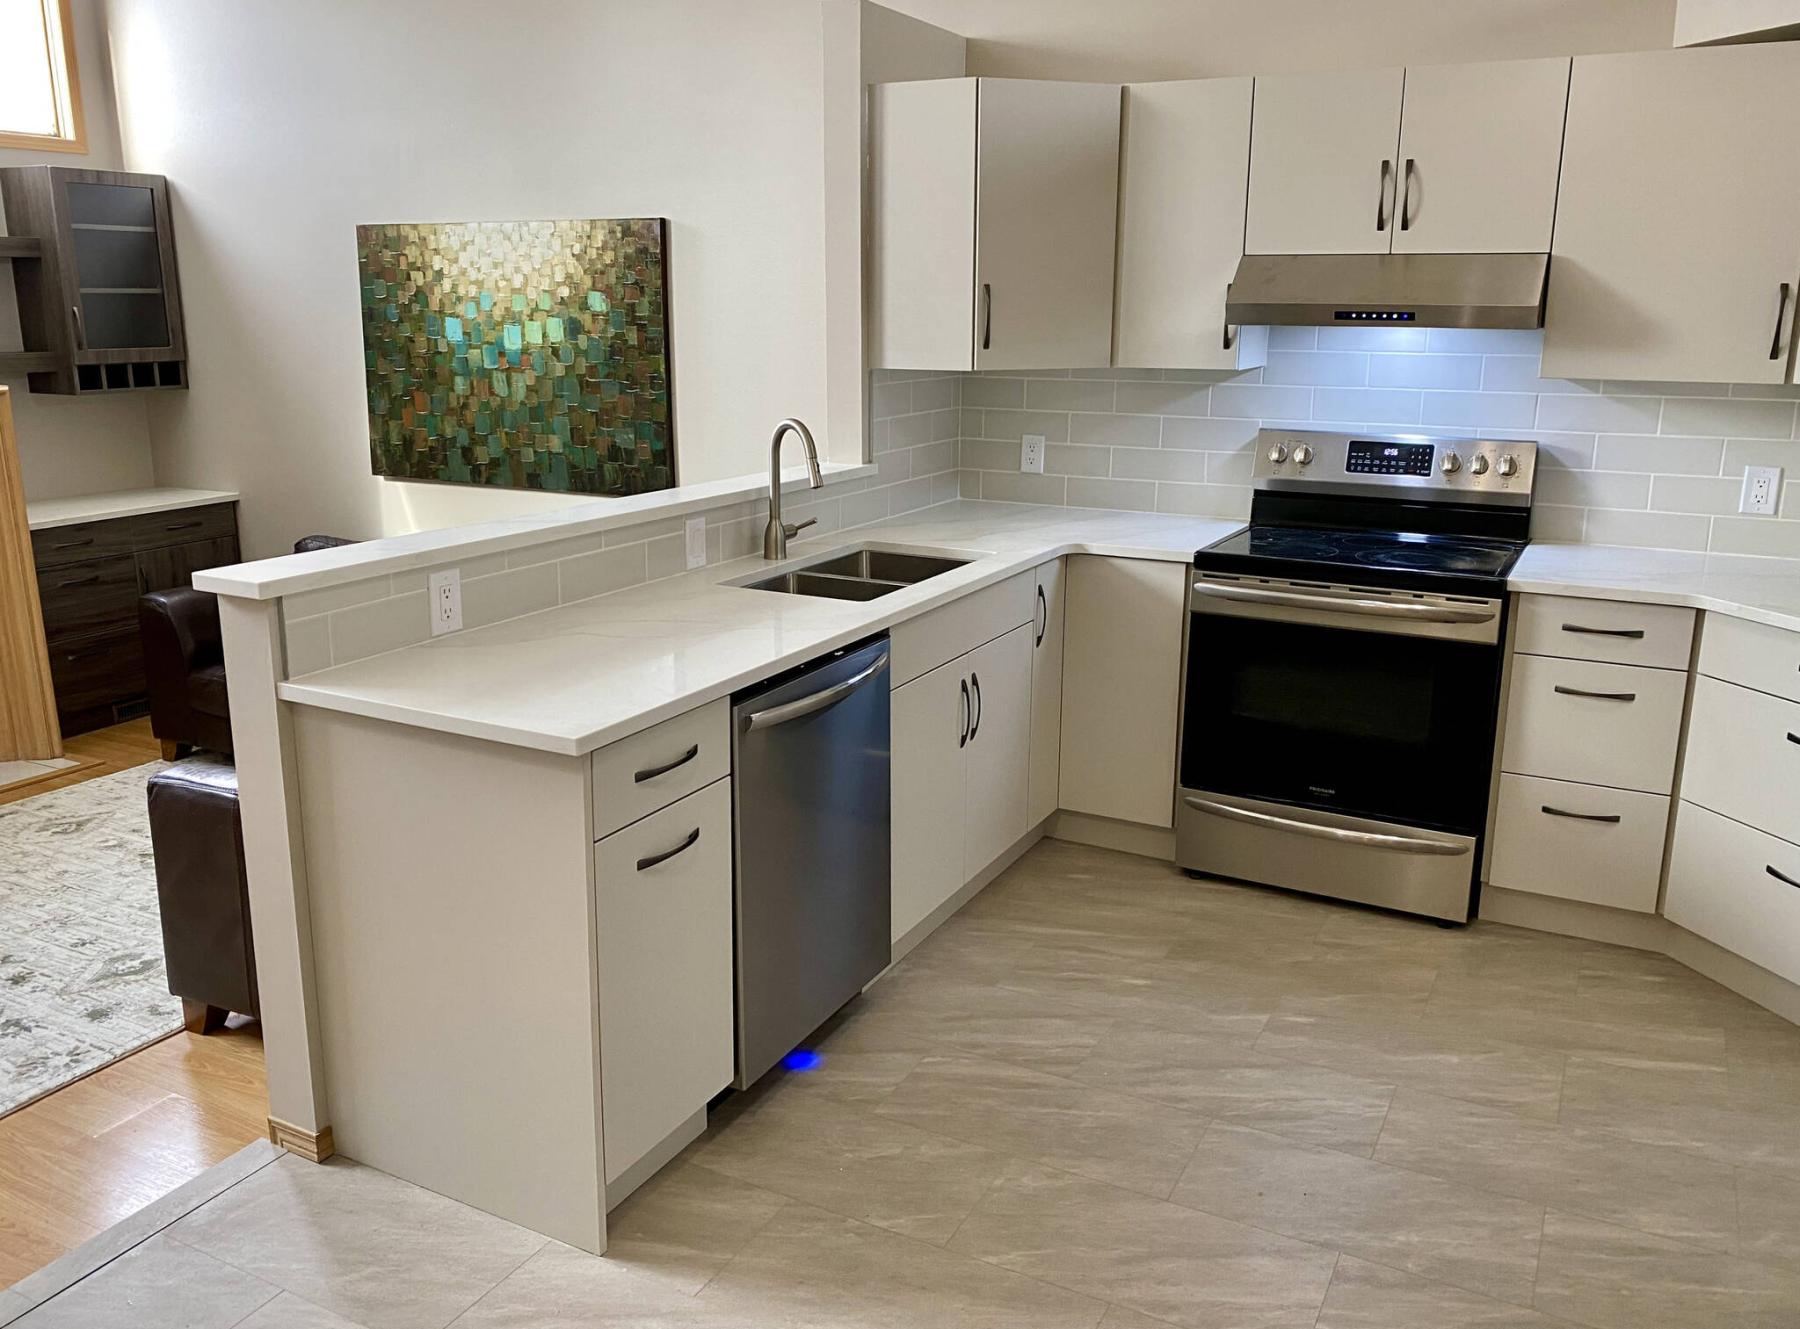
Along with an elevation to support a backsplash, the wall for the peninsula is extended to introduce a garbage pullout at the near end adjacent the dishwasher.
Nothing is more satisfying than a homeowner’s smile when entering a newly remodelled space upon completion, along with the subsequent moments of silence as the desired fresh new look is taken in for the first time.
Kitchen renovations are very satisfying to a contractor, as well. Not only can you greatly improve functionality with an updated design, but the esthetics are also primarily based on the homeowners’ colour and style preferences, chosen well before the project begins.
Once a kitchen begins to show signs of wear and tear, both functionality and esthetics begin to suffer greatly. In this instance, the old Arborite countertops were ready to crumble in certain areas due to persistent water infiltration. And because the counter along the peninsula area was level to the far side, whatever was placed on the countertop had a very good chance of landing on someone’s head in the sunken TV room, while sitting on the couch adjacent to the backside of the lower cupboards.
Most of the cupboard doors were loose on hinges, and the drawer-fronts were slightly off-level. And do get me started with what was evolving below the sink area, due to a variety of minor leaks!
The upper cupboard where the peninsula island joined the back wall simply protruded from the wall and felt unfinished. The old range hood was greasy and sounded as though it was struggling to exhaust when it was activated.
At the fridge wall, a tall and deep vertical cabinet from floor to uppers was great for overall storage space, but impractical because of its depth — the stuff in the back never saw the light of day. And moreover, this storage albatross negated a good portion of potential countertop space in an area that had very little.
Lastly, the upper cabinets above the fridge were sunken to standard depth, instead of protruding to nearly match the front face of the fridge. Short of getting on a ladder, it was unlikely this cabinet was ever used, proving highly inconvenient and another waste of space.
To eradicate the unfortunate traits of this existing design, a few cupboard elements were either modified or newly introduced.
A wall behind the lower cabinets of the peninsula was established to create both a proper backing, as well as an elevated countertop, which also provides a backsplash area along the entire length of the counter wing. Moreover, the wall was built in an L-shape where it meets the back wall, to provide a backing for the upper corner cabinet.
Once the new wall was fully prepped, and the new vinyl flooring was installed, the lower cabinets were set into place, and secured to their respective back walls.
Although the existing shell of the space dictates the potential for cabinets, the homeowners were able to specify where drawers and cupboard doors would be located, including a new pull-out drawer where the old tall cabinet was, and a garbage pull-out introduced on the near side of the dishwasher.
The new design also includes upper cabinets beside the fridge that easily accept a microwave, with deep uppers installed above the fridge.
Although the remaining upper cabinets are placed in much the same fashion as the old ones, the placement was shifted slightly to make for better use of the available space. As such, the stove location moved slightly to the left, which also meant the vent for the new range hood was adapted to the new stove placement.
While prepping the wall at the peninsula, the water feeds and ABS drain were fed into the wall cavity, instead of piercing the inside of the new cabinets. This always proves the better approach, as the rough plumbing can now protrude cleanly from the back of the new cabinets.
A new power outlet was also introduced along the new and elevated backsplash along the peninsula, and the garburator switch was relocated from under the counter in the sink cabinet to above it, at countertop height.
With the cupboards in place, finishing details were completed while awaiting the quartz countertop installation date. The required trim pieces between certain cabinet elements were custom-fashioned on site and installed, along with the toe-kicks.
A dry bar cabinet setup was also introduced in the sunken TV room, in a different finish to the main kitchen cabinets, but one that does match the feature finish of the fridge’s upper cupboards and divider. Once the quartz countertops were installed, entire kitchen area received a tiled backsplash.
After the backsplash was grouted on the final day, the water feeds for the new dual-tub under-mount sink were tied in to the faucet, the garburator was mounted to the left tub drain and a regular drain was installed on the right.
The dishwasher’s water feed was connected, and the drain hose attached to the garburator outlet. The ABS connections were then addressed to feed all drainage towards the trap, which was mounted to the rough plumbing that had been pre-prepped during the wall build. A few areas received some translucent silicone, and the kitchen was deemed complete.
Throughout the process, the homeowners had front-row seats to the day-to-day progress of the full renovation. It isn’t of course until nearing the end that the kitchen’s evolution begins to visually materialize, exponentially.
Although initial preparation is always key to a project’s successful outcome, the final days reveal the esthetic goals of the remodel, chosen by the homeowners.
Although the functionality of the space is improved from the onset, it’s usually the new look that is most impressive to clients. That initial stare and grin in silence is truly what makes the endeavour worthwhile.
Here’s to many years of enjoyment in the new kitchen!
RenoBoss.Inc@outlook.com