Anne Hebert’s stair treads in laminate with matching nosing, risers in a darker laminate, and white baseboards on every stair and landing.
Photos by Marc LaBossiere / Winnipeg Free Press
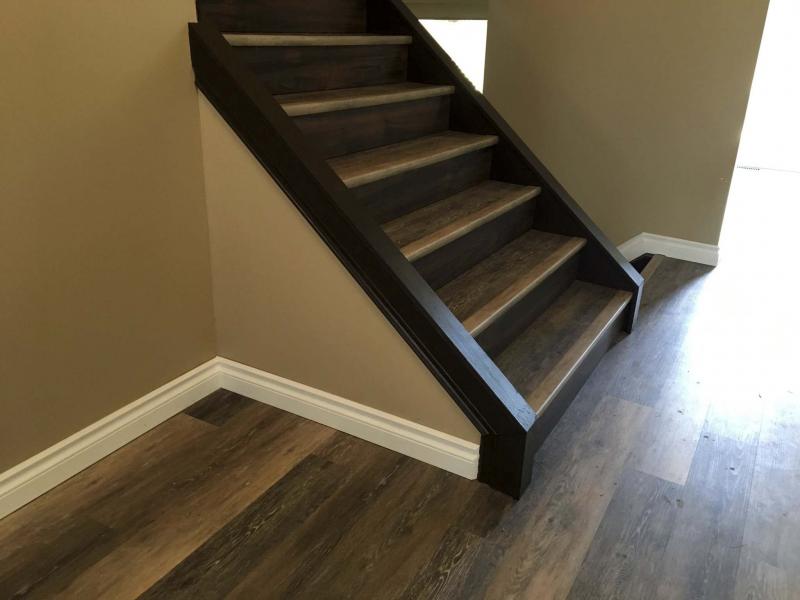
Garth Nemy’s staircase, merging white baseboards to chocolate, stair treads in laminate with matching stair nosing, risers in a darker laminate.
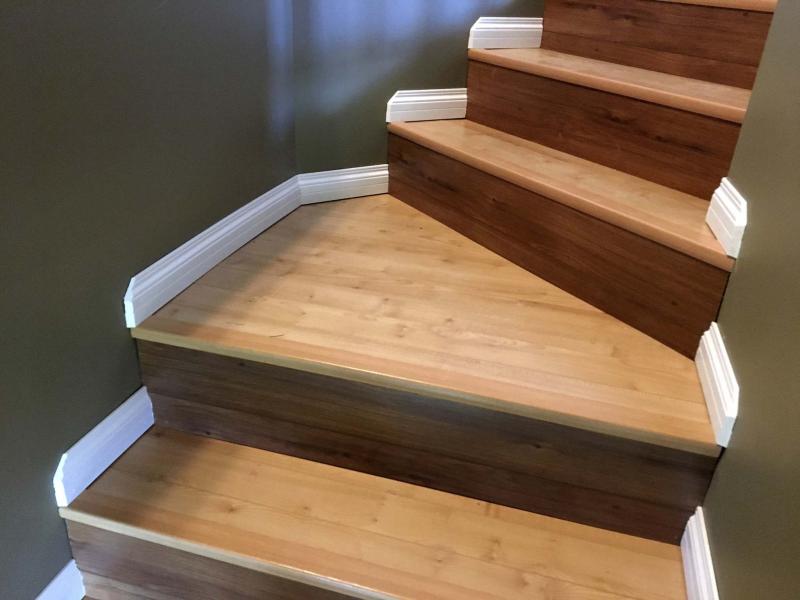
Anne Hebert’s stair treads in laminate with matching stair nosing, risers in a darker laminate, and white baseboards on every stair and landing.
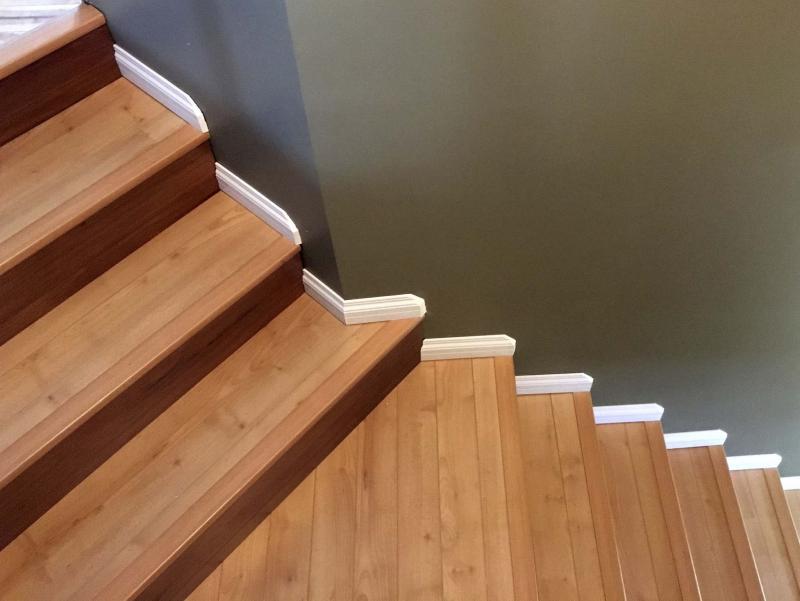
Anne Hebert’s stair treads in laminate with matching stair nosing, risers in a darker laminate, and white baseboards on every stair and landing.
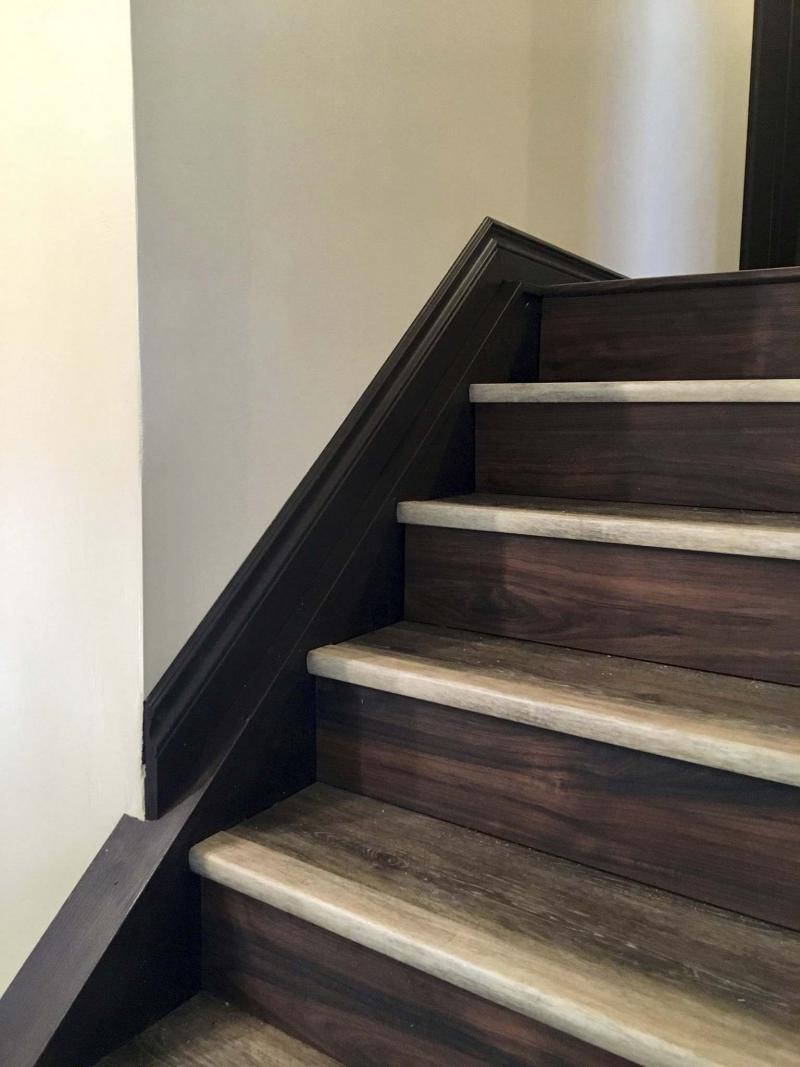
Garth Nemy’s stair treads in laminate with matching stair nosing, risers in a darker laminate with chocolate baseboards and stringer caps along wall stringer.
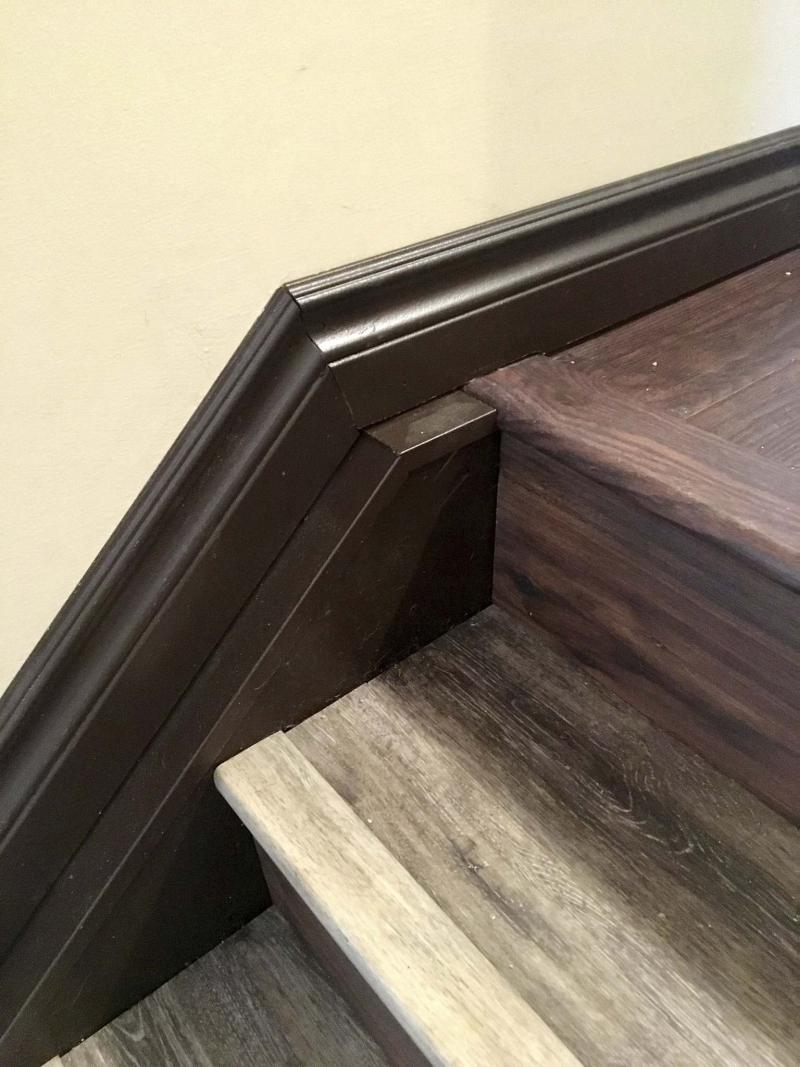
Garth Nemy’s stair treads in laminate with matching stair nosing, risers in a darker laminate and chocolate baseboards.
Stairs take a beating, no doubt about it. In a two-storey home, often the bedrooms and primary bathroom are located upstairs. Evidence of wear and tear is most noticeable in stairwells, and in the landings of your house, due to the daily ritualistic route which quickly deteriorates the finish of bare wooden stairs. Although a few solutions readily come to mind, such as carpet runners or use of carpeting altogether, a less obvious possibility has yielded great results, especially when used while redoing your entire flooring — the laminate.
For me, the allure of the laminate is its thin profile and locking mechanics, which facilitate and expedite installation. Whether an all-wood product, or the vinyl variety, laminate flooring is quite easy to lock and load. However, a different approach is required when using laminates in a staircase application. Most laminate flooring, when assembled properly and accurately to fit the room, remains free-floating, so these same laminates must be secured properly to each individual stair to ensure a safe journey from floor to floor.
Stair preparation is key. The existing nose of each stair must be rendered flush with the stair tread edge. To do this, it’s easiest to measure the inner lip depth under the existing nose and fill the existing riser with plywood that equals this depth. Often, the stair nose will protrude about an inch over the riser. So if the stairs are three feet wide, and the riser is seven inches high, you could cut two 36- by seven-inch pieces of half-inch plywood for each stair, and securely fasten them below the nosing to create a riser, flush with the tread edge. Once this has been achieved, it is time to ready the laminate for each stair.
Generally, every stair will have the same tread depth and riser height. However, the top and bottom stairs can vary slightly due to type of flooring on each floor. It’s best to confirm ALL measurements before you start. It is easiest to use laminates that are longer than the width of the existing stairs. In doing so, you can avoid having to piece together every run of laminate used on every stair. If the depth is wider than the laminate you have chosen, click two boards together and cut them to width with a mitre saw, for a clean cut. You can then take the inner board that sits closest to the riser and split it down accordingly, using a table saw.
With strong-bond adhesive, coat the top of the stair in a zig-zag pattern and place the pre-cut laminate top and press firmly down to ensure all sections of the laminate have bonded with the adhesive. Do each stair in this manner, until all stair tops (and landing if necessary) have been achieved. For the risers, it is much the same process — properly measure the width and heights, and create risers for every stair. Using adhesive is a good idea for risers as well. But as an added securing feature, I like to also tack in each riser with a few brad nails, using my air-nailer.
Most laminate manufacturers offer matching nosing. This nosing is generally fabricated out of plastic and in the shape of a contoured "L," covered in matching wrap that closely resembles the laminate. And although there is a peel-and-stick glue strip on the back-side, I highly recommend carefully applying the same high-bond adhesive used to install the tops and risers, on every nose — a stair nose that "lets go" at an inopportune time could cause someone to trip and tumble down the stairs.
Once the nosing for each stair is cut to width, it’s easily installed at the edge of every tread. To create a slightly deeper tread, I’ve sometimes added a slight spacer of a half-inch or so, before adding the nosing. It’s all about preference. And because the stair nosing matches the top stair tread, I’ve often used a darker laminate on the risers, simply to allow the stair tops and nosing to jump out esthetically.
There are a few ways to finish the stairs at this point. If the stairs were built with wall stringers, baseboards can be mitered and placed along the entire run of the wall stringer. If, however, every stair simply meets the bare wall, the laminate top and risers may be enough to give it that finished look, provided the cuts were very precise, with very little "play." Certain aspects of finishing require some forethought, and the subjective element should never be dismissed.
One thing is certain — if your stairs are in need of refacing and refinishing due to wear and tear, there are several options. Stair runners are the fast and economical solution. But if you’ve chosen to install laminates in an area which leads to a staircase, why not continue them up or down the stairs? Nothing beats the look of uniformity and cohesiveness. Your stairs will look just as brand new as your flooring.
BossEnterprise@outlook.com