MARC LABOSSIERE / FREE PRESS
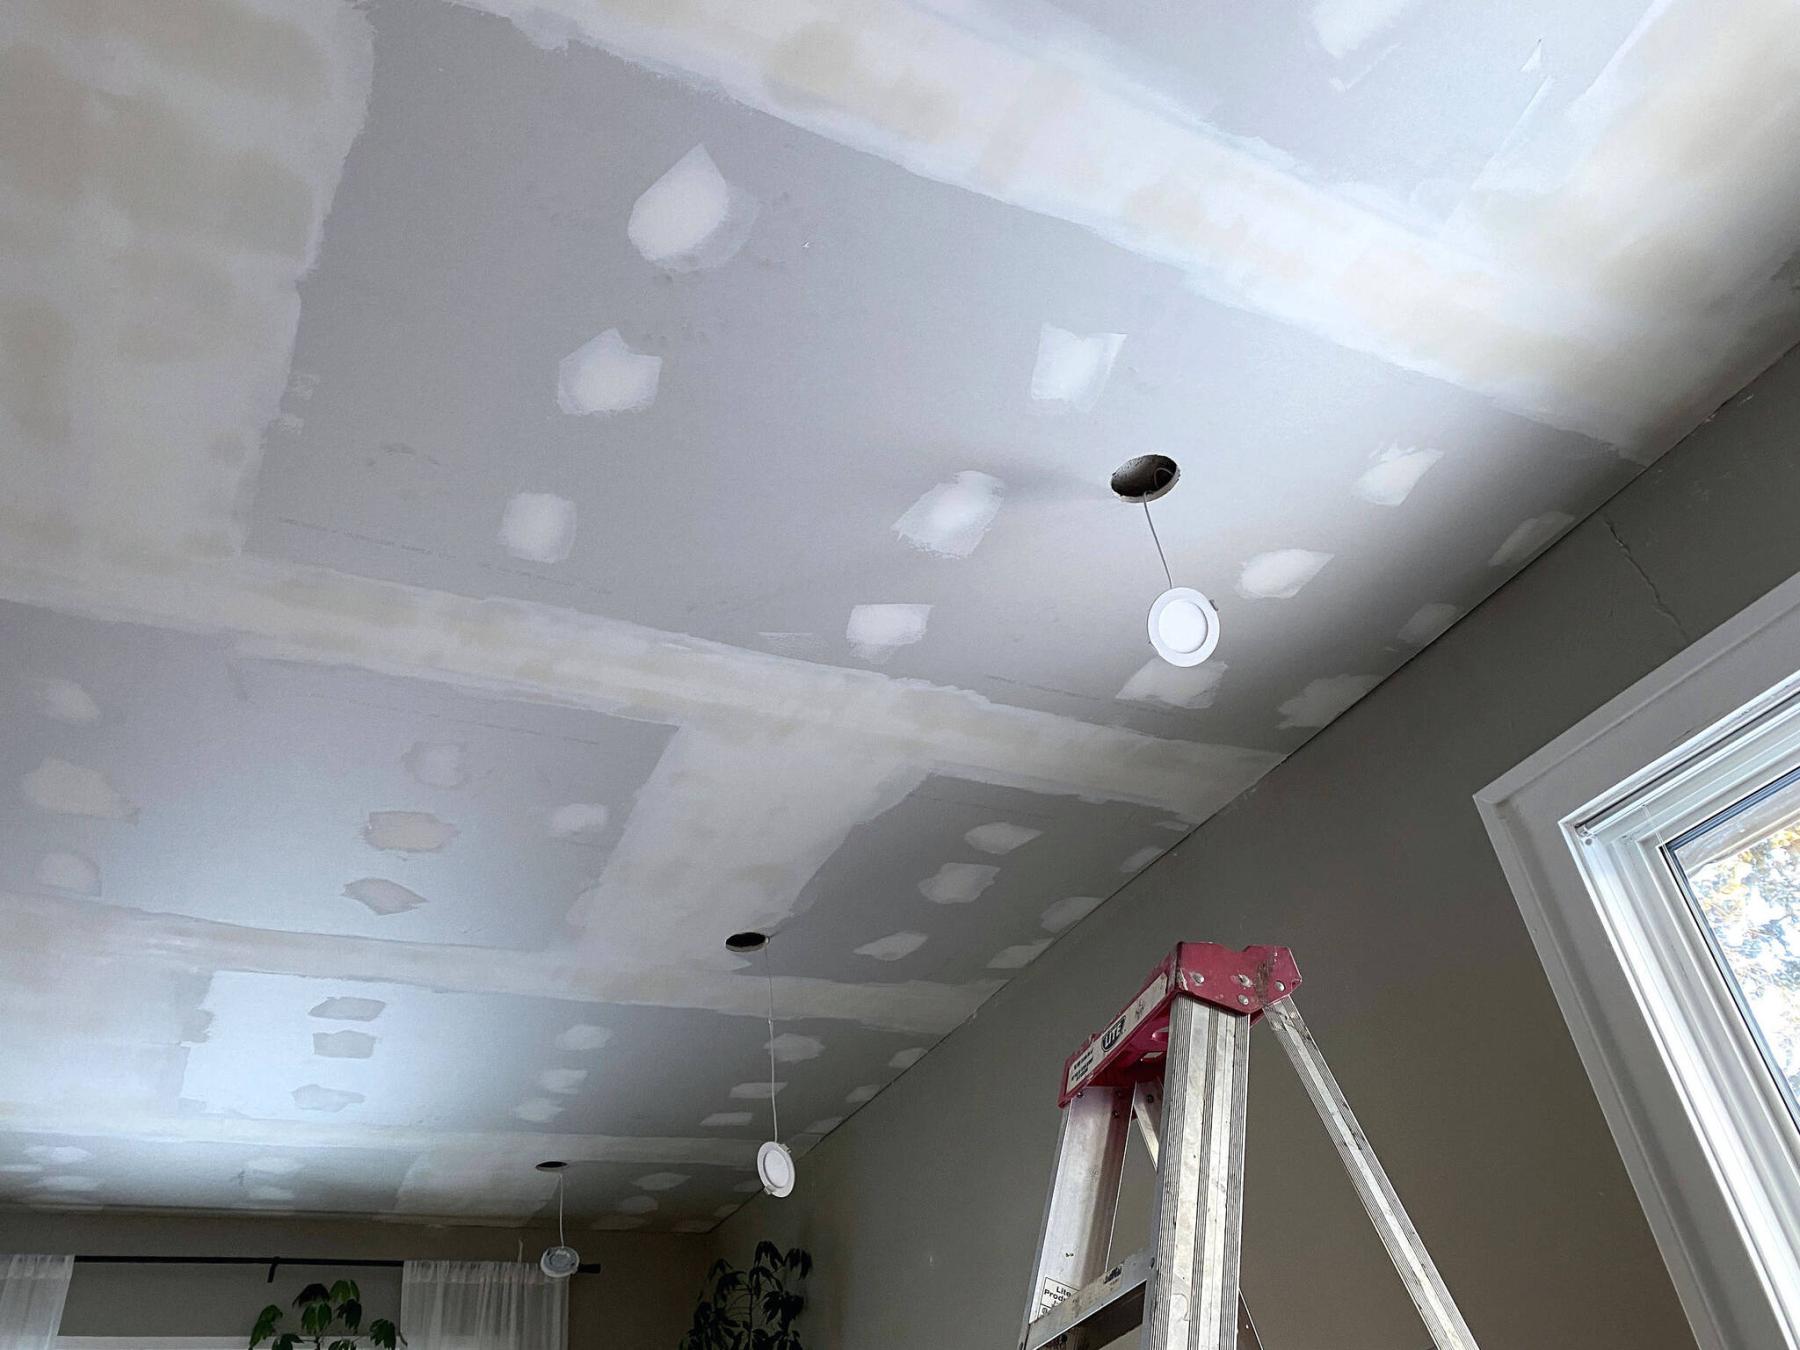
Once the electrical was pre-run, drywall was mounted to the strapping, and the LED holes were drilled.

MARC LABOSSIERE / FREE PRESS
Due to wall-cavity constraints, and wanting to avoid breaching plaster walls unnecessarily, the new switch was mounted below the existing dining-room light switch.
MARC LABOSSIERE / FREE PRESS
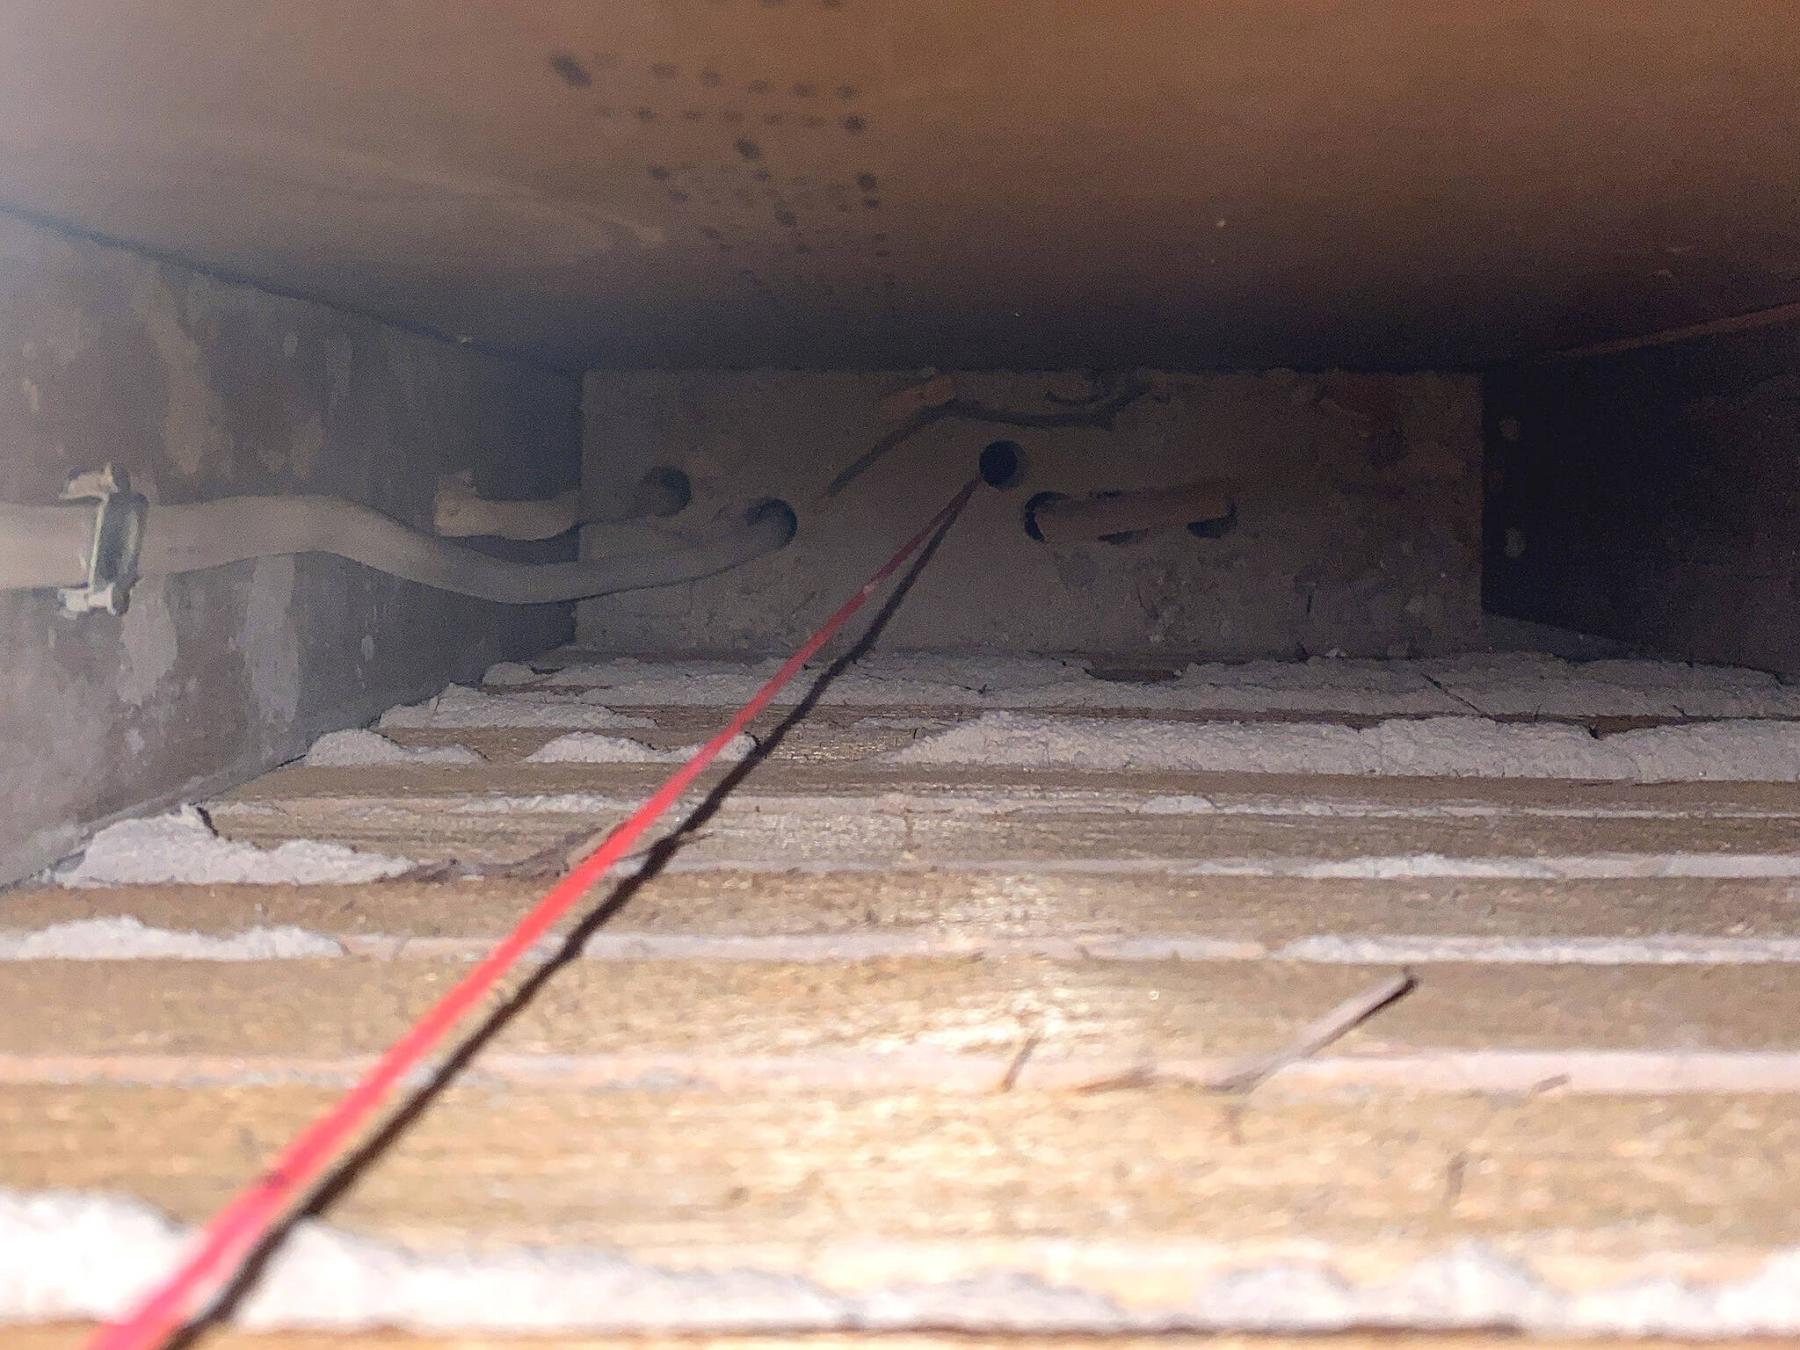
A horizontal support brace fortunately had existing drilled holes allowing for a tedious but eventually successful process of fishing a wire through from the ceiling to the new switch location.
MARC LABOSSIERE / FREE PRESS
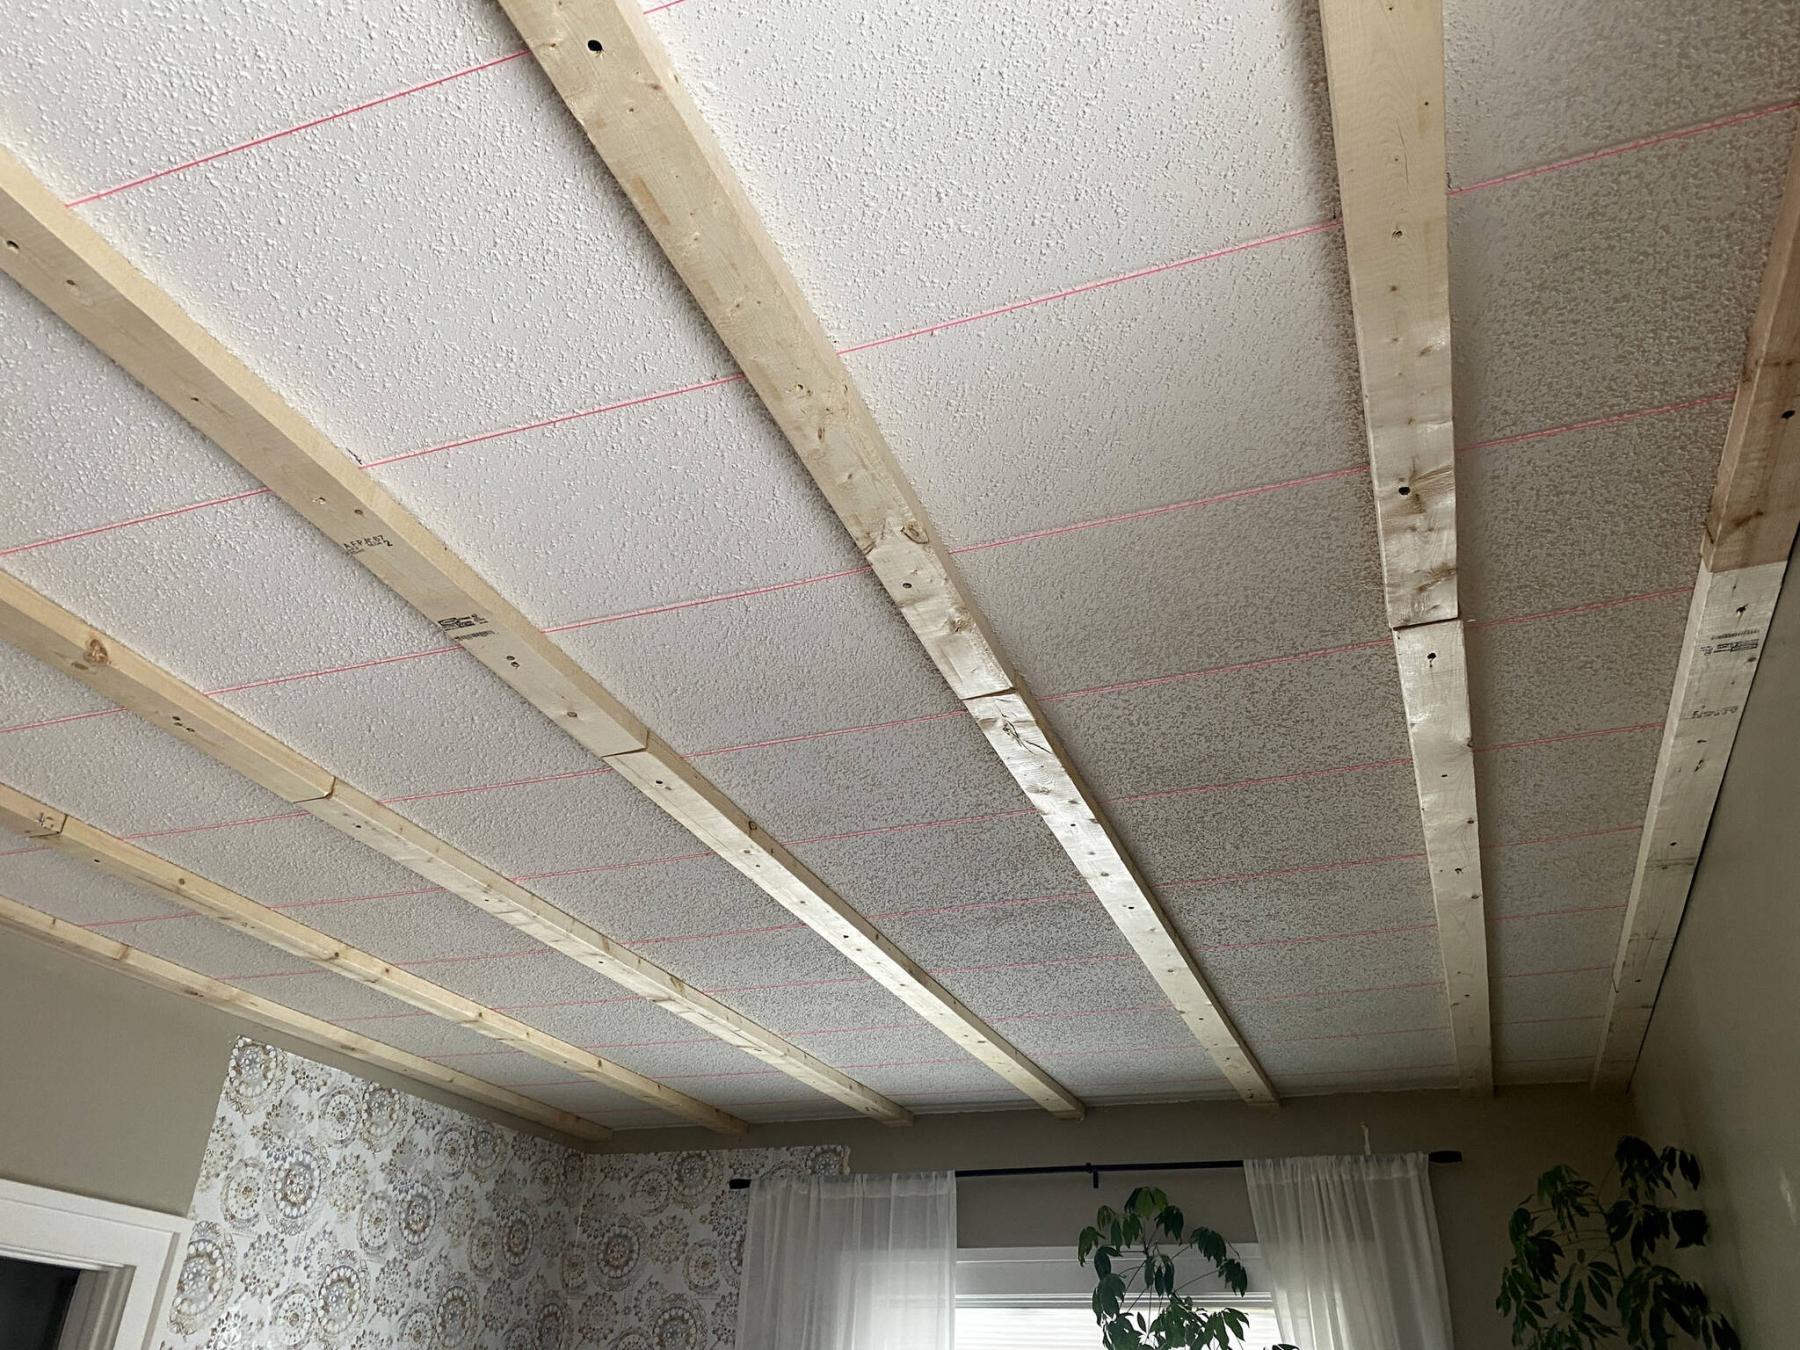
After adding string lines to mark truss locations on the ceiling, two-by-fours on the flat are strapped perpendicularly using five-inch lag screws.
After completing a kitchen remodel late last fall, the homeowners ushered me into their living room before my departure to discuss a potential ceiling upgrade.
The new ceiling in the kitchen had turned out so well, they wondered if it could also be achieved in the living room. A quick assessment revealed that indeed it could, and the project was slotted for late 2024 — “as long as it was done before Christmas.”
Having nearly concluded all scheduled projects for 2024, the impending living-room ceiling upgrade was one of the last tasks on the Reno Boss calendar. As such, the homeowners were contacted a few weeks prior to confirm the impending start date. The materials were gathered, and partially delivered a week in advance to expedite the process, once I arrived on site.
This ceiling upgrade would mimic the kitchen ceiling process which was finished up the previous fall. The old stippled plaster ceiling was strapped, new electrical was pre-run for the introduction of several slim LED pot lights once the drywalling process was completed and the entire surface sanded and painted.
The living-room ceiling is rectangular, roughly 22-feet long by 12-feet wide. As such, and based on standard spacing, it was determined that two rows of five LEDs would more than suffice. After all, there had never been any ceiling lighting in the living room previously, and only the dining room pendant light at the kitchen side of the space provided any light beyond a few lamps near the couch.
The introduction of a dimmer switch for this new circuit would afford the homeowners the ability to set the brightness, so I explained that with a dimmer, too much lighting is always better than not enough.
The method of strapping the ceiling began as usual. The upper trusses were located and parked along each long wall using three-inch screws. Stringlines were then made across the entire surface to clearly mark the truss locations, which facilitates the process of securing the two-by-fours on the flat, perpendicular to the trusses using five-inch lag screws.
Once the strapping was in place and fully fastened, it was determined 10 LEDs may indeed be too many, and the lighting configuration was downsized to eight in total, with two rows of four.
With the revised plan in place, 14/2 wire was pre-run to all light locations. A small issue arose, however, when choosing the placement of the new dimmer switch. Although power could be drawn from the existing switch (for the dining-room pendant light) near the kitchen entryway, stud placement within the wall made it precarious to introduce a double gang box for the new switch. With the wall being plaster, I was at all costs trying to avoid creating an unnecessary breach.
As such, the homeowners elected to heed my suggestion to place the new dimmer below the existing switch, in a separate electrical box. In this scenario, bringing power from the existing box down to the new box was simplified, and pulling wire through from the ceiling to the new dimmer switch location would be as well, provided of course there wasn’t a horizontal cross support in the way.
As luck would have it, that is exactly what I found. Without breaching the plaster walls, how could this obstacle within the stud cavity be circumvented? Again, I was trying to avoid an additional breach through plaster at all costs.
The answer revealed itself after taking a photo of the inner cavity — the cross brace had been pre-drilled with several holes, a few of which had never been used. If I could somehow fish the wire through one of these holes, down to the new switch location, I’d be back in business.
A heavy ratchet bit was tied to the end of the string, and it was lowered into the cavity from a small breach along the ceiling. The string was lowered into the cavity, then pulled up and released in small incremental movements with the hope of the weight dropping through one of the pre-drilled holes in the horizontal support within the wall. It was a tediously frustrating process with no guarantees.
After a half hour of trying, the procedure seemingly futile, the weight suddenly kept descending after a slight adjustment to the string location. Success! The weight found its way down past the existing switch box, and I was able to grab the string through the new box breach.
The 14/2 wire was taped to the string and carefully fed back up through the wall cavity until I could grab it at the ceiling breach. Back on track, the ceiling project continued as planned.
With the new circuit connected and tested, the LED boxes were all tied into the new circuit. Once secured to the new strapping, the entire ceiling was drywalled. The seams were then taped and screws holes covered with several coats of mud.
The morning after the final coat, the entire surface was sanded smooth. The ceiling was then painted flat white, and the original crown moulding was re-installed along the entire perimeter of the living-room ceiling.
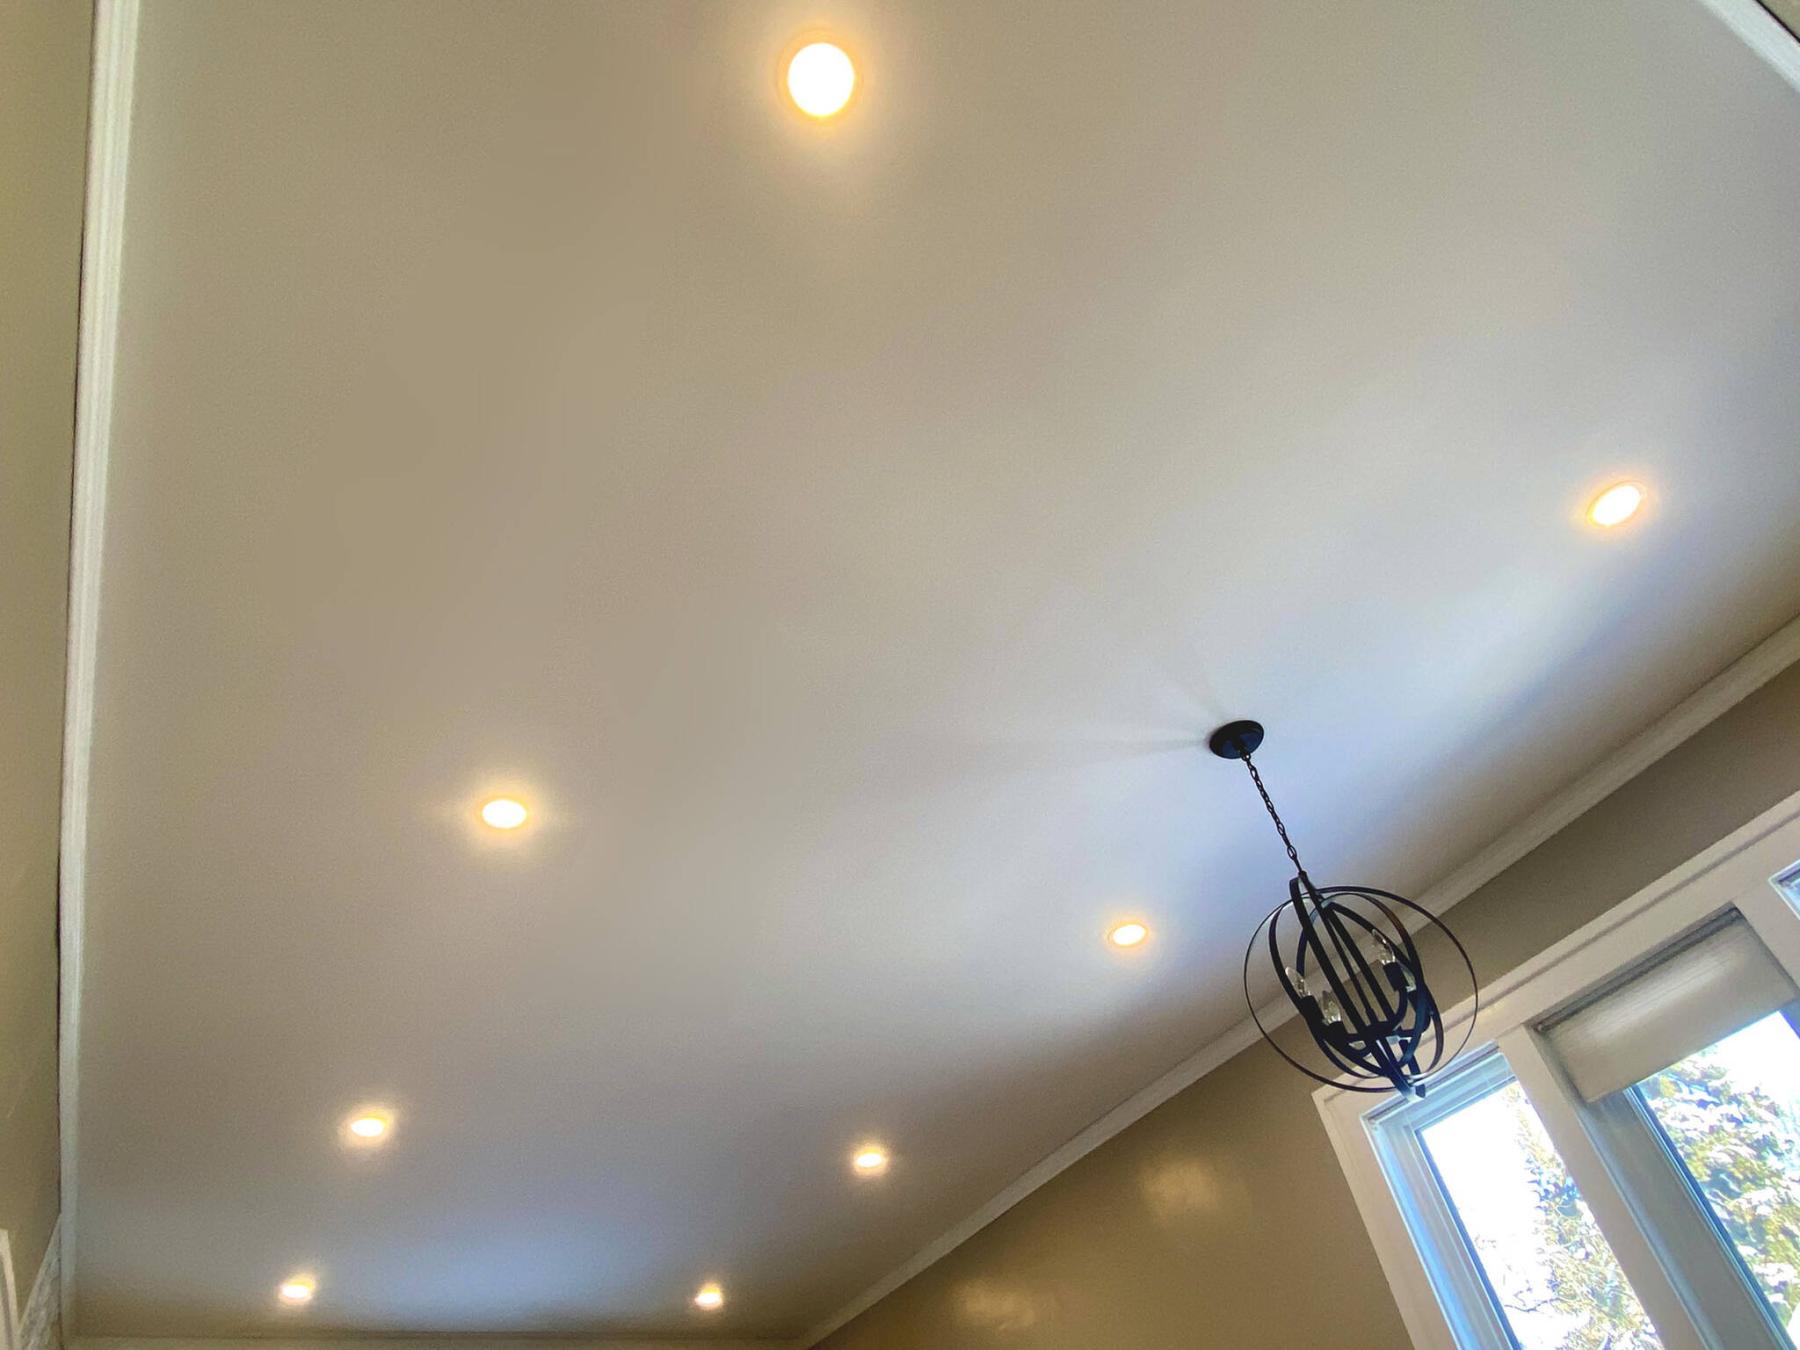
Although strapping and new drywall typically lowers the elevation by roughly two inches, it was virtually undetectable with nine-foot ceilings. Once the paint was dry, the LED slims were fully installed, and the dining-room pendant light was mounted in its slightly shifted offset location, as desired by the homeowners.
The amount of light is amazing in a space that barely had any for so many years. Even during daytime hours, turning on the lights in the living room truly makes a big difference. Eight LEDs were definitely enough — the 10-light design would have seemed congested, mildly contradicting my usual motto of more-is-always-better when it comes to lights.
No matter, the decision to downsize the number of lights was made well before it would have created any back-tracking during the process.
Oh, and it was indeed completed well before Christmas — a day early as a matter of fact. This worked out well, because the grandkids were coming to decorate the Christmas tree the next day. At least now they won’t have to do it in a dimly lit living room.
Happy holidays to everyone, and best wishes for the transition into 2025.
RenoBoss.Inc@outlook.com