
Odd-shaped tile mosaics require straight cuts along the bottom at the countertop, as well as along the top edge that meets the underside of the cabinets.
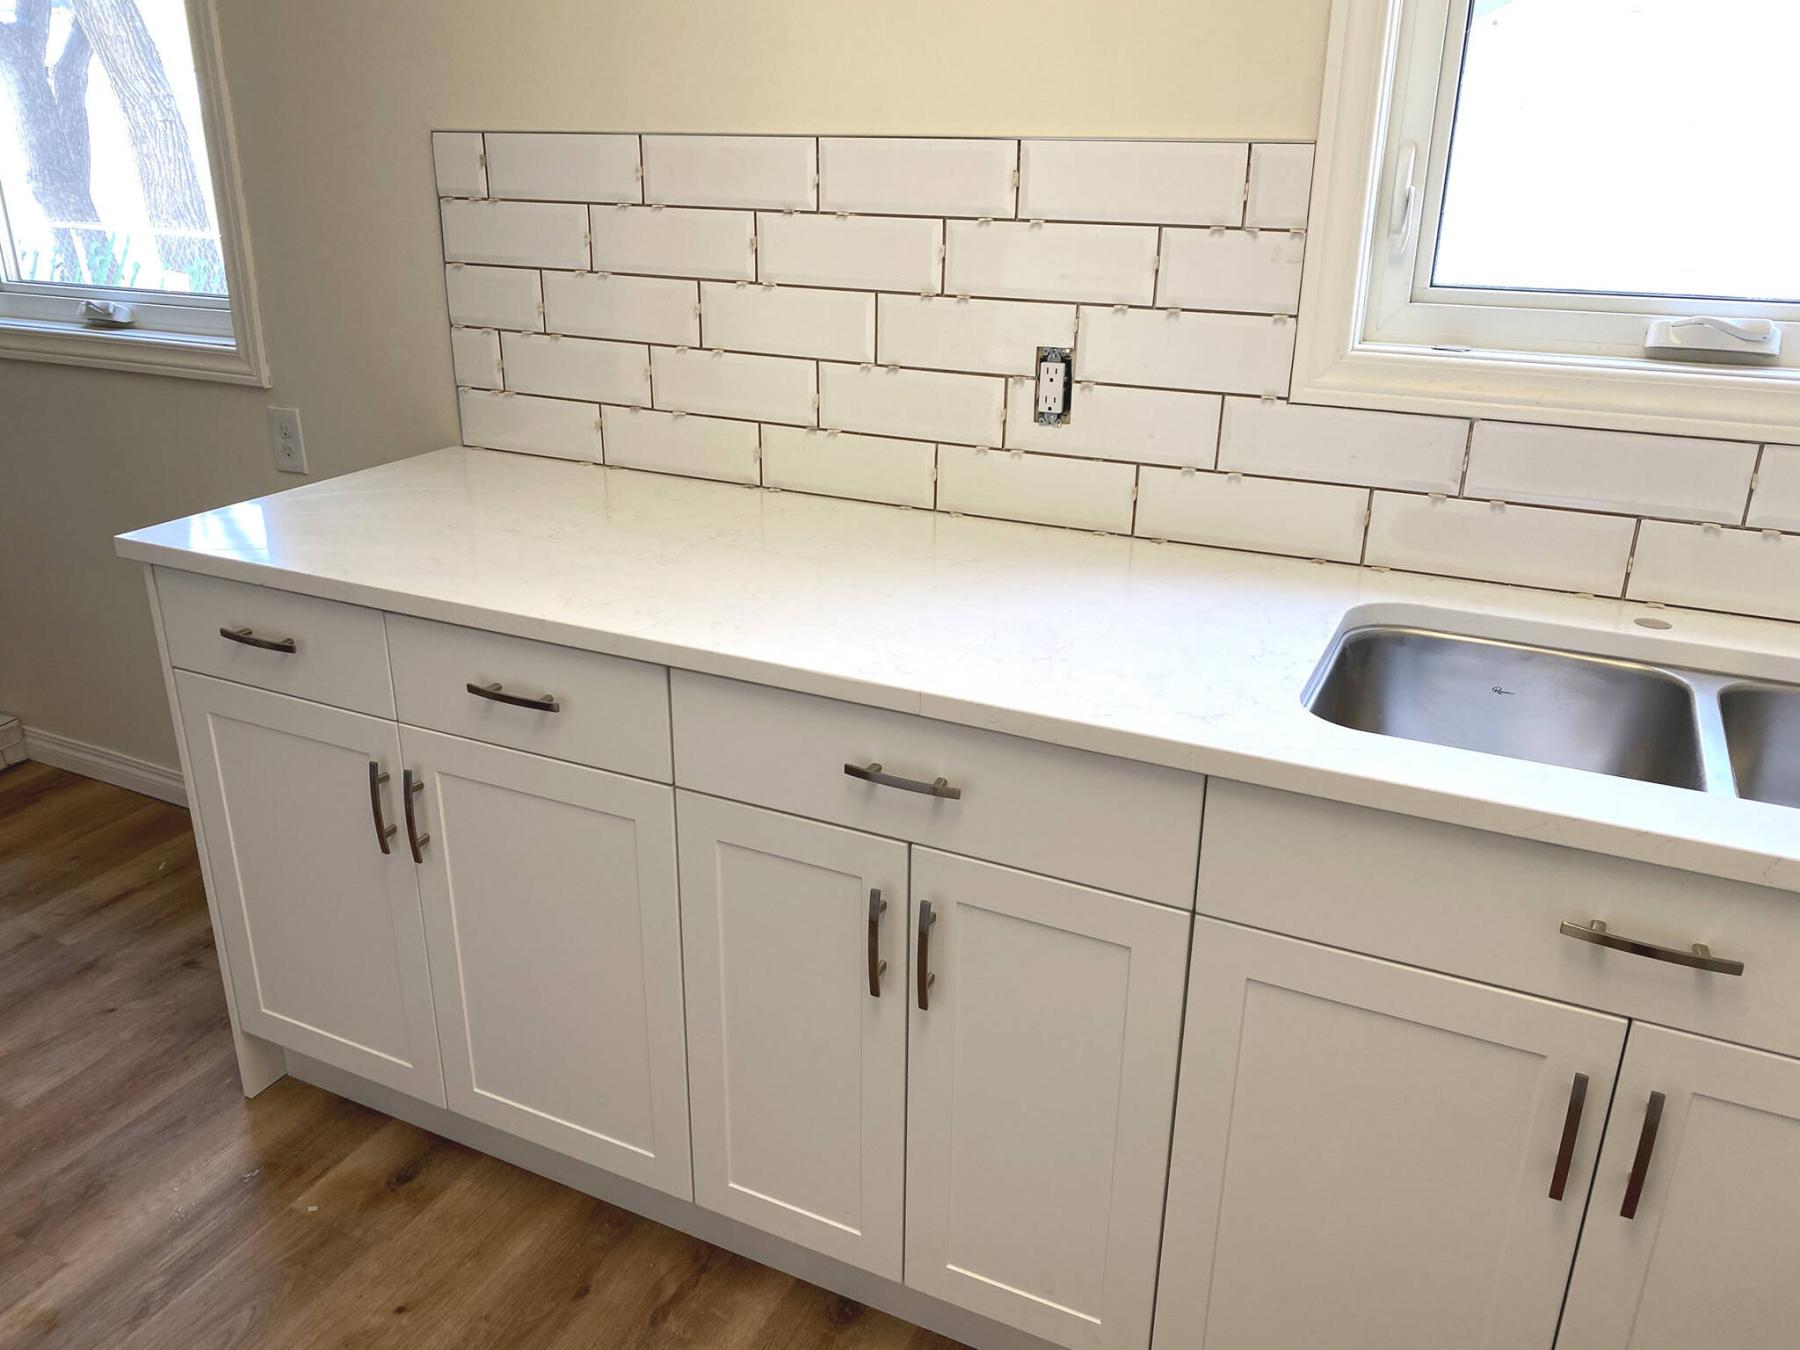
The standard pattern for a kitchen backsplash is the subway-tile style, shown here set on thirds with the temporary spacers as the adhesive sets.
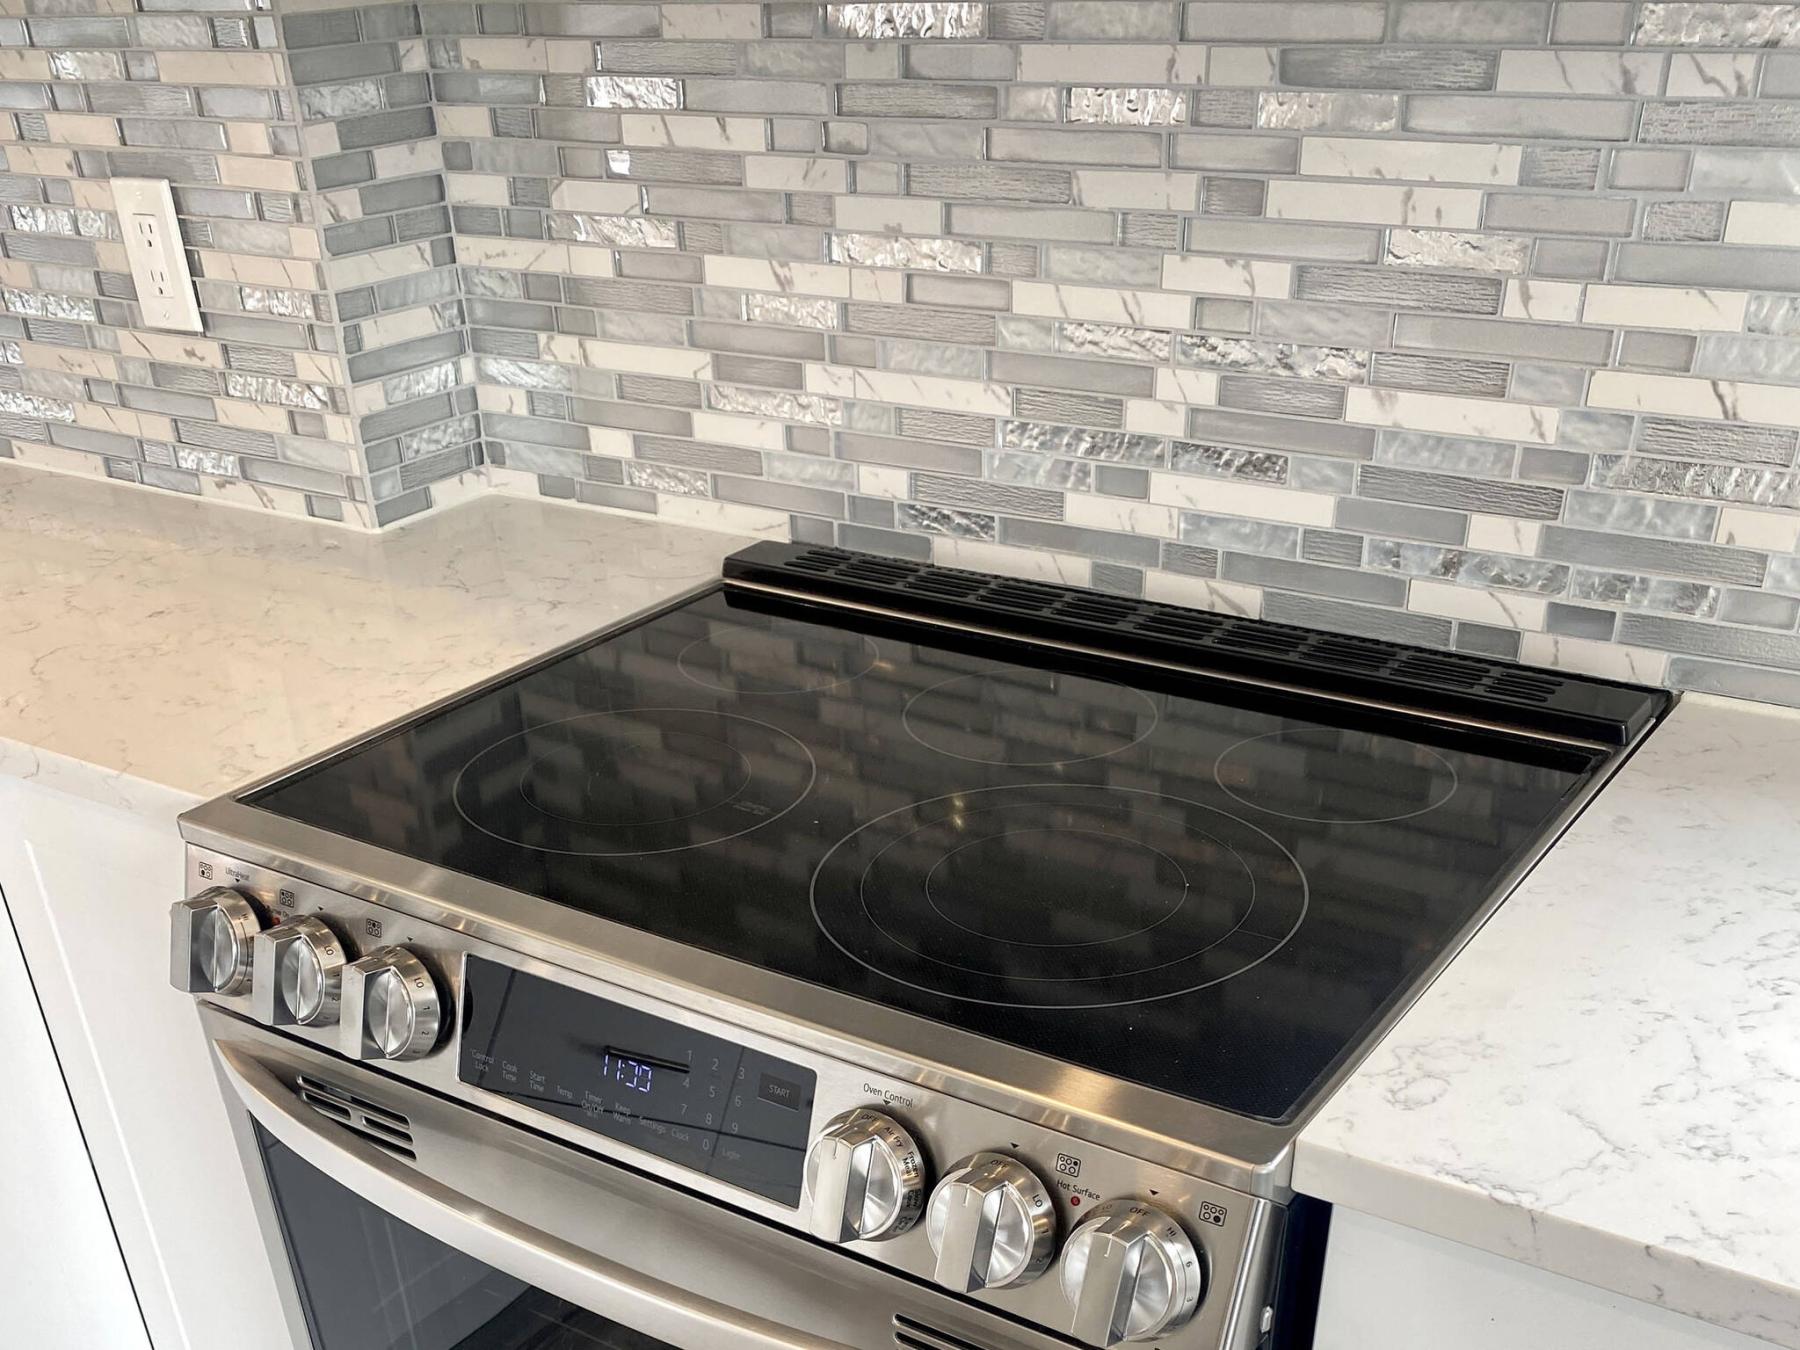
Random mosaic tile sheets are a common choice for today’s kitchen renovations.
As any kitchen project is nearing its final stages, one of the final tasks involves installation of a backsplash along all walls adjacent to countertops.
Careful consideration should be given to the style and colour of backsplash tile, as it serves as the primary focal point bridging the gap between upper cabinets and the countertop surface. As such, the size, shape and orientation of the tile becomes just as vital in complementing other kitchen elements.
Of late, slender, horizontal, random tile mosaics have been very popular. These tile sheets usually come in 12-by-12-inch sheets and easily stack vertically using finger-joint ends, whereby every sheet fits nicely into the next. During application, a very thin amount of adhesive is trowelled along the wall surface before the sheet is mounted.
The flat bottoms and tops of the sheets allow for efficient installation, with minimal cuts required unless allowing for a wall outlet or reaching the end of the backsplash area. Furthermore, because the horizontal rows are so narrow, it’s easy to eliminate the necessary rows to reach the likely 18-inch height to the underside of upper cupboards without having to cut any tiles.
Other mosaics can provide a less lineal look, but may require a considerably higher number of tile cuts. At a recent kitchen remodel, the backsplash tile chosen for the coffee bar location somewhat resembled an intersecting leaf motif, on individual 12-by-12-inch sheets. Unlike the horizontal random mosaics, tile mosaics of this nature require straight cuts along the bottom and top rows to accommodate the flat surfaces of the countertop and underside of the upper cupboards.
Fortunately, in this instance, the height of the gap between the surfaces proves to be a multiple of the individual tile heights, allowing the excess cuts along the bottom to fill the flat tile areas along the top. Even more bizarrely, the width just so happened to be a multiple of an individual tile width, allowing the vertical cuts directly down the centre of the tiles — this was a lucky fluke, reinforcing the desired look upon completion.
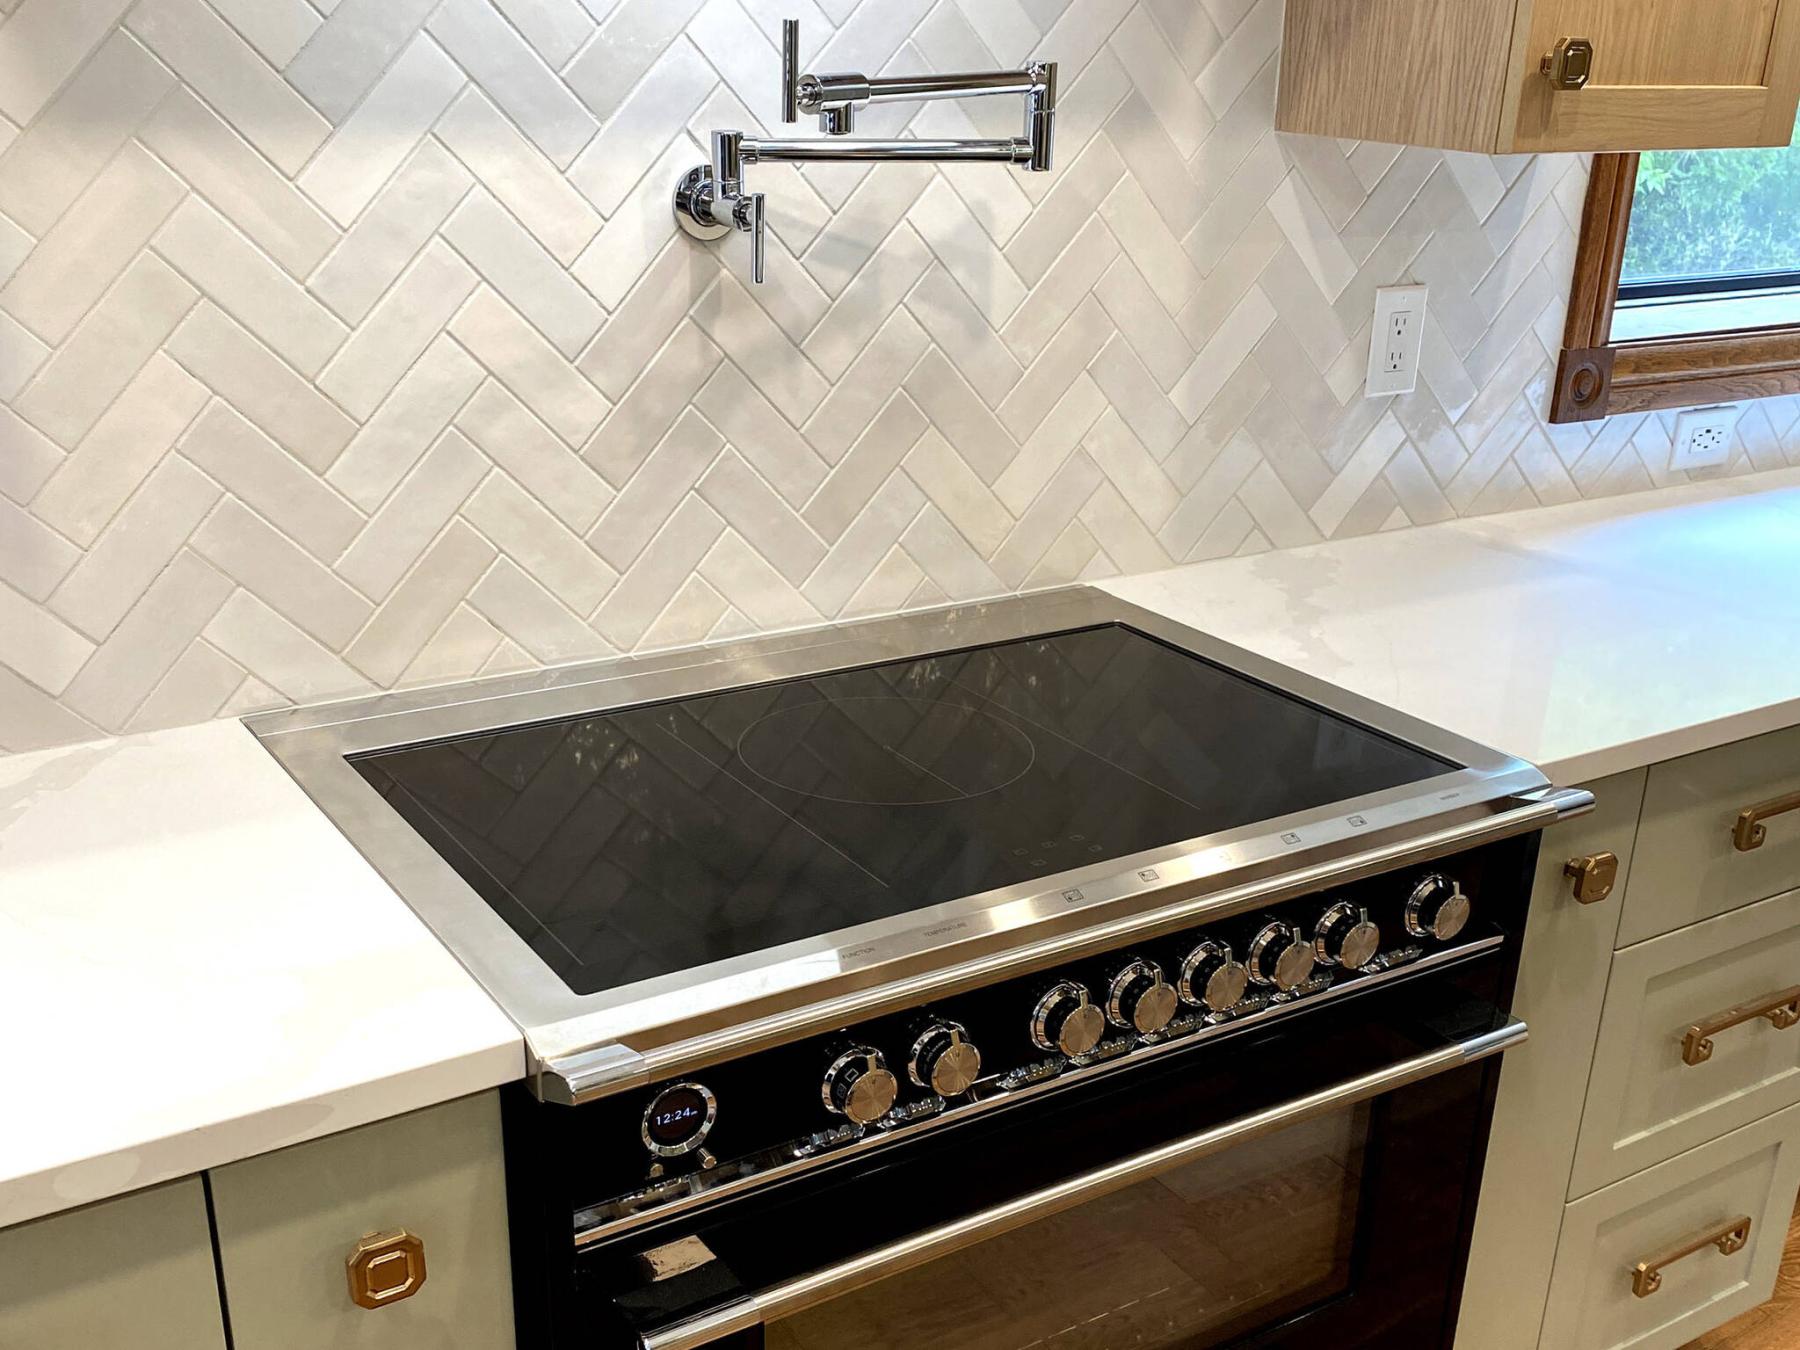
For the same kitchen project, the main backsplash along the perimeter of the entire kitchen consists of four similar-toned light grey and white two-by-six-inch rectangular tiles set in a random tone configuration, along a very disciplined herringbone pattern. And because these tiles were loose in a box, the design was first carefully pre-marked at the starting point centred along the main wall, with close attention given to square the vertical crease of the meeting angle of tiles within the pattern, as this would carry through both spans of the wall.
The bottom edges of the tiles that met the countertop, as well as the underside of the upper cupboards, had to be cut at a 45-degree mitre to meet these surface on the level. And unlike mosaic sheets, individual tiles are kept in place while the adhesive sets using eighth-inch spacers throughout. It is a very time-consuming activity, but it renders beautiful results.
Subway tiling is often the backsplash pattern of choice. Much like the aforementioned process, tiles greater in size than two-by-four inches are often sold individually and require spacers as they are placed onto the wall surface.
Although some homeowners still enjoy the traditional brick-set layout (at half stagger), the updated style is horizontal rows of tiles set on thirds, whereby the seam of every third row is perfectly in line. Again, the start point is crucial in any placement of individual tiles, as the initial set tile pattern carries on along the entire wall.
Although the texture of tile surfaces can vary, it’s important to remember a glossy tile with a smooth surface is always easiest to clean. Tiles with a rough surface, grooves or a faux stone texture will trap unwanted particulate matter, an undesirable occurrence in any kitchen.
No matter what type of tile is chosen, it’s usually the kitchen backsplash that best represents the homeowner’s tastes in home décor and design. Beyond the cabinet fronts, the backsplash is one of the first features of a kitchen that steals the show. And whether bold or reserved, it’s always a good idea to grab a few samples of tile options before the full backsplash installation begins. It is literally one of the last steps before completion, so it’s best not to make a hasty choice that could undermine the project.
RenoBoss.Inc@outlook.com