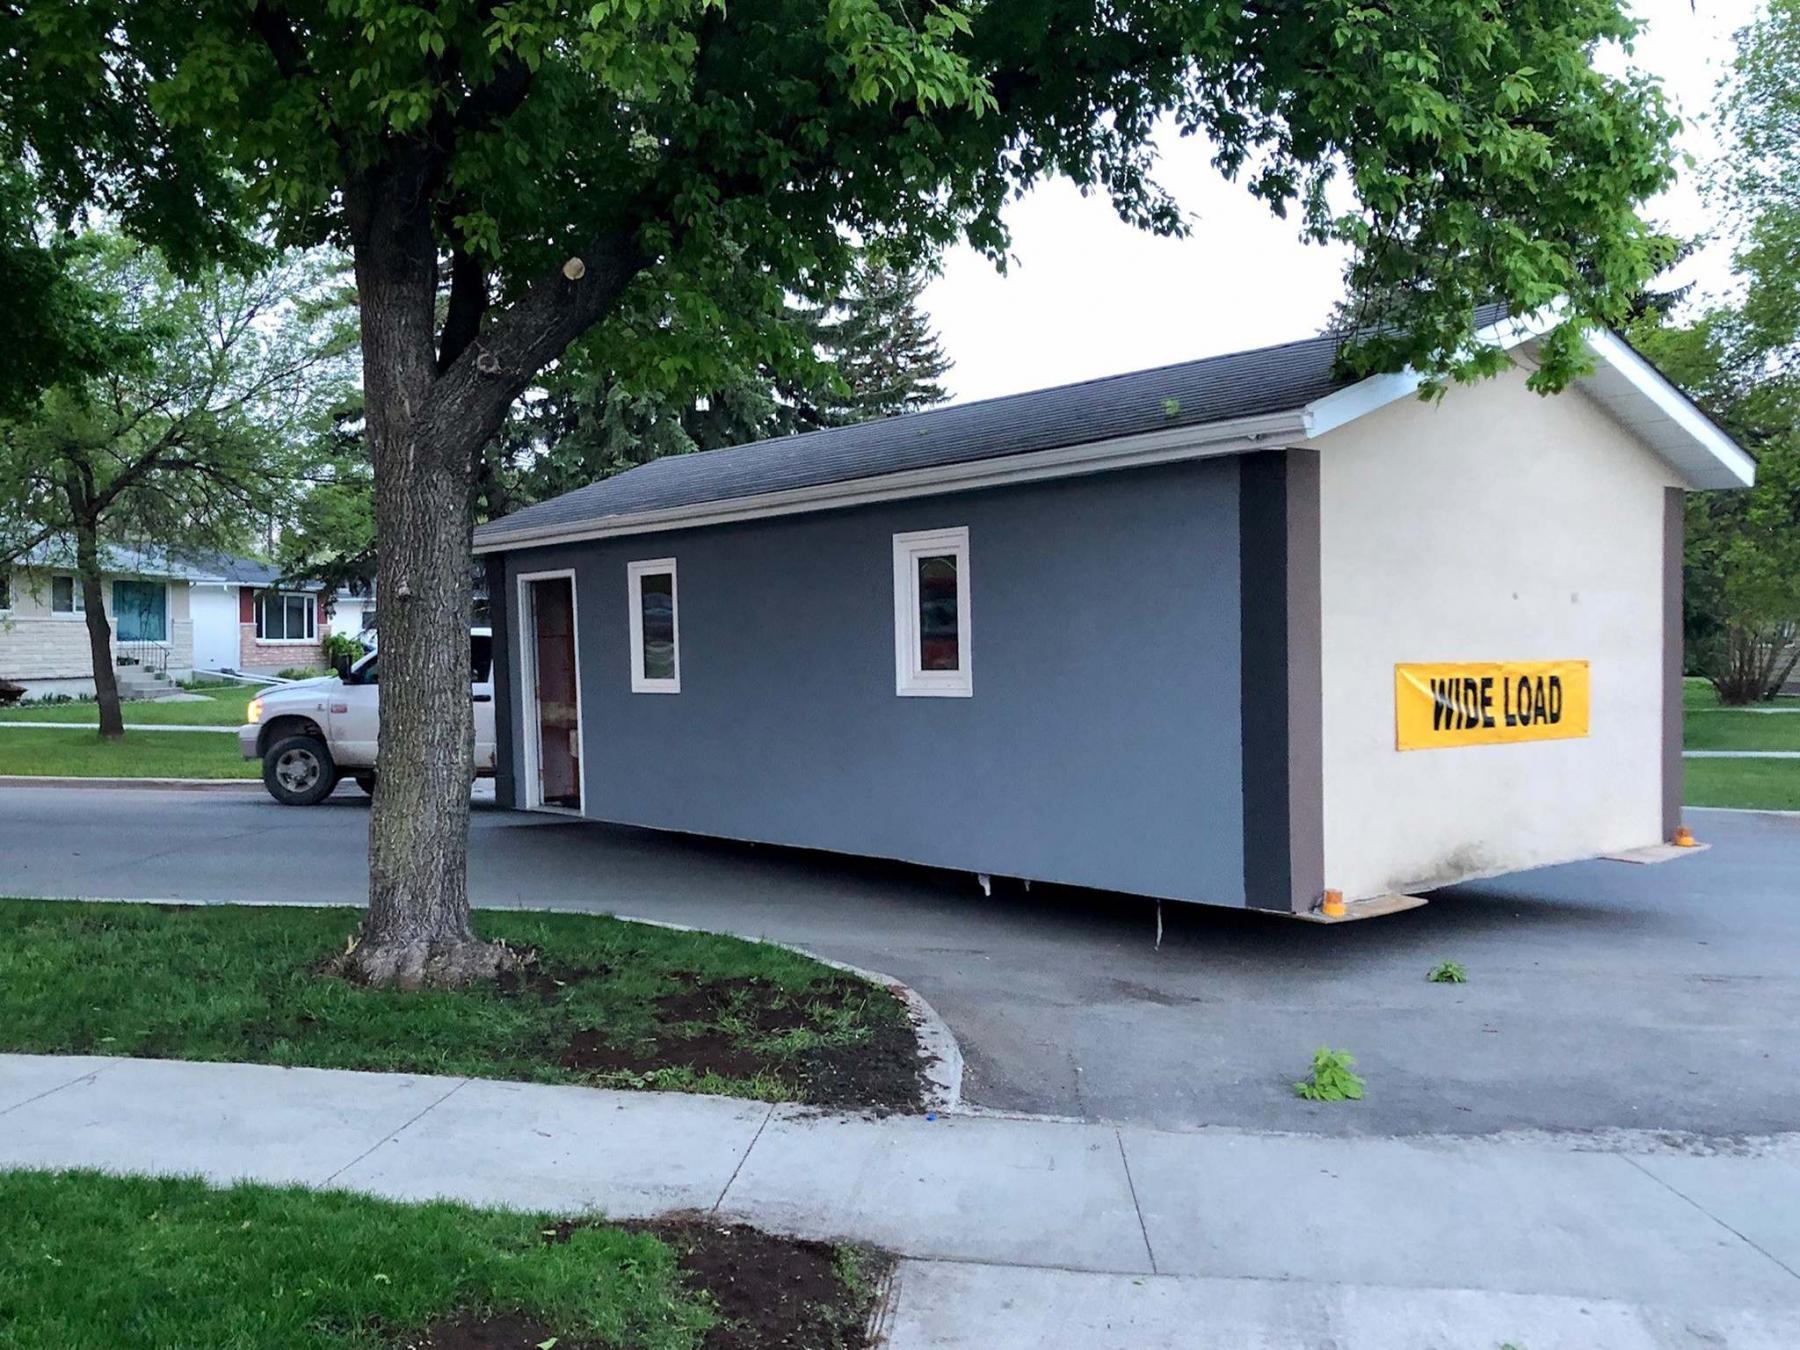
The old single-car garage was sold and moved to make way for the new double.
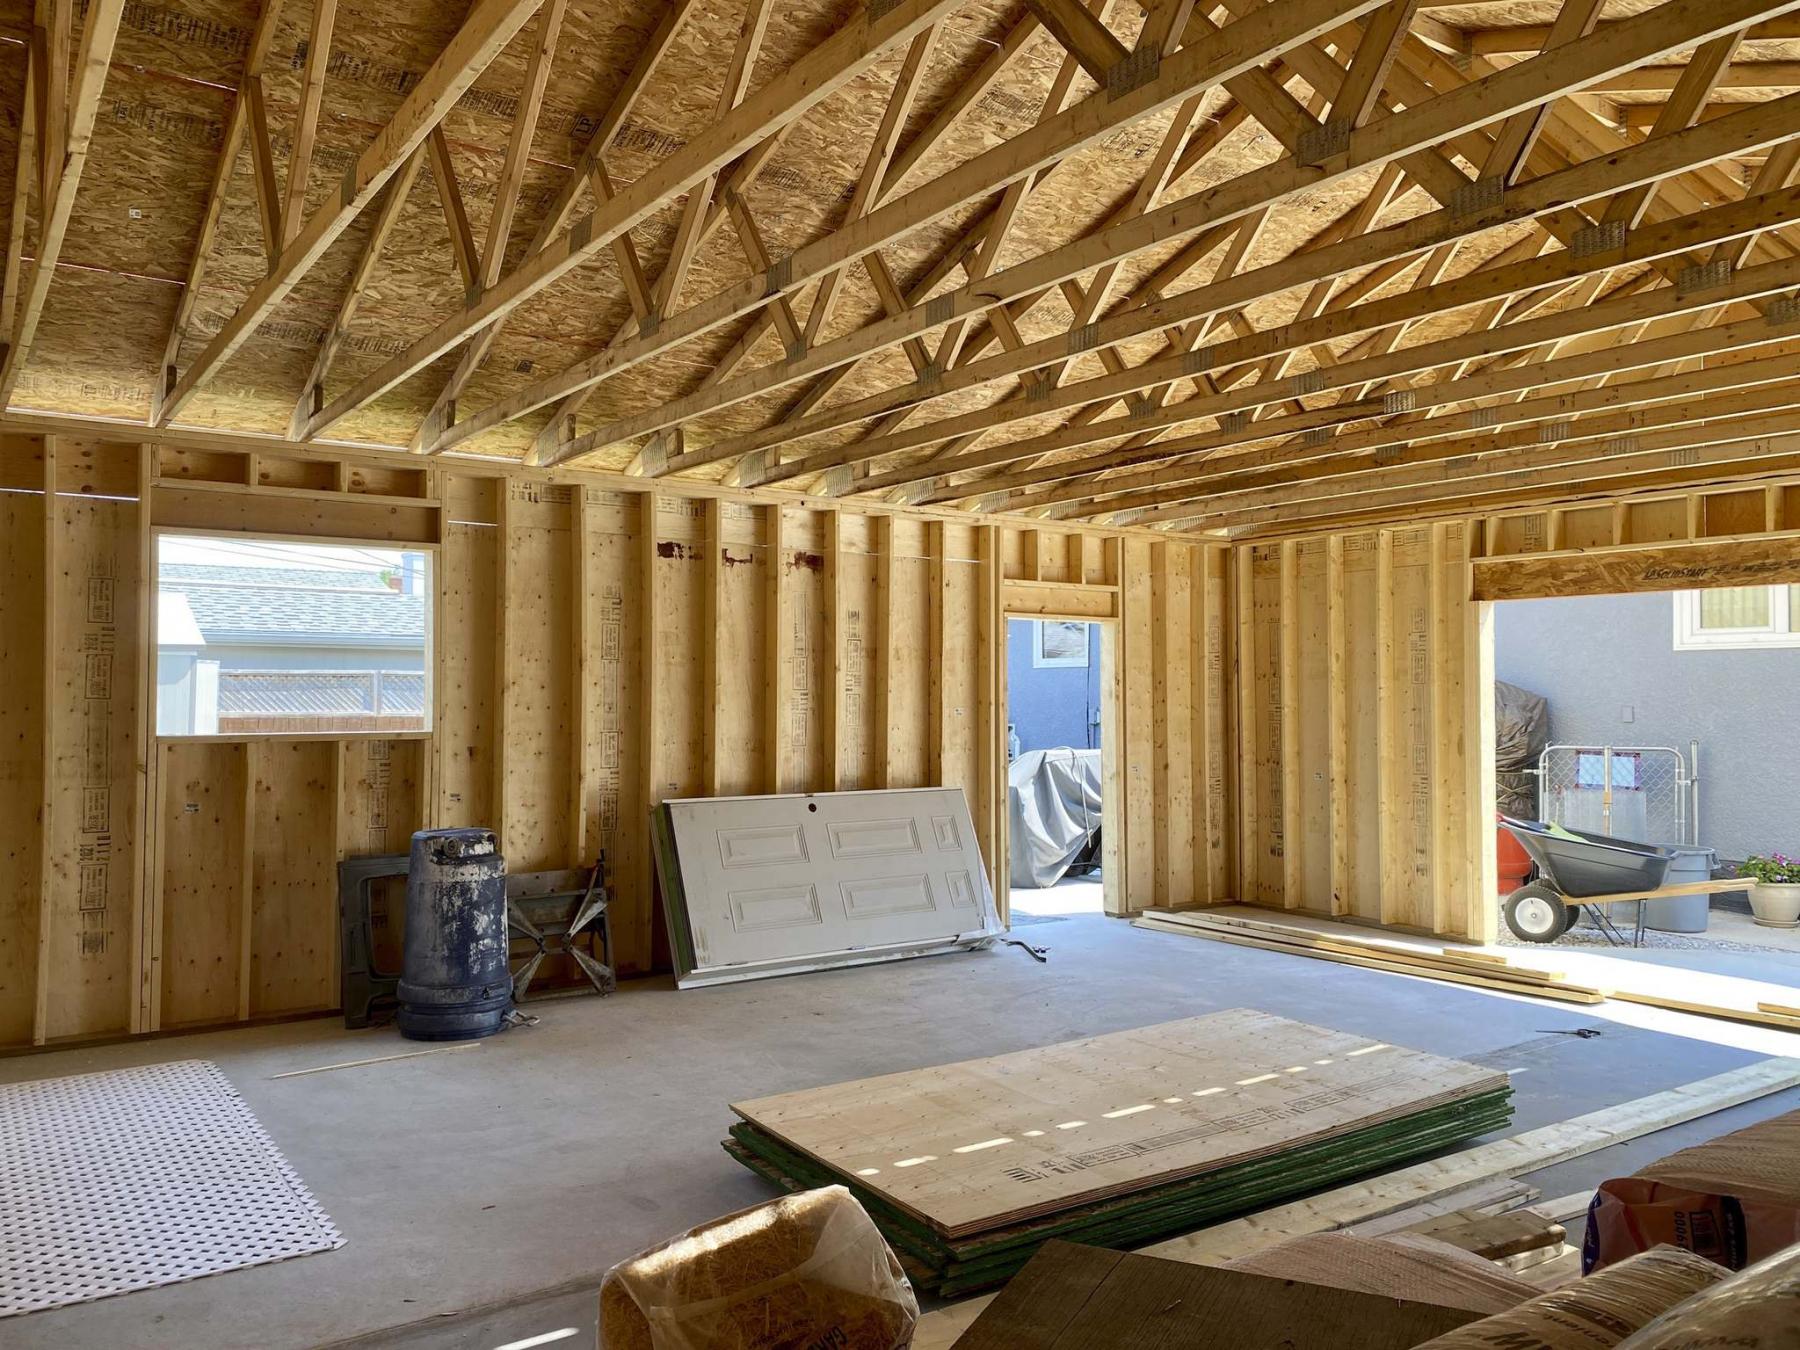
The 2x6 walls were sheeted with plywood to support the 26-foot roof trusses which are sheeted with OSB.
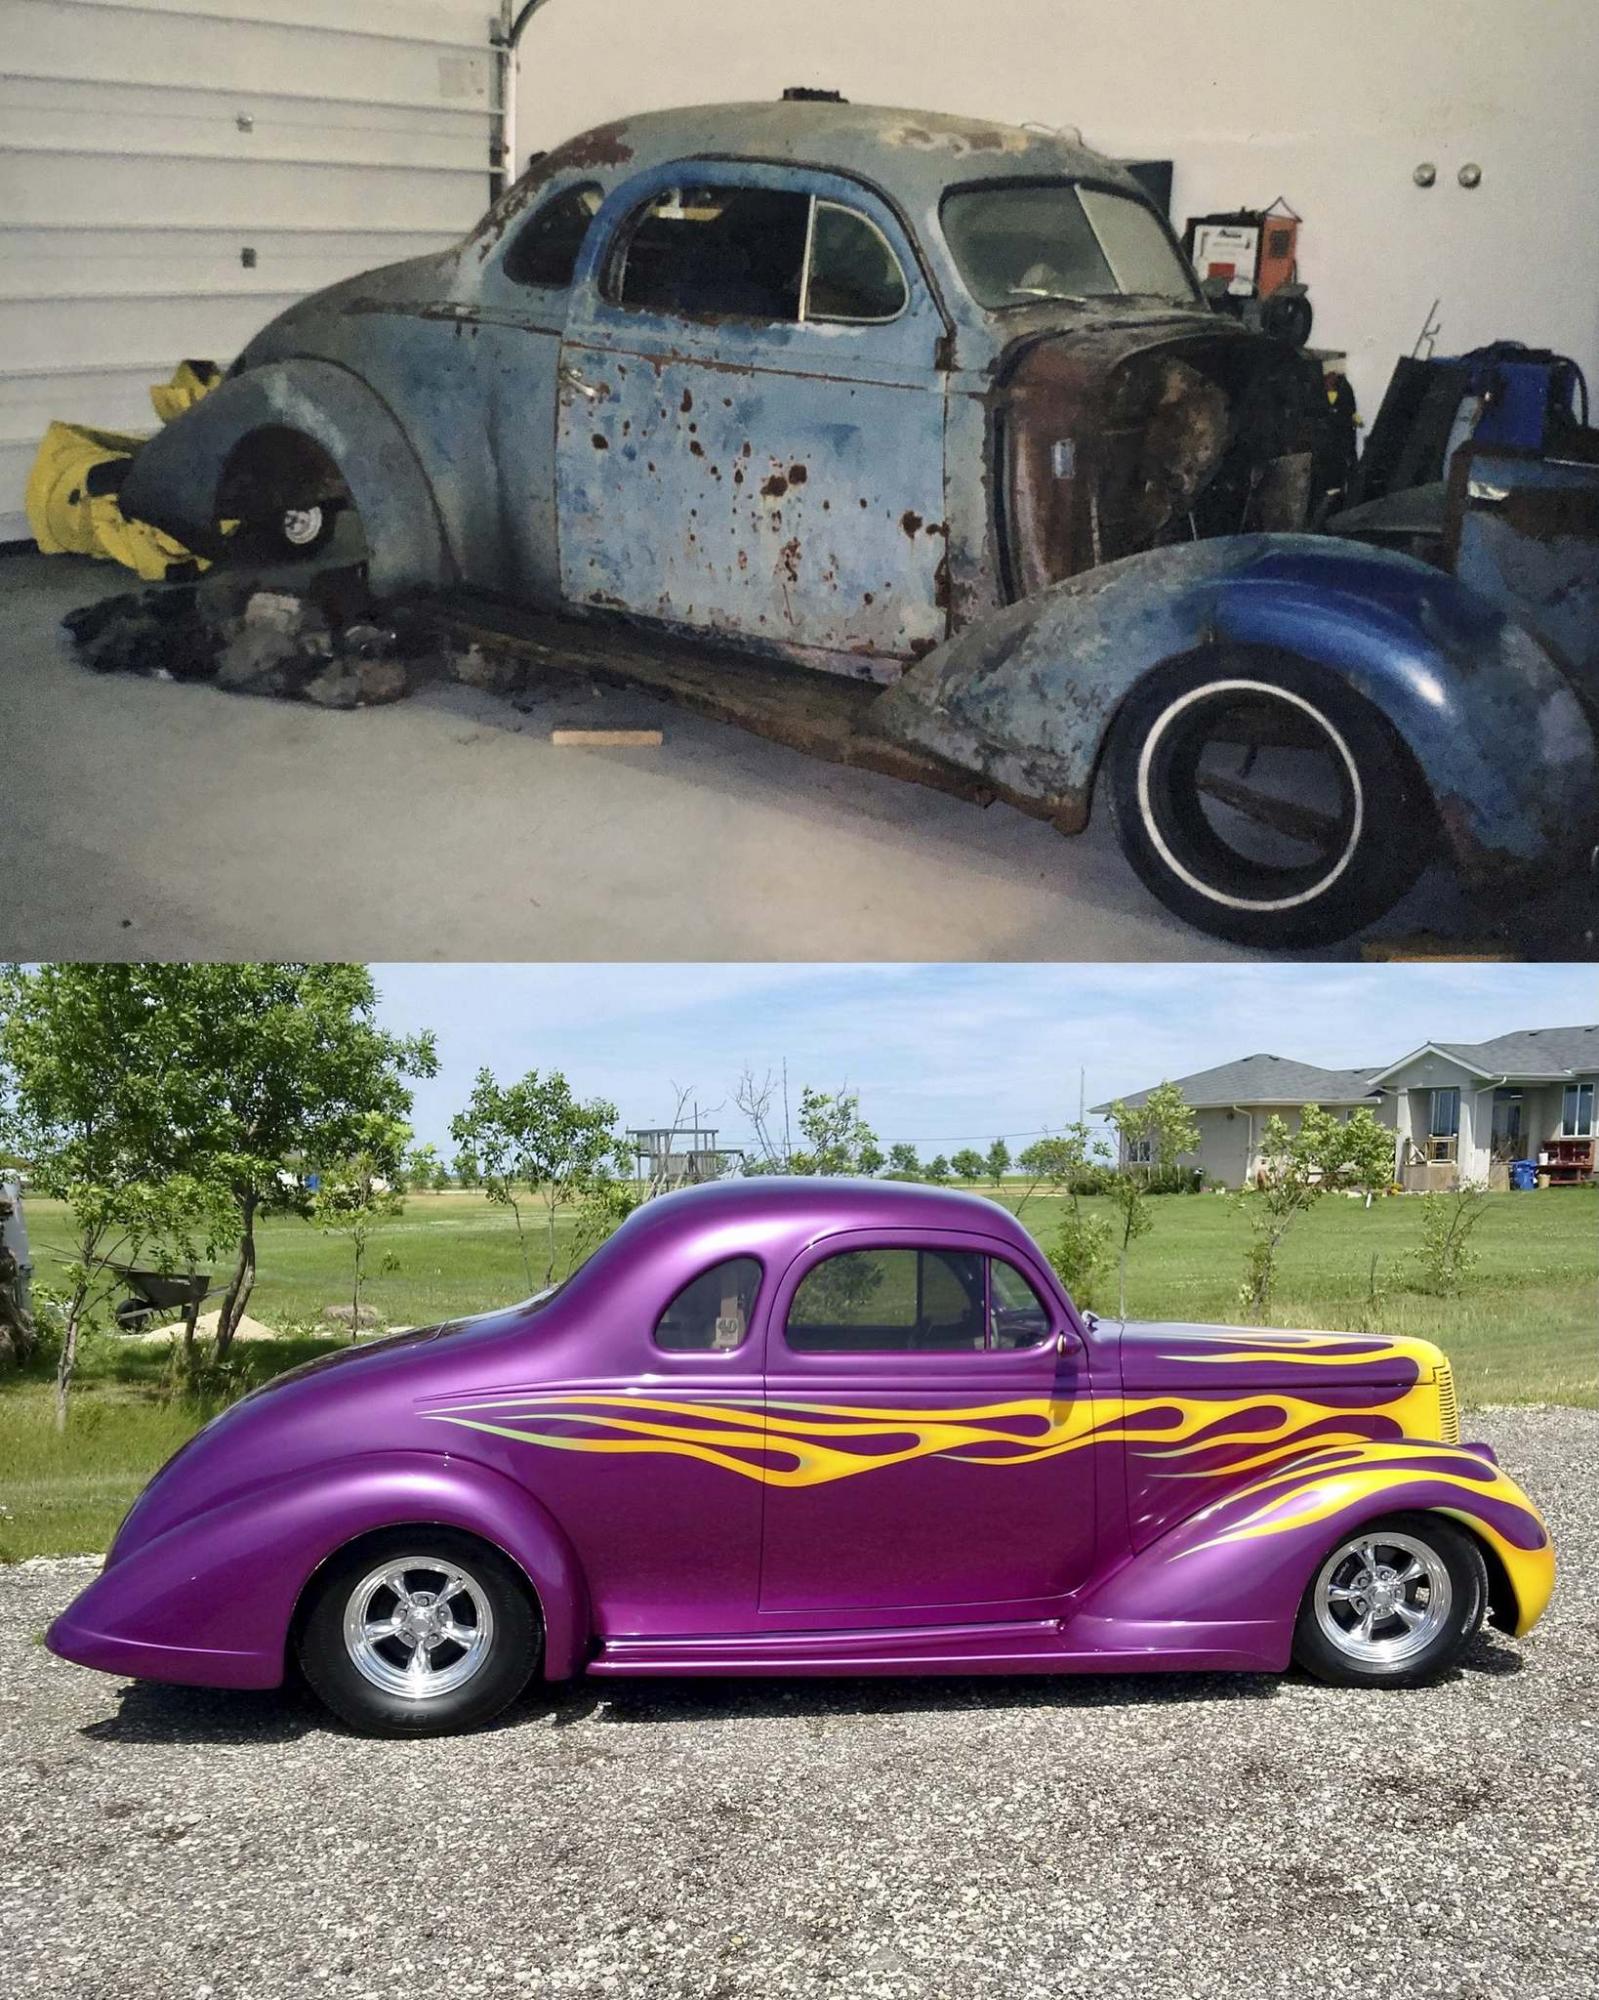
Mick Delisle is a master car builder, here is the 1937 Nash street rod he built.
When homeowner Mick Delisle realized the single-car detached garage at the house he’d just bought did not meet his capacity requirements, the dilemma became whether to add on to the existing garage or build a new double-detached from scratch. With the cost of materials skyrocketing, conventional thinking points to the former. However, after reviewing the steps required, a new double from the ground up was the way to go.
As an avid car restoration guru for countless years, Delisle needs his space for tools, parts, engines, and of course a vehicle or two, all comfortably tucked within the confines of his garage walls. The existing 14-foot-wide by 28-foot-deep single-stalled garage at his new residence did not suit. During our first on-site discussion, it became readily apparent that adding on was not an option. Because the walls of the existing garage were a foot shorter than his desired height of nine feet, an add-on would require removing the roof, heightening the walls of the two walls that could be retained, and building the remainder of the garage to accommodate a second stall, including new trusses. As such, we decided to scrap the old, and build a new double detached from the ground up. "The existing garage at 14-feet-wide was just not large enough to handle two cars plus all the tools etc. that I have," says Delisle. "By going all new, I was able to request a nine-foot ceiling and 2x6 walls — better insulation, better design."
As fate would have it, Delisle was able to sell the old single garage — avoiding having to tear it down and have it hauled away as junk. After removing the electrical, and once the electrical was temporarily disconnected the moving company simply lifted the garage up from the concrete pad and hoisted it onto a hauling trailer. Within a few hours, only the 14-foot by 28-foot pad remained.
Delisle and I determined the 12-foot wide concrete pad extension would be completed before my services began. The concrete was poured the week prior to having the building materials for the garage package including trusses, delivered to the jobsite. The subsequent framing, sheeting, garage wrap, and installation of the steel man-door and 48-inch by 36-inch window fell on my shoulders. And on a sunny Monday, the framing began with Delisle as a willing building participant. The first 2x6 walls at nine feet were erected by end of day, and the remaining two walls on the next. The roof trusses were strategically manoeuvred and fastened into place on day three. By the end of the fourth day, the roof was completely sheeted which prompted the sheeting of the exterior walls on day five.
The following week, as the Tyvek wrap was being installed along the exterior, the good folks at PrairieSky Roofing were called upon to shingle the roof, as well as install the soffits, fascia, and eavestroughs with downspouts where required. Geordie Cruickshank explains how important it is to hand off these tasks to roofing specialists: "I would suggest that there is a lot more to installing a proper roofing system than the average person realizes. It’s not just about nailing shingles down in straight patterns. There are many other factors to ensure a roof is water-tight, allowing it to perform optimally. If not installed properly by a professional roofer, issues pertaining to underlayment, flashings, ventilation, insulation etc. can arise". With over 20 years of experience, Cruickshank and his team of installers provided excellent service, and both the roofing and soffits/fascia/eaves steps were completed as planned, and on time.
With the conclusion of PrairieSky’s participation, my hands-on involvement also came to an end. Delisle has since had the 16-foot by seven-foot overhead door and operator installed by Trapp Doors.
The Hydro was reconnected once the electrical had been run throughout the space.
A 50,000 btu gas unit heater, as well as a 14,500 btu air conditioner have been installed for climate control to meet the winter heating and summer cooling requirements, respectively. And as expected, the final remaining steps Delisle intends to also complete himself; the insulation, vapour barrier, and drywall along the interior, and vinyl siding on the exterior walls. Lucky for me, Delisle is a hands-on guy — his energy and positive attitude inspired me throughout the build. And there is no doubt this build remained on schedule because of his daily physical input. Soon enough, this larger space will be filled with (and no longer cluttered by) Delisle’s many tools, parts, engines and no doubt a car or two, ready for the restoration process to recommence after a short repos.
It seemed plausible on its face, to simply add to the existing single detached garage. Had the gables not been set atop the wall that need to be extended, "adding on" may have been the better solution. However, once it was established that the walls should also be higher, the number of changes outweighed the straight-forward approach of building anew. All things considered, once the old garage stall was hauled away and the additional concrete was poured, the garage was up, and totally weather-proofed within two weeks. Based on Delisle’s progress on his garage’s interior since my involvement, it’s probable the next car restoration project is already underway. All the best to you my friend!
RenoBoss.Inc@outlook.com