Marc LaBossiere photos / Free Press
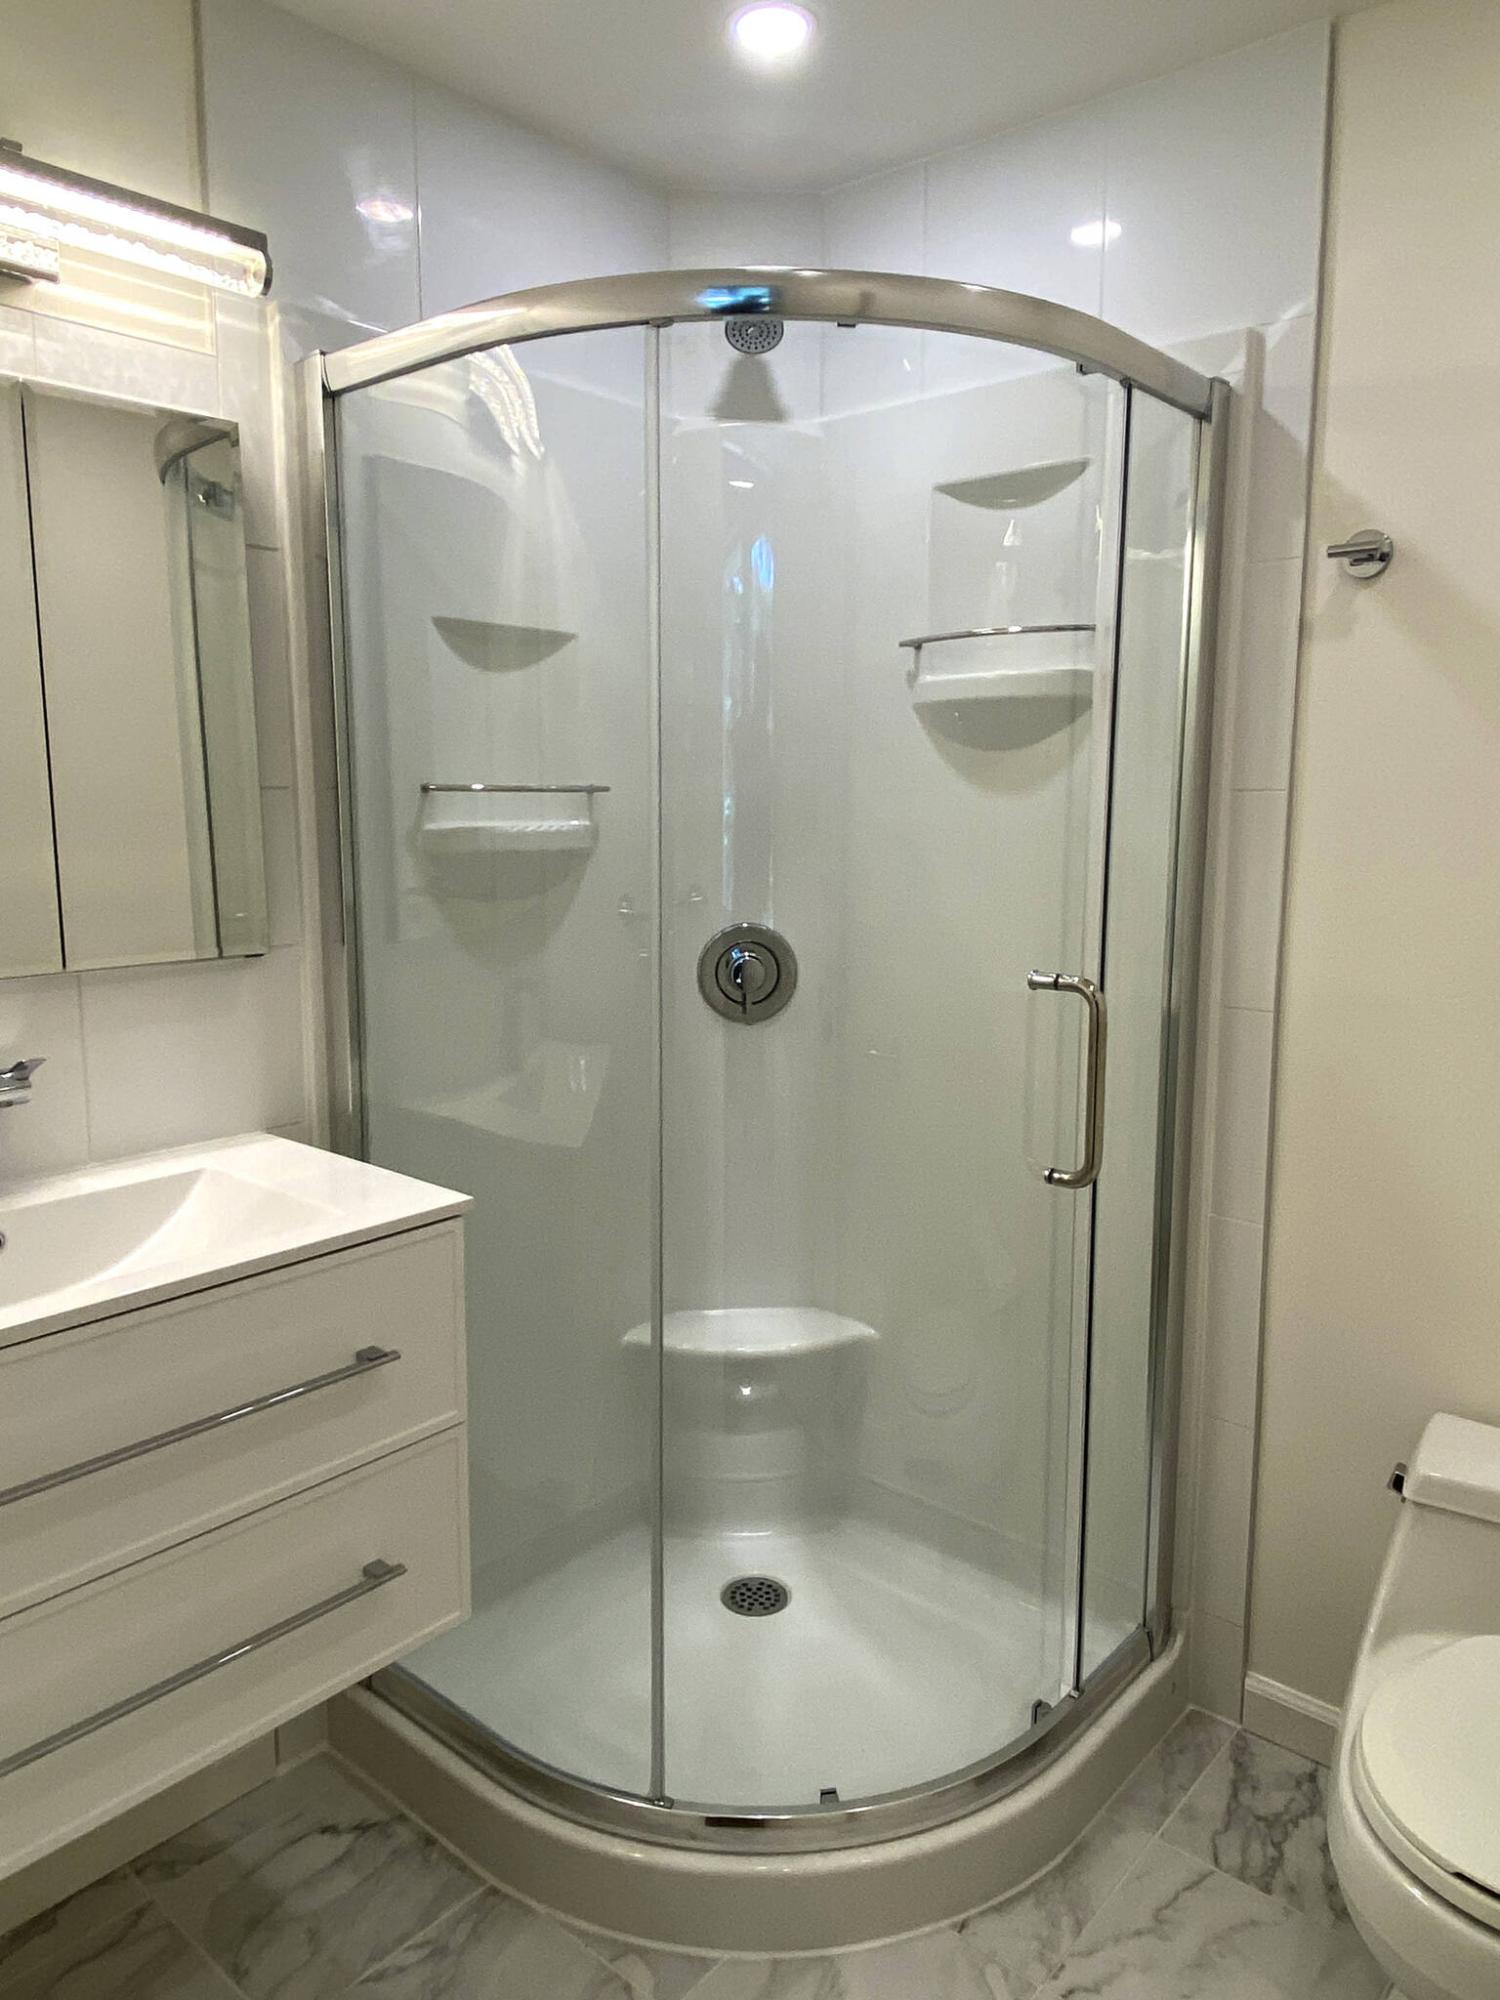
The prefab fibreglass shower stall required a custom tiled back wall to get the shower head at the proper height.
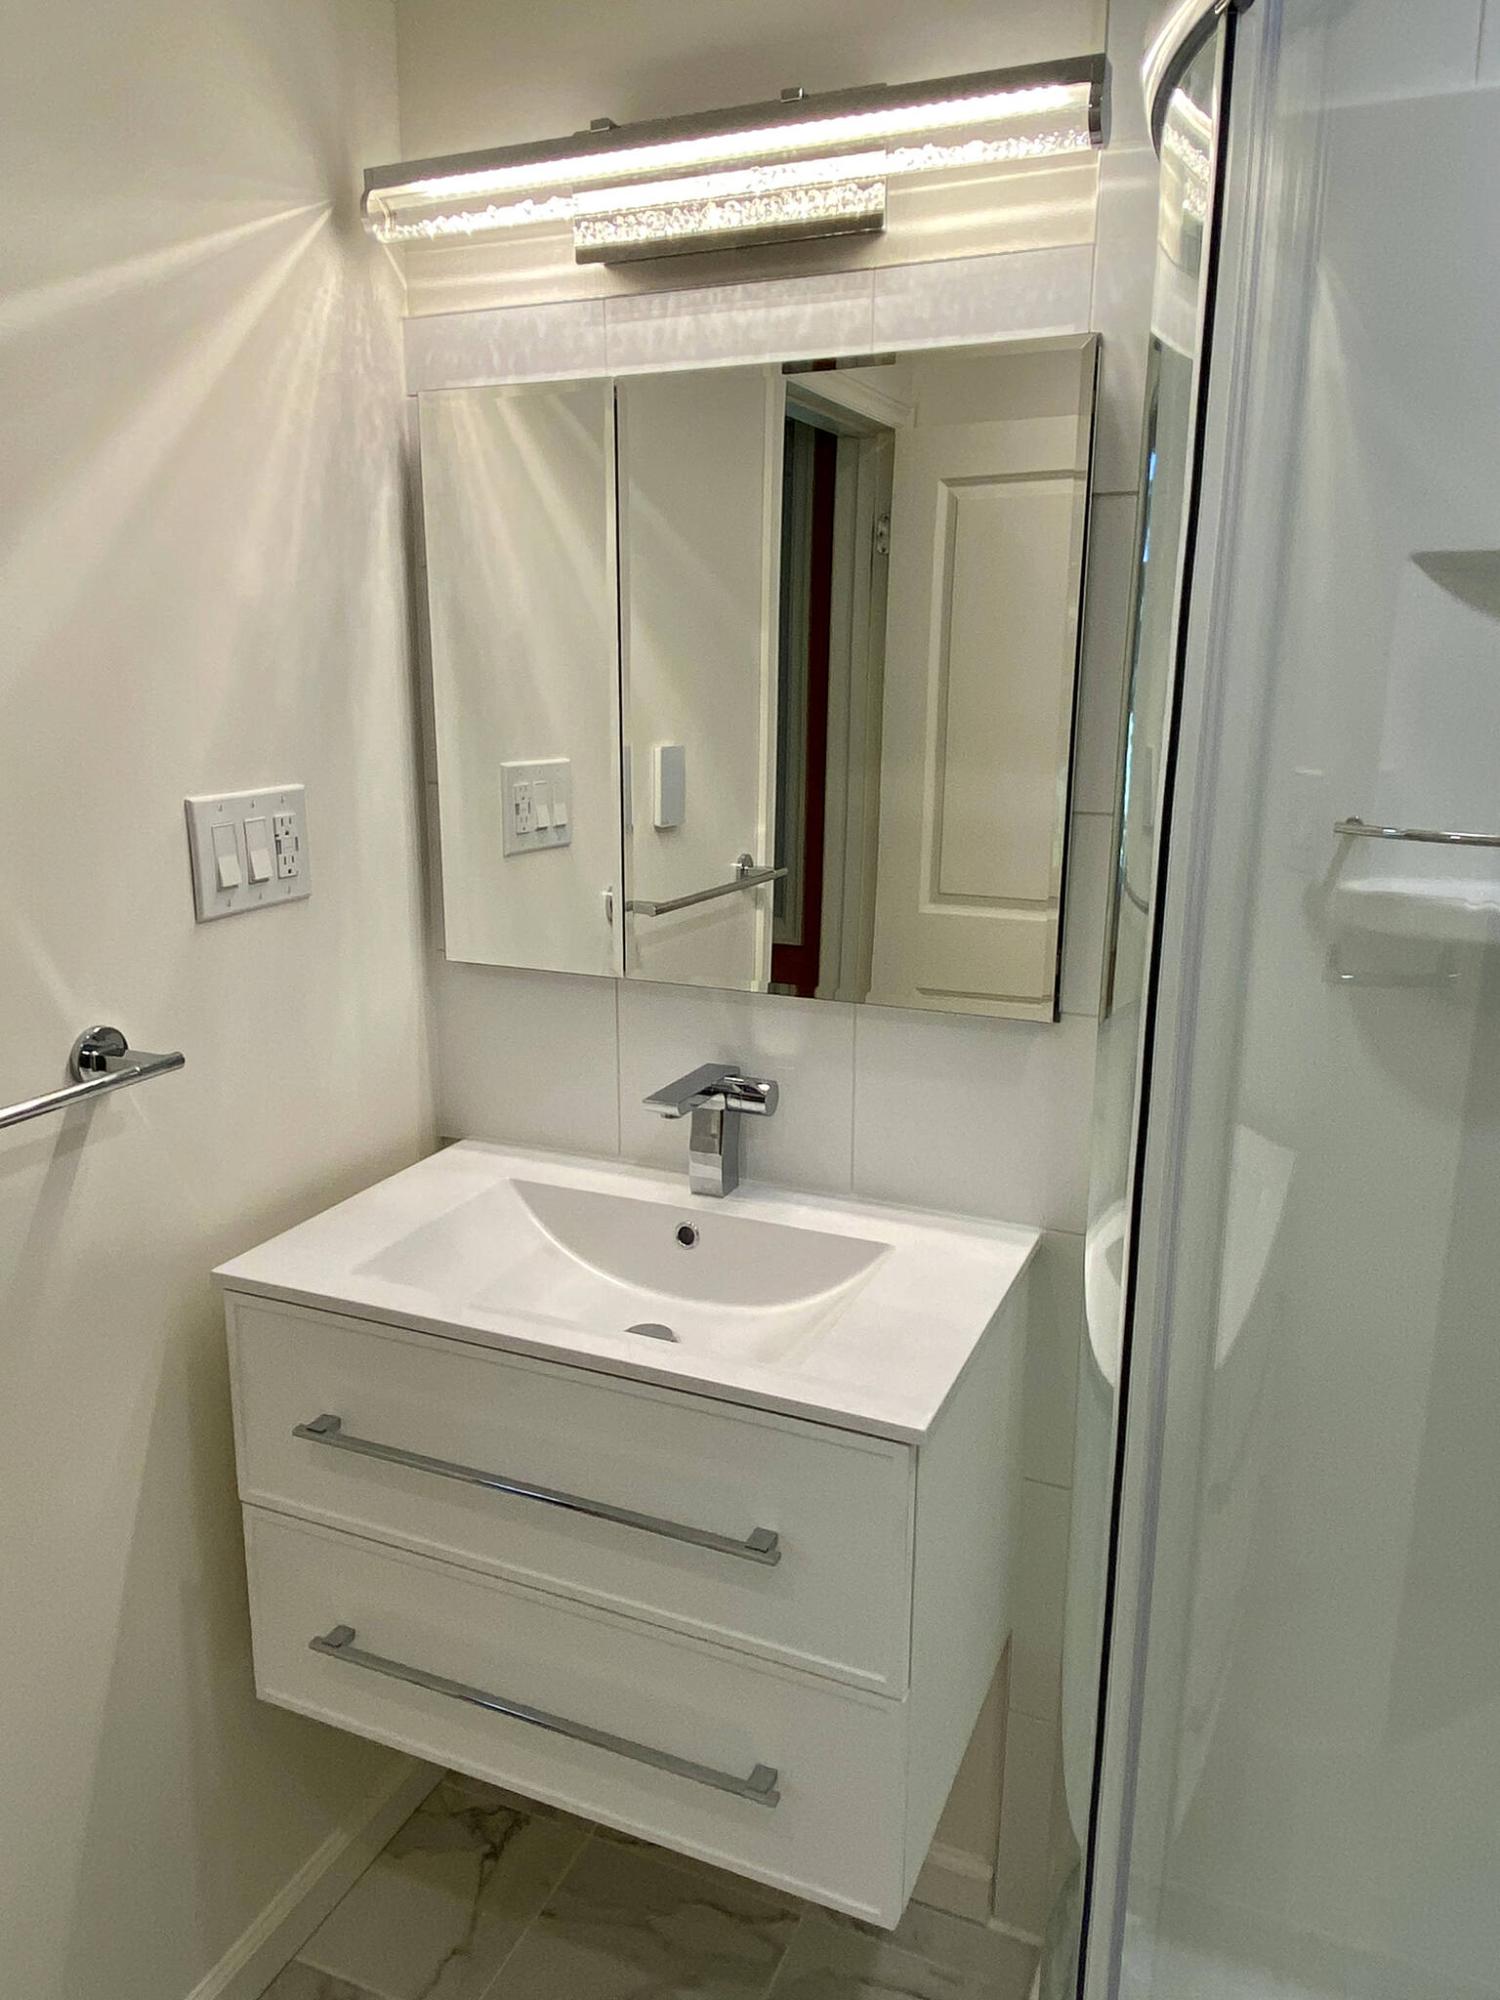
The wall-mount vanity required near exact rough plumbing placement to ensure the water feeds and drain trap remain concealed within the cabinet.
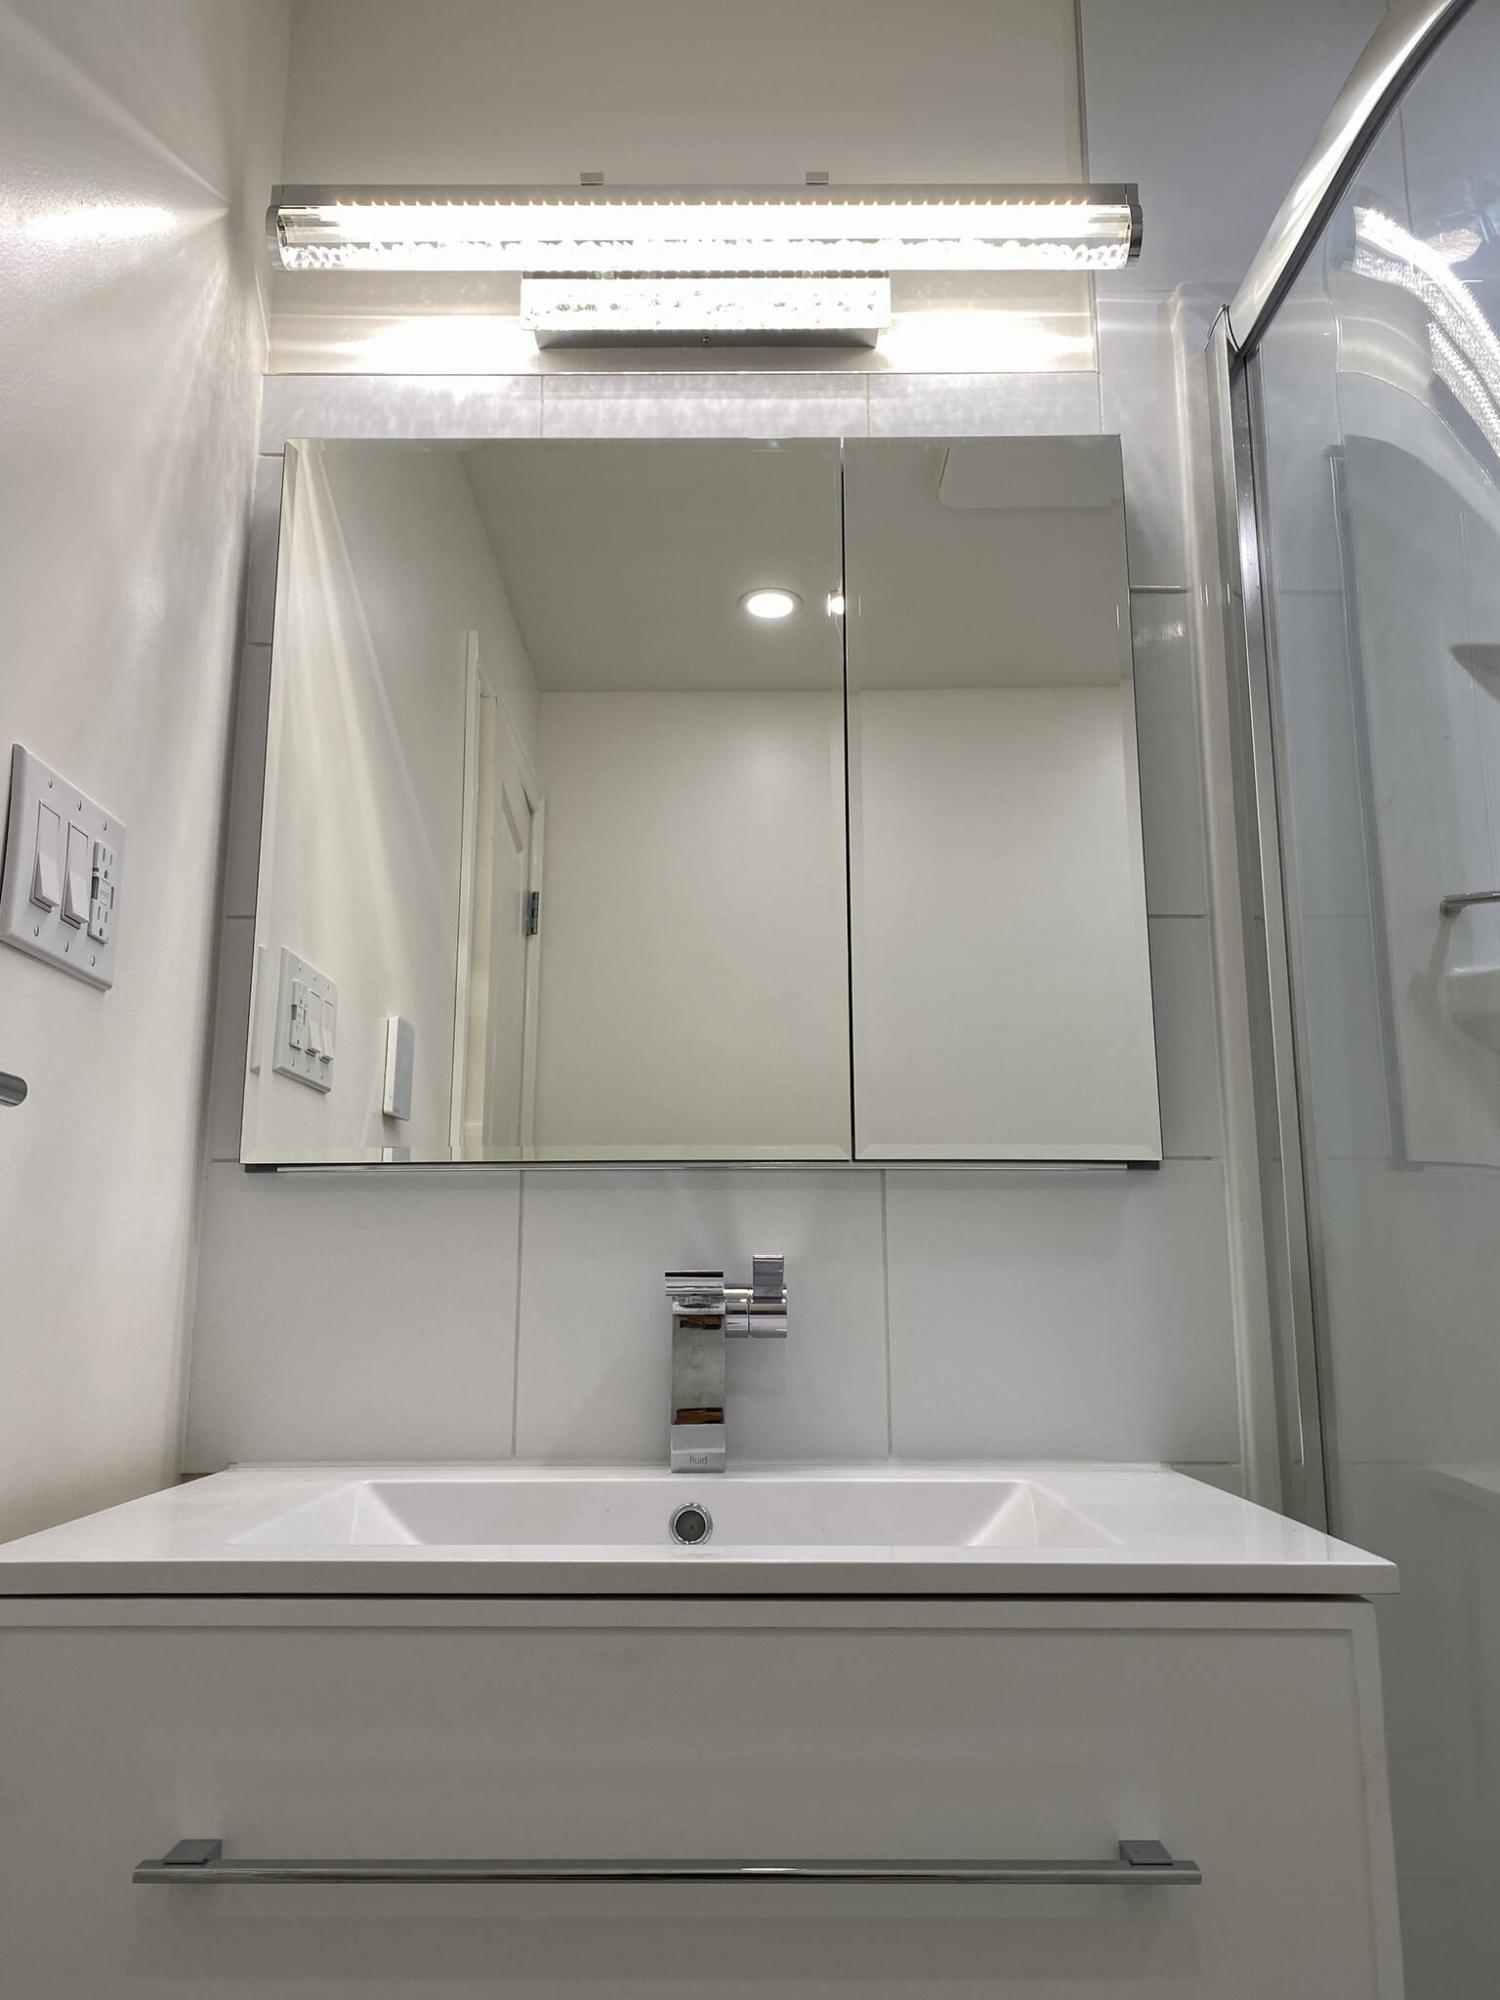
The inset medicine cabinet required the re-routing of several electrical circuits.
This bathroom project turned out amazingly well. However, its journey to completion was far from straightforward.
The homeowner had intended to tackle this renovation himself. But during a fencing project on his property, he asked if I could take a look at his ensuite, where the work had halted nearly seven years prior. It was apparent the seemingly “easy” upgrade presented several obstacles, some of which had not yet come into full focus.
After presenting an estimate on the project, my involvement began midway through the demolition process, which continued until most of the walls were bare and the existing sub-floor was removed.
Initial hurdles included blatant issues — the main venting stack, for example, was within the room, having been concealed inside the old shower stall wall (which no longer exists), and the water and drain feeds for a new wall-mount vanity had yet to be properly routed.
The first task involved embedding the stack vent within an existing wall. That was accomplished with a few cleverly placed fittings that meant the vent stack would be hidden once new drywall was added. The vanity water feeds and ABS drain rough plumbing was slightly more complicated, because it involved routing these elements to the back wall and avoiding any breach to the structural framing. Moreover, the termination points of the feeds and drain needed to be within a quarter inch of tolerance to fit within the inner cavity of the wall-mount vanity. That entailed making accurate measurements that also incorporated the finished elevation of the flooring, after back-measuring the heights of the heated floor leveller and the subsequent tiling.
Once the vanity feeds were addressed, the feeds to the shower stall were tackled. Because the position of the drain on the new prefab shower base did not line up with the old rough plumbing, the ABS had to be repositioned.
While I was at it, the toilet flange also had to be replaced — the old one having broken into pieces while the toilet was being temporarily removed during the reno. The water feeds for the shower valve were also routed to the appropriate location. However, the new, prefab fibreglass shower stall was too short to mount the shower head at an appropriate height (unless the homeowner was willing to crouch during every use). As a result, the head had to be mounted above the 45-degree back side of the stall, which meant the sides and top of the stall had to be tiled.
More obstacles revealed themselves when it came time to position the inset medicine cabinet, since electrical wiring ran horizontally within the area and would need to be re-routed. Fortunately, there was enough play in the wire to move the leads to the vanity light junction box, and the medicine cabinet was placed roughly 10 inches above the vanity sink top. Then the circuits for the three instances of lighting and the heated floor thermostat were introduced and tested.
Most of the sub-floor had been removed to provide access during the rough plumbing stage. Because it had consisted of 1 x 6 planks set at a 45- degree angle to the joist below, the open area was closed in using three-quarter inch plywood for better rigidity before installing the heated floor coil and leveller prior to tiling.
Unfortunately, the old planks at the entry continued to the next joist, which sits just below the hardwood floor in the bedroom. As such, the planks could not be cut away, leaving roughly eight inches of old subfloor which would not provide the same rigidity as the plywood in the main area. So, steps had to be taken to seal the seams between the planks before the leveller was poured.
The ceiling was the final obstacle. Once the homeowner had removed the old framed-in shower stall, there was a gaping hole in the ceiling. Rather than trying to patch it, I elected to strap the entire ceiling. It not only provides better results after taping and mudding, but the strapping made it easier to install a new ceiling exhaust fan centred within the space, as well as the two LED slim pot lights to serve as the main bathroom lighting on a dimmer. The first step was to ensure the ceiling was properly re-insulated with sealed vapour barrier before the drywall was installed.
There were other challenges, too. For one, the recycled sink faucet came with odd-sized fittings at the end of attached mesh hot and cold hoses. Wouldn’t you know it, the rubber washer had gone missing from one of the fittings. After trying a few replacement washers, the fitting finally stopped leaking.
In spite of the hurdles, the completed bathroom is a wonderful space.
A new corner shower stall fits precisely adjacent to the wall-mount vanity, which showcases the medicine cabinet. The use of white paint, tiles and vanity throughout definitely brightens the space, and the three kinds of lighting provide versatility and control. The exhaust fan is quiet yet powerful, and the heated flooring will ensure the space is comfortable throughout the year.
There’s no doubt in my mind that if the homeowner had pursued this project on his own, he would have endured many frustrating days.
I’ve had a couple of decades renovating bathrooms, and this one still kept me up at night. It won’t soon be forgotten.
RenoBoss.Inc@outlook.com