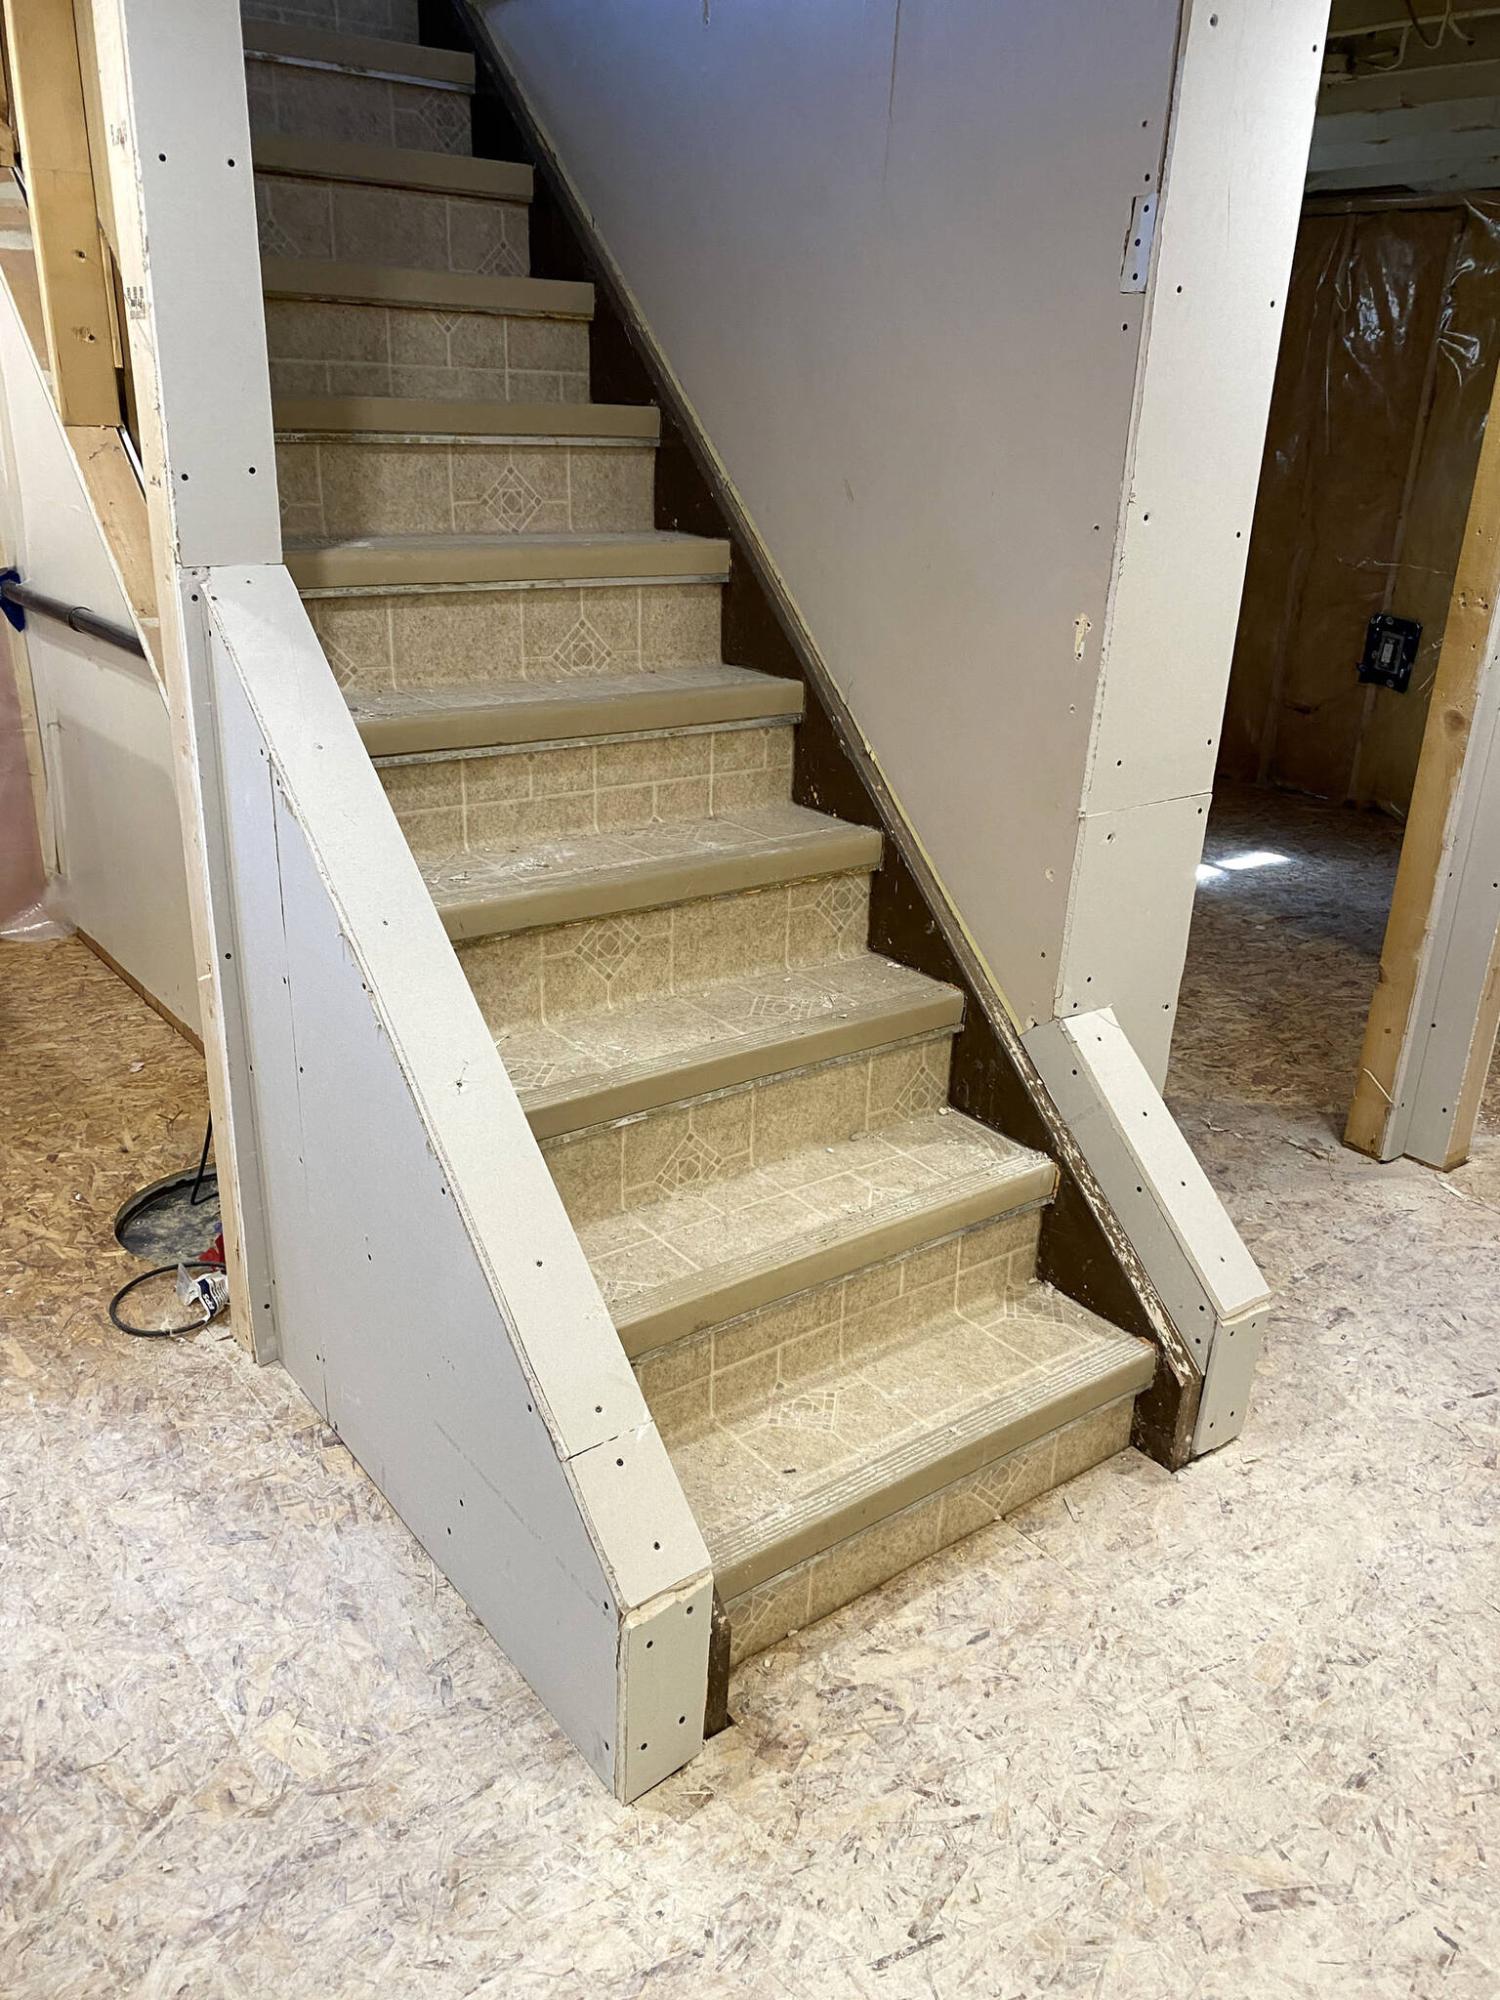
MARC LABOSSIERE / FREE PRESS
The decorative stringers are offset to better cater to the floor plan of the rec-room, and laundry entrance.
MARC LABOSSIERE / FREE PRESS
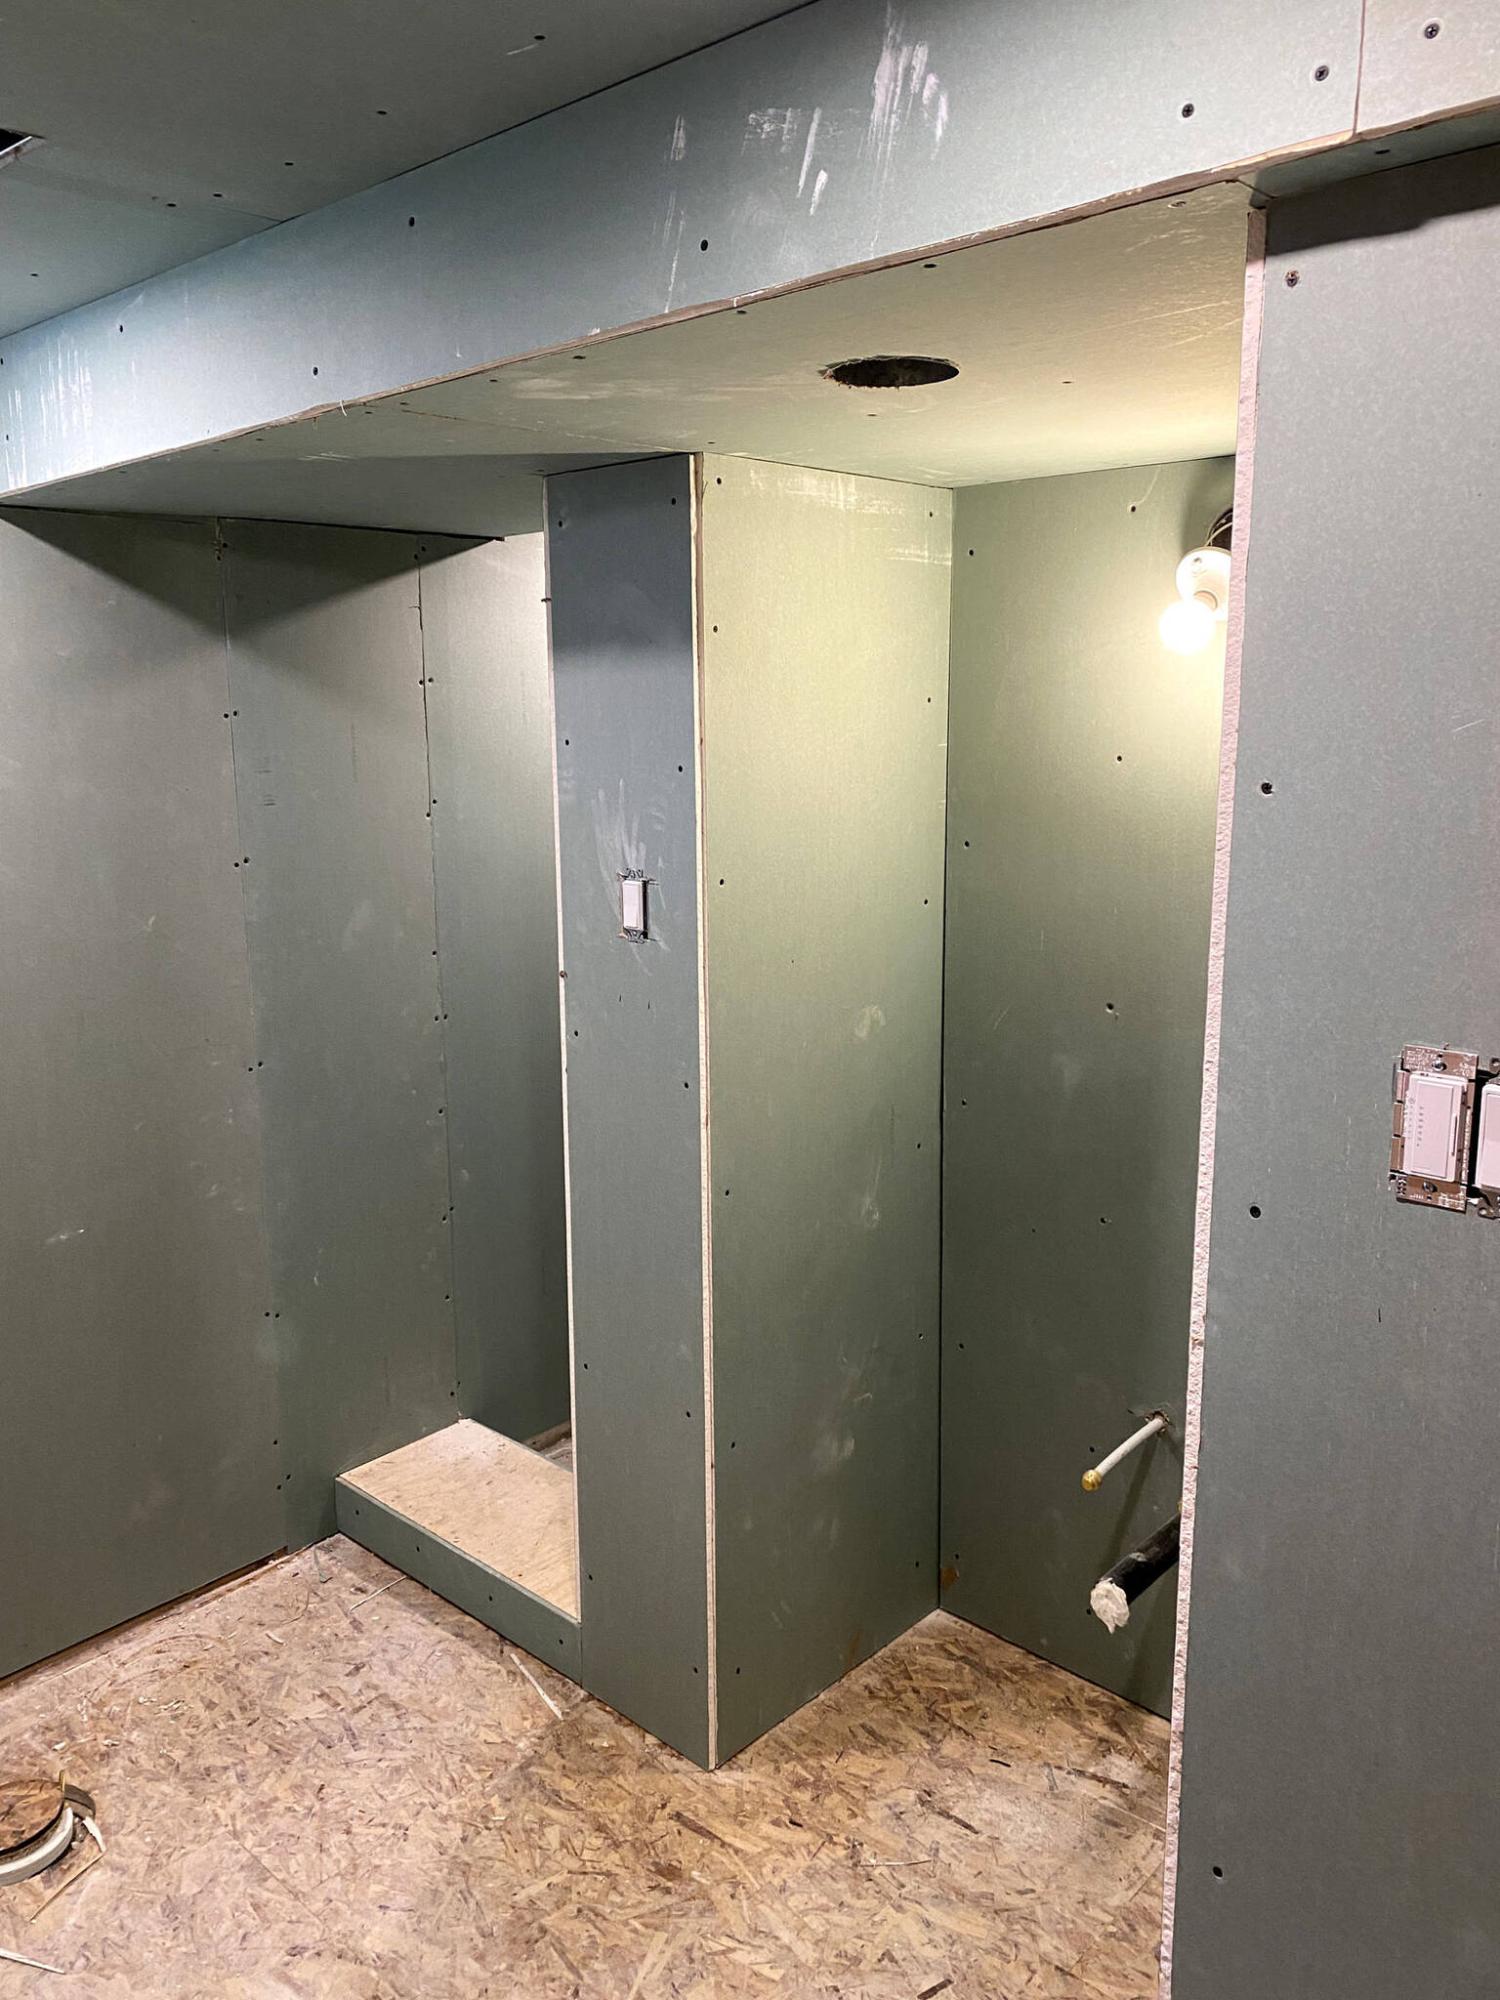
Careful framing of the new bathroom layout provides for a non-standard shower door opening that allows an adjacent inset for a standard 36-inch vanity.

MARC LABOSSIERE / FREE PRESS
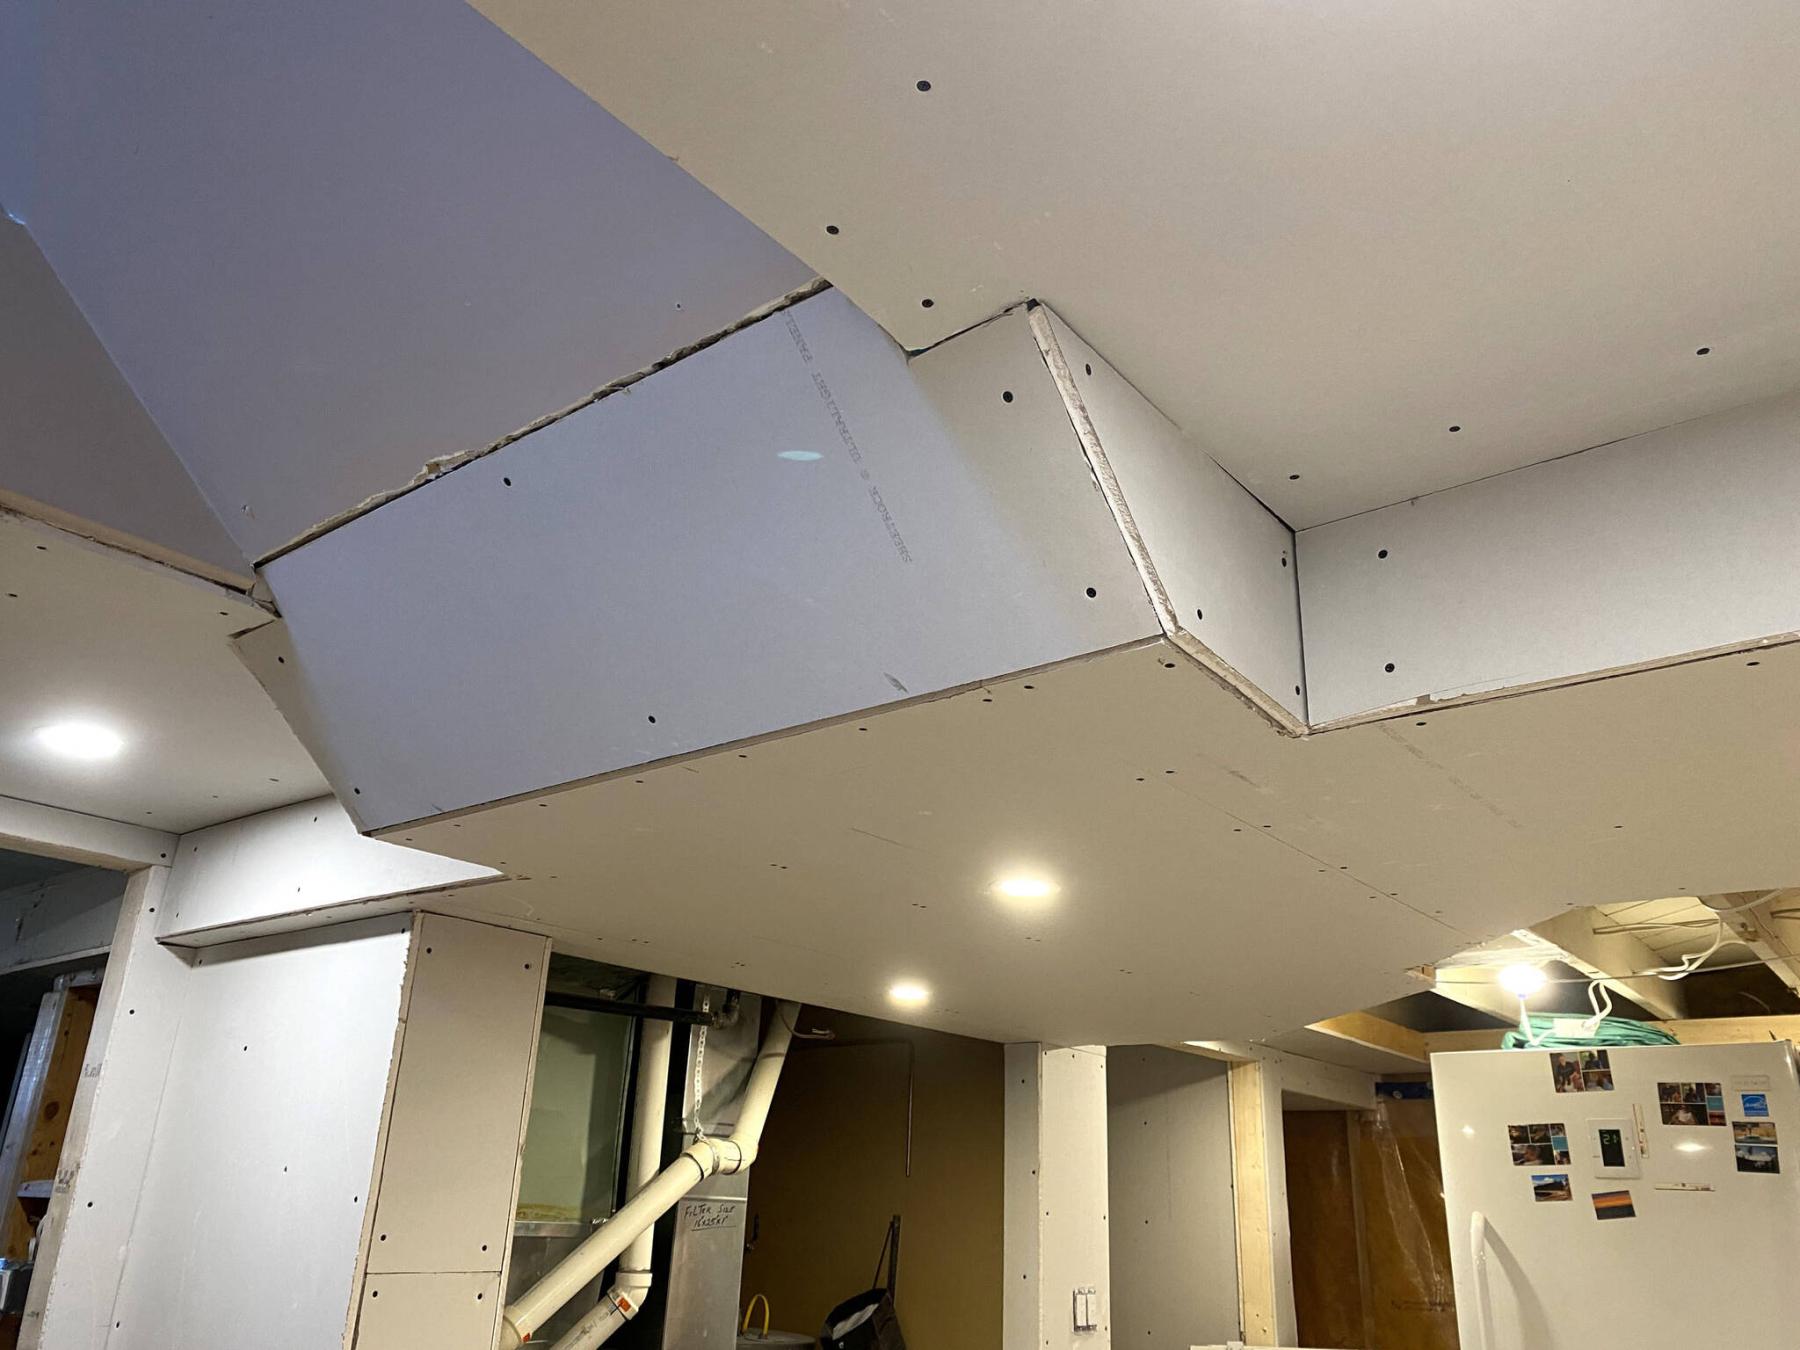
Creativity when framing a bulkhead to conceal main ducts in a basement can become the highlight of the ceiling.
MARC LABOSSIERE / FREE PRESS
The bulkhead is framed to conceal the main duct, improve esthetics and tie in the slant ceiling leading from the main floor.
When the term “framing” is used in the context of interior construction, the first connotation is that of structural support and layout.
However, framing for just about any project can lead to frustration if the process is not well-planned from the get-go. While minor shifts and changes are often necessary to facilitate implementation of subsequent tasks, insufficient planning that overlooks all the requirements of a project can result in the need for drastic measures later on.
Interior framing can be quite monotonous, despite its necessity. In addition to helping sidestep small glitches, incorporating a strategic approach serves a very important purpose. As an example, framing the back wall of a basement bathroom to accommodate a vanity may seem straightforward enough — studs positioned atop a base at 16-inches on centre with a cap plate, then secured to the adjacent walls and ceiling joists above.
However, by first verifying the intended location of the ABS rough plumbing, the studs can be shifted slightly to better accommodate the process, rather than having to chop through a newly erected stud that may be inconveniently located for the plumbing feed.
In my experience, in no stage is framing forethought more important than for drywall installation. Drywall is of course the last layer of sheathing that will be visible in the finished space. As such, the framework upon which it is fastened must be well laid out.
When attempting to line inside and outside corners of a staggered wall break, keep in mind that the framing must accommodate the extra half-inch of drywall on each surface. To achieve this, each area of framing must be recessed by a half-inch, so the surfaces line up after the drywall is installed.
In the same respect, inner cavities must be framed one inch wider, so the required gap is the actual width after drywall. Conversely, a protrusion or bump-out should be framed an inch narrower, to produce the desired width with drywall in place.
Although every project is different, similarities can be generalized and greater attention should be paid to the framing stage to facilitate installation of drywall later on.
At a current job site, the basement included a rec-room area, laundry room, bedroom, three-piece bathroom, office space and utility room.
The bathroom is an awkwardly sized space, with the walk-in shower area maximized to reveal non-standard dimensions. After doing some research, a glass pivot door with installation range of 27-29 inches was found, which fits the rough opening available between the exterior wall and the existing plumbing stack (hidden behind framing).
As such, it was imperative to factor in how best to frame the opening to accommodate this range, keeping in mind drywall on each side will diminish the gap by one inch in total, and another three-quarters of an inch will be used up by ceramic tile. Thus, the opening was framed to 29.5 inches (the maximum available), which falls within the range after drywall and tiling are completed.
Another vital aspect of framing is esthetic design. A minimalist approach is often taken when framing bulkheads around existing main ducts. While this seems like the appropriate route, it often leads to undesired visual results, because the bulkhead truly looks as though it’s simply there to conceal the main duct.
At every job site, ceilings beg for a better plan. In this case, there were a couple reasons why staggered 45-degree angles were introduced to the main bulkhead hiding the main duct and facing the interior of the space. Not only does the eye prefer angles that tie in well with the slope of the nearby staircase, the protrusion increase pushes the edge of the bulkhead past the far side of the rough opening for the intended sliding-door access to the utility room, eliminating bisecting the opening with a partial “low” ceiling.
To avoid treating bulkheads as elements with the sole role of hiding ducting, bulkheads along the entire perimeter were added simply to create a nicer esthetic, and they will also house perimeter lighting within the rec room.
Framing is important, and the structural support it lends must be integral throughout. However, forethought in your framing approach can greatly enhance the outcome of the project by considering all aspects of the build that follow the framing stage. There are always small adjustments that must be made to ensure the best final results, however, incorporating as many of these tweaks early on as is possible will expedite the build and yield the best results.
RenoBoss.Inc@outlook.com