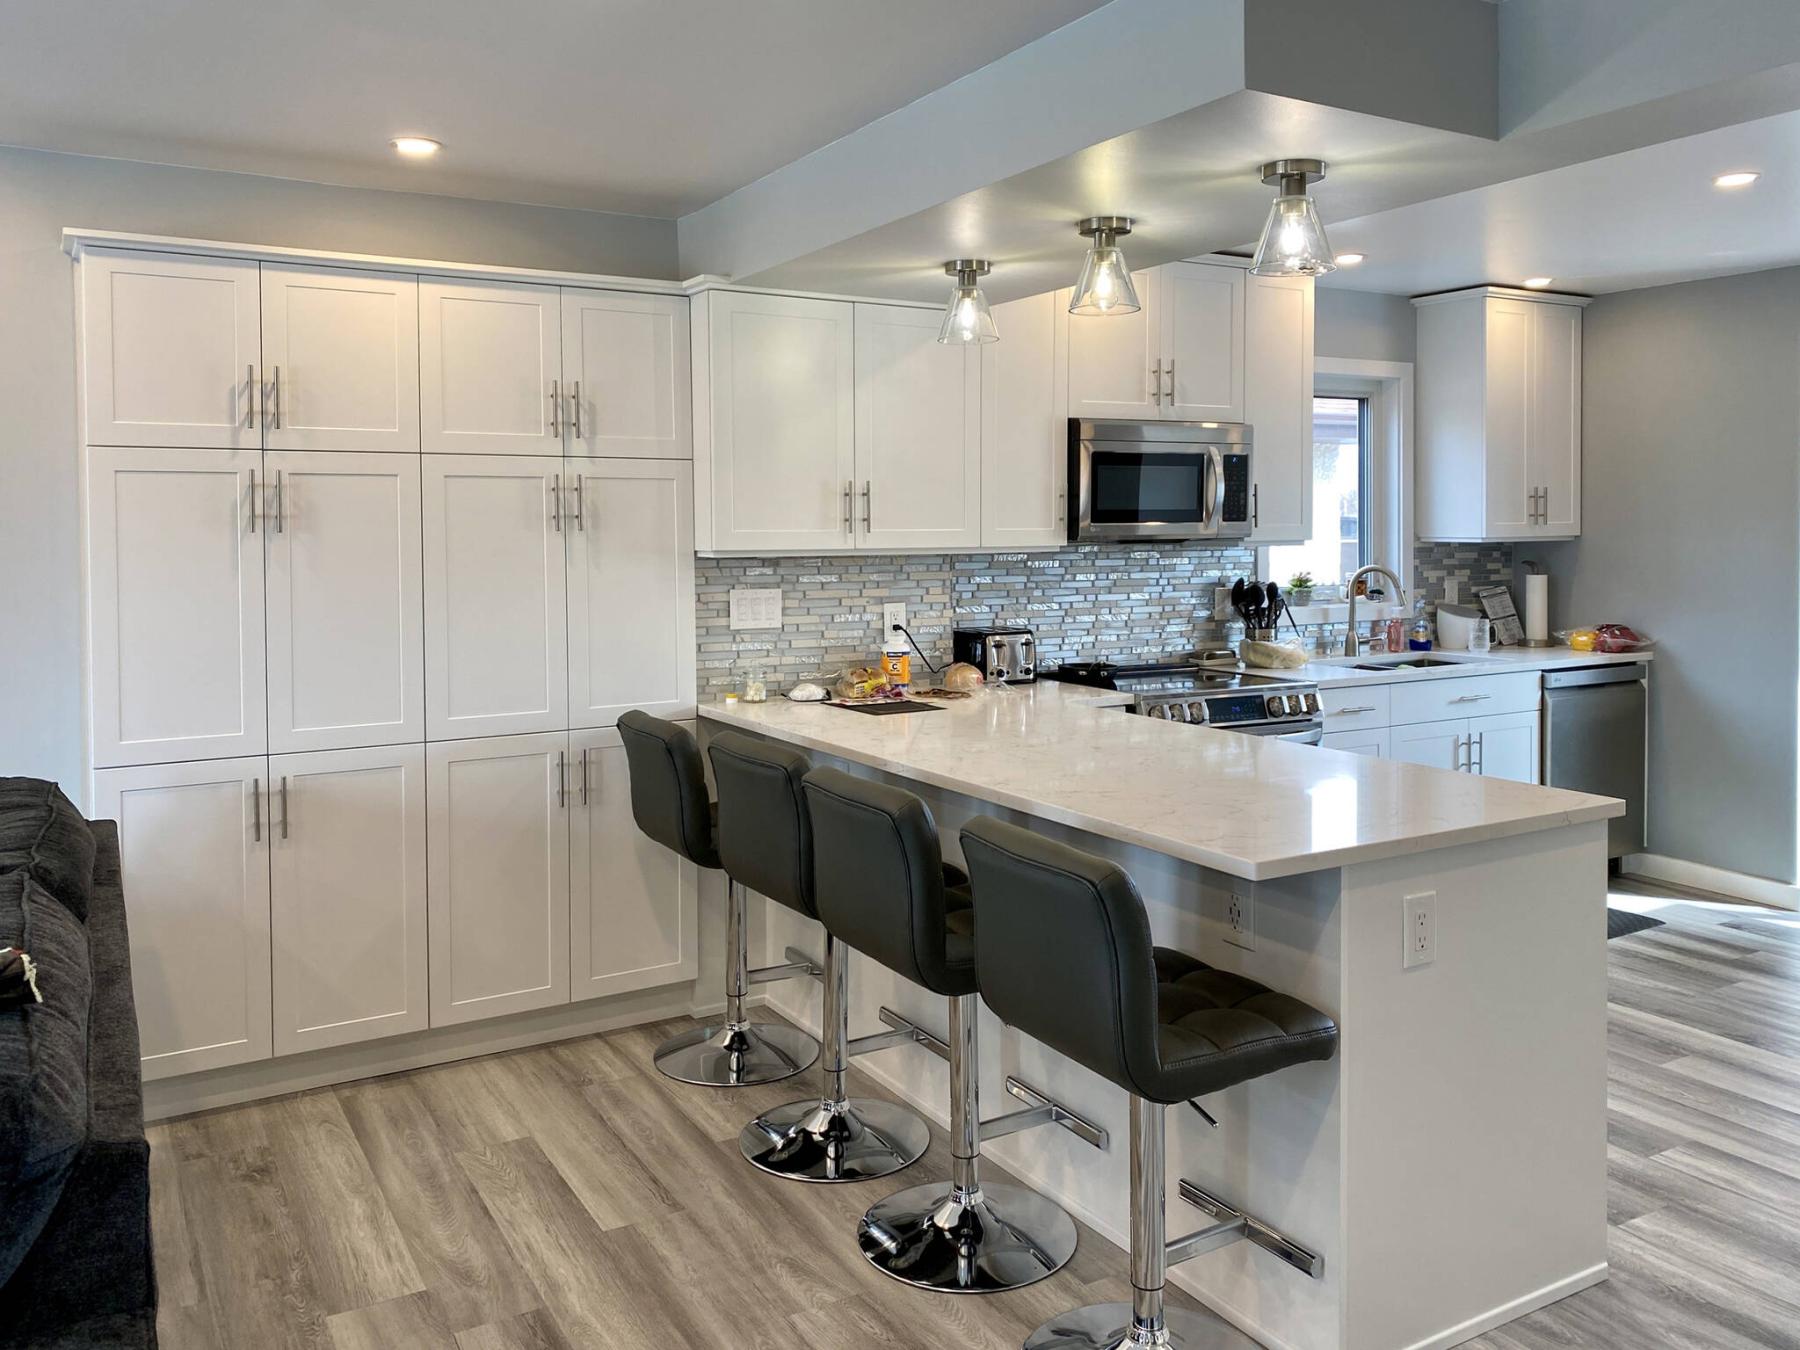
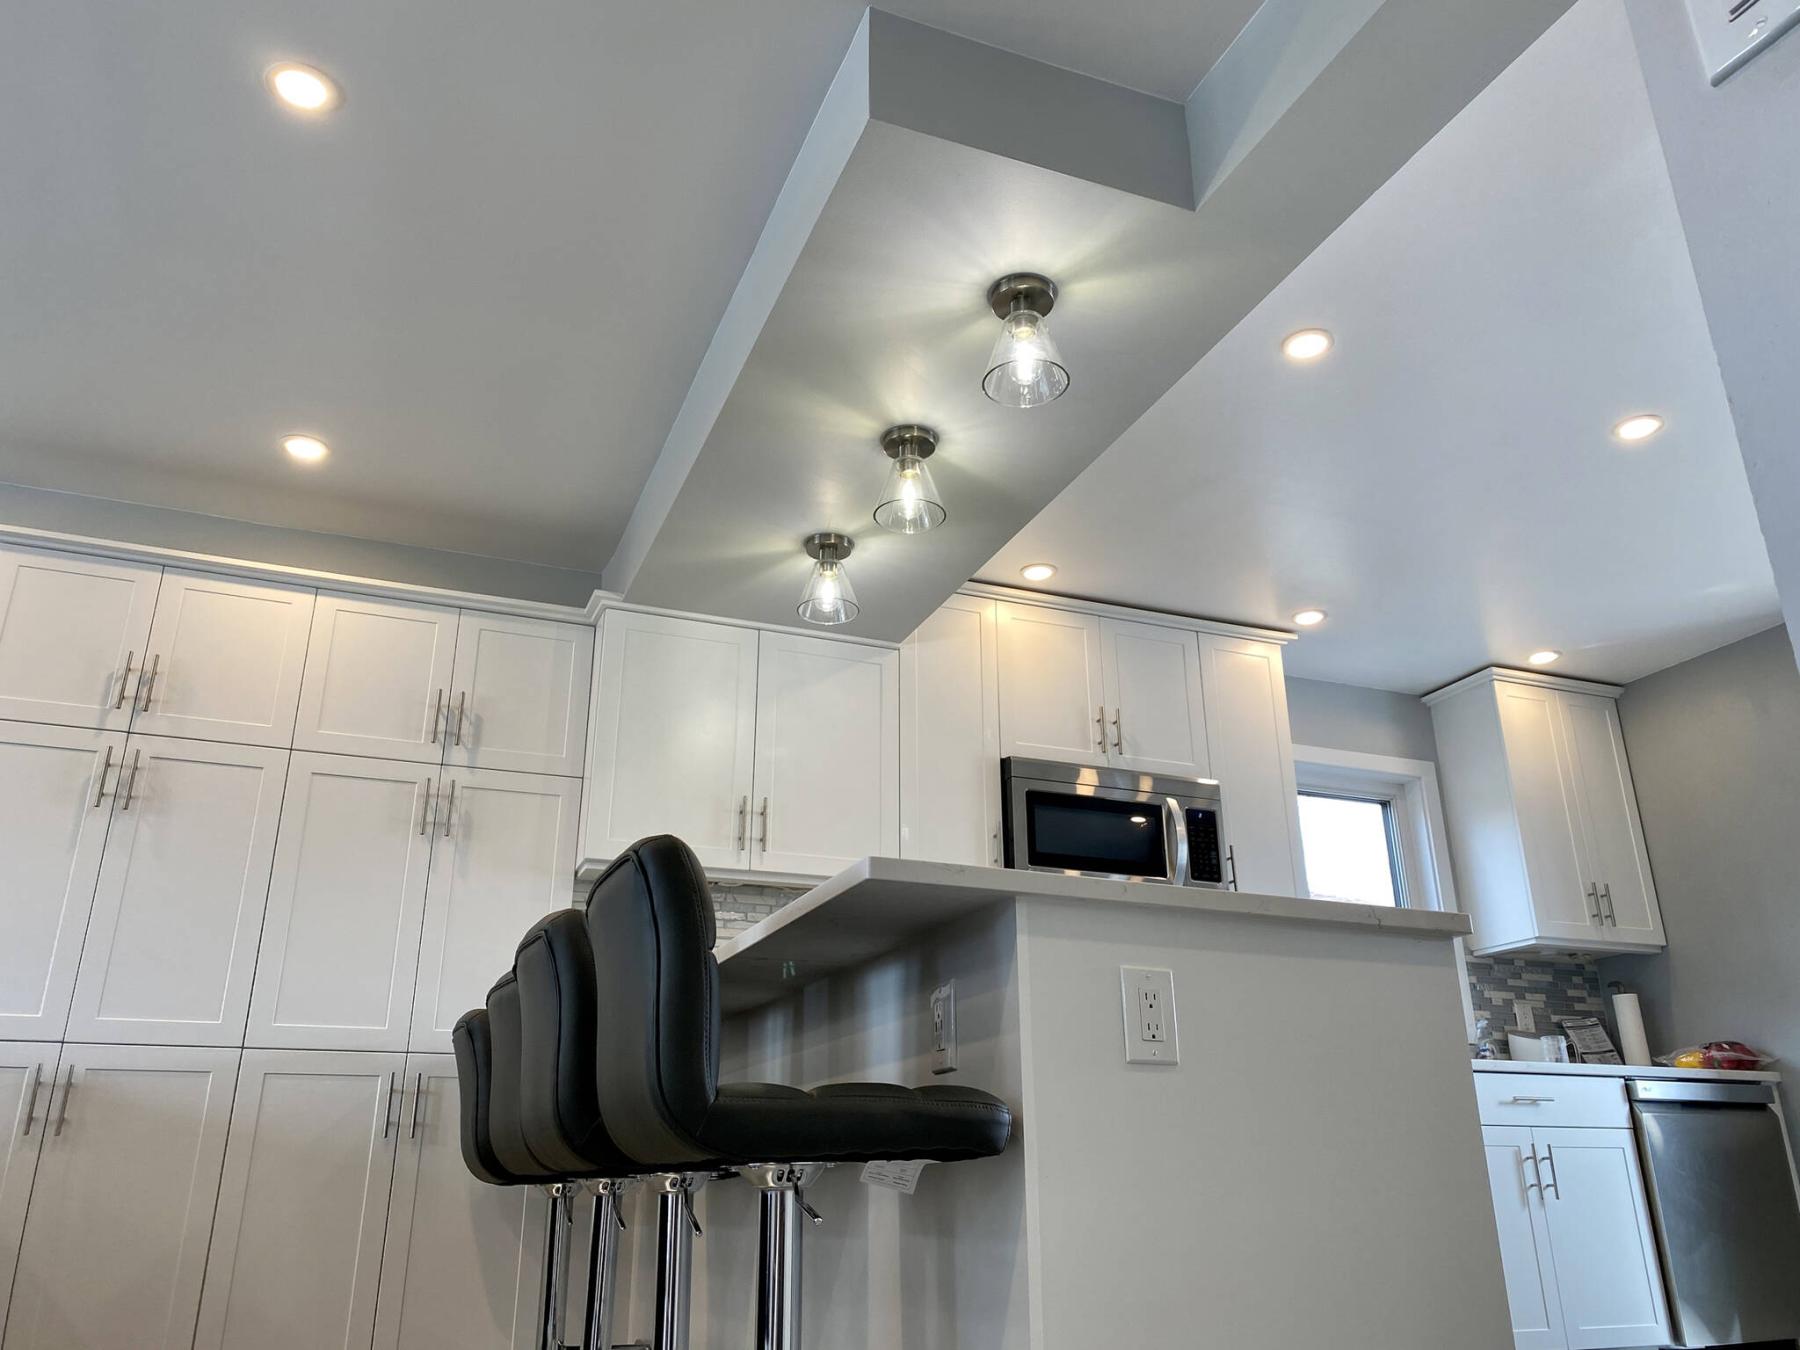
The bulkhead above purposefully mimics the footprint of the peninsula island below.
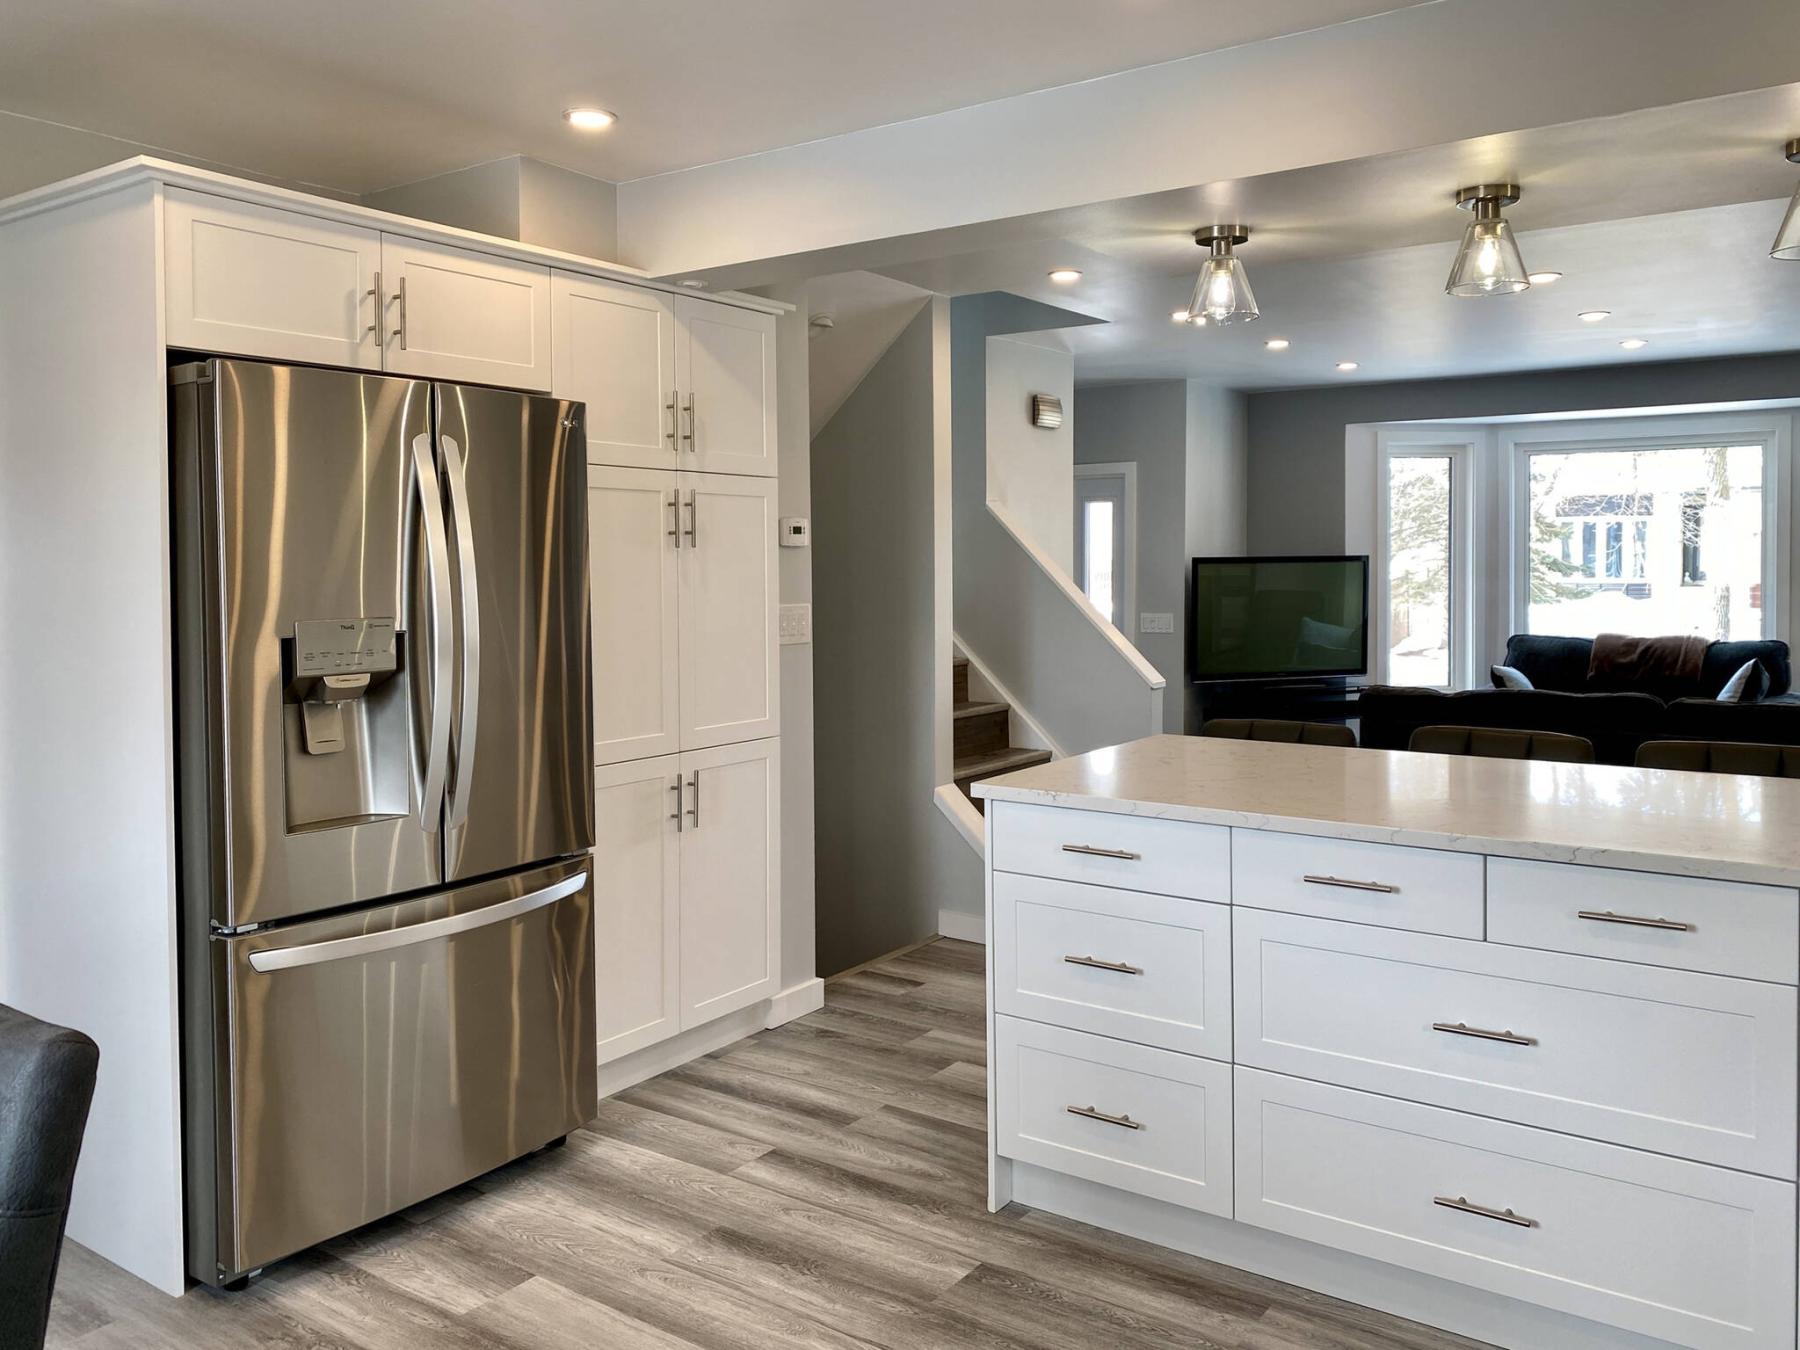
Opposite the end of the peninsula island, is a full pantry and new oversized fridge creatively set below the newly introduced bea.m
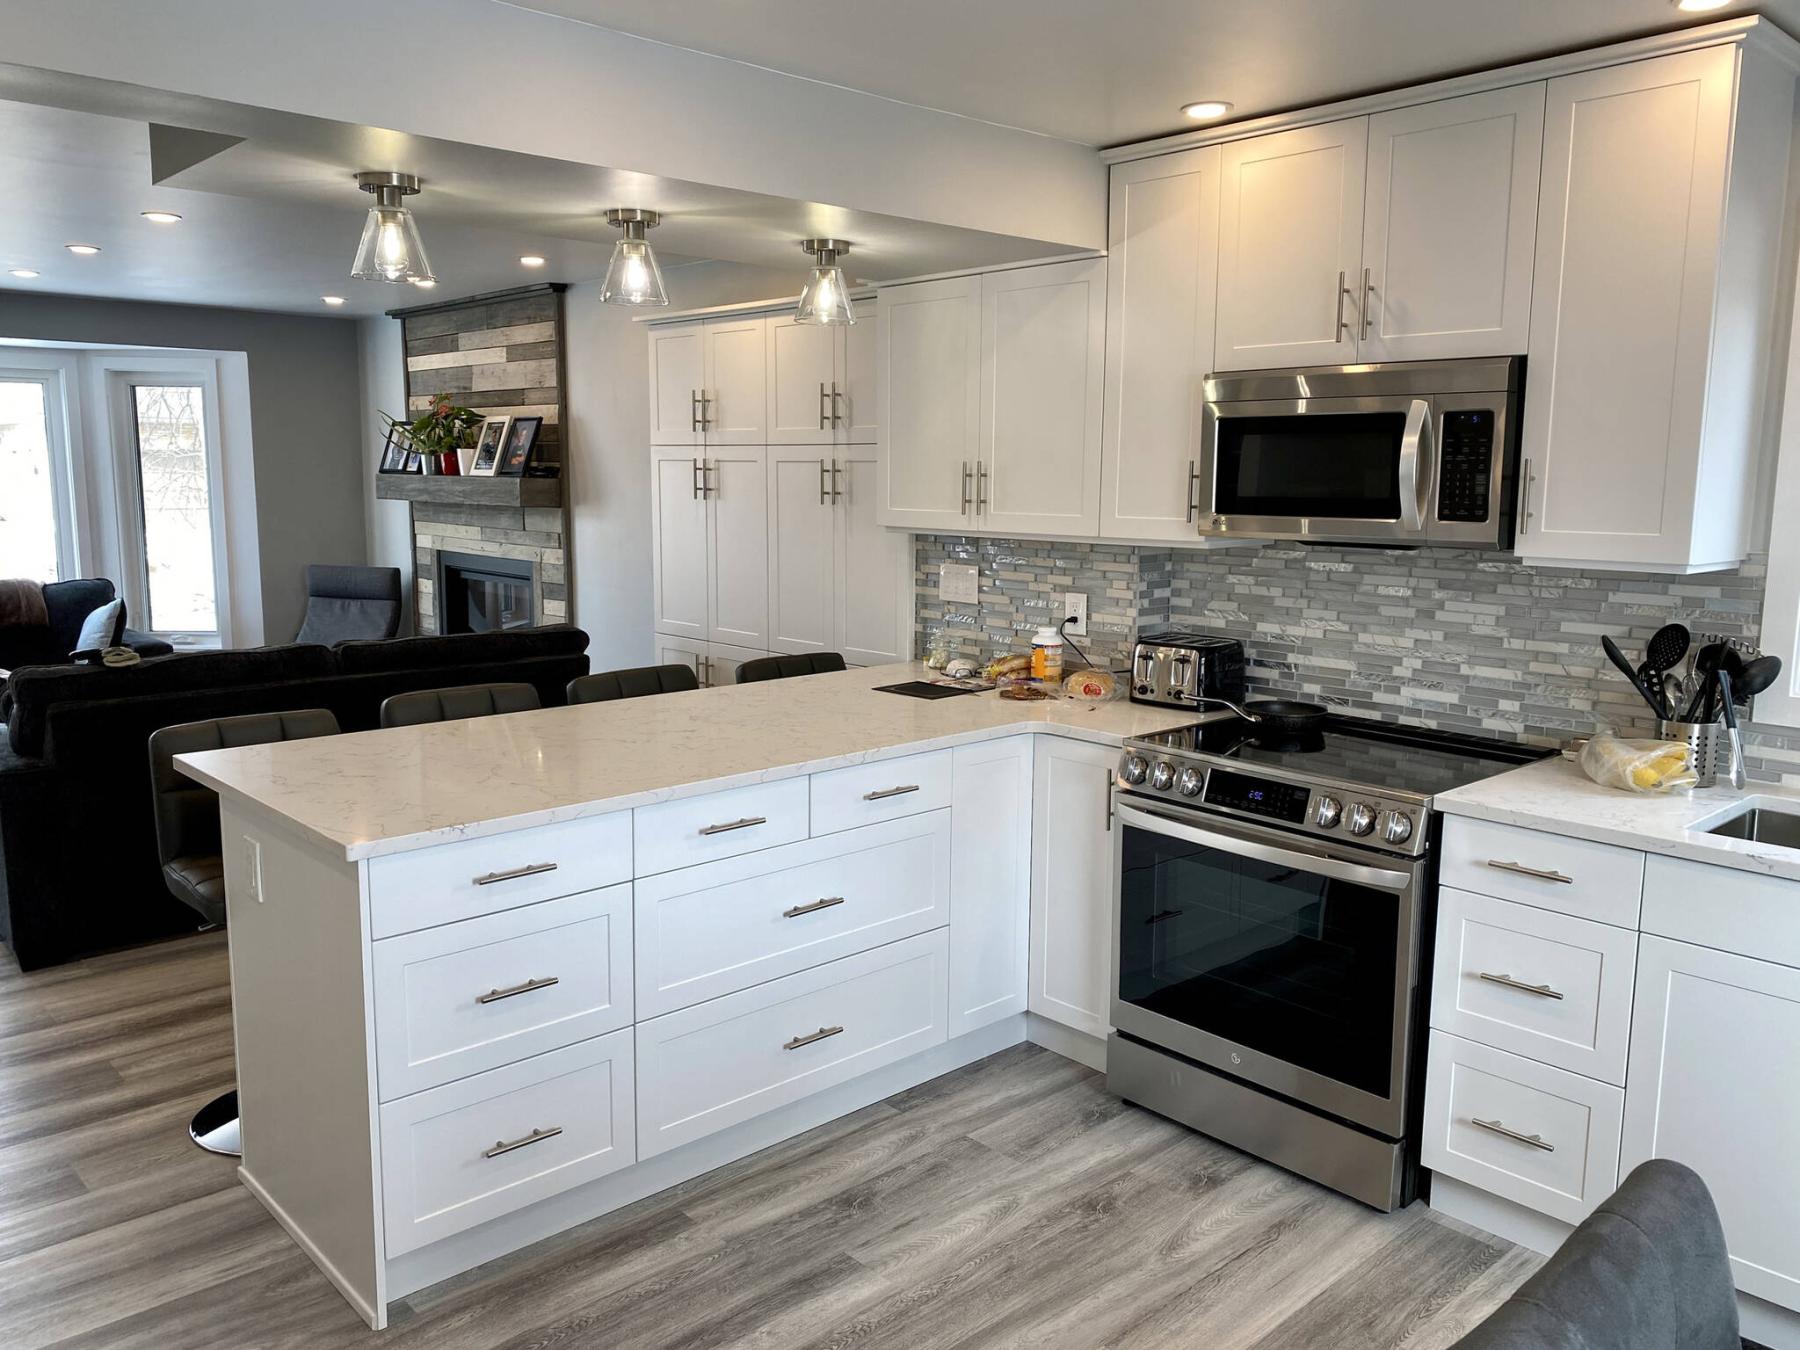
The peninsula island replaces the old load-bearing support wall that cut the floor plan in half.
Of all the upgrades that include new ceilings and lighting, new flooring and trim, fresh paint throughout, and a newly populated bathroom, it is the updated kitchen design that punctuates the success of this recently completed main floor remodel with open-concept design. And it was quite a journey from the initial task of replacing the load-bearing wall with a new main beam, to the finishing touches that included the installation of the kitchen backsplash once the cupboards and quartz countertops were in place. This 12-week project came together quite beautifully, and required ample pre-planning to ensure all processes were coordinated in well-orchestrated execution.
Although the kitchen cupboards and quartz countertops are some of the final aspects of the project to be introduced, they are the first to get ordered due to manufacturing and delivery ETAs – they can sometimes take up to eight weeks to arrive. As such, it was crucial to establish an approach to the removal of the load-bearing wall, and introduction of the new LVL beam during the first few days of demolition. The moment the dimensions and measurements are ascertained, the kitchen cupboard design is finalized, and the cupboards are formally ordered. It then becomes absolutely imperative the modifications stick to the plan – any changes to the special dimensions would have dire consequences to the installation of the pre-ordered cupboards.
Once the services (ventilation, drainage, electrical circuits) that were found within the load-bearing wall were re-routed, the ceiling bulkhead was framed. All ceilings along the main floor were then strapped to eventually hide the existing stipple, after nearly two dozen new LED slims were positioned throughout the living room and kitchen areas. Having that extra lighting early on aided in the subsequent tasks. With new drywall on all ceilings, the entire main floor received a fresh coat of paint, with light greys on the walls, a divergence from the existing darker colours that made the rooms seem smaller.
The floors received new vinyl plank with underpad throughout, including the staircases to the basement, and second floor respectively. With the vinyl in place, the new doors and jambs were mounted, allowing the installation of casings for all doors and windows, as well as baseboards along the perimeter of each room. It is important to thoroughly prepare the shell of each space, especially the kitchen before each space is populated. The last task before tackling the main kitchen was the upper valance and floor trim of the decorative fireplace (the only feature on the main floor that did not receive the Reno Boss touch). In keeping with the artistry of the approach to this fireplace previously adorned, trim pieces in pine were stained to match, and it seems to have worked out quite well.
Once the new cupboards (supplied by Richard Rochon and his awesome team at Cabinet Corner) had arrived, the last bank of old lower cupboards was removed – it is typically my mandate to keep the kitchen as functional as possible for as long as possible. In this case, the homeowners had full use of the old stove, fridge, existing sink and dishwasher for eight of the first nine weeks. After that, the area was out of commission until the new cupboards were fully installed, and the quartz countertops (and undermount sink) were in place. The new lower cabinets were sequentially positioned and secured starting with the sink cabinet, working back towards the peninsula island. The “floor to ceiling” cabinets were then set within the old dining room hutch inset, to provide an accurate elevation for the neighbouring upper cupboards at the island wall build-out (designed to hide the re-routed services to the second floor). The uppers along the window wall in the kitchen were first mounted to the left of the window, and the lone upper on the right was subsequently secured to the wall above the dishwasher location.
Along the fridge wall opposite the peninsula island, the pantry cupboards were placed first to again, set the proper elevation for the uppers above the new fridge. The decorative plant-on panel was then secured to the visible end of the fridge uppers to ensure rigid support. Decorative plant-ons were also affixed to the end of the peninsula island, and along the living room side of the island (which strategically hides other elements of the services to the second floor). Toe-kicks were then implemented along the floor at all lower cupboard areas.
A few days later (and as scheduled), the quartz countertops were delivered and installed by a proficient crew from Solid Stone Countertops. And once the process was done (including the undermount sink), I then continued with the final cupboard tasks of installing the trim along the tops of the top edge of the uppers, and the valance below that hides the under-cabinet lighting. The stainless-steel handles were then carefully mounted on all drawer and door fronts. With the sink in position, the drain and water feeds were tied-in to the pre-prepped rough plumbing. The dishwasher was also installed and tested. The new microwave was mounted below the upper cupboards above the new stovetop oven, and the new fridge was recessed into its cavity along adjacent the pantry cupboards.
The second to last day was dedicated to the mosaic backsplash installation, which entailed accommodating the 90-degree corner at the wall build-out, as well as the various kitchen outlets along that wall. Allowed to set overnight, the grout was applied on the final day of the project, along with the necessary caulking and finishing touches here and there – despite leaping into the twelfth week (as expected), the project was completed three days earlier than anticipated. And boy oh boy, did the main floor ever look fantastic once it was done, especially the kitchen space. The introduction of the beam promotes unimpeded views no matter where you stand – it truly feels like a brand new house! And that kitchen is sure to “wow” for years to come.
This was a complicated project, strewn with many unforeseen obstacles and challenges. In the spirit of transparency, I’ll admit it seemed overwhelming on occasion. But, I live by certain beliefs that always prevail, no matter the scenario – there’s always a way past a hurdle, and most importantly, it is imperative to address one hurdle at a time. Once the first hurdle is remedied, you tackle the next one… and so on, and so on. Before you know it, there are no more obstacles and the project gets done, the hurdles a faint memory, possibly reference for future projects. This kitchen (and full main floor) remodel has been an absolute pleasure to accomplish. Many thanks to my suppliers, and to the homeowners who entrusted me with their interior upgrades. This one’s sure to remain prominent on my frontal lobe for a long while.
RenoBoss.Inc@outlook.com