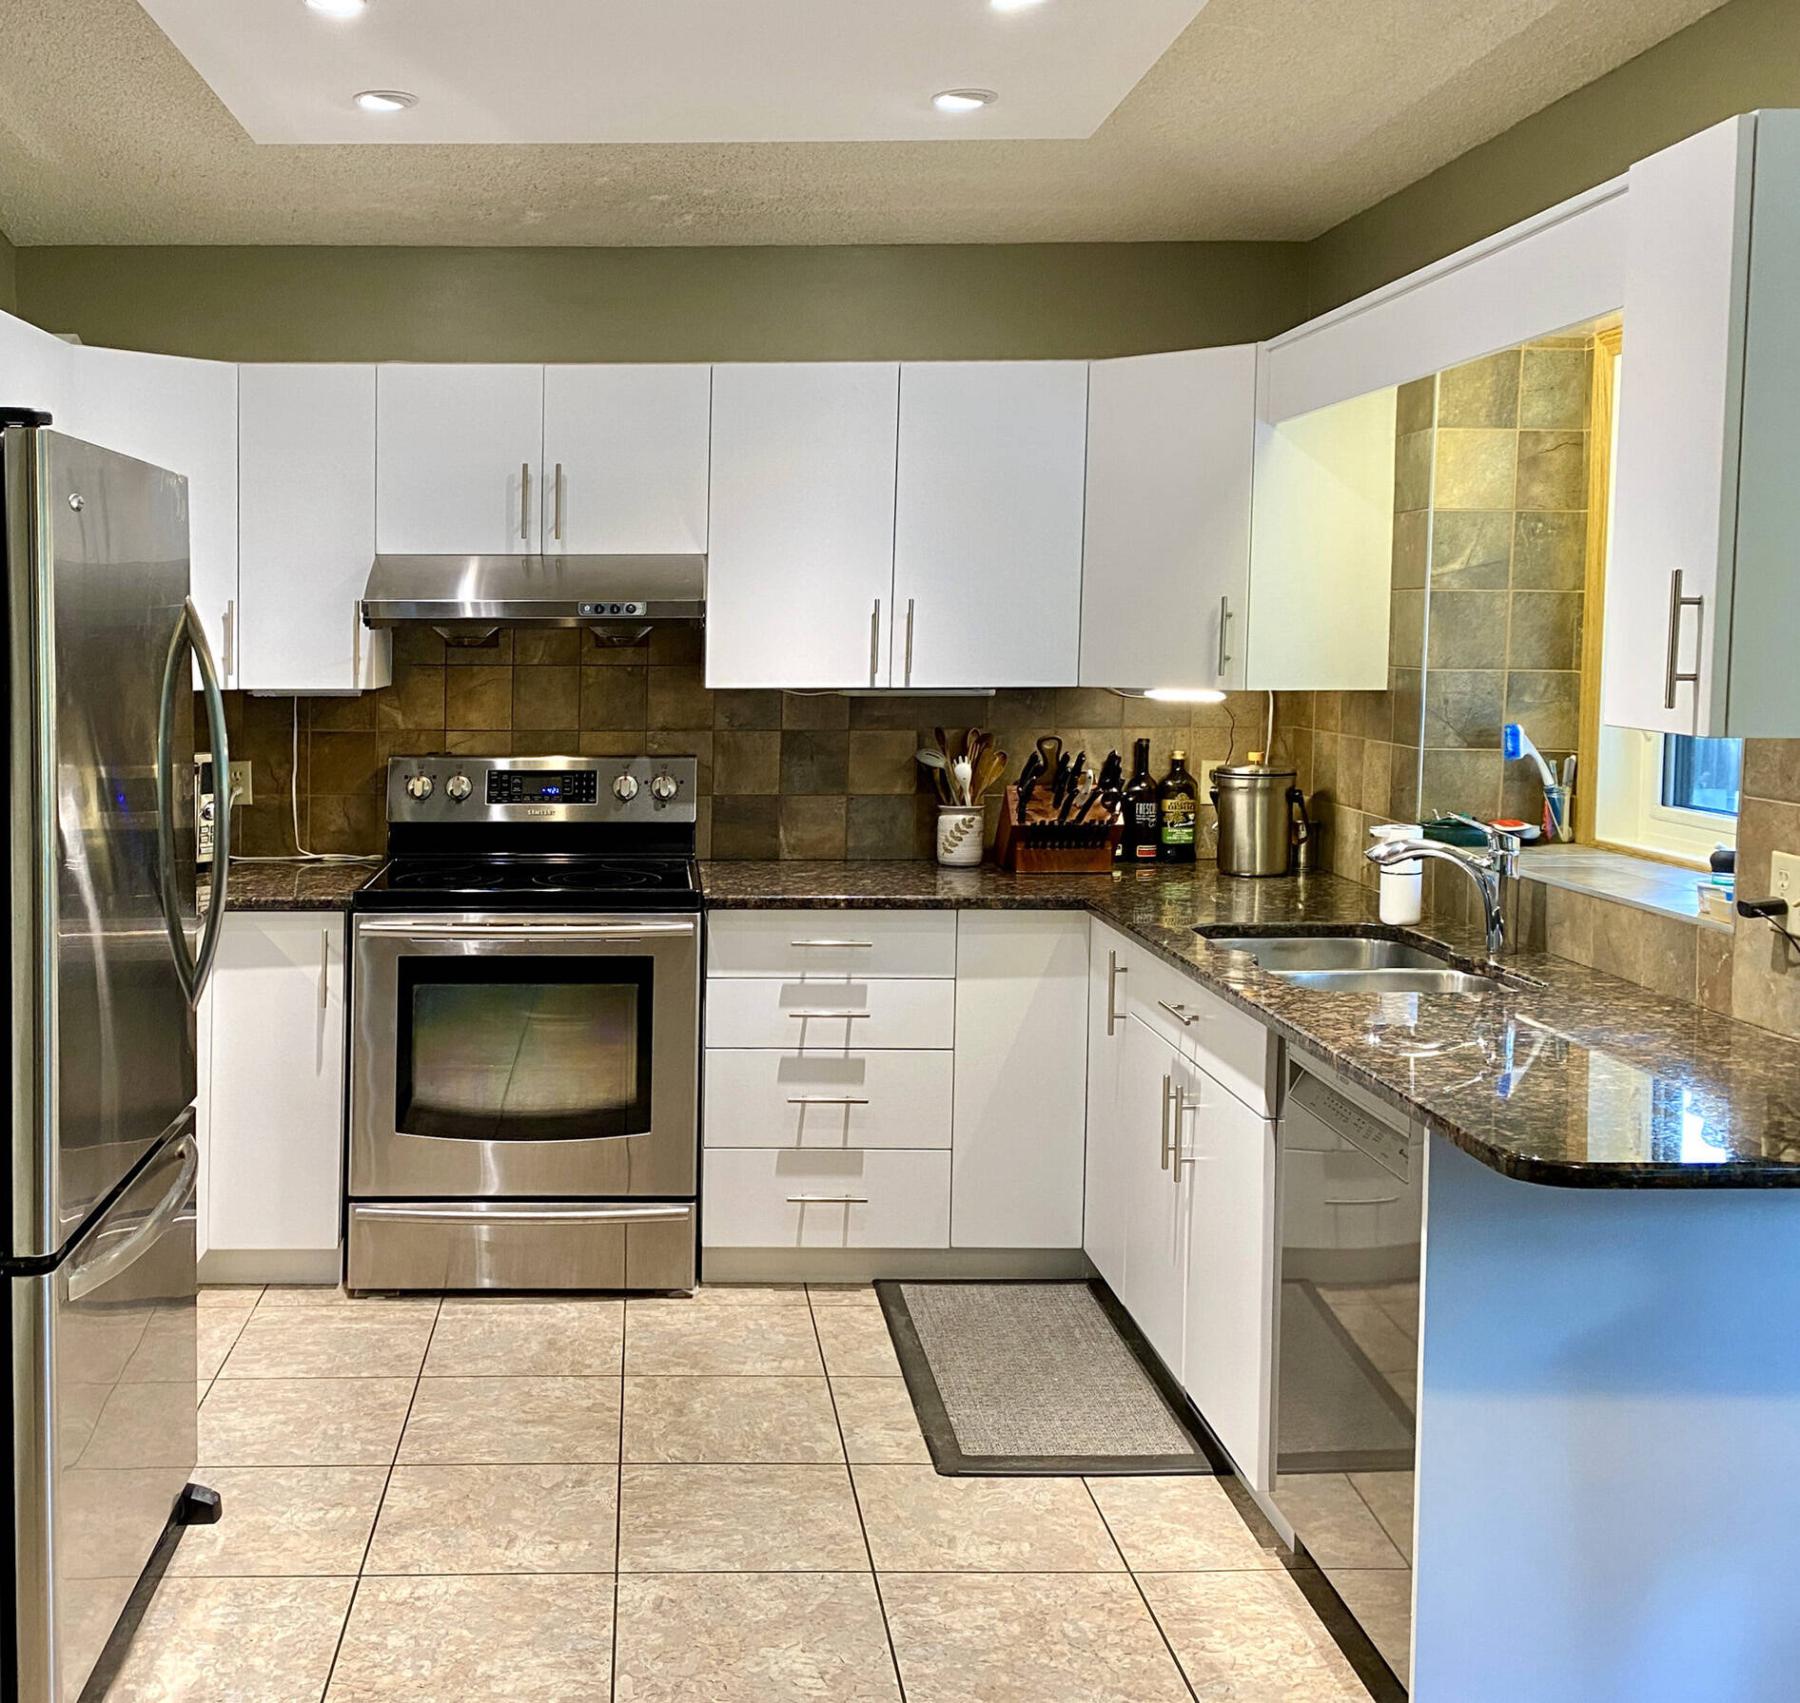
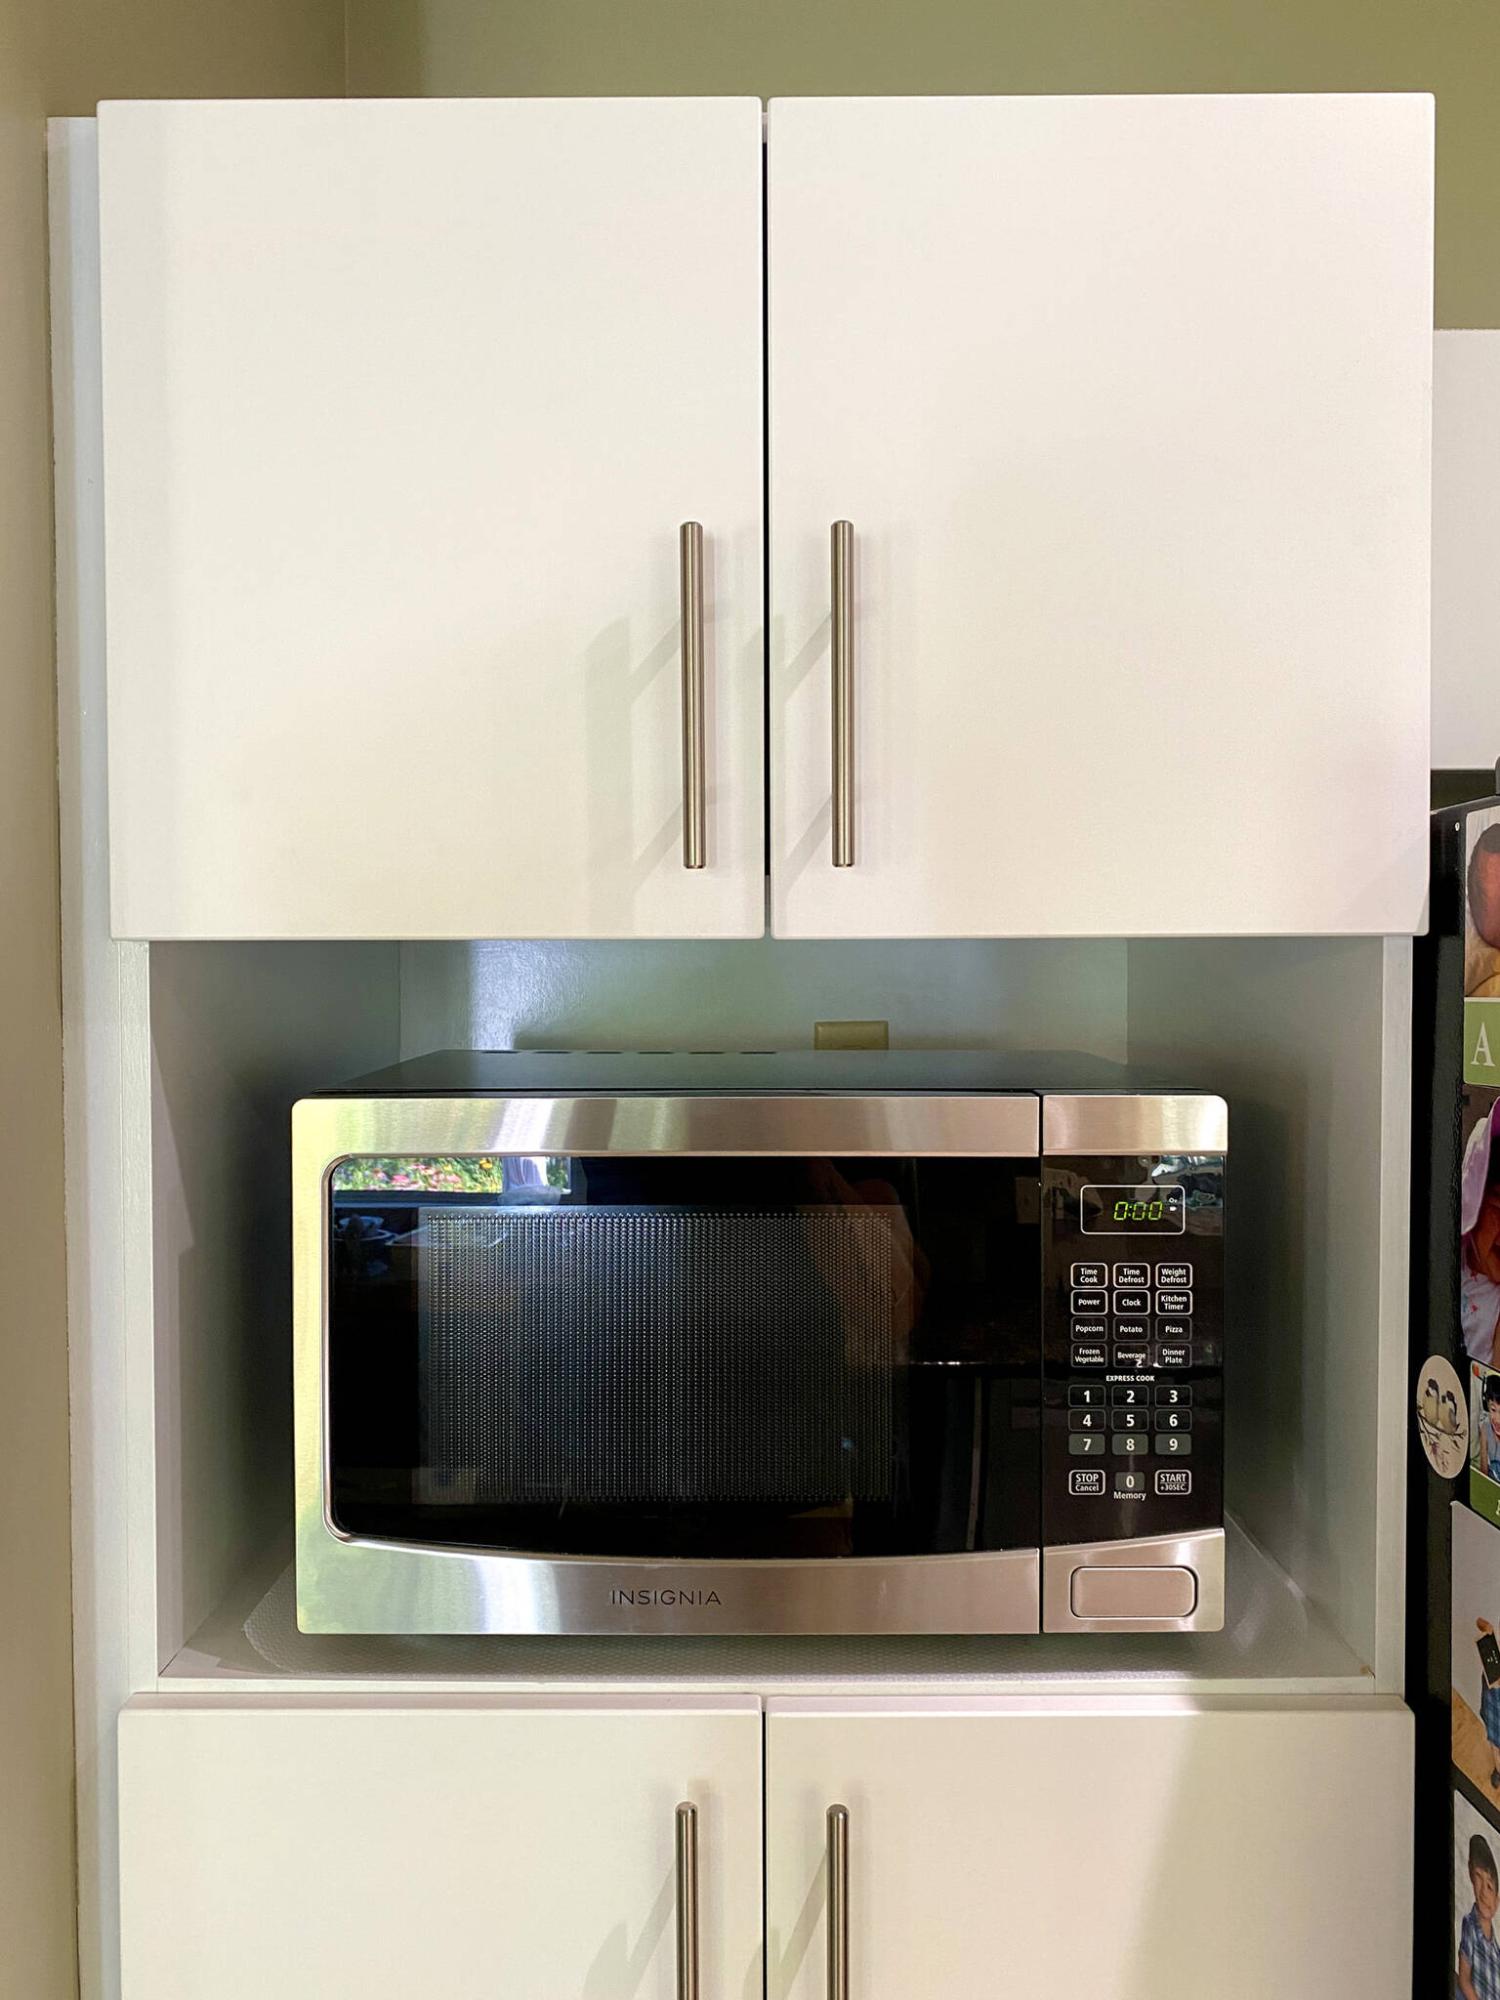
Side panels and cavities not replaced, such as the microwave shelf, were given three coats of white cabinet paint.
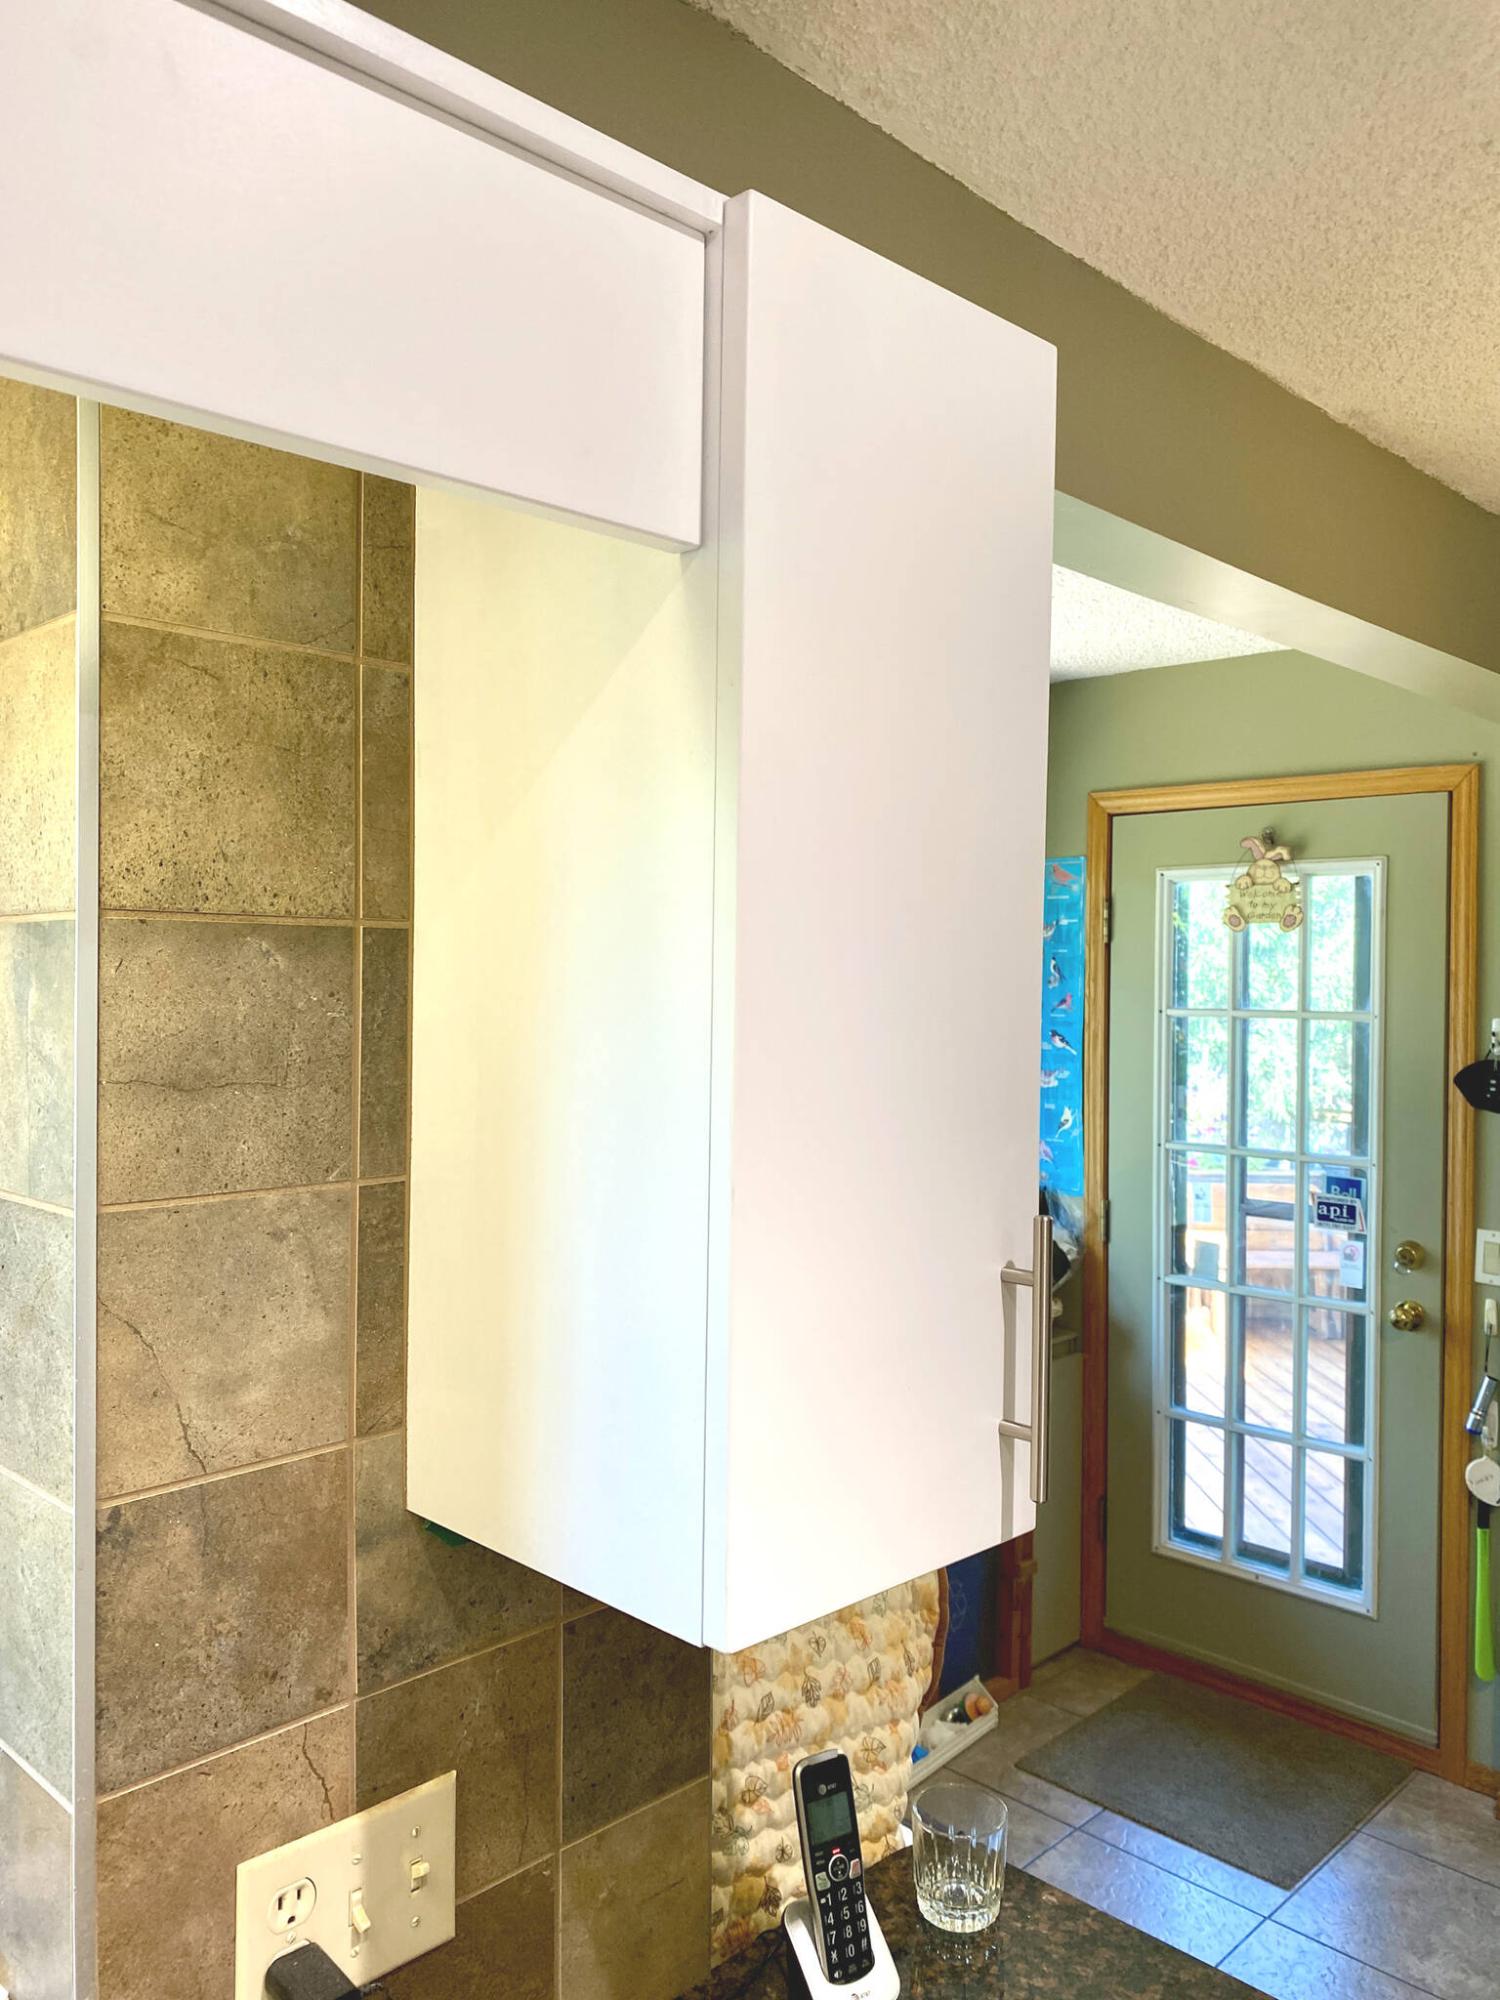
The new valance fits like a charm.
I like to start and finish a job before the next one begins, but sometimes there are situations beyond my control.
So, although this kitchen project was finished in a single day, the preparations began long beforehand.
Having installed a drop-down ceiling box with half a dozen LEDs to improve lighting in their kitchen several years ago, the homeowners decided it was time to give the cabinets a sorely needed facelift. The countertops had already been upgraded to quartz and the tiled backsplash still met the clients’ esthetic expectations. The cabinet doors and drawer fronts, however, had begun to show signs of wear. The cabinet boxes, however, were in relatively good condition and so the decision was made to simply replace the doors and drawer fronts.
Front-face replacement is an ideal option when the layout of the cabinets still works. Such a kitchen update is less invasive and less expensive.
In order to ensure the proper measurements of all doors and drawers, the existing fronts were brought to the cabinet maker’s location. The cabinet crew establishes schematic drawings of the cabinet layout and indicates the hinge placements for every door.
Since the new cabinet fronts weren’t expected to be ready for six to eight weeks, I returned the originals so that they could be temporarily reinstalled, instead of leaving the kitchen cabinets wide open for the duration.
Because there would be several cabinet sides visible after the upgrade, as well as the microwave nook and the valance above the kitchen sink, a matching cabinet paint would be applied to all the visible areas not being updated. In this instance, the homeowners chose a brilliant white thermafoil product.
Once the doors and drawer fronts were ready from the manufacturer, they were delivered to the jobsite a few days before the installation date, so I’d have a full day to focus on the actual install.
Once again, the old doors and drawer fronts were removed, along with the old hinges and brackets. The areas to be painted were prepped and taped off before the first coat of paint was applied.
As it dried, I installed the upper cabinet doors. A second coat was then applied and I installed the lower cabinet doors.
By the time I was ready to pre-drill the holes for the new drawer fronts, a third coat of paint was applied and the masking tape was removed. The kitchen was really beginning to take shape. All that was old had suddenly become brilliant white.
With the newly painted areas dry and the fronts installed, a new valance was mounted above the sink using the existing screws (it fit like a glove), and the old toe-kicks were topped with new white versions.
A template was then created to ensure the hole locations for the new cabinet and drawer fronts were consistent and accurate. After the holes were drilled for all the doors, the pulls were mounted. A separate template was used to ensure the pulls along the drawer fronts were centred left to right, as well as top to bottom.
By now, morning had become late afternoon. The old doors and fronts were stacked outside with other remnants, awaiting pick-up by my junk crew. As always, I took several minutes to snap photos from various vantage points before handing the kitchen off to the homeowners. (I always joke that a project is mine until the final photo is taken — only then can I relinquish it).
And with that final photo, I realized we had achieved the desired goal. The kitchen looked fresh and new and it was finished in a day — proving once again that proper planning is key.
RenoBoss.Inc@outlook.com