Marc LaBossiere / Free Press
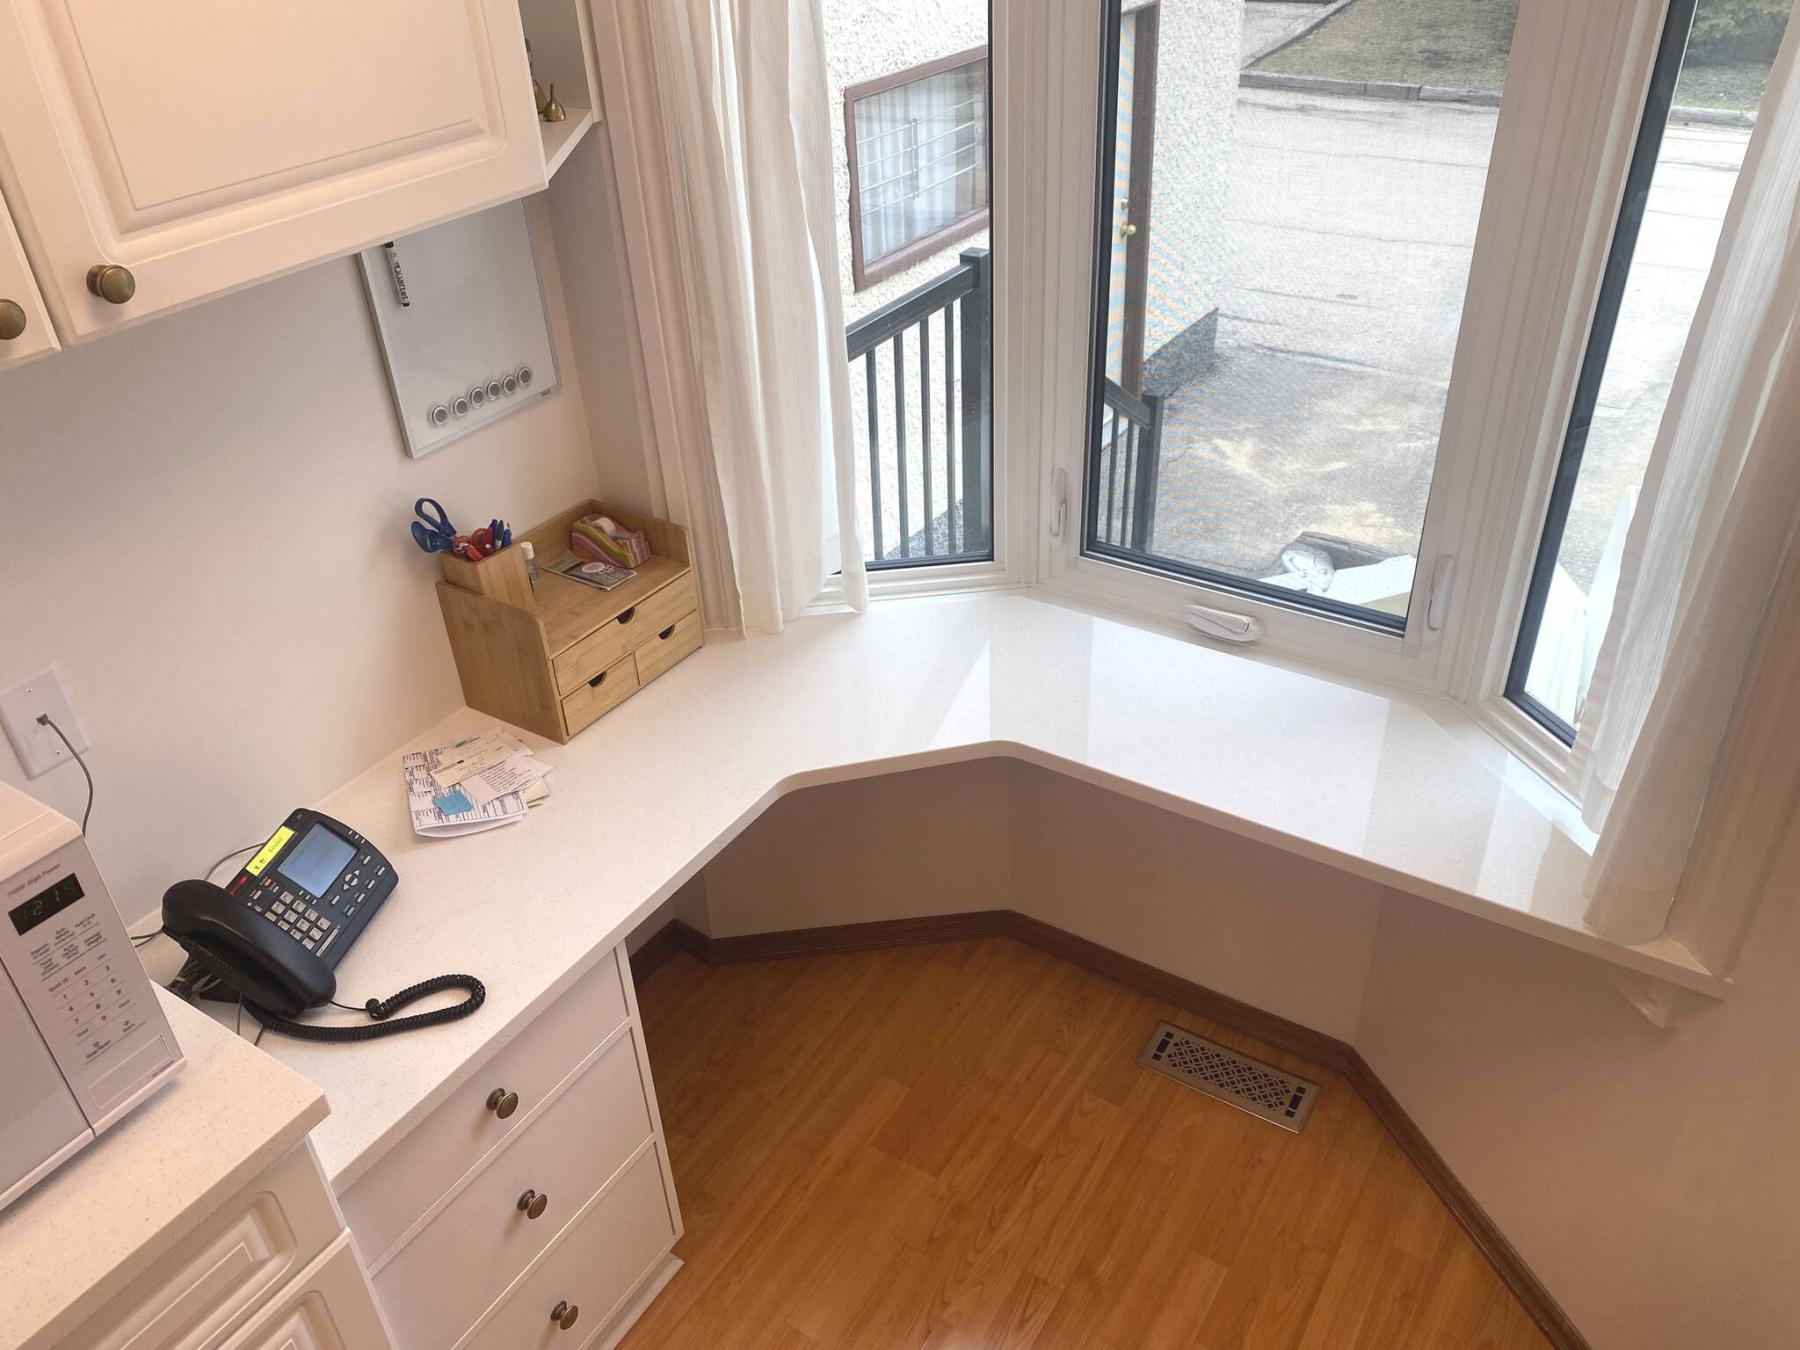
Unlike the old countertops, the new quartz meets the bay window angles precisely.
Marc LaBossiere / Free Press
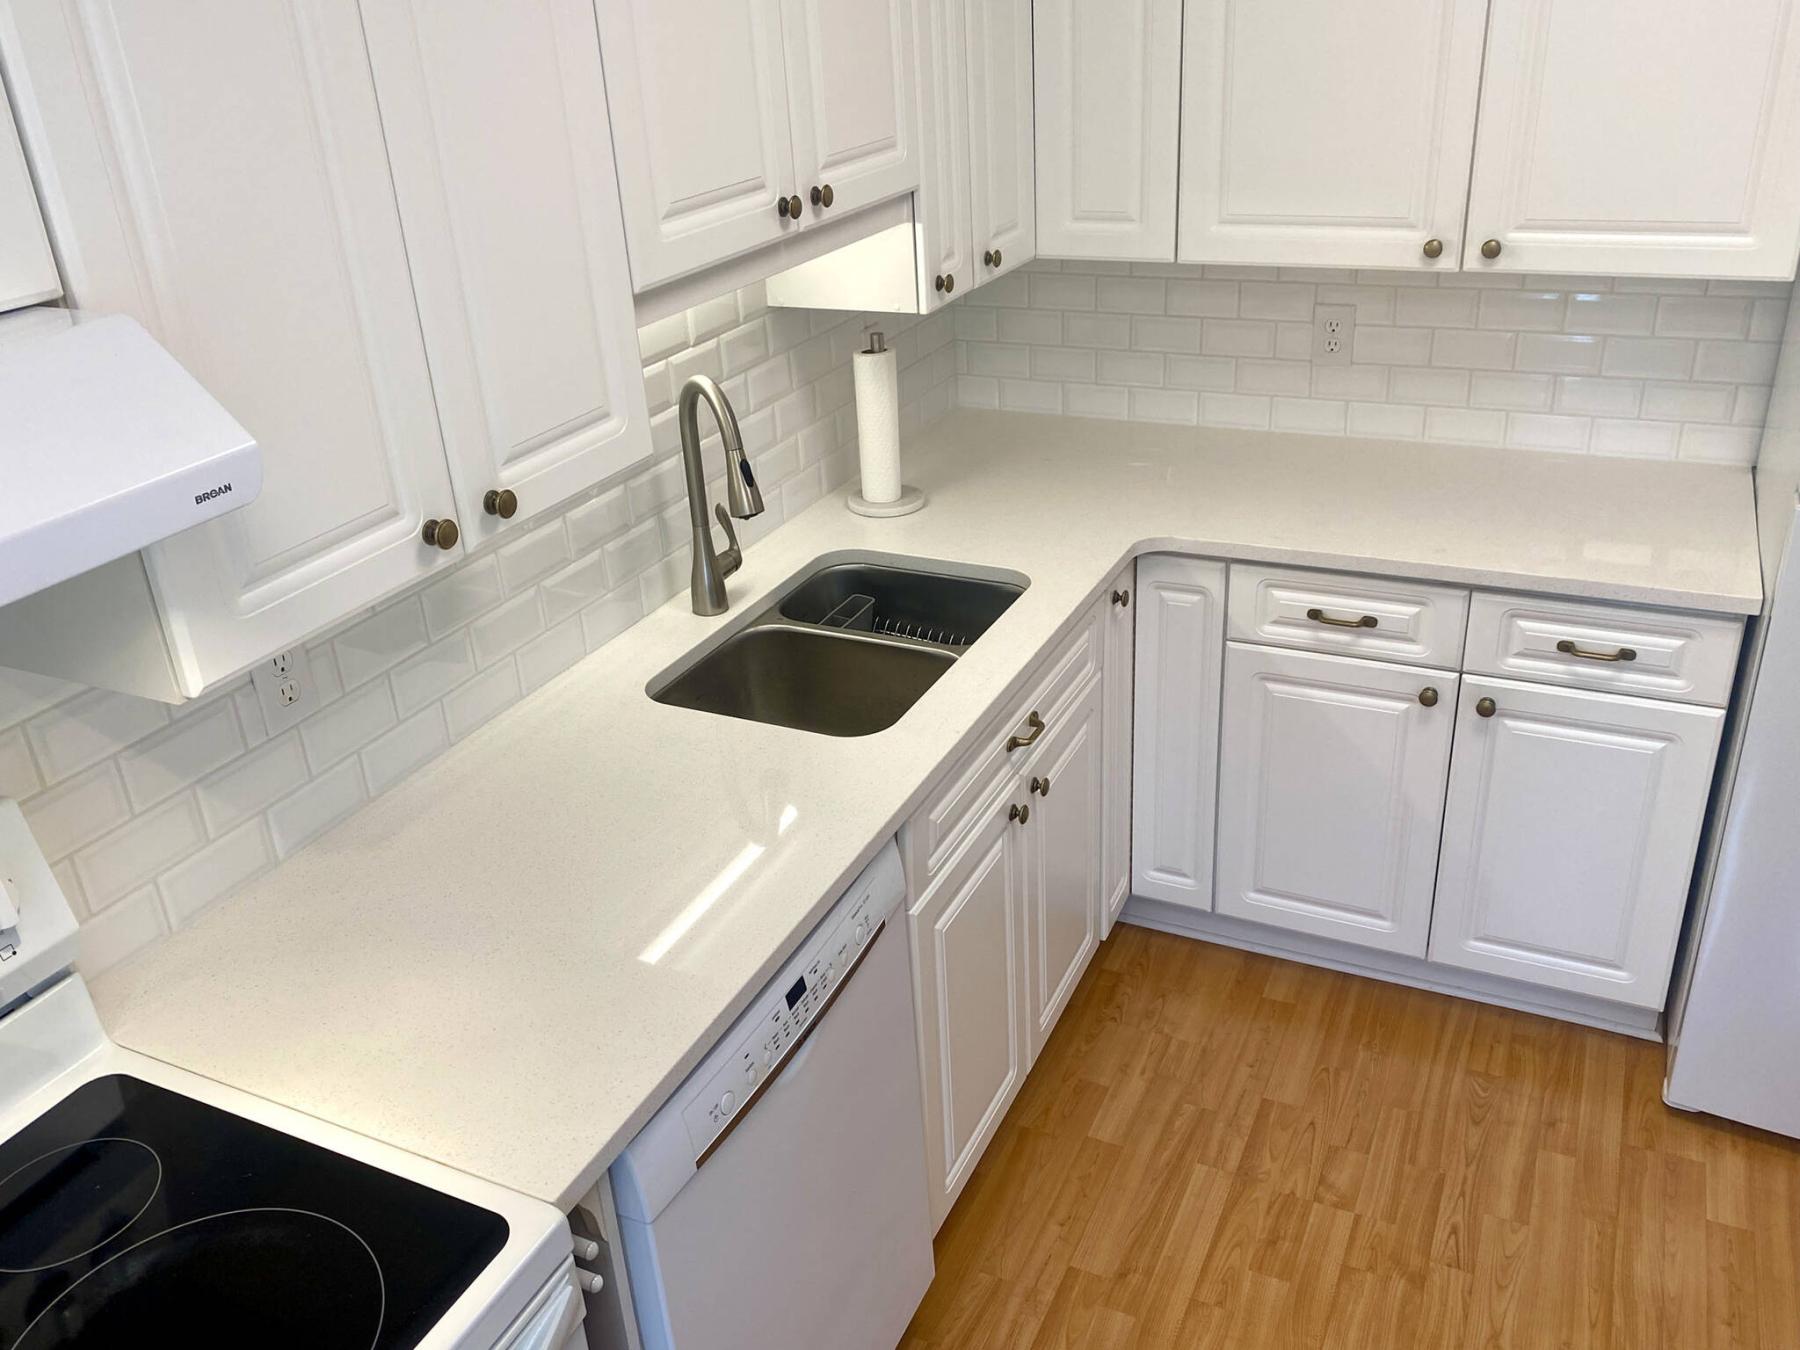
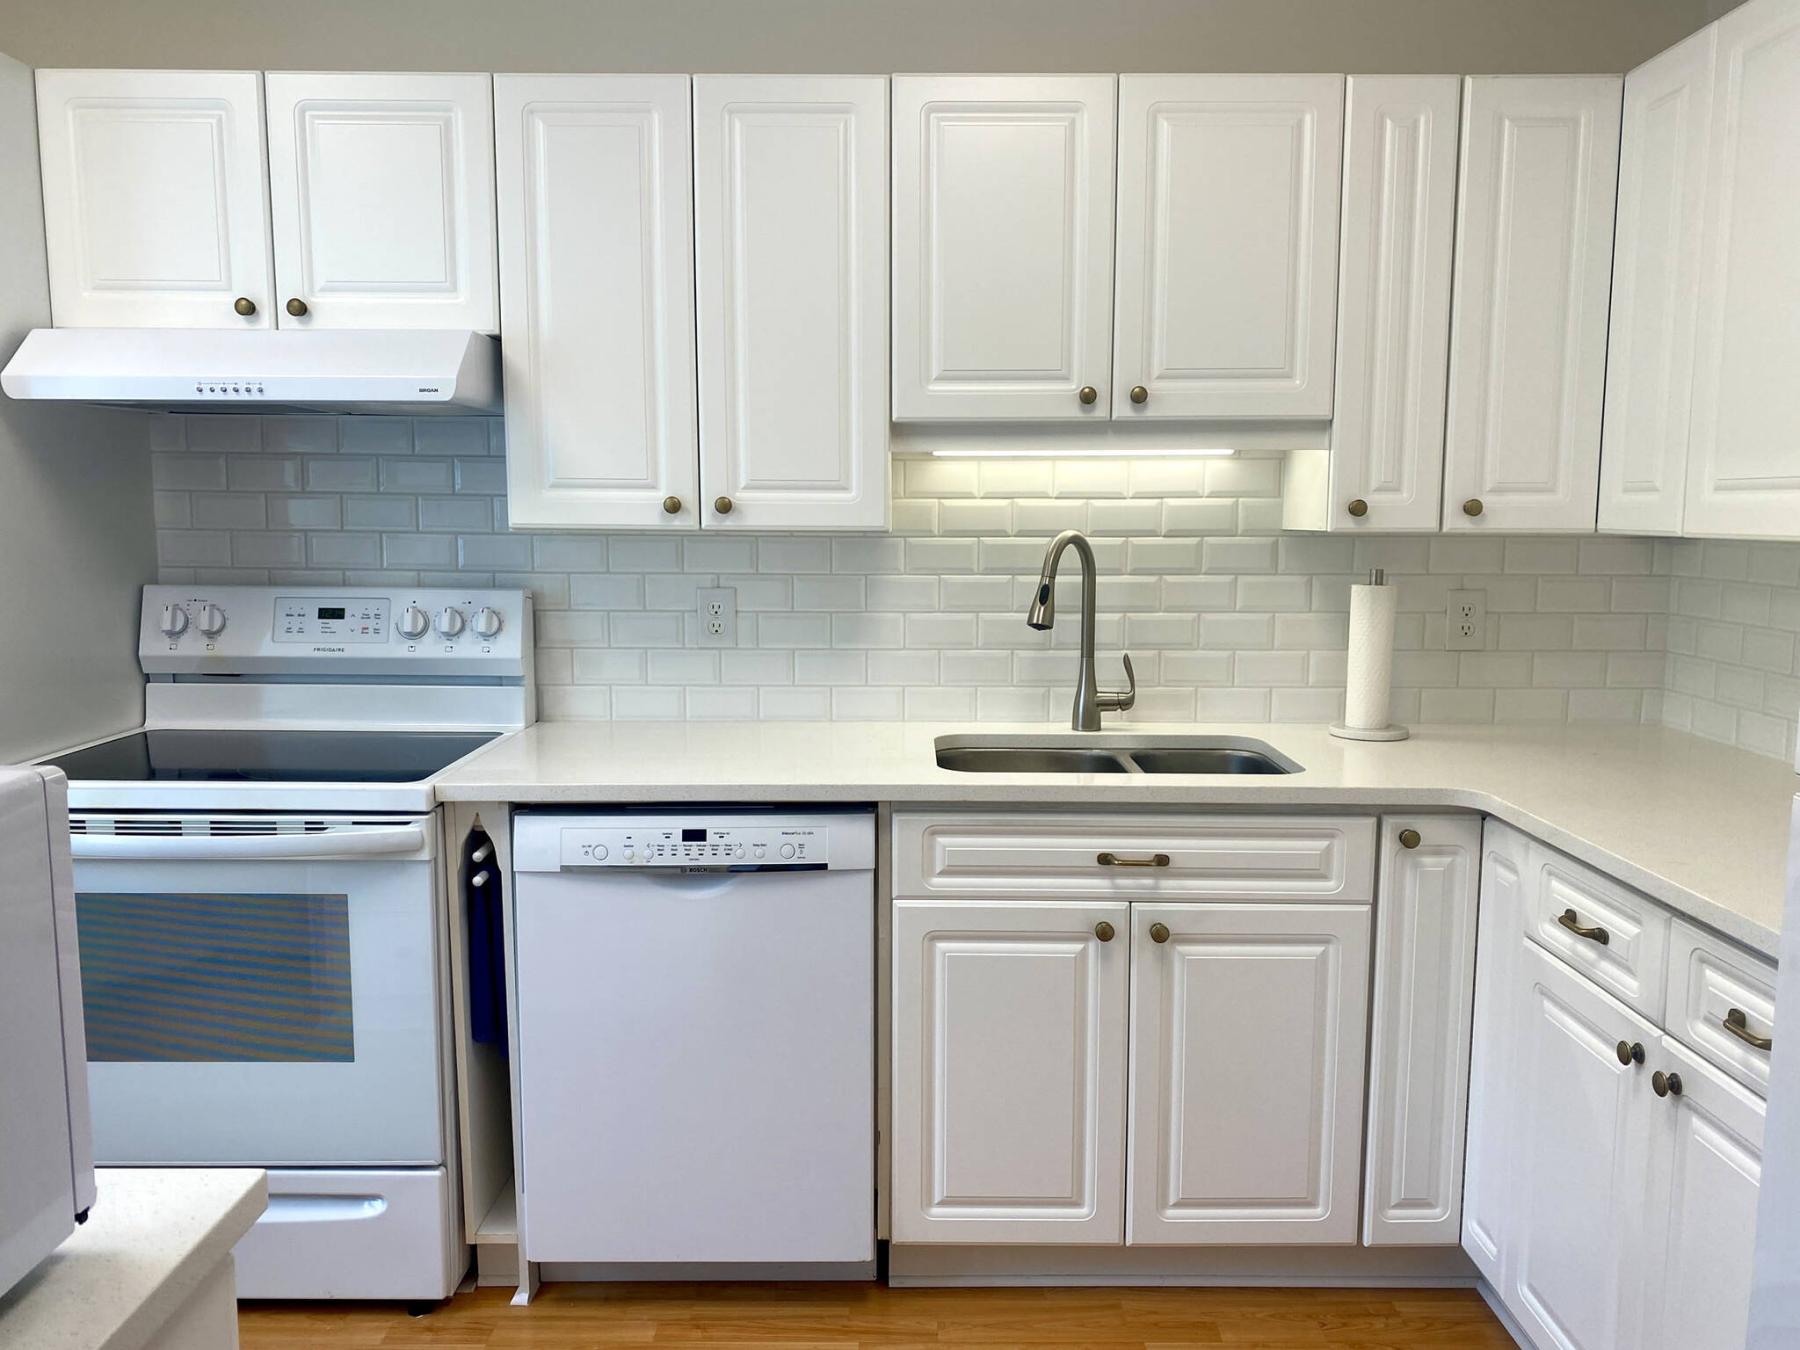
The new range hood improves ventilation and lighting above the stove, while the new pull-down faucet better fills the space at the sink.
Marc LaBossiere / Free Press
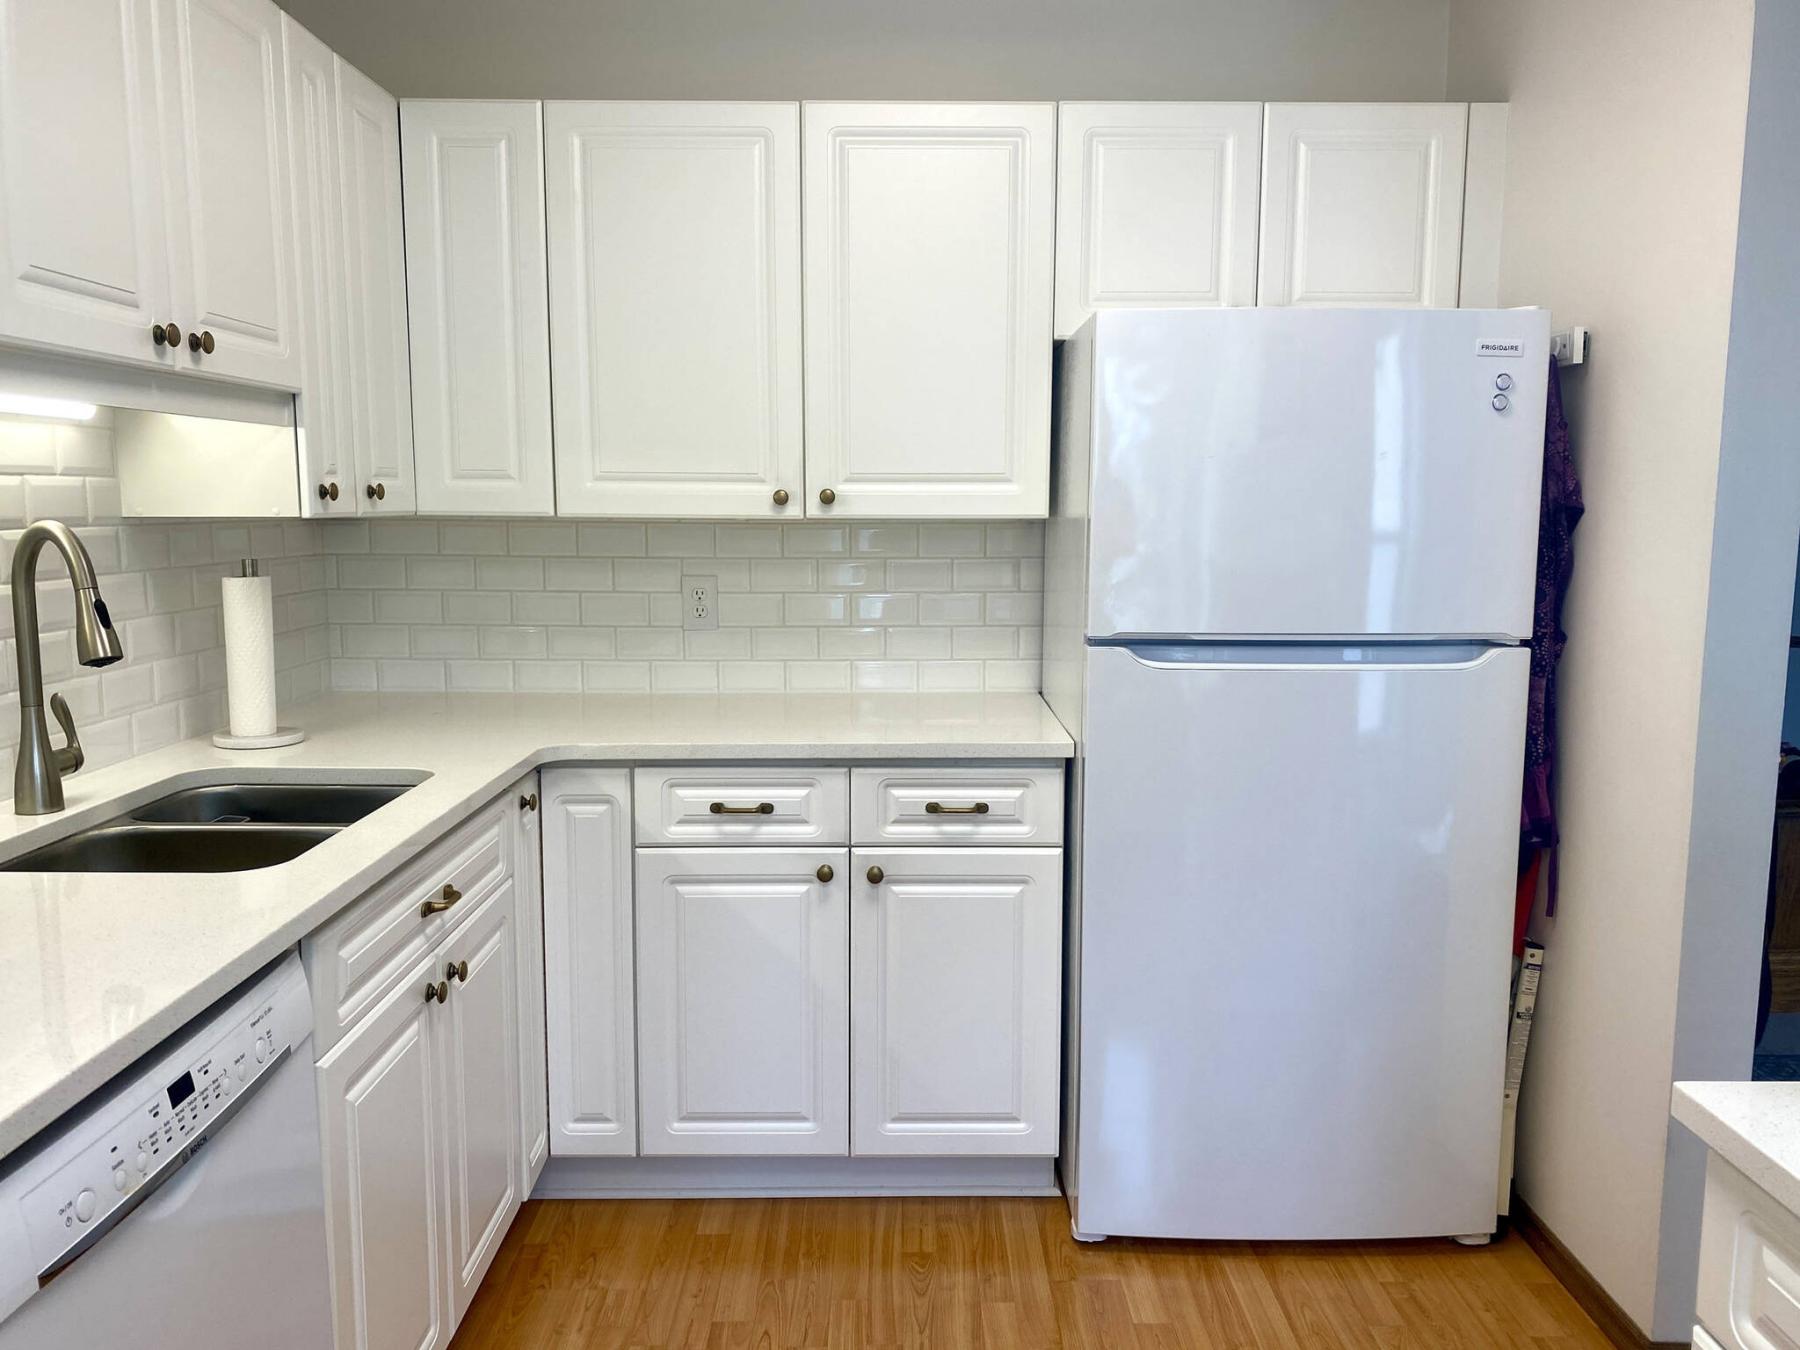
The fridge was shifted over, directly next to the lower cupboards, to align with the upper cabinets above the appliance.

Marc LaBossiere / Free Press
A new custom retractable apron hook was fashioned and mounted at the gap between the left side of the fridge and the far wall.
Every once in a while, a project has the potential to greatly improve someone’s day-to-day activities, with simple yet life-altering improvements.
At a recent kitchen facelift job, the esthetic enhancements paled in comparison to the added functionality. The kitchen does look a whole lot better, but its new and improved functional features have definitely brought the homeowner the most joy.
Over time, drawer mechanisms can begin to falter. As such, sliding drawers in and out can require greater effort than should be necessary. Although the existing kitchen cabinet layout had served the homeowner well, the inability to access these drawers freely had caused great concern over the past few years.
Beyond the issues with adjacent cutlery drawers, a floor-to-upper-cupboard-height cabinet beside the stove had never been designed for ease of use. Although there was plenty of storage space, the depth of the cabinet prevented access to the items stored at the back of the unit, on all shelves. Along with several esthetic improvements, these lingering issues would now be addressed.
The first modification entailed replacing the existing Arborite countertops with quartz. The old Arborite had begun to peel up in certain areas, especially at the seams. As such, the main L-shaped counters along the sink and fridge walls received new white-quartz tops, along with a new undermount stainless-steel sink and pull-down Moen faucet.
On the opposite side of the space, another L-shaped Arborite countertop was also replaced. This part of the job proved to be quite a challenge, as the far leg of the “L” is situated next to a bay window which called for very precise measurements during the manufacturing stage. During the installation, the new top slid in quite nicely, after a few slight modifications to the existing drywall and window jambs.
Once the newly fabricated cabinet elements were ready, the failing drawers and inconvenient upright cabinet issues were addressed. First, the old upright was completely removed from the space, which entailed temporarily dismantling the range-hood ventilation ducting. This, is turn, helped expedite the introduction of a new range hood, as the old one’s functionality was waning.
Once the new hood was mounted, the appropriate duct-access holes were pre-drilled before setting the new upright cabinet into position.
Once that was secured in place, the ducting was remounted and sealed with foil tape. The cabinet was then populated with the two deep roll-out drawers at the bottom, and fitted with the upper cabinet door that reveals adjustable shelves along the upper half of the unit. The lower drawers will greatly improve ease of use, because access to the back of the drawers is now just a simple “roll-out” away.
Although I had hoped simply to replace the glides of the two failing cutlery drawers, the style of existing glides and size of the drawer boxes prevented a simple hardware swap. As such, I instructed the cabinet-maker to create two new drawer boxes of narrower width, to allow for the introduction of new side-mount drawer glides. After a few cabinet modifications and mounting the glides, the drawer-box operation was tweaked for optimal functionality.
The old drawer fronts were then re-mounted to the fronts of the new boxes, making it appear as if nothing had changed. However, any sense nothing had been accomplished was quashed the moment either drawer was rolled out with ease.
Lastly, the fridge had originally been tucked up against the far wall to allow for greater countertop length which in turn, strangely offset the lineal placement of the upper cupboards. The gap between the right side of the fridge did not line up with the upper cabinet spacer that was installed on its left side — just plain weird.
After a discussion with the homeowner, it was decided the fridge would shift over to be positioned directly next to the lower cabinets on the right, to line up with the upper cabinets. The upper-cabinet gap spacer on the left then showcased a gap between the left side of the fridge and the far wall.
Having lost the spot for an apron hook on the inside door of the old upright cabinet in the redesign, a custom apron-hook roll-out was created using a single drawer glide with a block mounted to it. Once the glide was fastened to the wall at the fridge gap, the apron hook was secured to the block, allowing the hook to retract into the gap as clever concealment. Works like a charm!
With the major cabinet fixes accomplished, the finishing touches included two new LED ceiling light fixtures, a new bevelled subway-tile backsplash and some trim modifications below the new quartz countertops at the bay window. We also took the time to realign the cabinet doors and drawer fronts to level and square, as best as the old mechanisms would allow.
So, while most of the existing kitchen does remain, its overall look has greatly improved. But most importantly, the homeowner will no longer experience difficulties using various aspects of the kitchen, which is what prompted the facelift in the first place. Win, win!
RenoBoss.Inc@outlook.com