Photos by Marc LaBossiere
This bathroom appears to have a common layout. But complexities can be hidden.
Marc LaBossiere
This bathroom appears to have a common layout. But complexities can be hidden.
Marc LaBossiere
This entire bathroom remodel included a new vanity, a bathtub replacement as well as new tiling, which posed a few challenges due to the walls being so askew.
Marc LaBossiere
This entire bathroom remodel included a new vanity, a bathtub replacement as well as new tiling, which posed a few challenges due to the walls being so askew.
Marc LaBossiere
This entire bathroom remodel included a new vanity, a bathtub replacement as well as new tiling, which posed a few challenges due to the walls being so askew.
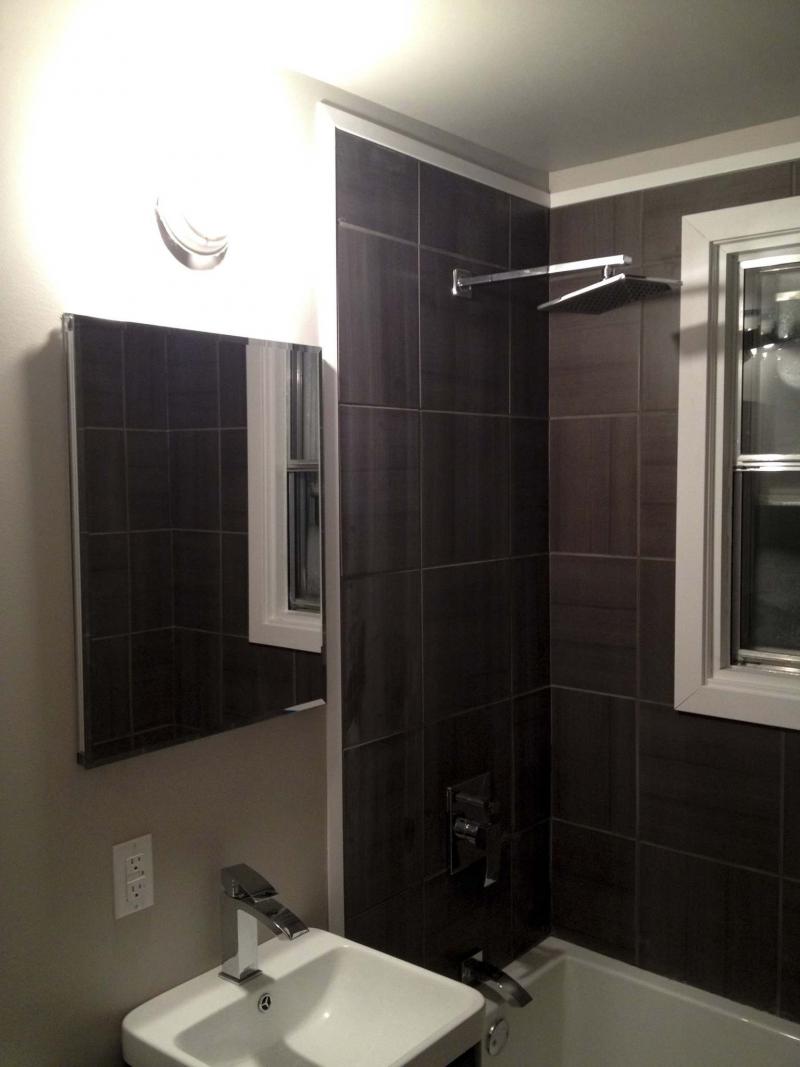
McMahon tub & shower stall with window in view, as well as vanity and mirror
Marc LaBossiere
It’s not often that a bathroom remodel presents such an array of challenges, it sticks in one’s memory like a go-to strip of Velcro. One such renovation has been the basis of constant reference, since its completion a few years ago. Not a single surface was square — the walls, the ceiling, the floor… all parallelograms to contend with. And a slew of issues presented themselves, one after another, as the previous obstacle was remedied. In retrospect, this bathroom was quite an ordeal.
A client often presents a seemingly simple request — to gut the bathroom for an entire remodel. And more often than not, the client also suggests the design they have in mind.
Kristen McMahon, had such a request. McMahon’s house, built in the 1920s. As such, old construction methods were utilized throughout. Although some of the plumbing and most of the wiring had been upgraded, the walls and ceilings, and subfloors were original to the home; the former consisted of old fir two-by-fours, strapped in lathe and plaster. The latter… angled planks atop two-by-eight joists on 12-inch centres. To make things interesting, the house shifts throughout the years had created an imperfect cube in every room of the house, including the bathroom on the main floor, the focus of the remodel.
Demolition was straight-forward; the plaster and lathe was removed completely from all walls and ceiling, to expose the old fir studs. The battered linoleum which graced the bathroom floor was lifted in pieces, until the old subfloor planks were also fully revealed. The cast iron tub (which weighed a ton), was displaced and eventually taken out completely, as were the old vanity and toilet. It was now time to examine the existing plumbing and wiring. To my delight, the wiring to this room had been upgraded. The plumbing, however, was old — best to be replaced with ABS and tie-in at a convenient point in the basement, easily achieved because the ceiling joists in the basement remain exposed.
It had not occurred to me how "un-square" the entire room was until I attempted to begin the drywalling stage. Not one corner was plumbing. In a situation such as this, it is necessary to decide upon what wall will serve as square and work from it. Fortunately, the ceiling, although askew from one corner to the next, was level, and the ceiling drywall was installed with relative ease. The subfloor was not at all level — this issue would be remedied at a later stage, just before the floor tiling began. Once the new fibreglass tub was set into place, and tied-in to the new rough plumb and the shower was also rough-plumbed, aqua board was affixed to the walls from above the upper ridge of the tub to the ceiling. The remainder of the walls would receive standard drywall. Unfortunately, the walls were not only askew, they also had bows and curves, hidden from sight behind to old lathe and plaster.
Because the opposite sides of the framing still carried the weight of plaster in adjacent rooms, it was imperative to minimize forcible movement to any of the old fir studs. As such and in order to remedy the bows and curves issues, carefully measured spacers were attached to each stud, increasing and decreasing in depth as needed, to bring the wall framework as close to flush as possible to incur a flat surface on which the new drywall could be affixed, thereby rendering the straightest wall possible. It took some time, but this was achieved. It did of course create an unexpected issue.
Once the drywalling was finished, I would continue with the next steps — several coats of drywall mudding and taping, sanding and painting. Up until that point, I had already been charged with an unexpected task.
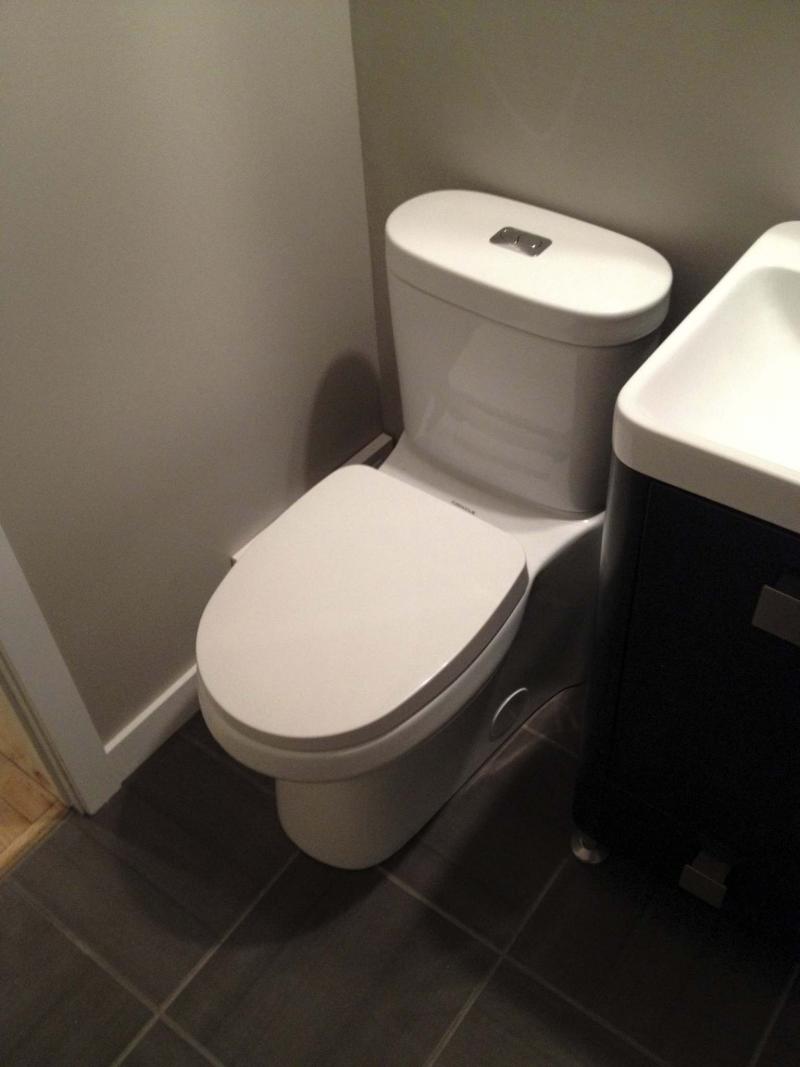
Because this was the only bathroom in the house, the toilet was reinstalled at the end of each work day. Although McMahon had suggested she could use her brother’s bathroom a few blocks away, this would not be convenient, not at all a viable expectation. Therefore, I bought a 10-pack of toilet wax rings (they don’t actually come in 10-packs... but, you know what I’m getting at), and the toilet was set atop the flange at the end of each day, only to be once again removed upon my return the next day.
I had hoped this ritual was nearing its end... To my dismay, the wall-straightening remedy created a very unexpected deviation. The spacers used along the wall studs nearest the toilet had pushed out the new wall so much as to no longer allow the toilet to sit centred on the flange — the flange was now too close to the new wall.
Although not part of the original plan, the old lead flange needed to be shifted.
I decided to replace it altogether, once the subfloor opening was shifted an inch away from the wall. A new ABS toilet flange was installed, and tied-in to the existing stack below. This process took the entire day, and the toilet reinstallation ritual continued again that evening before I left.
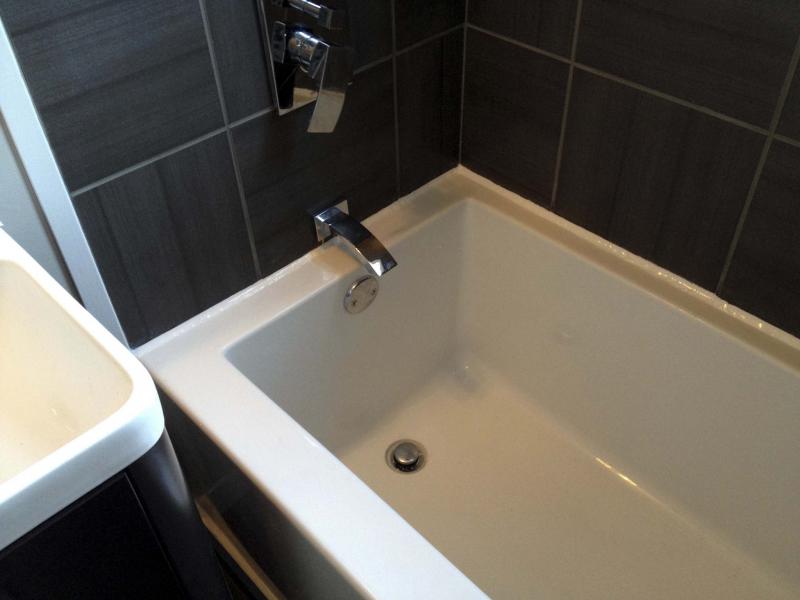
The tiling stage also presented a few challenges due to the walls being so askew to one another. It was pertinent to create a tiling layout that, when possible, allowed at least a minimum of half, if not a third, of a tile to remain after being cut, when installed perpendicular to tiling on the adjacent wall.
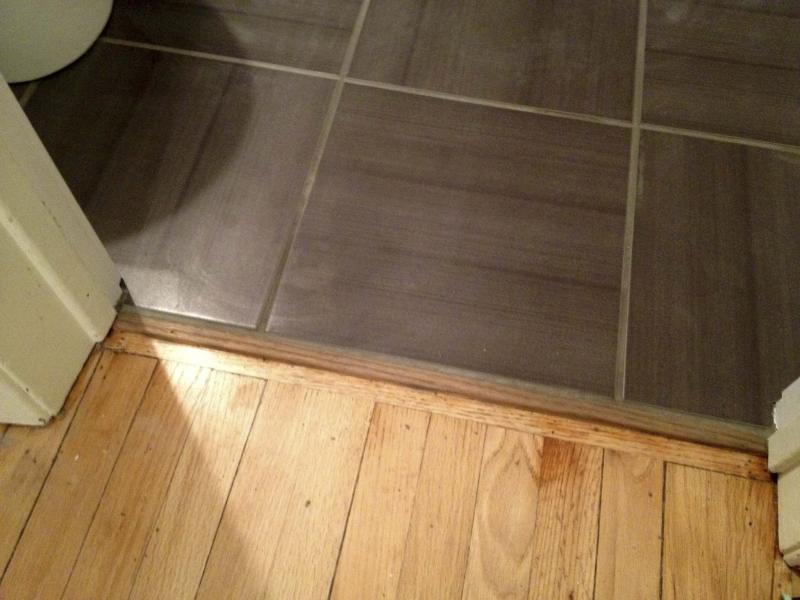
Even if the tiling gradually angles towards or away from the adjacent wall tiling, a larger portion of a tile would lessen the ability of the human eye to notice such a discrepancy. As such, the most esthetically pleasing layout was established for the three walls of the tub and shower stall. And once leveller was poured and allowed to set on the floor, the same process was utilized to create to most eye-pleasing floor-tile layout, as well. In this case, because the tub is situated at the far end of the bathroom and directly across from the entryway, keeping the tiling parallel with the doorway and tub was most important.
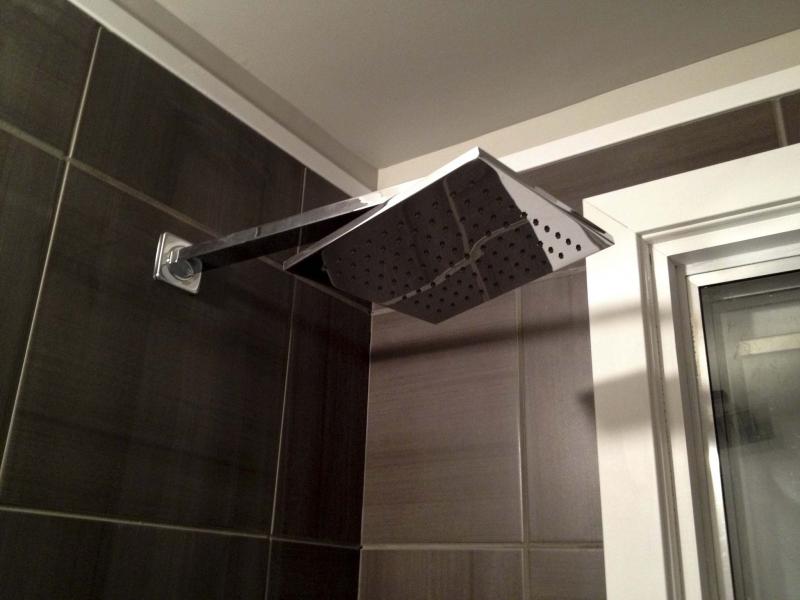
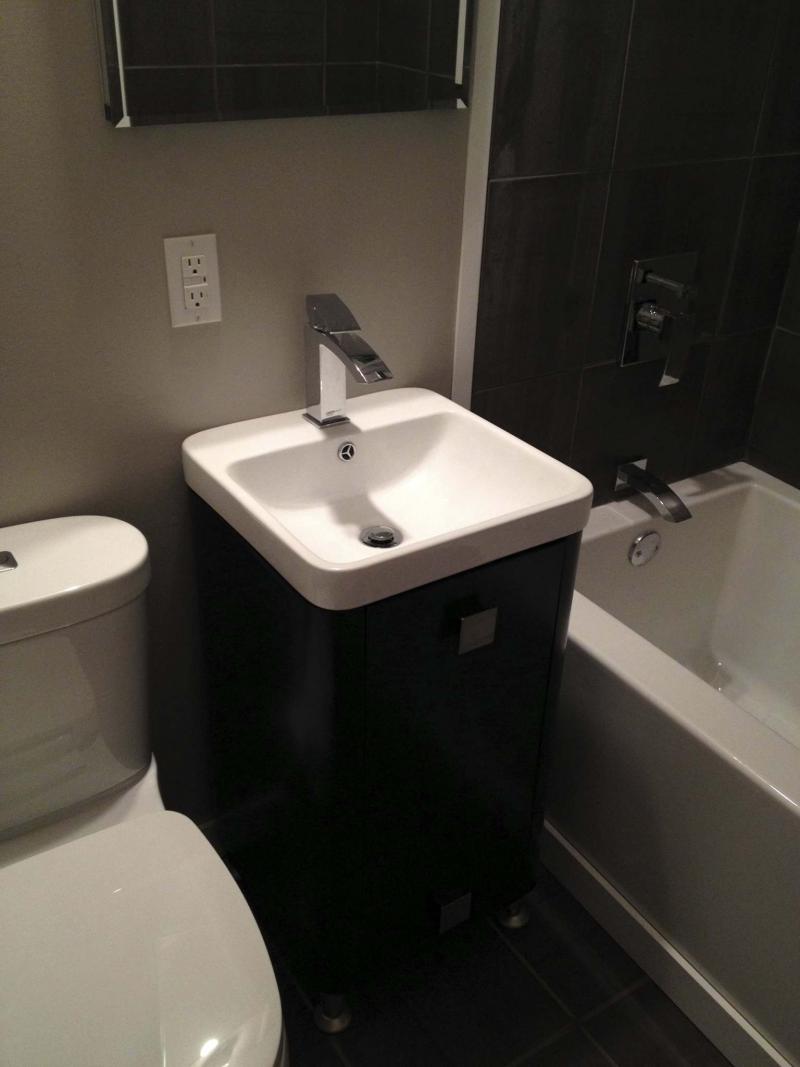
Once the grouting had set and the final silicone and caulking was completed, the baseboards and casings were affixed. The space was then populated; the shower faucet, head and tub spout were installed, the vanity was positioned and the sink faucet connected.
The vanity mirror and light were set into position and the toilet was reinstalled for the final time, with less than an eighth-of-an-inch gap between the new wall and the back of the tank. A flooring transition was secured along the threshold of the entryway and the new space was ready for use.
To look at this bathroom at quick glance, it appears to be a common layout. However, steps hidden behind an esthetic inner shell can sometimes hide the complexities of a build, tasks that can sometimes overwhelm even the most seasoned renovator. Regardless, the project was completed only slightly over schedule.
And yes — I now know EXACTLY how long it takes to remove and reinstall a toilet... And for those of you who are curious, I did not charge my client for every removal and reinstall occurrence. It had to be done, so I just did it.
BossEnterprise@outlook.com