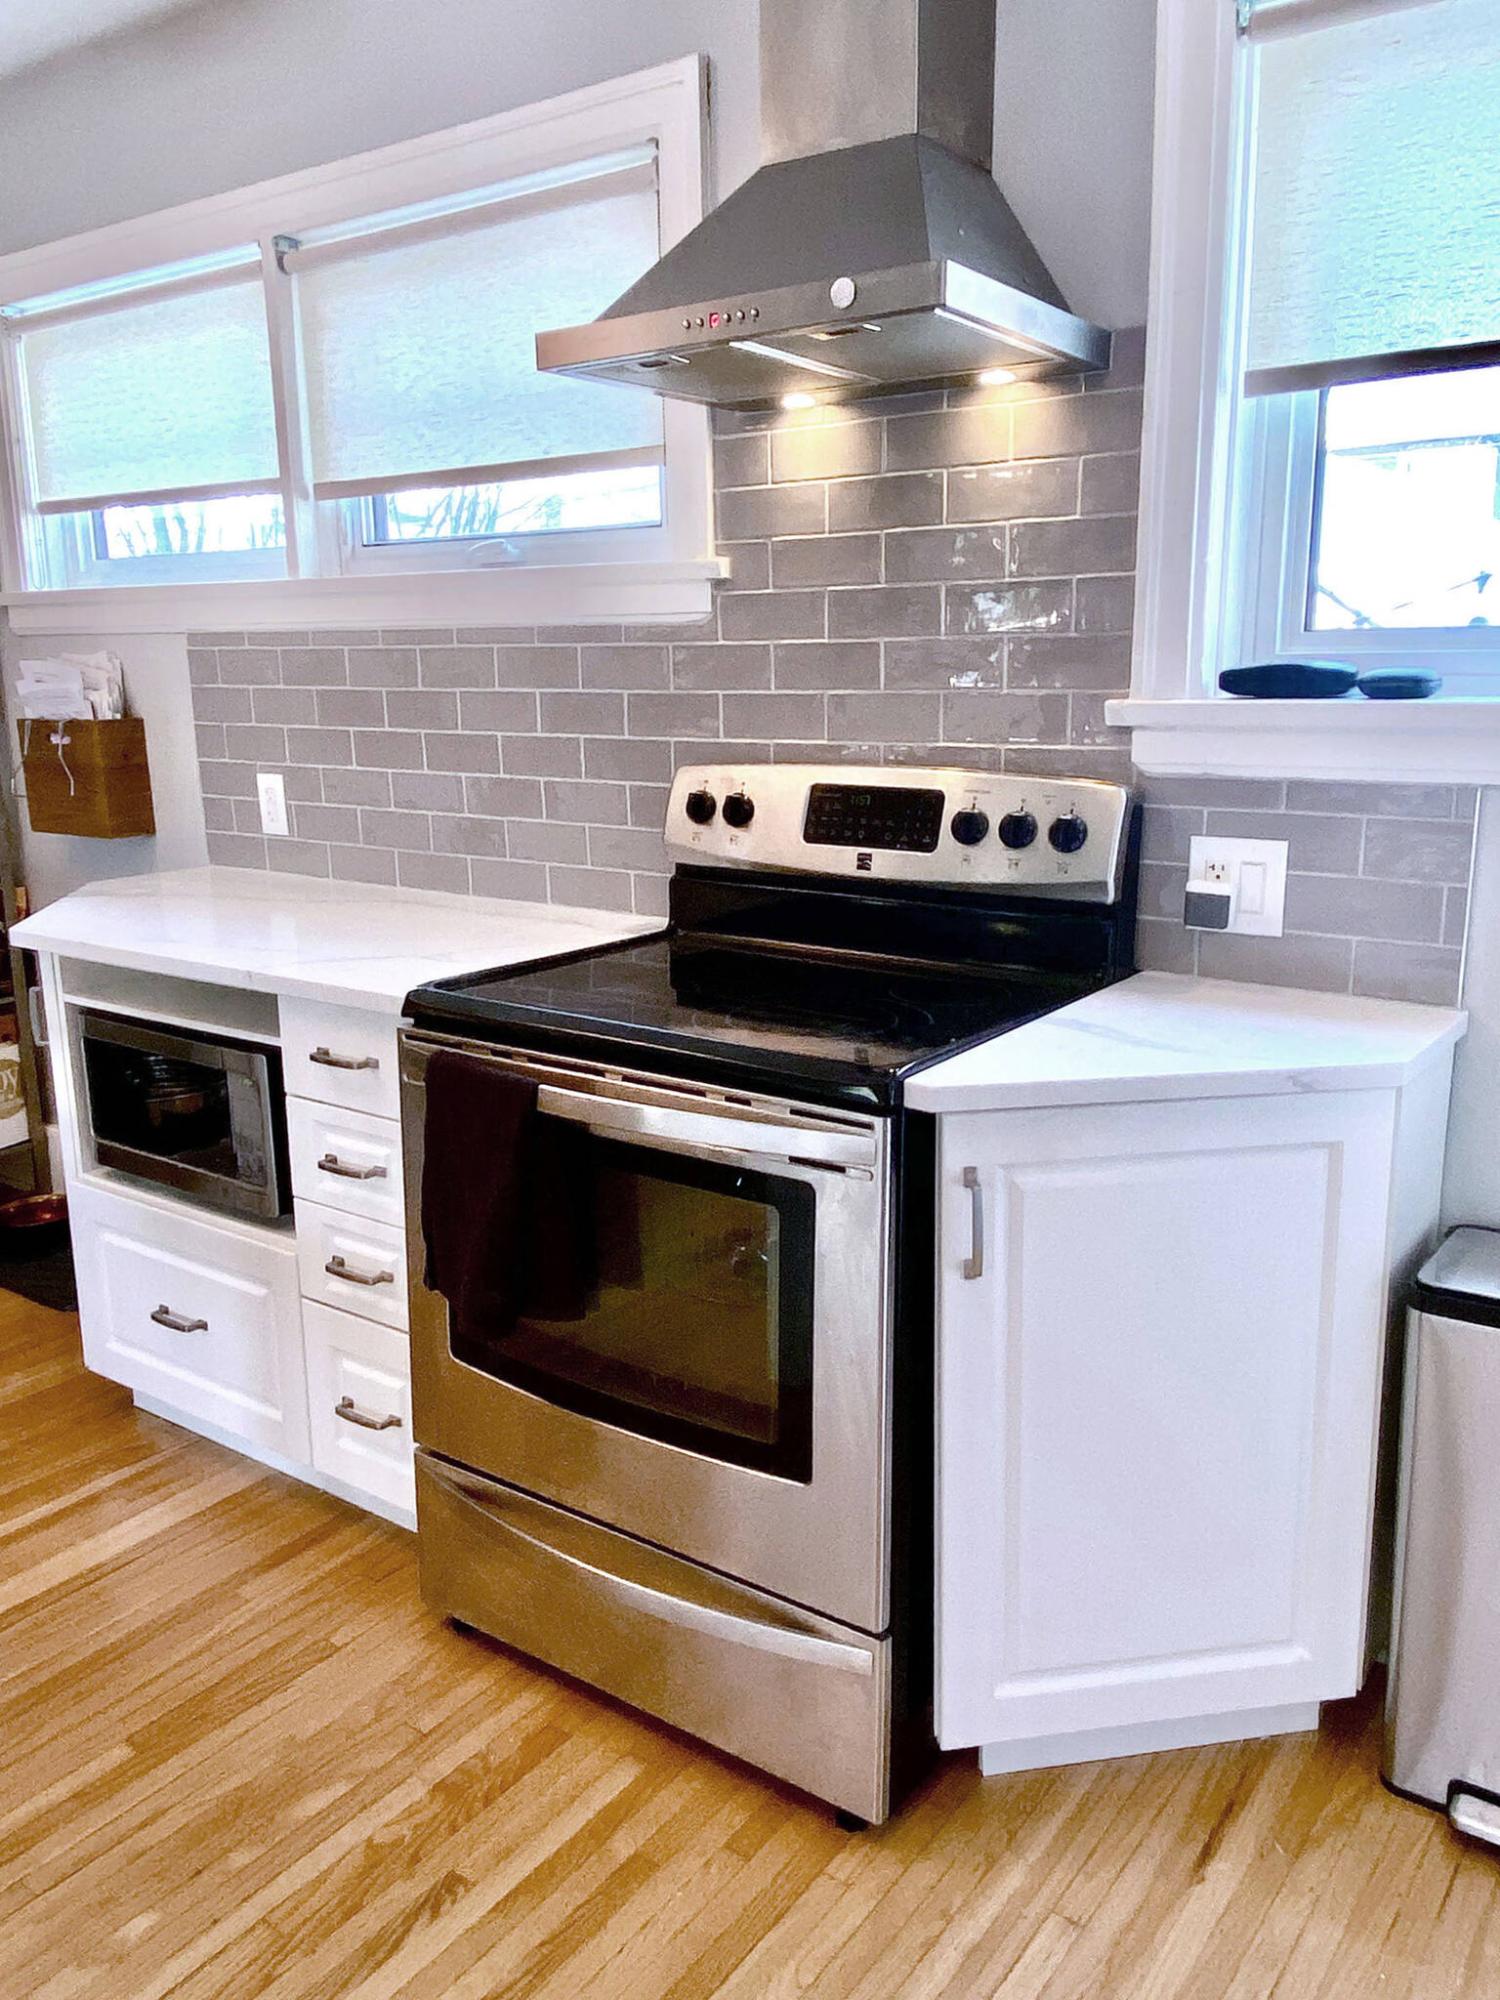
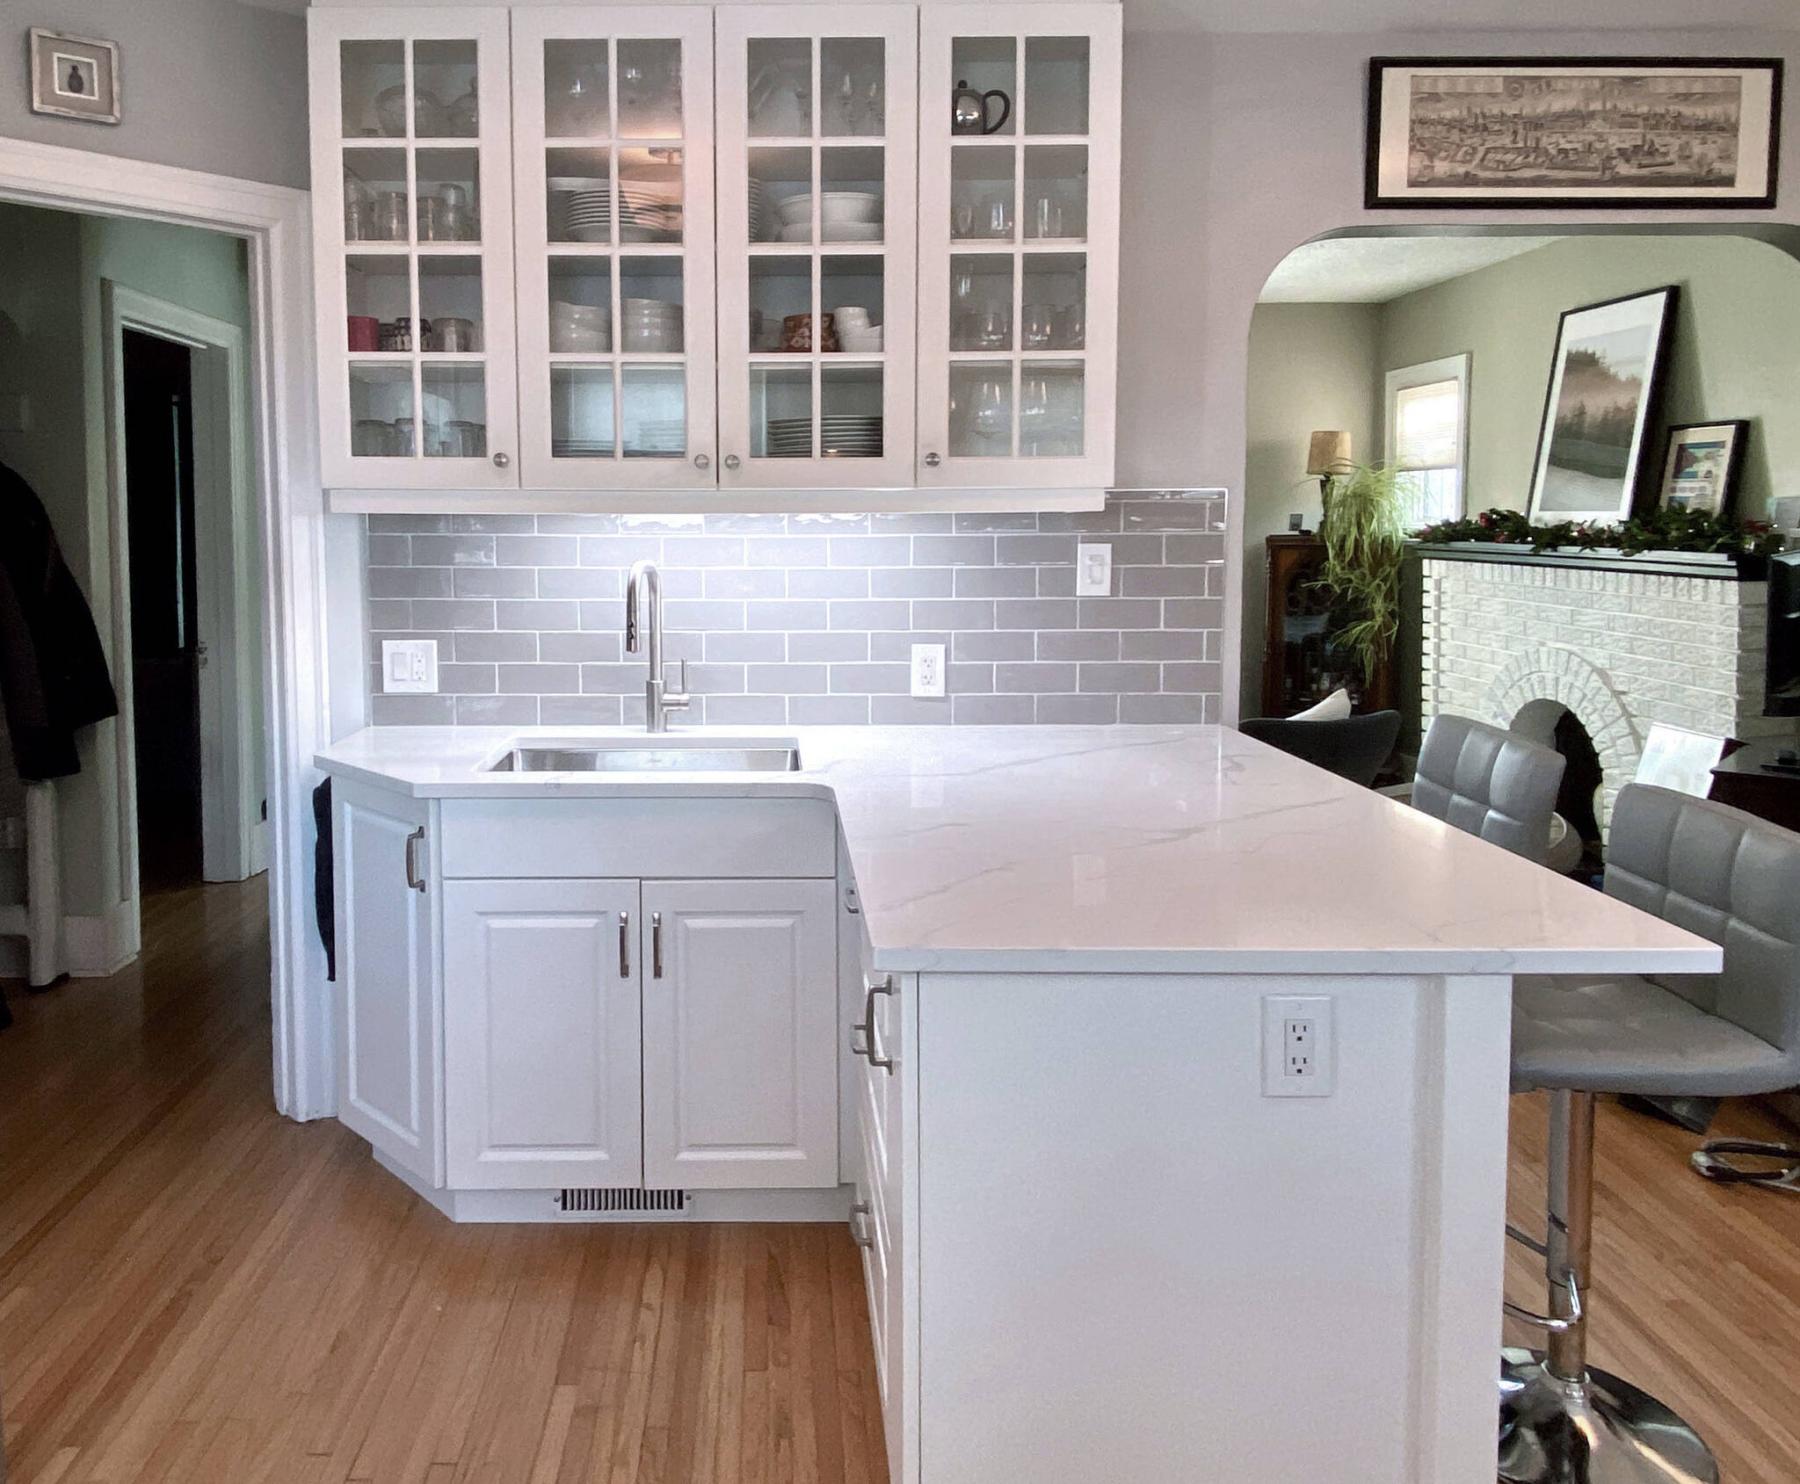
The idiosyncrasies of the backsplash along the rear wall proved challenging at the stove location.
Marc LaBossiere / Free Press
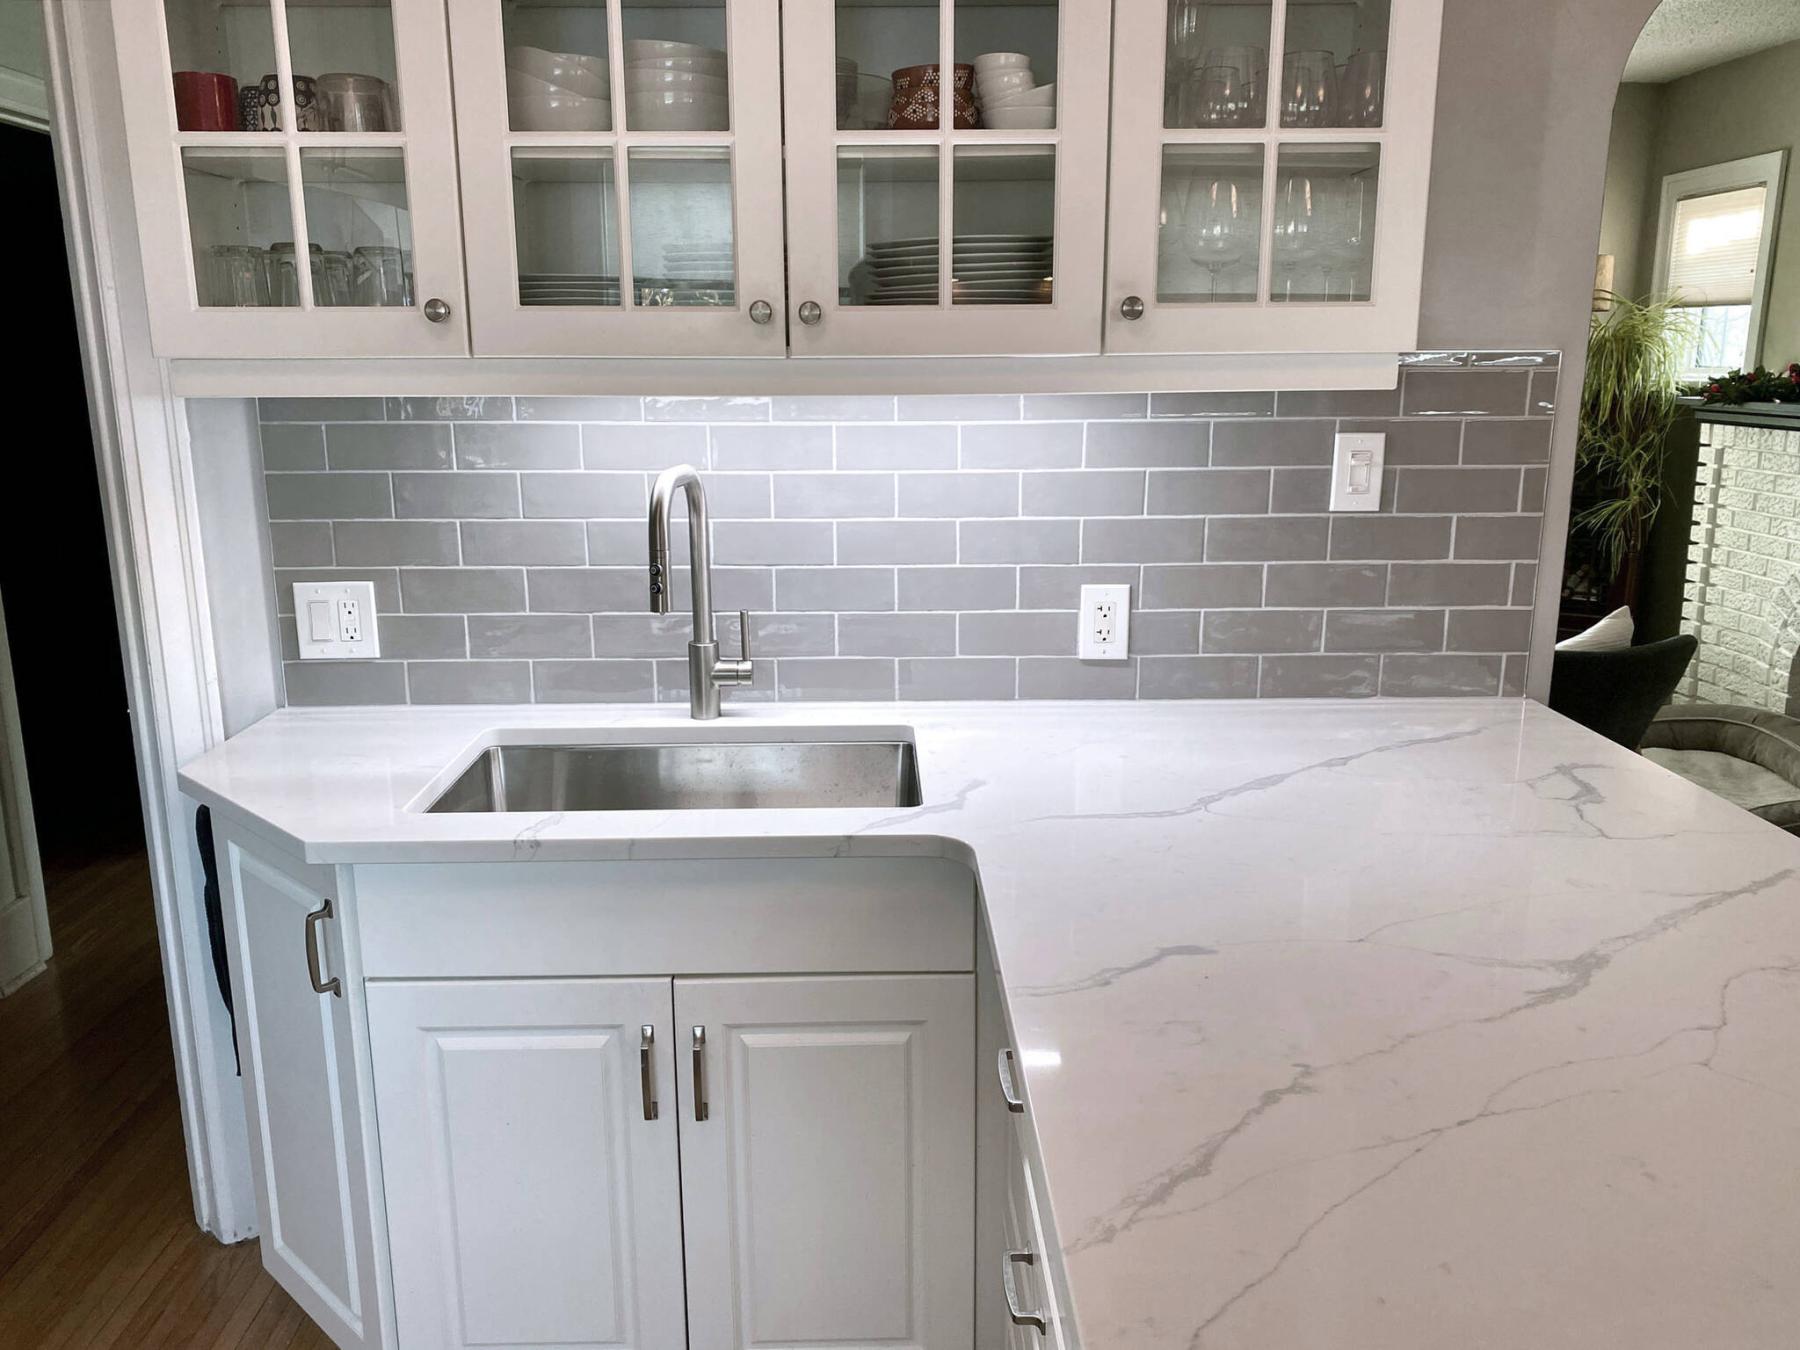
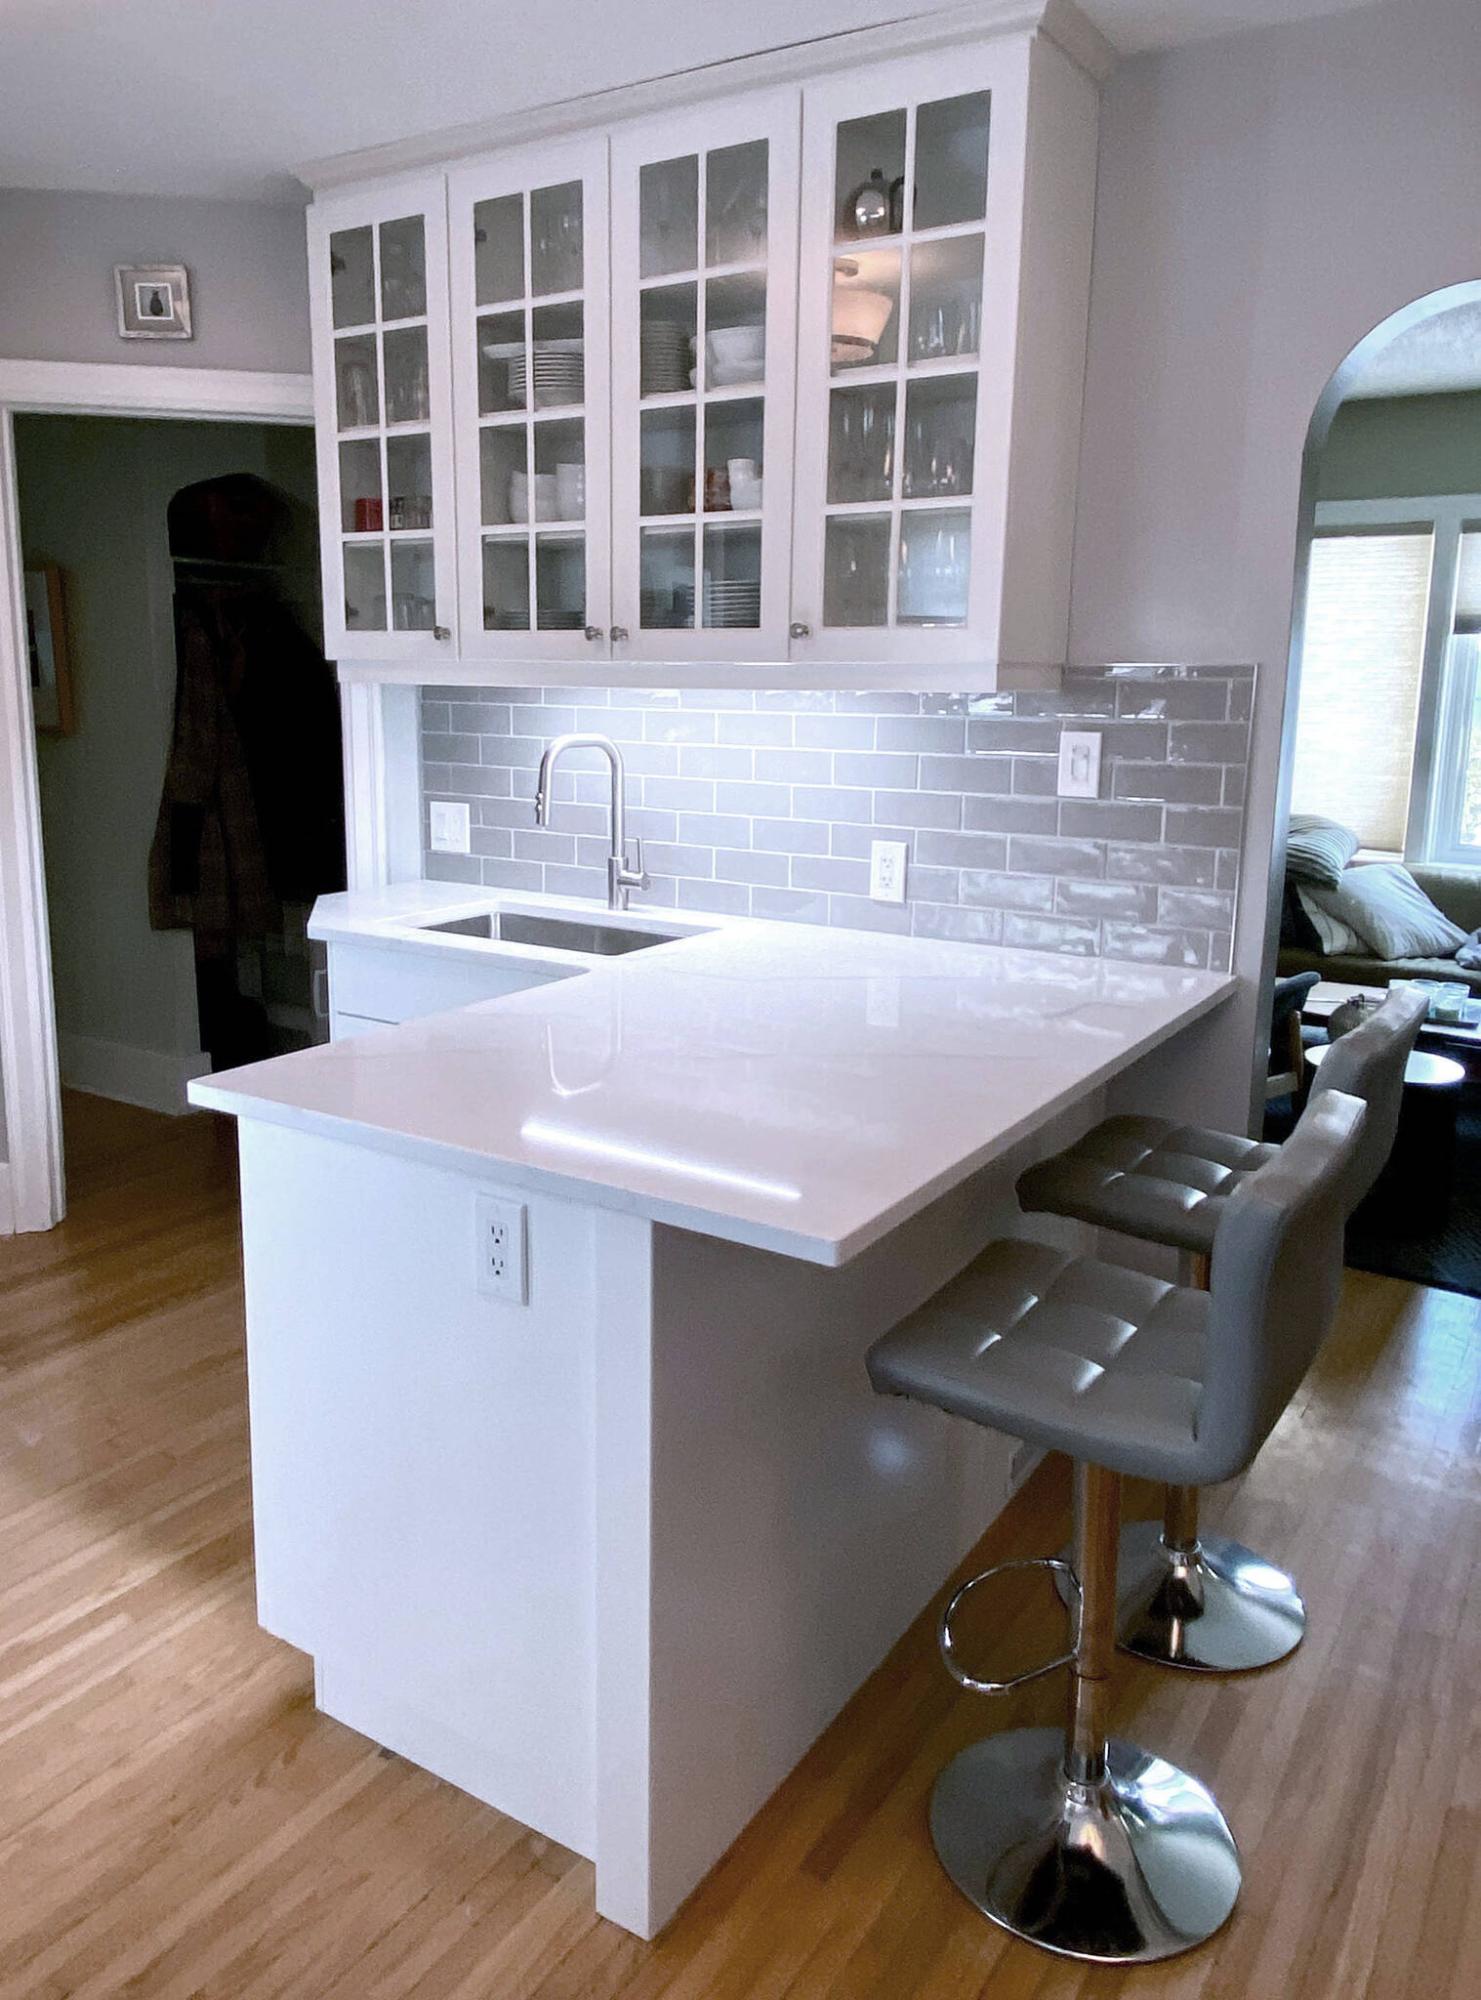
The L-wing is updated by cutting down the existing higher tier at the seating area to facilitate a continuous quartz top.
Photos by Marc LaBossiere / Free Press
Once the electrical outlet from the higher tier was relocated along the end of the L-wing, introduction of the single-piece quartz top greatly increased counter surface area.
Engaging in a kitchen renovation can easily become a very pricey adventure. As such, maintaining focus on only those aspects that absolutely must be updated while retaining others can help soften the financial blow.
By keeping the existing cabinetry throughout, the homeowners at my first project of 2026 slid into the new year with a reasonable kitchen-facelift price tag. And the results speak for themselves.
This kitchen had been renovated in the past, including the removal of a wall to open up the space. By doing so, the sink area remains on the inner wall, and includes an L-wing which creates a peninsula island. Along the back exterior wall, the stove is placed between two legs of another countertop area.
While this revised layout has remained functional for the subsequent years, the overall esthetic required an update. As such, a decision to replace the old Arborite countertops with quartz became the priority, along with updating the backsplash’s outdated style. To round out the reno, a new sink and faucet would also be introduced.
As the proposal of new quartz was being discussed, another less-obvious change would be made. Along the main L-wing of the peninsula, a higher tiered countertop had been introduced during the previous remodel, allowing a seating area with high-back stools. And although this seems like a typical inclusion along an L-wing, the homeowners had come to the realization the upper tier greatly reduced the functionality of the main countertop.
Moreover, the existing double-tub kitchen sink also included a topside dish-rack tray, which also overtook much of the top-side counter surface. The proposed plan would replace the existing sink with a deep, single under-mount design, which would greatly increase the counter surface area adjacent to the sink. Cutting the higher-tier support down to meet the elevation of the main counter, would also help maximize overall usable countertop space.
Once the existing tiled backsplash was painstakingly removed, the old sink was disengaged and the old Arborite counters were dislodged from the cabinetry below.
Before cutting down the support at the higher tier, a single electrical outlet was relocated to the side panel at the end of the L-wing. This process was facilitated by the inherent extra length of the main feed wire, which allowed a simple shift in the feed to reach the newly chosen outlet location.
Once the outlet was re-mounted and tested, the higher tier was then cut down to the same elevation as the neighbouring cabinets. With all elements of the L-wing now at the same height, the quartz installation process could begin.
The crew first installed the L-shaped quartz as a single piece, onto the prepped area. The quartz includes a 12-inch overhang on the stool side of the peninsula, maintaining the seating area function, albeit at a slightly lower elevation. The new under-mount sink was then installed, and the faucet mounting hole was drilled on site.
After the other two smaller quartz tops were set into place on either side of the stove along the back wall, the sink drain and faucet were then summarily reconnected and tested. Things were really starting to come together.
During the last two days of the renovation, the backsplash tiling was undertaken. Starting at one end of the inner wall along the quartz top, the new grey subway-esque tile backsplash was installed in a brick layout manner, on the half. Where the tile ends, chrome edging was introduced to achieve a finished look and clean line.
This process was repeated along the back wall, and it did get tricky at the stove location. All the little nooks and crannies, as well as other idiosyncrasies near the window casings and range hood presented several challenges when attempting precise cuts. No matter, the tiling was successfully in place, terminating against chrome edging at each end.
Allowed to set overnight, both main backsplash areas then received a resin-based grout, which concluded the tiling process. After a few beads of caulk and silicone in required areas, the kitchen facelift was completed.
By changing the Arborite countertops to quartz, and replacing the old and dated tile to an updated style and colour, the kitchen has truly been revitalized. And although lowering the higher tier of the L-wing to match the main countertop elevation greatly improves the overall surface area and thereby functionality of the kitchen counters as a whole, it is the new and improved look of the space that becomes the show-stopper.
This facelift also enhances the existing cupboards, which weren’t manipulated in any way. This kitchen is the perfect example of the old adage, “sometimes less is more,” which is often the case.
RenoBoss.Inc@outlook.com