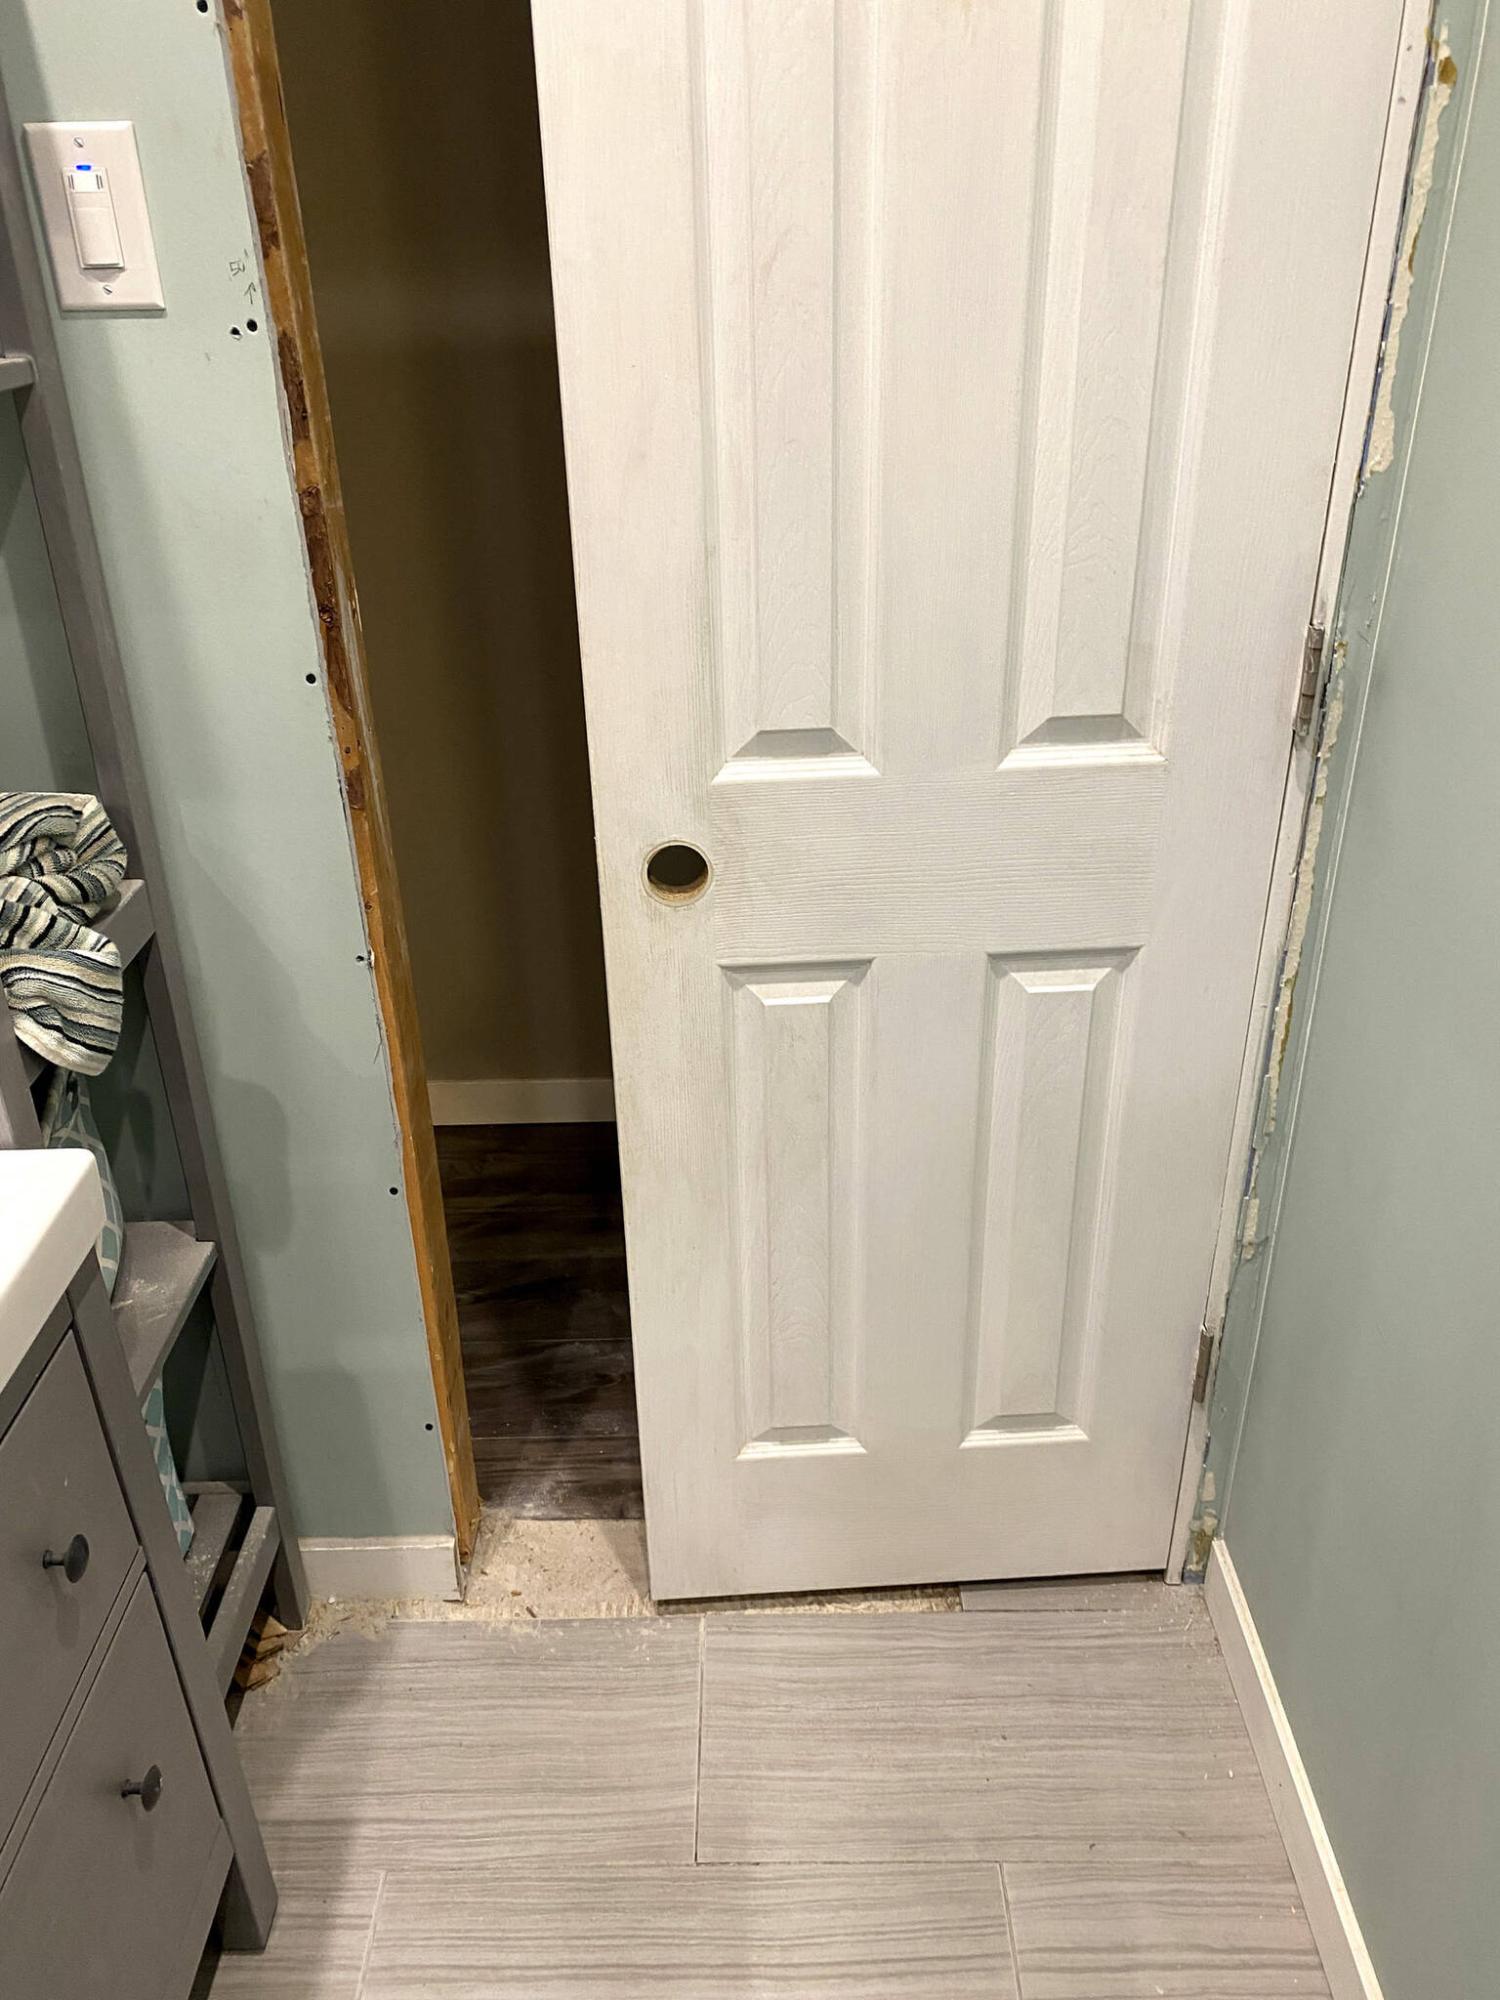
Once the opening was adapted, the old door highlights the width difference.
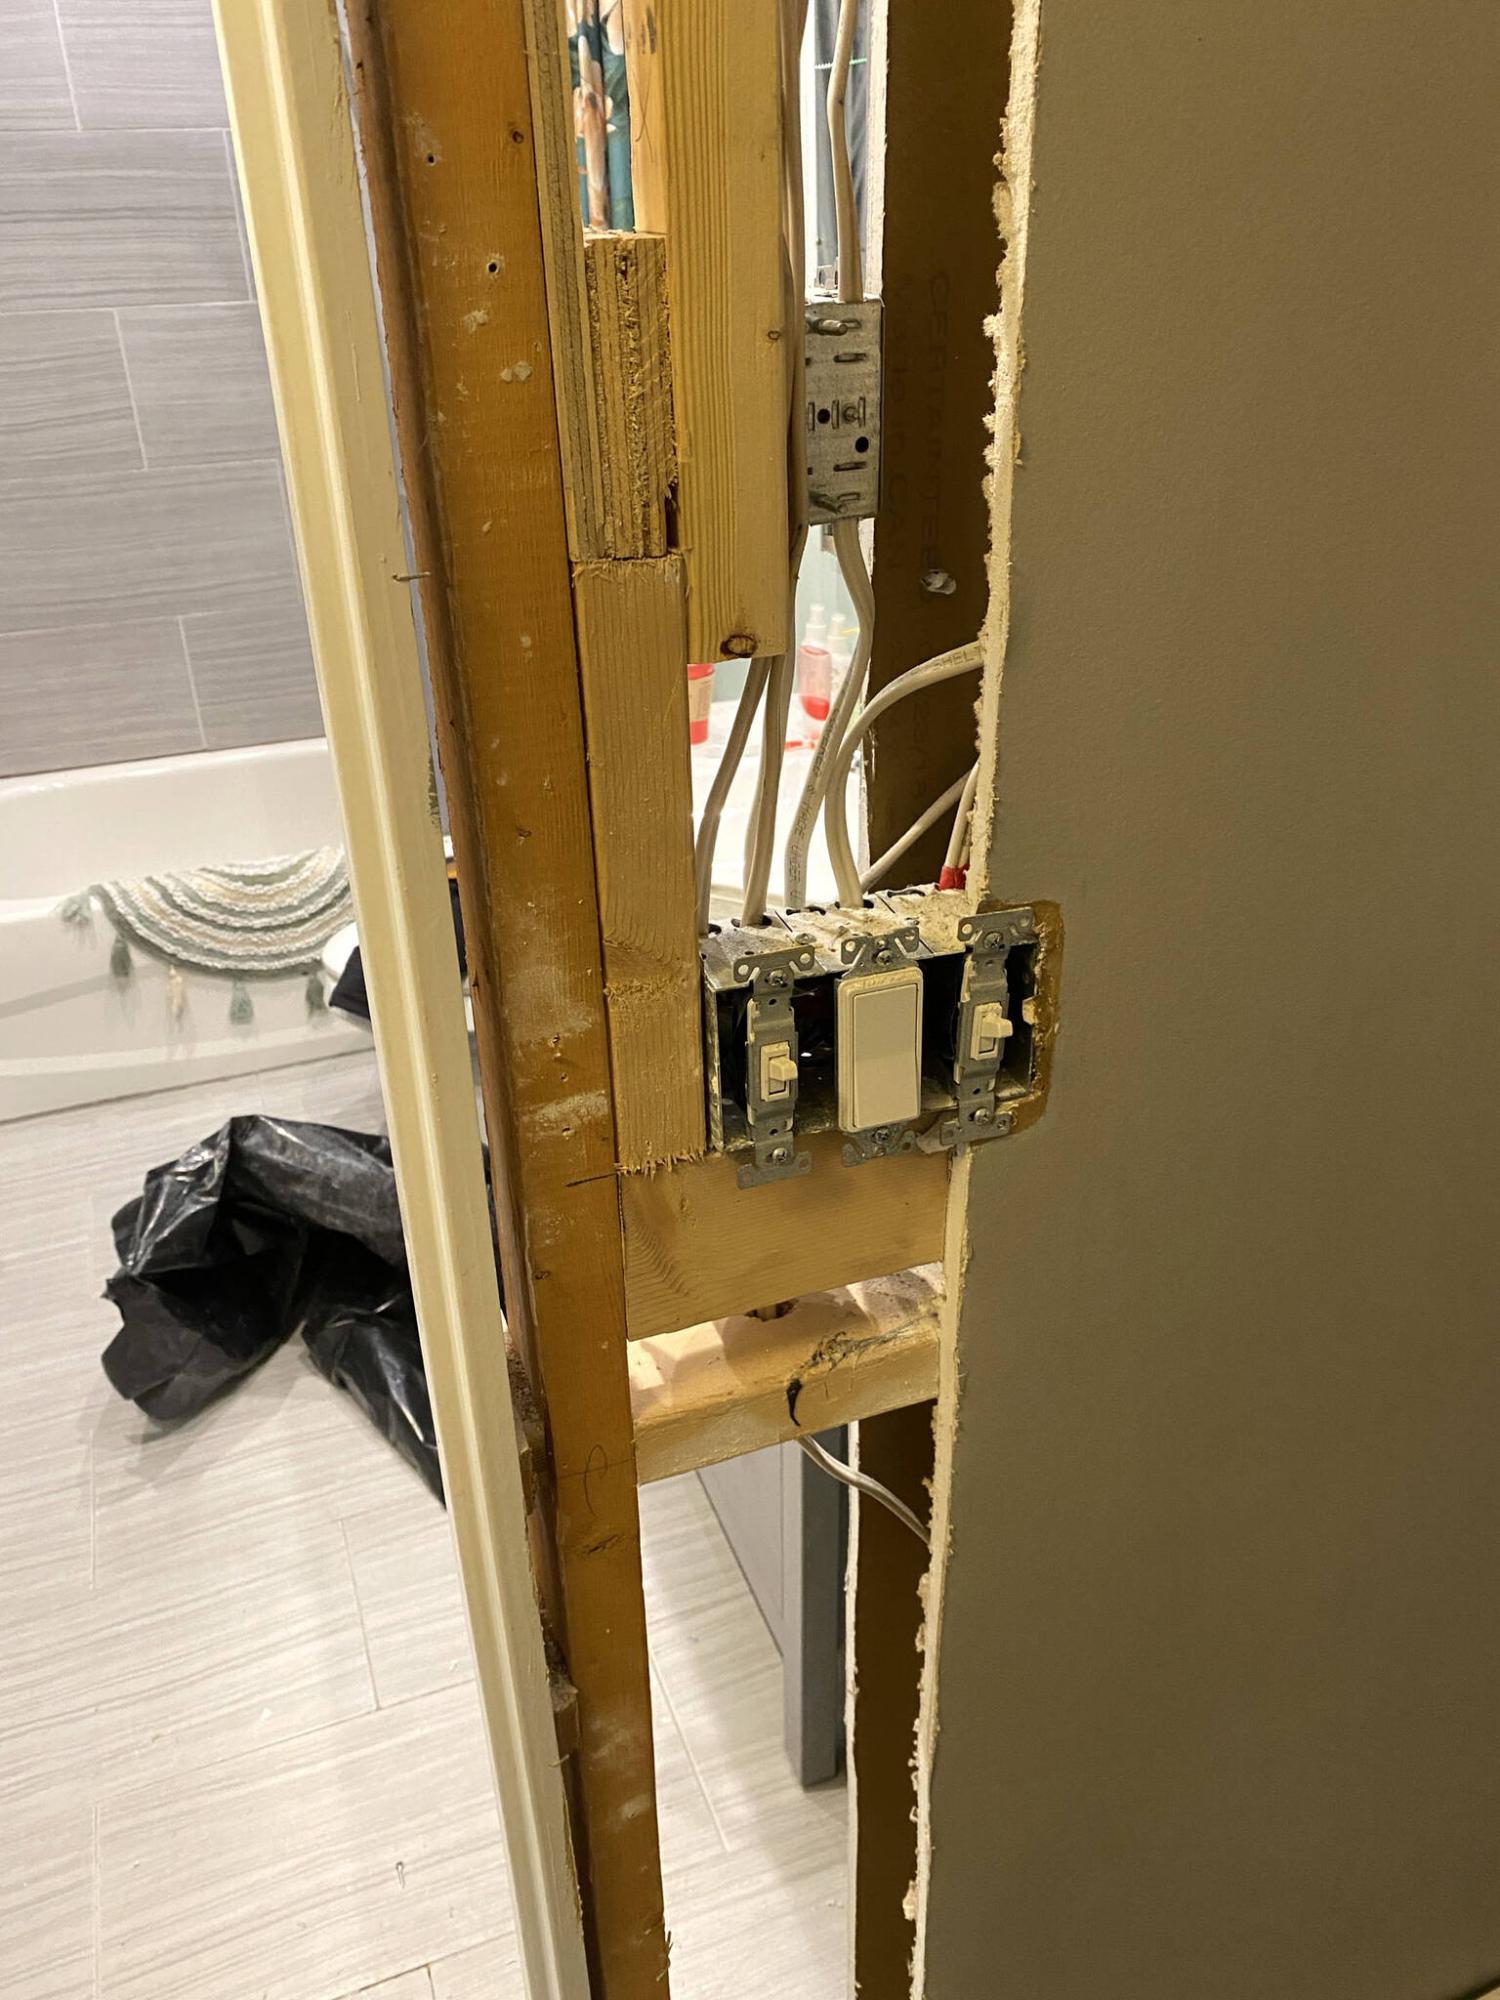
Enough ‘play’ in the wiring allowed a shift of the stud without rewiring any electrical circuits.
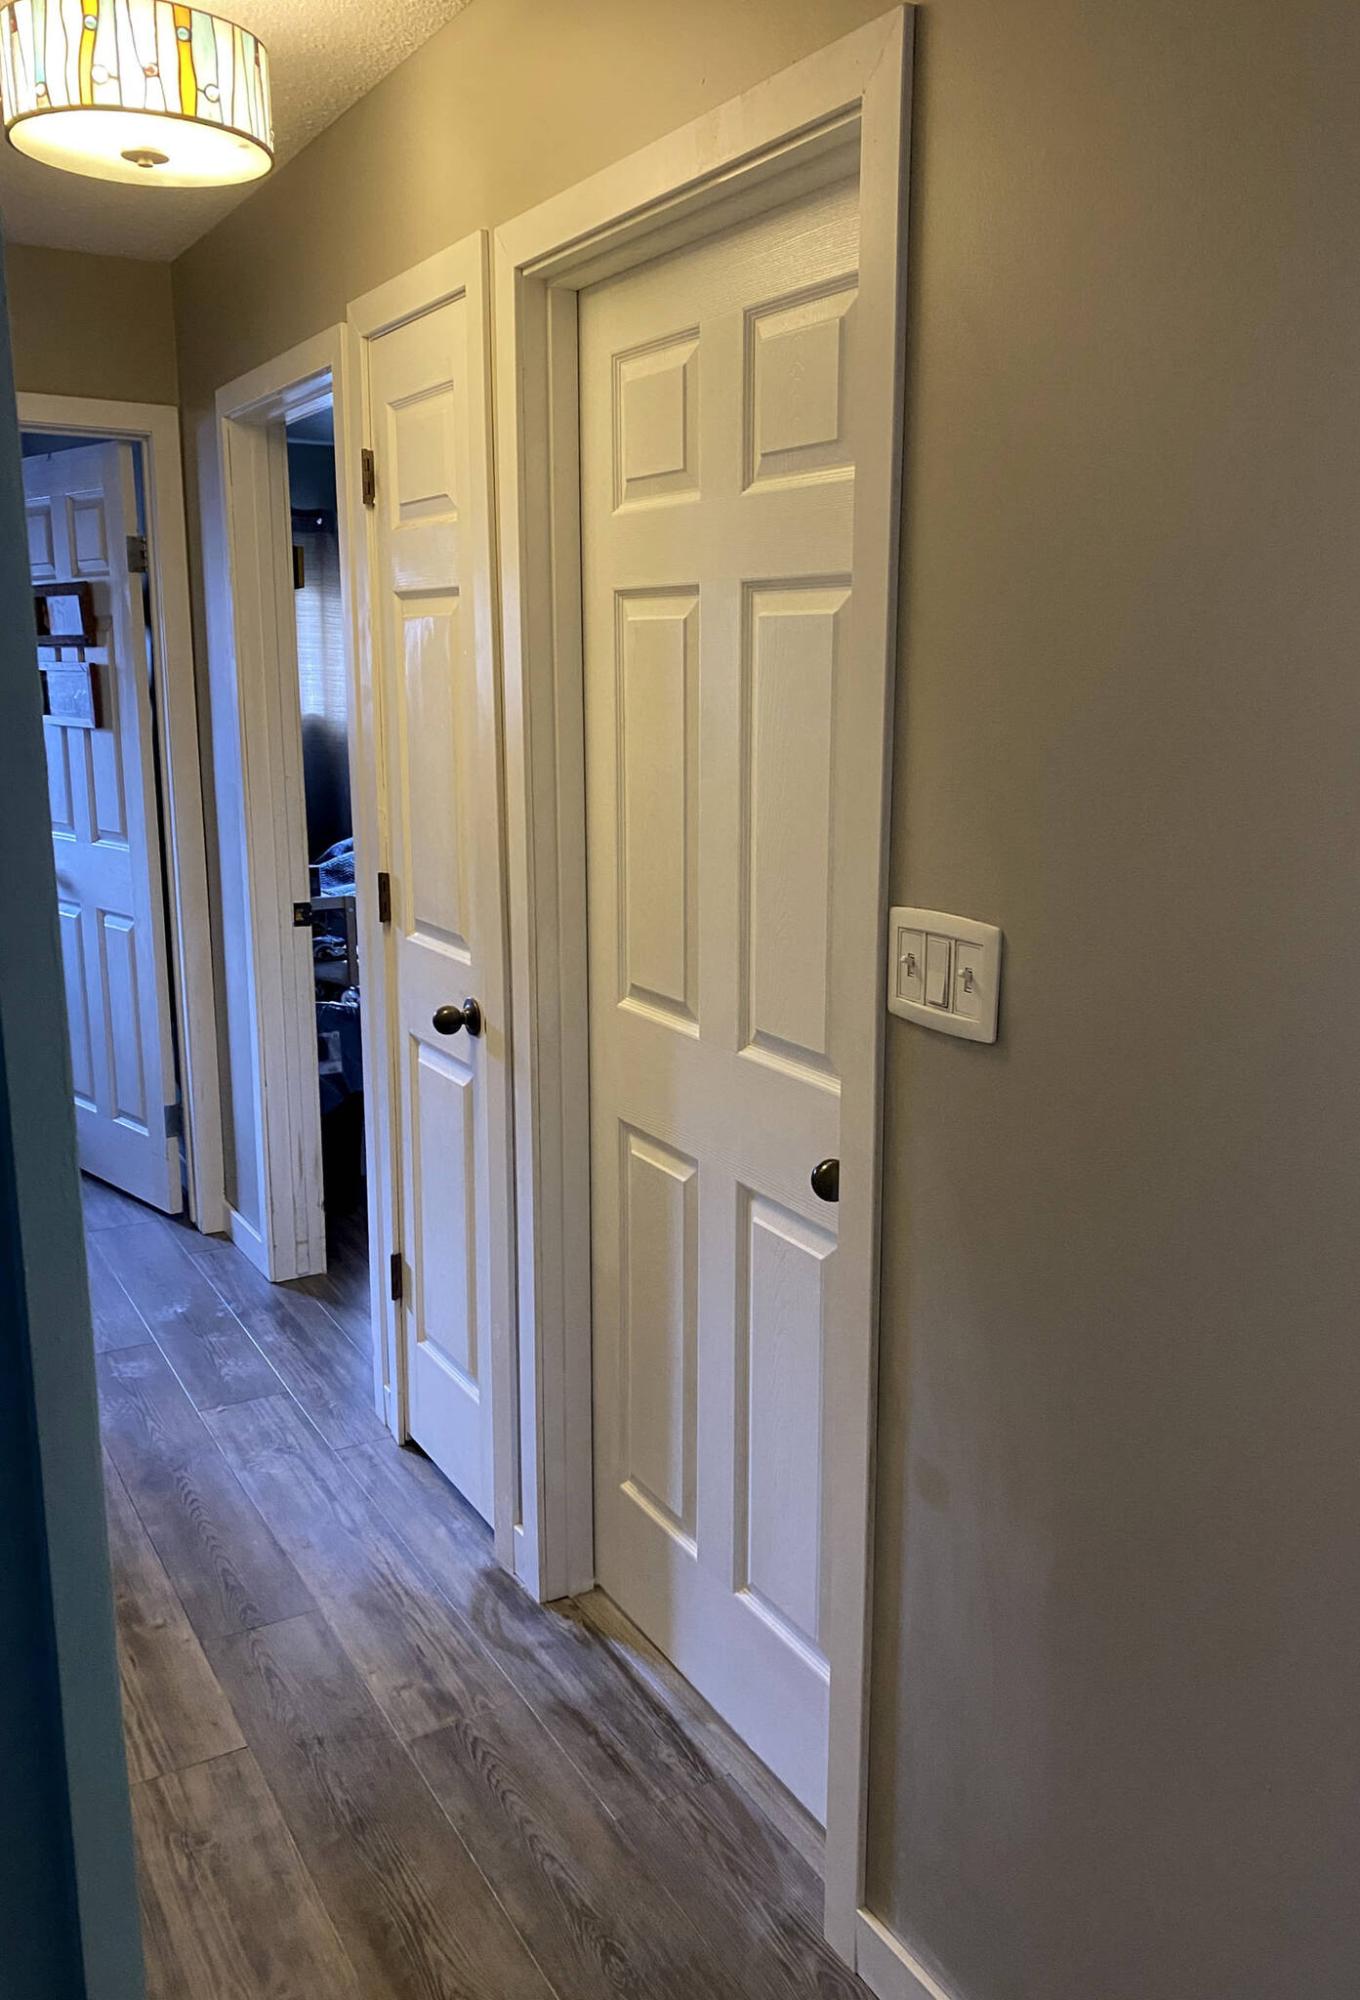
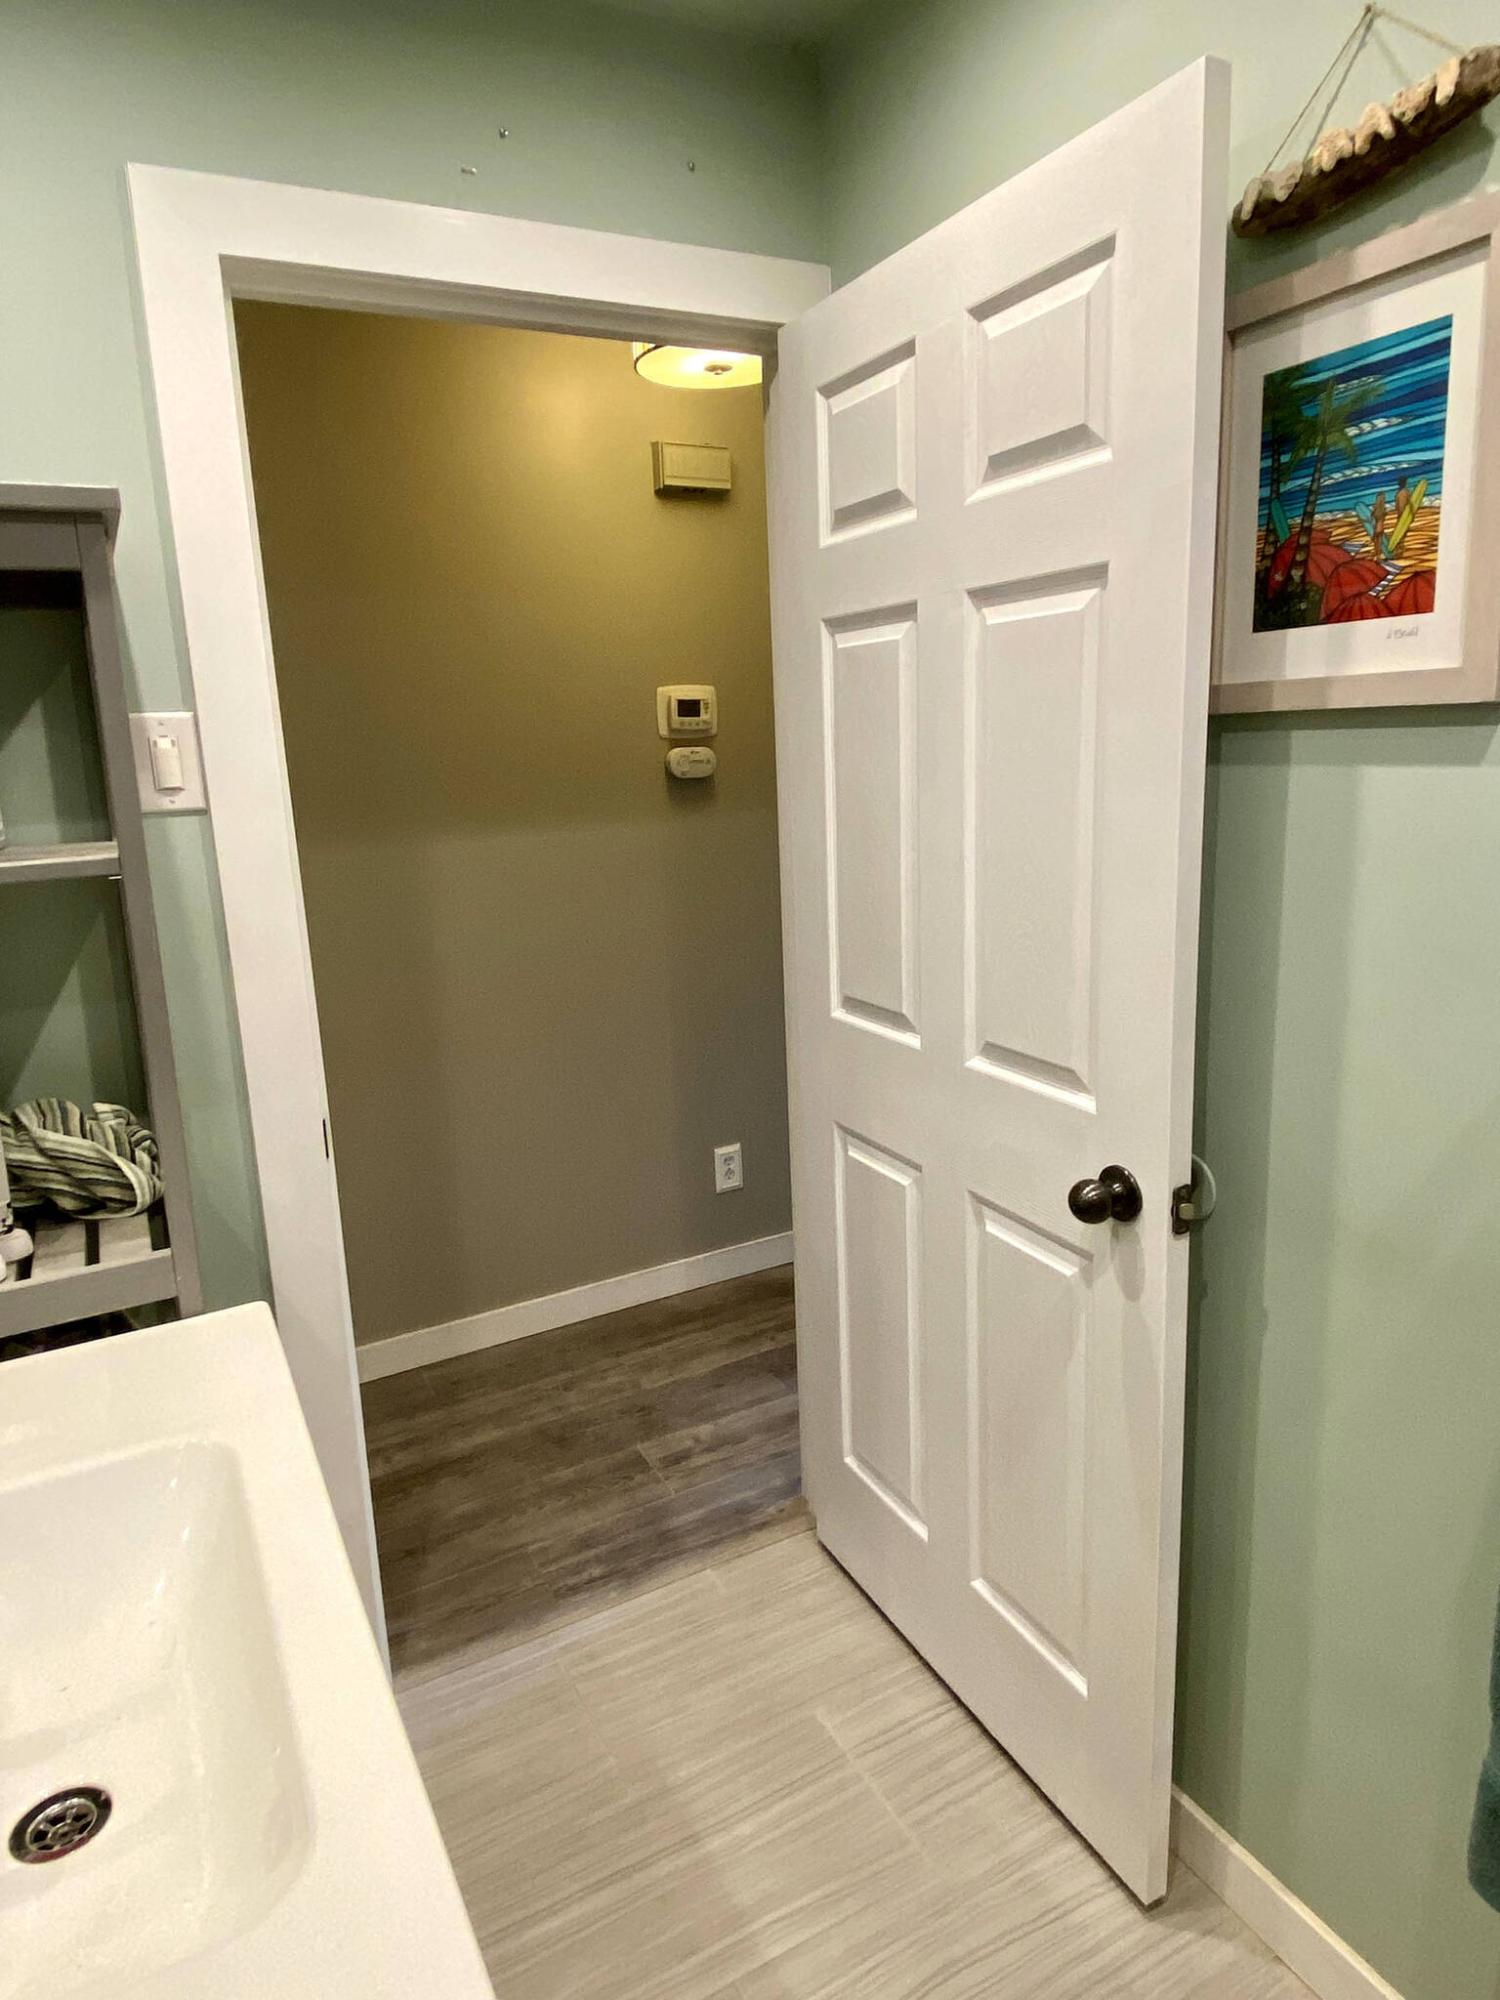
The new switch’s location in the hallway looks exactly as it had prior to door replacement.
Marc LaBossiere / Free Press
The switch location was shifted over just enough to accommodate the wide door, without affecting the existing adjacent linen shelf.
Photos by Marc LaBossiere / Free Press
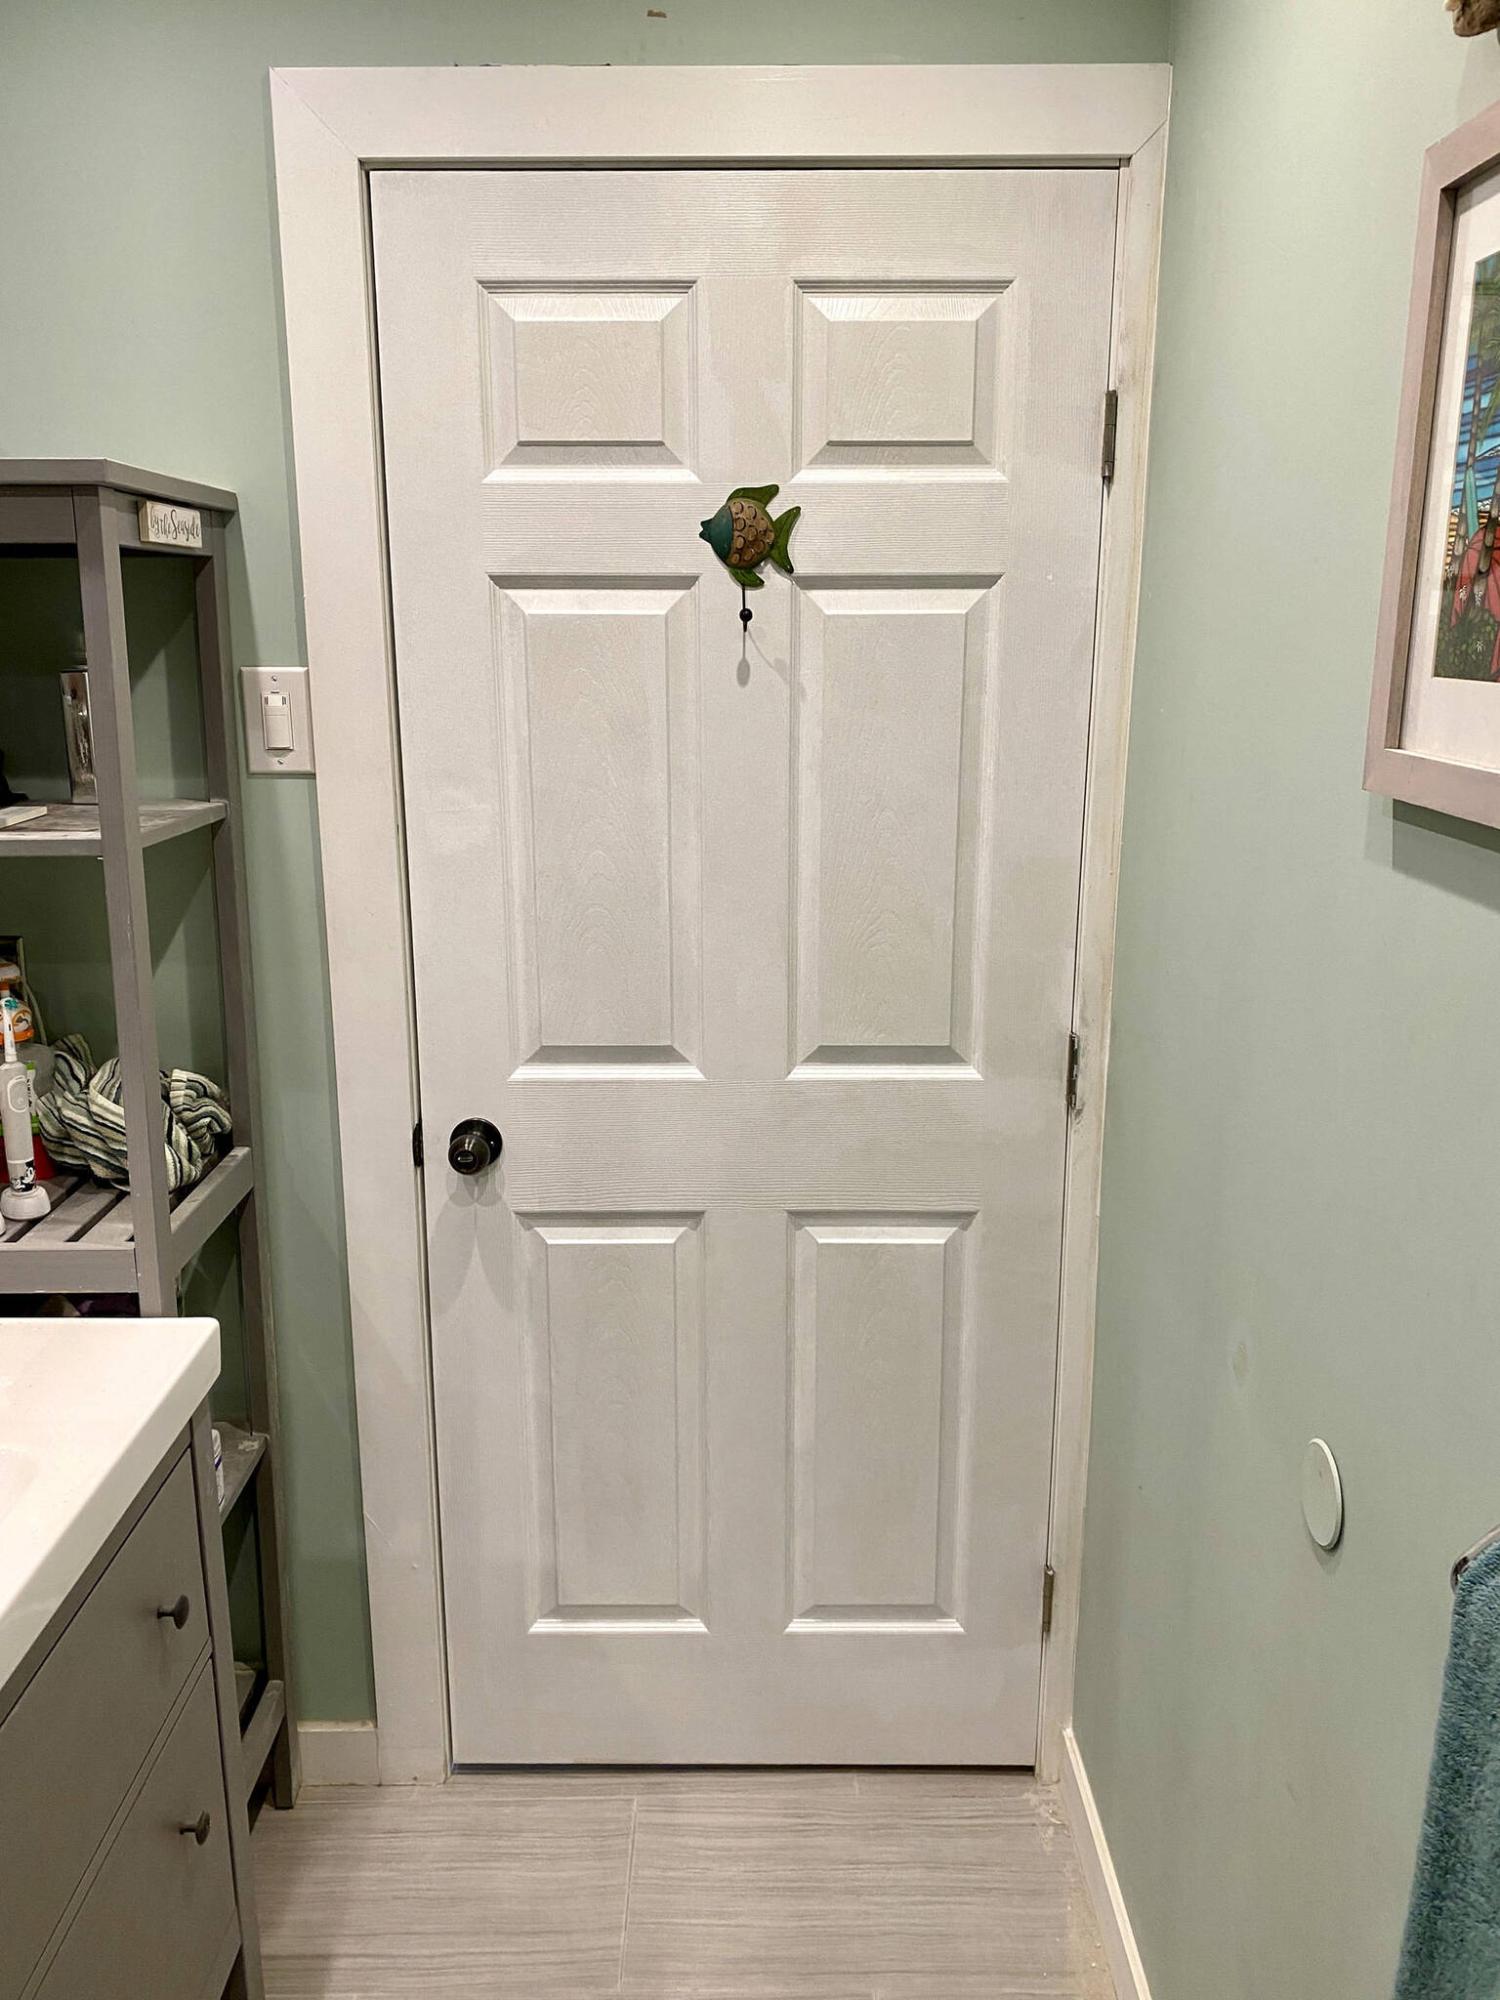
A 32-inch door to accommodate a wheelchair replaces the existing 24-inch door.
When the health circumstances and mobility of a homeowner changed dramatically, the urgency to address certain aspects within their home compelled me to make the necessary time despite an already hectic work calendar.
Having already remodelled the kitchen and introduced new vinyl flooring throughout the house, I was quite intimate with the layout. The main-floor bathroom door was too narrow to allow wheelchair access, and it would need to be widened considerably to accommodate.
During the initial planning stages prior to introducing a wider door along an interior wall, it was crucial to establish whether the door is situated on a supporting wall. If that was the case, the rough existing rough opening would have been reinforced with a lintel above, within the framing that rests atop a jack stud on either side, laminated to a king stud.
This type of framework would then offset the weight along the top of the door opening along the studs on either side. And as you can imagine, widening such an opening would involve a longer lintel, as well as repositioning the existing jack and king studs on either side.
Fortunately, in this scenario, the bathroom door’s wall was not supporting and did not require such an invasive upgrade to the framing. There were, however, three switches on the exterior wall facing the hallway, as well as a single switch facing into the bathroom, in the area that would be extricated to provide a wider rough frame to allow for a 32-inch bathroom door, which replaced the existing 24-inch door.
Until the drywall was removed on either side, it was impossible to predict how complicated the wiring within the wall could be. No matter, a new pre-hung 32-inch six-panel door (to match the existing doors in the house) was purchased, and the process began by extracting drywall to meet the impending rough opening dimensions required by the new and wider door jamb.
Once the drywall was removed, it appeared that several other circuits, beyond the four expected, simply ran through the electrical boxes. Luckily, none of the wiring came up through the sub-floor from the basement. This was extremely important, because re-routing any wiring that came up through the floor could have been a very time-consuming and expensive prospect.
As such, I was then left to deal with the existing circuits that were revealed, stemming from the attic. Another bit a good fortune revealed the existing wiring had a considerable amount of “play.” This allowed me to devise a plan that did not require any removal or adaptation of the existing wiring — it could simply be “moved over,” and this is how I did it.
With the drywall removed exactly eight inches from the existing edge of the rough opening, the cross-brace framing below the switches was extracted — the stud was dislodged from the floor plate and cut in line with the top of the rough opening of the existing door. Careful measurements indicated the exact placement of the electrical boxes for the switch inside the bathroom, and the three switches facing the hallway.
Once those new switch openings were created, the stud was then shifted over by eight inches, while ensuring the electrical boxes were properly introduced into their new and respective openings within the drywall.
Once in place (and after several minor adjustments to get them into proper placement), the lower part of the stud was then fastened to the shortened base plate. The upper framing was extended to meet the new placement of the repositioned stud, secured where required to ensure rigidity. With the stud and switches shifted over, the edge of the drywall was then fastened to the stud on both sides.
From this point on, the new interior door was mounted in typical fashion. The jamb was levelled and set plumb to the rough framing. A new piece of tile was cut to fill the void along the floor in the bathroom, whereas a single board of vinyl was cut to do the same along the existing hallway flooring.
The door was primed and painted to match the other interior doors, and the doorknob from the old door was simply recycled and installed on the new door. The interior and exterior trim was then remounted, using new and matching longer sections above the wider door opening. And once the switch plates were re-installed, it truly looked as though the door had always been that wide.
It is always necessary to make every attempt to help when possible. Sight unseen, this project was accepted under the proviso that I’d make every attempt to tackle it as soon as my schedule would allow. And even though I had ordered the door well in advance, unknown factors regarding potential electrical complications had weighed heavily on me for several weeks.
I am truly grateful the project unfolded as it did. It wasn’t an easy task, but it also could have been much more difficult. Most importantly, the homeowners no longer need to worry about accessibility issues to their main-floor bathroom — the new door blends in extremely well, wide enough to accommodate a wheelchair without being a constant reminder.
RenoBoss.Inc@outlook.com