PHOTOS BY MARC LABOSSIERE / FREE PRESS
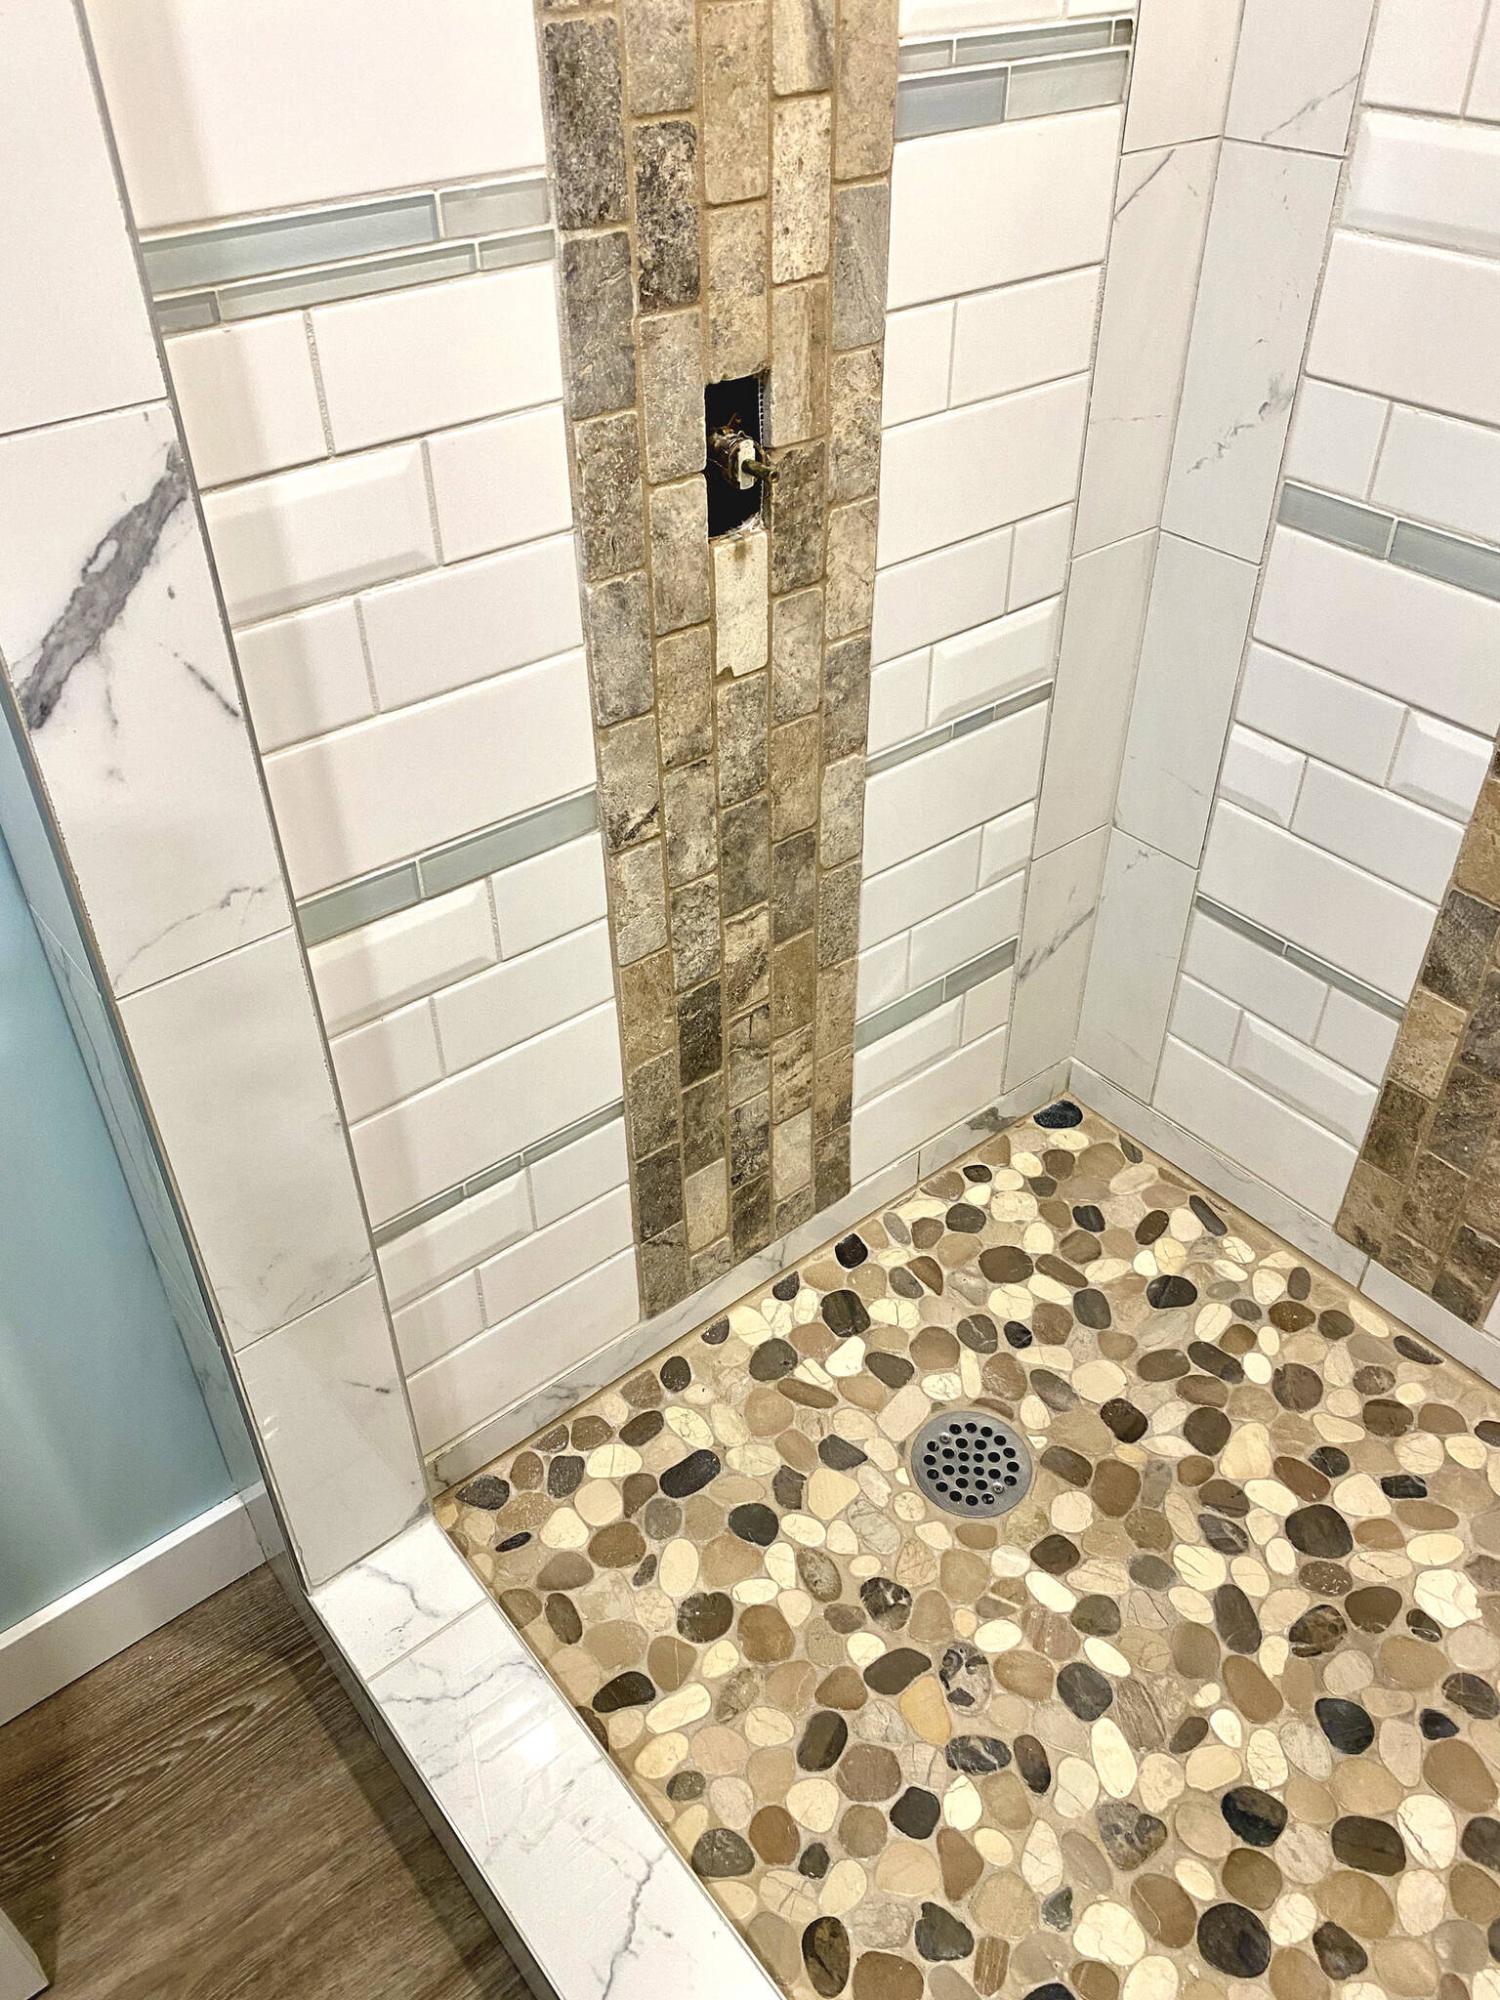
This shower was tiled with leftover tile from various jobs over the years.
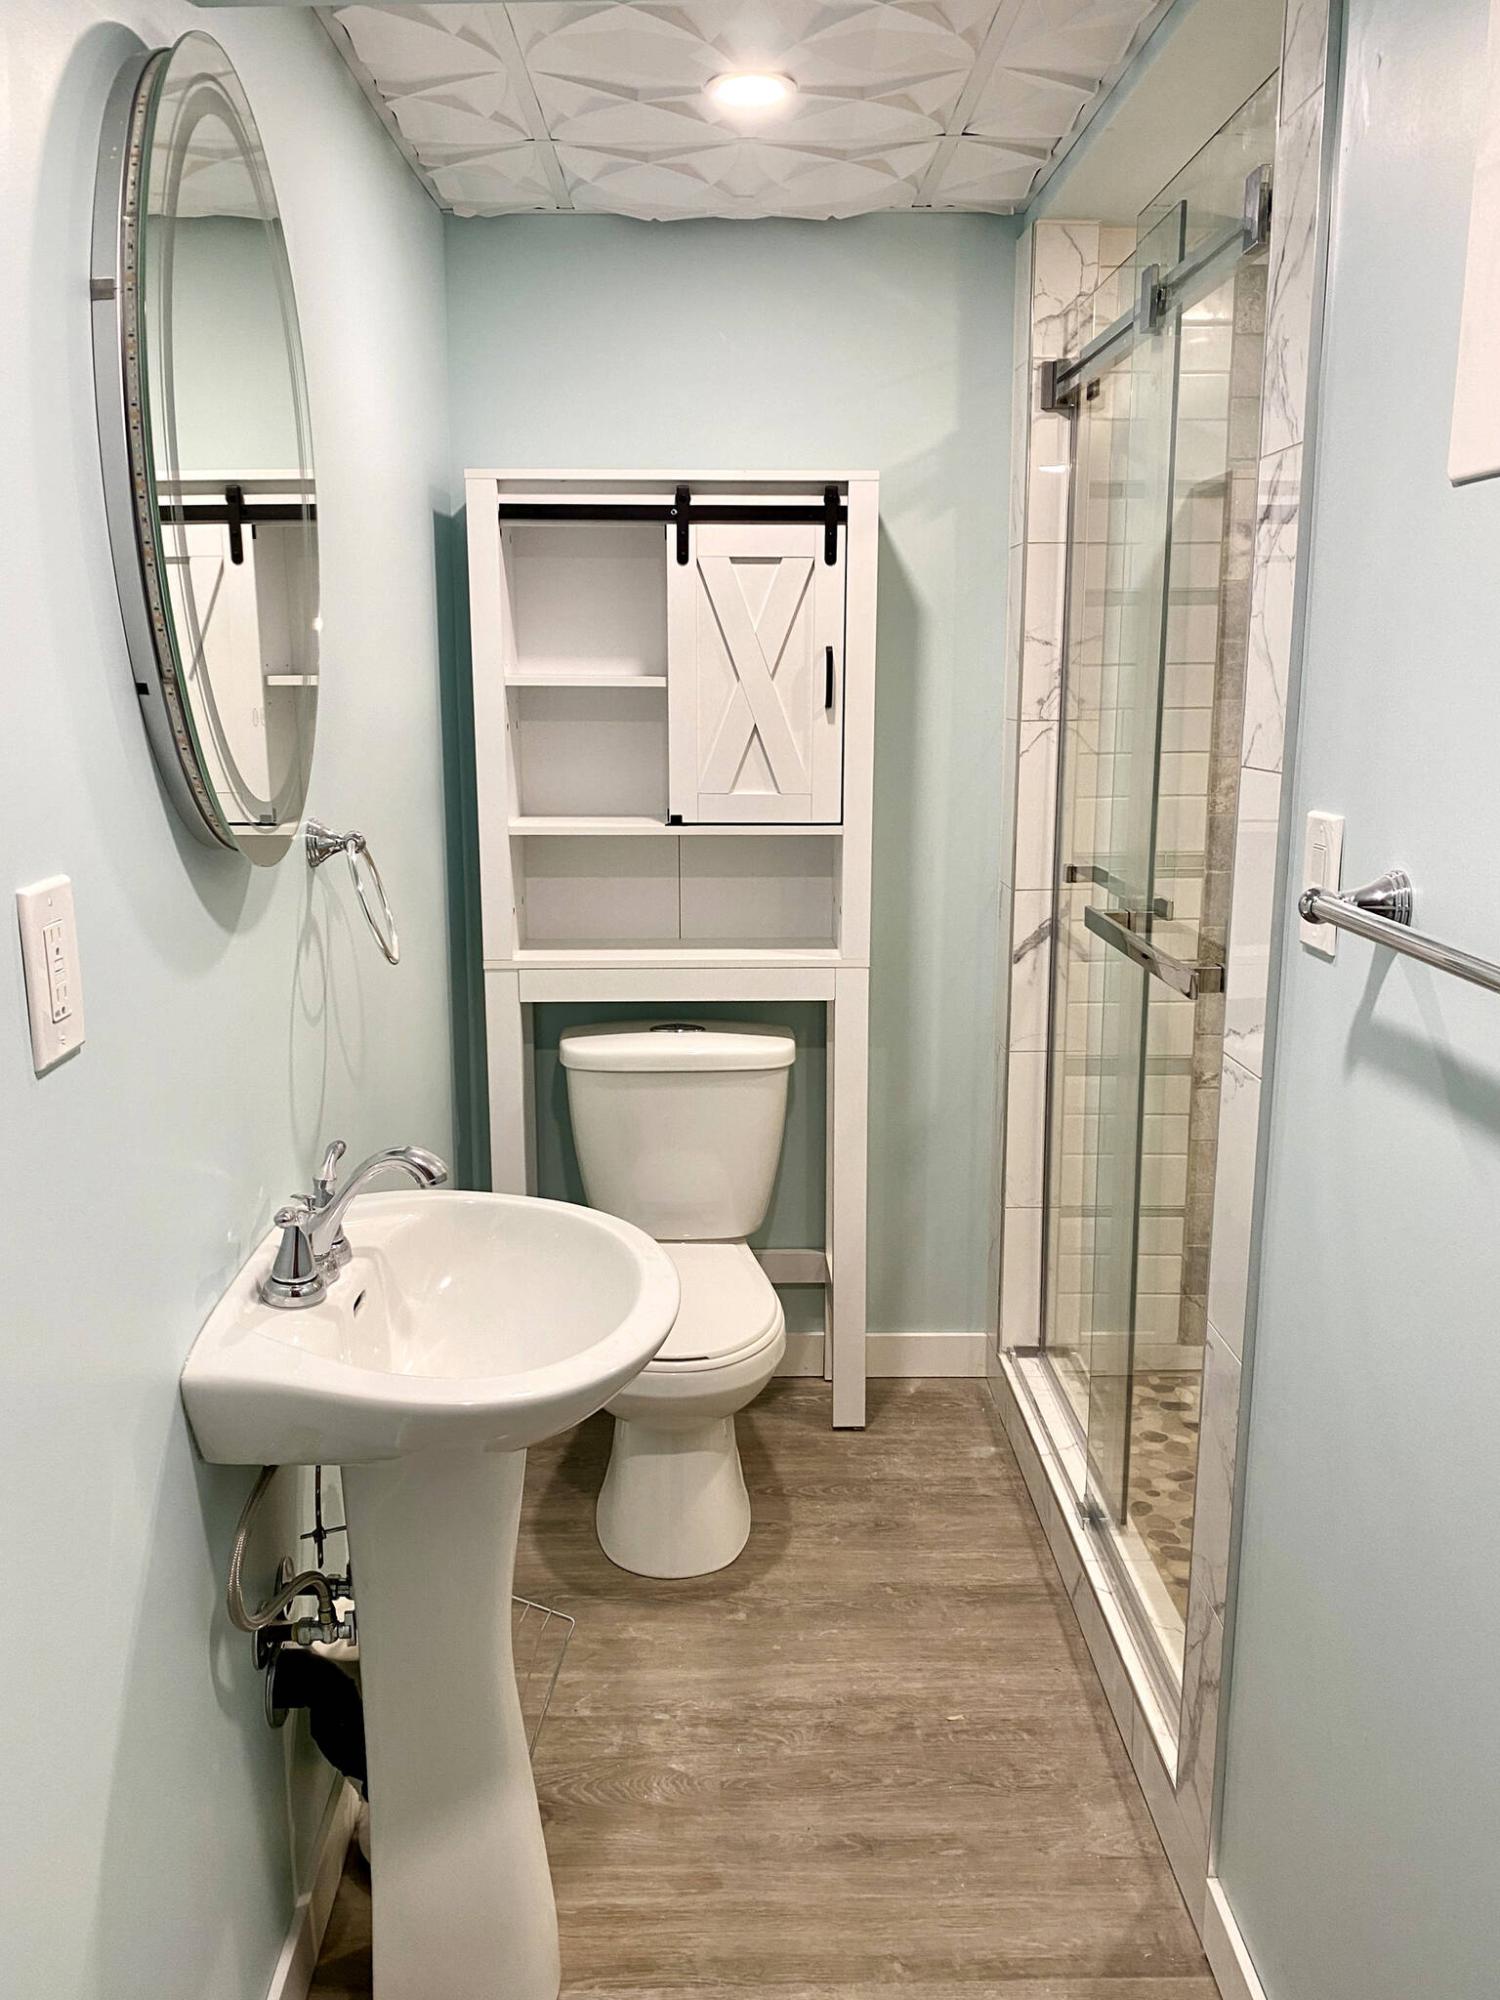
With the shower stall completed, the three-piece basement bathroom is now functional and fashionable.
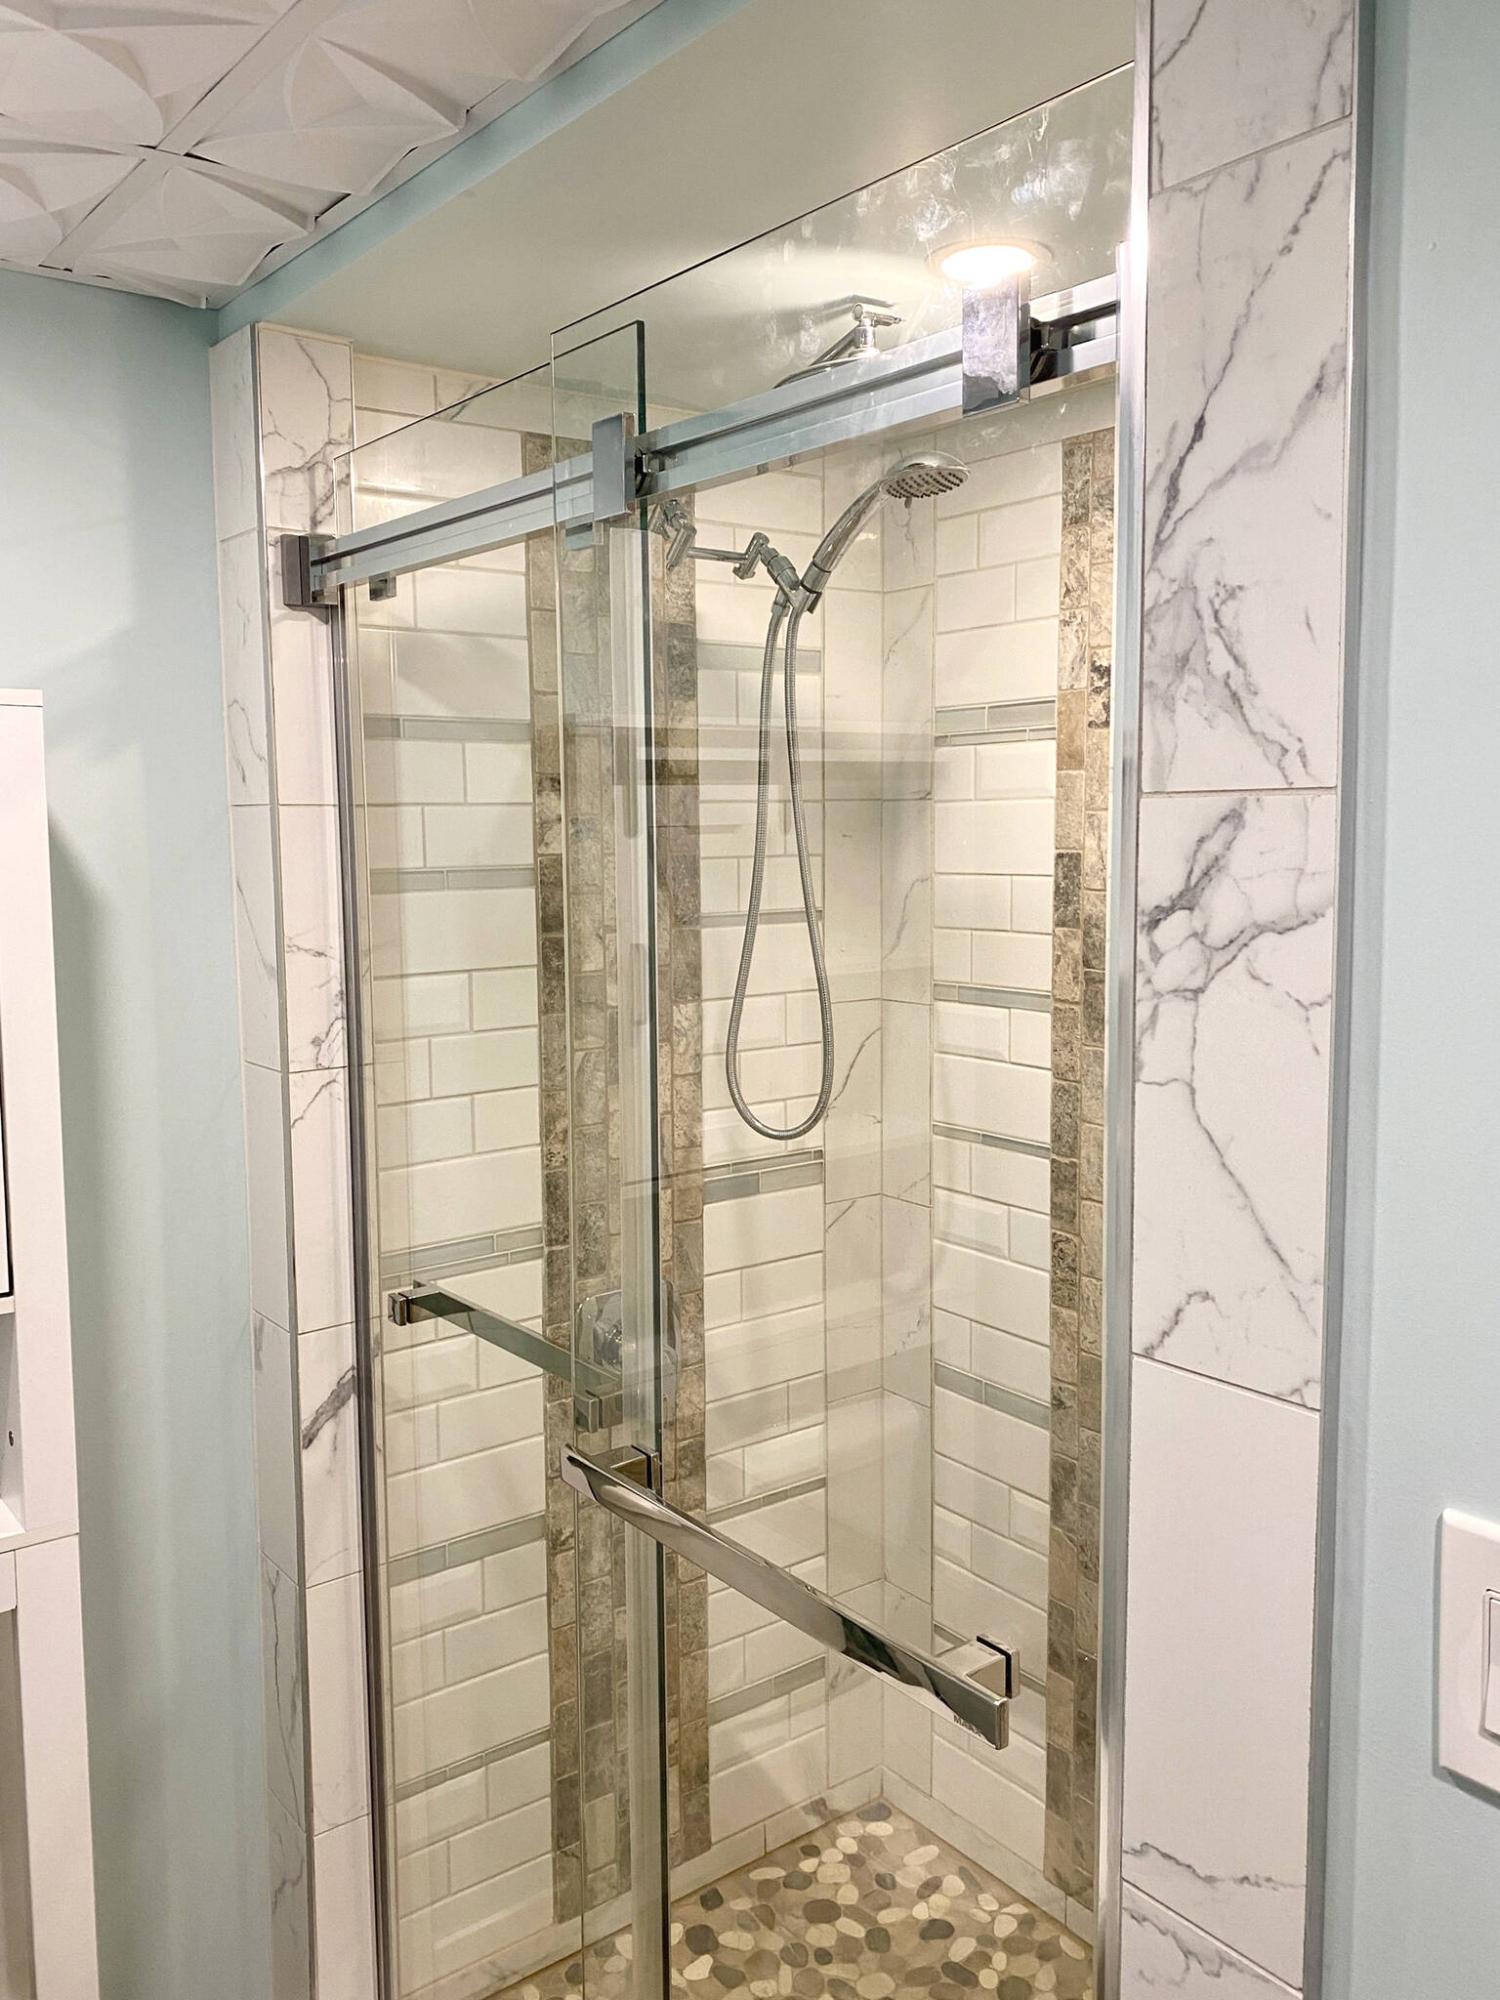
Once fully grouted, the shower heads, faucet and double-sliding glass shower door were installed.
One of the aspects of renovations I relish most is the ability to recycle materials whenever the scenario presents itself. Whether using old, treated lumber to brace areas of a new deck build, or adapting old light fixtures in a rejuvenated space, my preference has always deferred to reuse instead of landfill abuse. Another manner of recycling was recently adopted in my own basement renovation, and I’d been planning it for years.
Once a job for hire has been completed, there are often remnants of materials left unwanted on the jobsite. Although larger quantities of certain items can be (and often are) returned for a refund to the homeowner’s benefit, smaller leftovers are somewhat undesirable. As such, these smaller quantities of stuff could easily be discarded. However, it has become my mandate to retain as much of what may be considered “plausible for future use”.
For example, the last partially used box of white subway tile used as a kitchen backsplash cannot be returned as an “opened box”, even if only a few tiles of several dozen were taken to complete the backsplash. And although I often convince the client to keep a certain amount of tile should there ever come a time to replace an existing tile, most homeowners prefer not to hold on to excess tile, or anything for that matter in an effort to minimize taken up any precious space within their home.
Over the years, remnants of composite cut-offs, partial treated-lumber lengths, ABS and copper fittings, electrical elements, partially cut drywall, trim, and yes…a whole lot of tile has begun to pile up in my garage stalls. Although this may seem inconvenient to most of you, there was always a method to my madness that had recently come to fruition with the near completion of my basement renovation. Most of the lumber was used to frame areas of the basement walls, and any drywall was easily put to use. The plumbing and electrical was installed as needed, and even the basic squared pre-painted white trim came in handy. It is, however the tile that became the most important savings of the entire project. And almost all of it was used to tile my basement bathroom shower stall.
When rummaging through the plethora of partial boxes of tile strewn about the garage, it was evident there were at least seven different types of tile that could be used to portray a colour scheme envisioned for the shower stall walls. And other than purchasing a few extra stone mosaic tile to complete the shower stall base, all the remaining tiling was completing using what I had on hand, without spending anything on additional tile. Moreover, even the grouting process utilized partial containers of resin-based grout. Because all the grout were in a range of earth-tones, I simply grabbed a bit of this, and a handful of that to grout the shower floor. It simply looked like different shades of sand amidst the stone mosaic.
As for the walls, tiling rule were established before I started, to ensure the tiling patterns would be distributed evenly throughout the stall. To put it simply, the white marble 12×24-inch tile was cut down to create borders and pillars within which the other tile was installed. Once the marble tile had set, striped of 2×4-inch stone mosaic tile was mounted vertically as stripes, centered withing the marble on each end, with a double stripe on the back wall. Within the seven remaining sections, the four other types of tile would follow rules that allowed the tile to be laid out in a consistently random pattern. Using 3×6-inch white subway tiles and beveled white subway tiles, along with the odd 4×12-inch white subway cut down to fit within the provided widths, thin glass mosaic tiles were cut into singles creating randomly placed horizontal glass stripes within every section, five per vertical row (with one set of double glass), with seven glass rows in the middle vertical section along the back wall. Once the tiles had set, a snow-shite resin grout was used to fill in the gaps (yes, I had two full large containers of snow white grout on hand).
This entire process of tiling in such detail was extremely time consuming, spread over several days to allow the required drying and set times. However, this truly was a labour of love fueled by the process of repurposing. Once completed, the shower stall as whole truly does reflect a congruency amidst the chaos. With the grout cured, the shower heads and faucet were mounted, as well as the double-sliding glass shower door. The bathroom was then populated and the very next day, the shower was used for the first time by a guy sporting a huge grin on his face. After years of saving tile, the results made it well worth the wait.
RenoBoss.Inc@outlook.com