Marc LaBossiere / Free Press
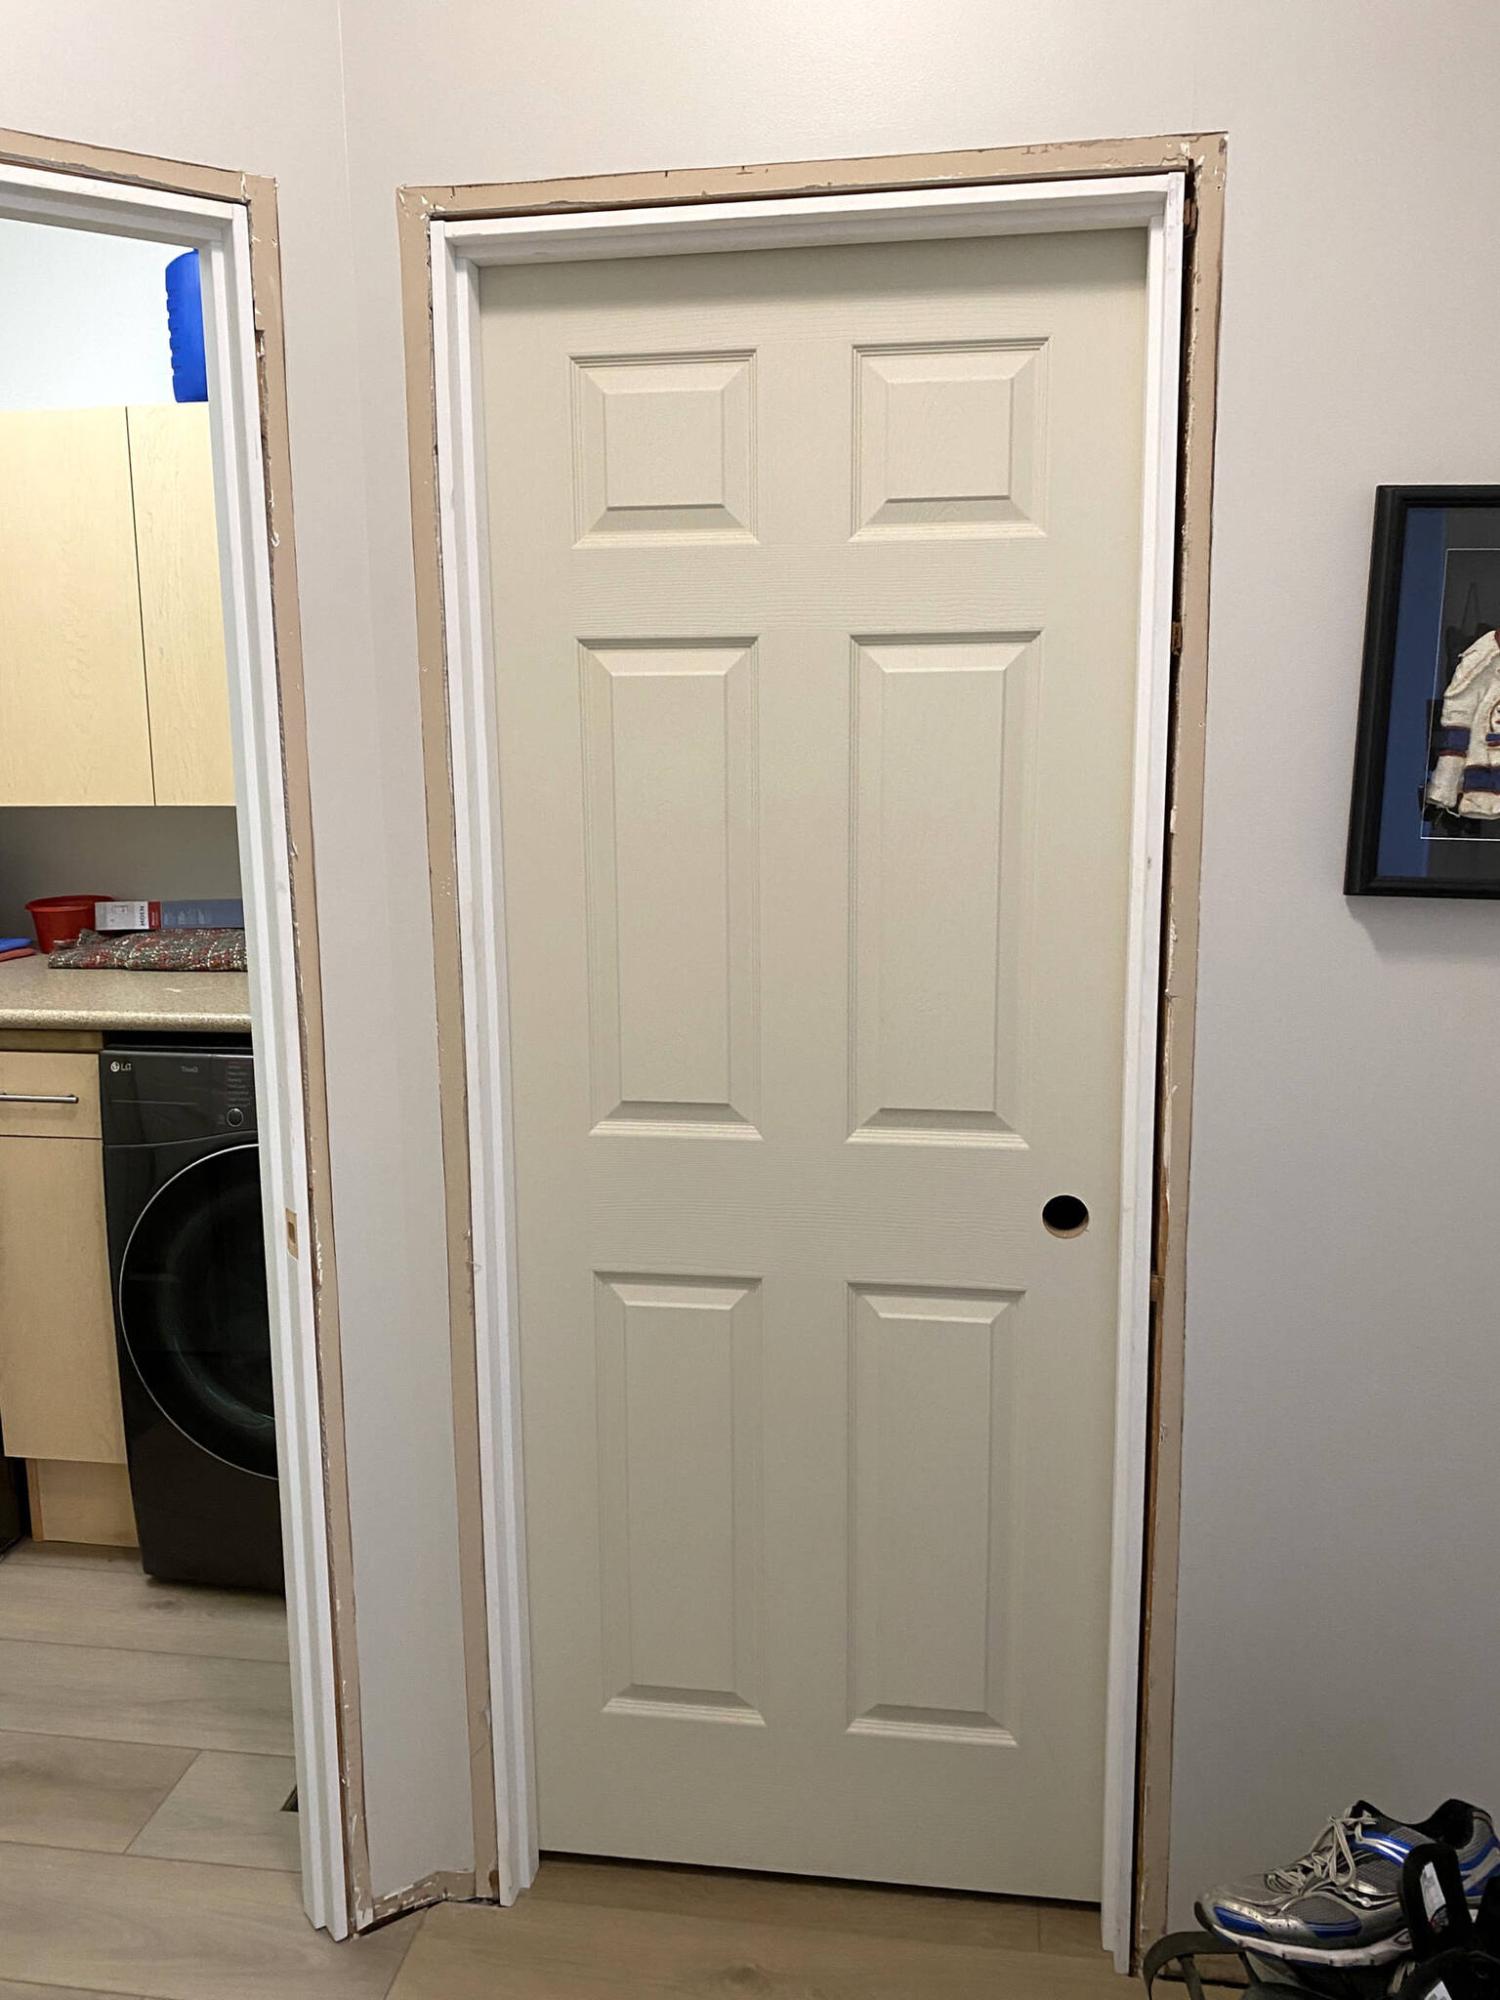
Removing the old door and jamb is the optimal approach to installing a new interior door, pre-fitted with a new jamb.
Marc LaBossiere / Free Press
Once the casings are removed, the old door is taken off the hinges and the old jamb is discarded.
Marc LaBossiere / Free Press
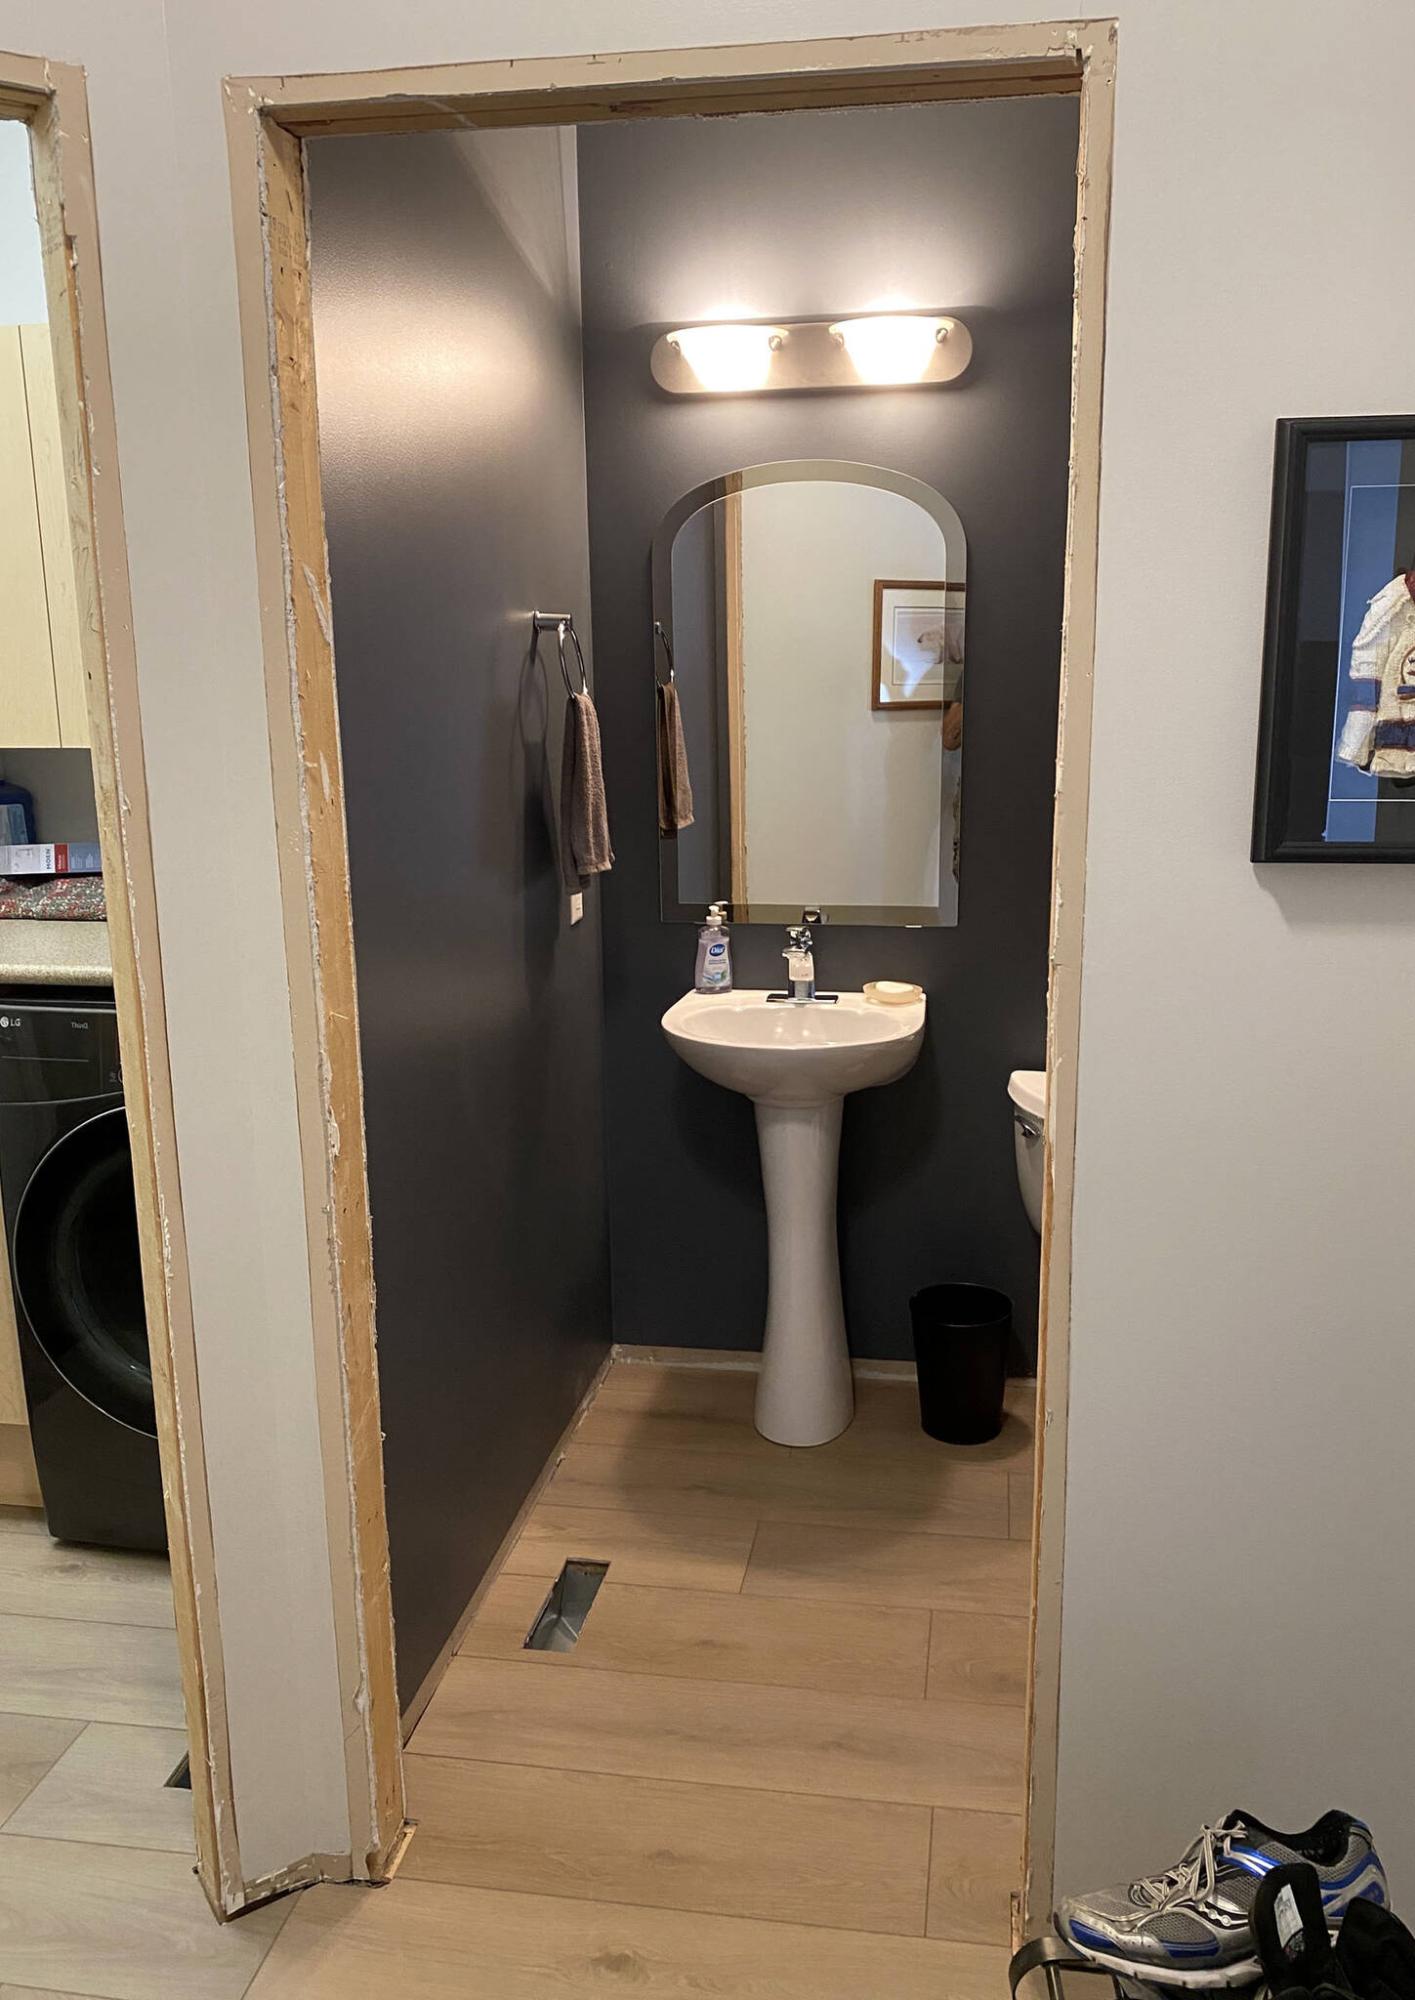
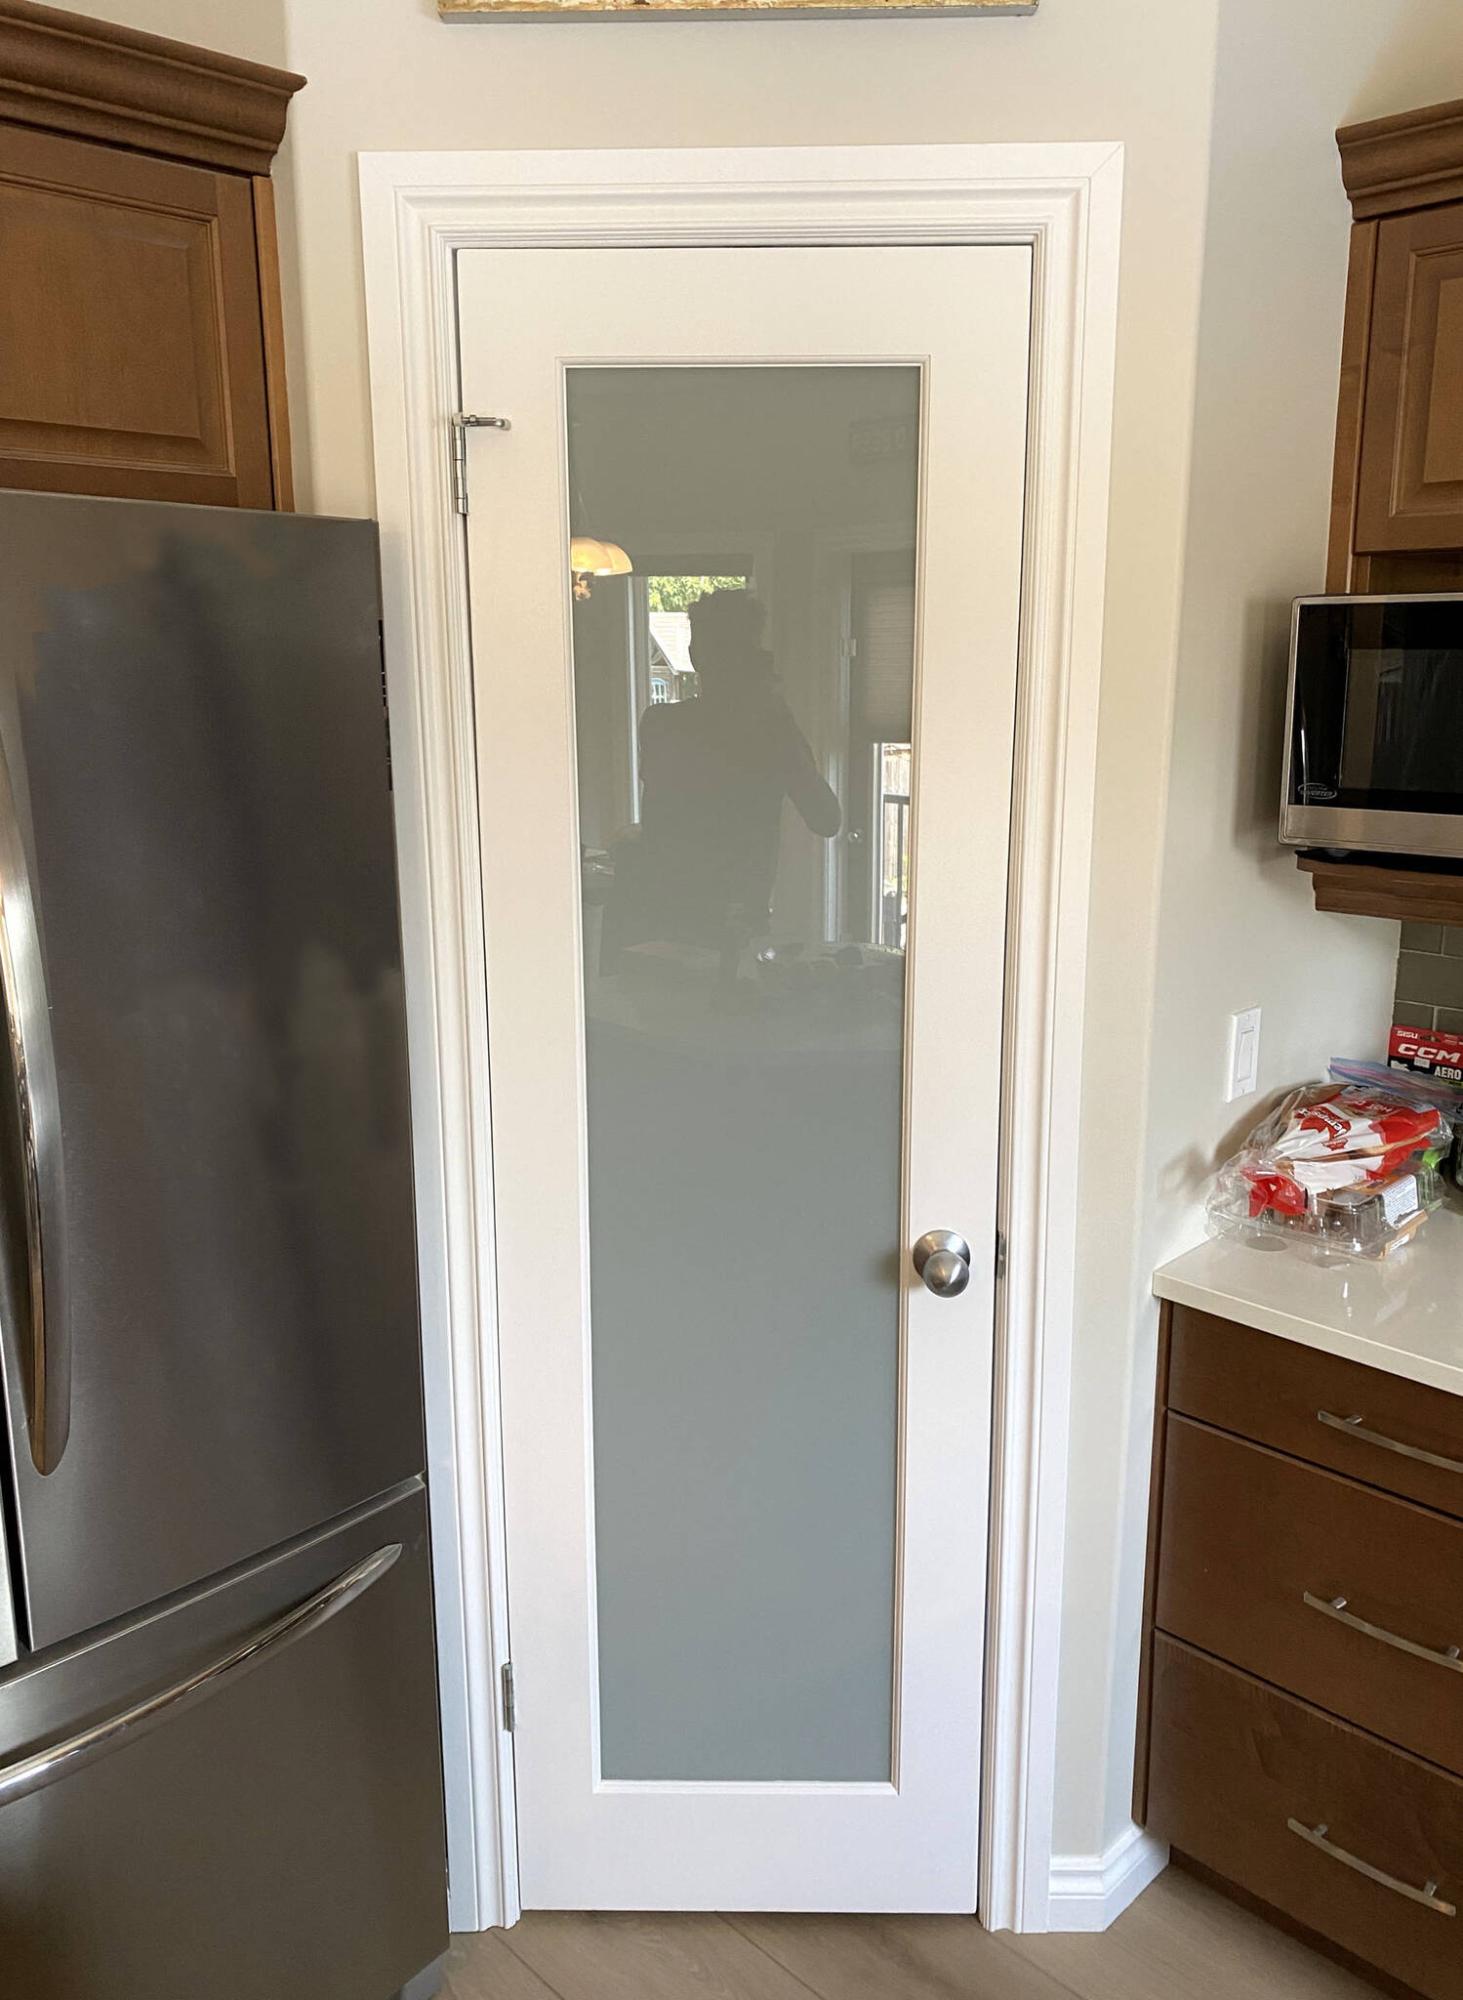
The existing jamb was retained for its plunger-switch, which required on-site tooling of the new pantry door with frosted-glass.
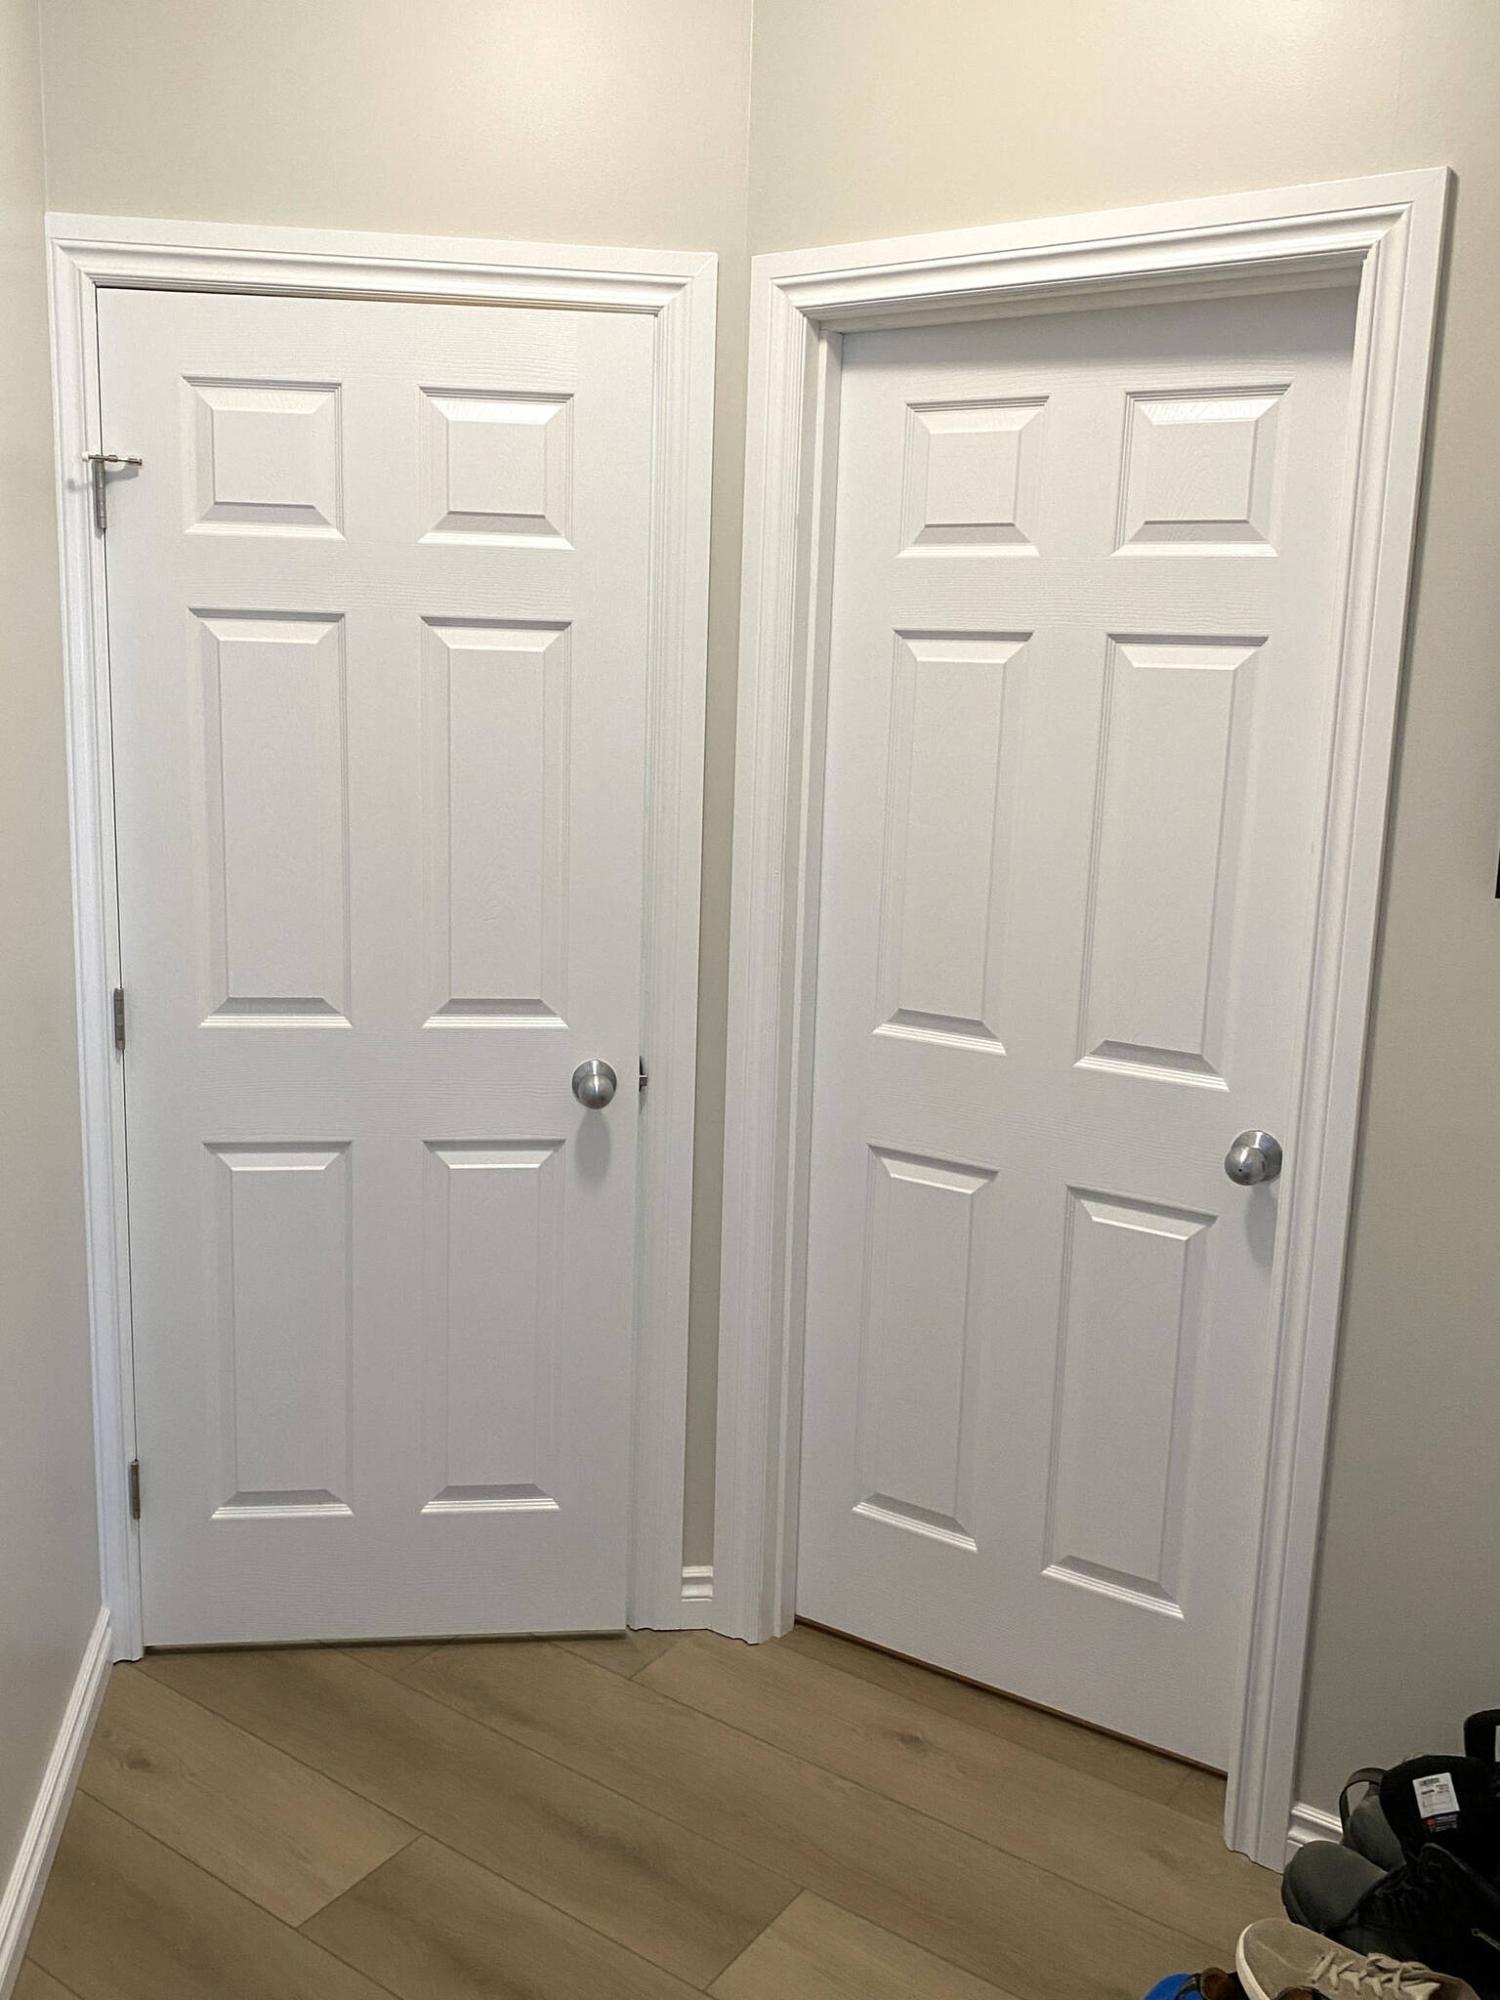
Two six-panel doors replaced existing flat-panel doors for an updated look.

The casings are installed to complete the interior door upgrade.
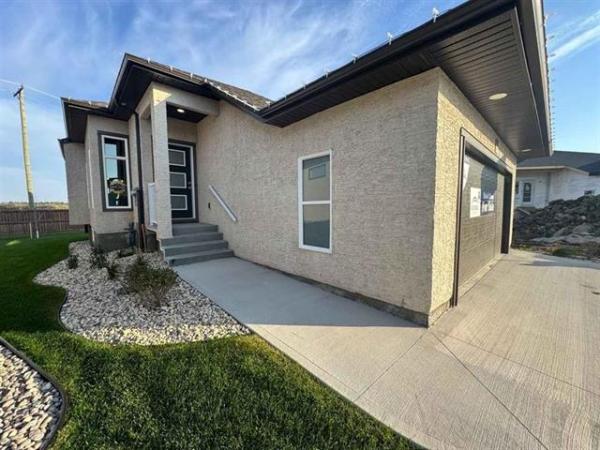
Sometimes a main-floor update can be as simple as a fresh coat of paint on the walls. Other times, it may take a little more effort to create the desired look. An interior door upgrade can often change an entire esthetic — without hitting the wallet so hard.
However, swapping out old interior doors for new can be tricky, unless you go a little further, and replace the door jambs as well.
Homeowners often make the mistake of assuming installing new doors will be as simple as removing the old from their hinges and fastening on the new. Unfortunately, not all doors are tooled in the same locations. As such, this can affect hinge placement and striker locations — and if these don’t line up with the new doors, things can get ugly in a hurry.
Although it is possible to source new doors that happen to meet the location specifications of the existing hinges on the jamb, the hinges themselves may be of a different size and shape. As such, it may be best to then purchase doors slabs, un-tooled interior doors that can be fitted on site.
Again, this raises a bunch of woodworking concerns, not at all advised for the inexperienced DIY-er. At a recent main-floor remodel, I was presented with a scenario whereby it was easiest to retain the existing pantry door jamb because it was already wired with a plunger switch (light turns on when the door opens).
Although tooling the hinge locations was time consuming, it was drilling out the knob and striker holes that presented the biggest challenge. A handy tool and drilling guide is available to ensure proper placement of these hole locations, but it does require some finesse to accomplish successfully.
This is precisely why I suggest pre-hung doors for interior door upgrades. Although this approach requires the temporary removal of casings on both sides of a door, it is less likely the project will encounter irreversible errors.
Once the casings were removed, the existing jamb (and door) were dismounted from the rough frame. The new interior door, which is pre-hung on a new jamb was then set into place, and secured along the top edge of the hinge side. The hinge side was then shimmed to ensure the jamb was level vertically, and secured it fully along that side.
Along the top, the door was swung into the closed position to verify the shims required to level the top of the jamb. And finally, again with the door closed, shims were used to adjust the spacing between the door and the jamb along the striker side, making certain the door opened and closes unencumbered.
With the door jamb hung, the doorknob was installed, along with the striker and plate. The existing casings can then be re-fastened to finish the installation. No muss, no fuss — well, less muss and fuss then having to tool a door to accommodate the old jamb.
Most interior door upgrades I’ve encountered involve the replacement of flat doors with the currently popular six-panel doors. Pre-hung six-panel doors are available in many sizes, ranging from 24- to 36-inches in width. The standard height of interior doors is 80 inches.
Finally, it is of course important to verify the swing of the door, whether right- or left-hand swing — because there’s nothing worse than purchasing a door of the correct size, only to learn at installation it’s the wrong swing.
RenoBoss.Inc@outlook.com