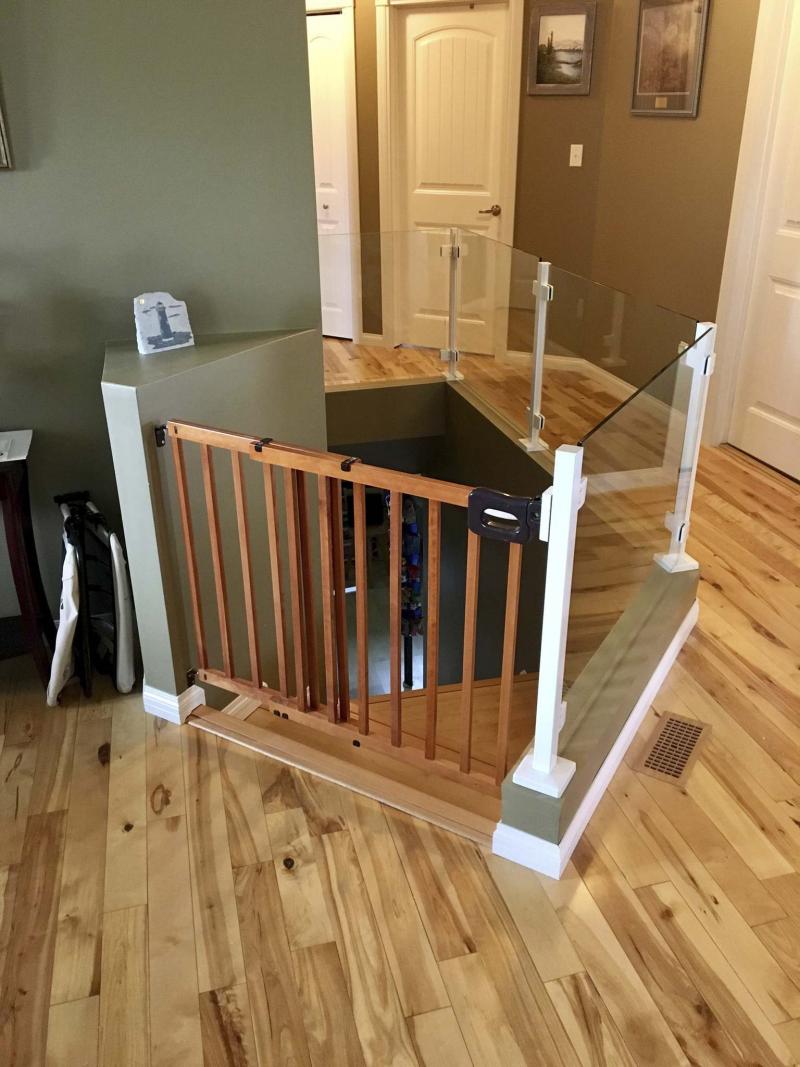
Customized gate latches onto new aluminum post to keep the dogs upstairs.
Photos by Marc LaBossiere / Winnipeg Free Press
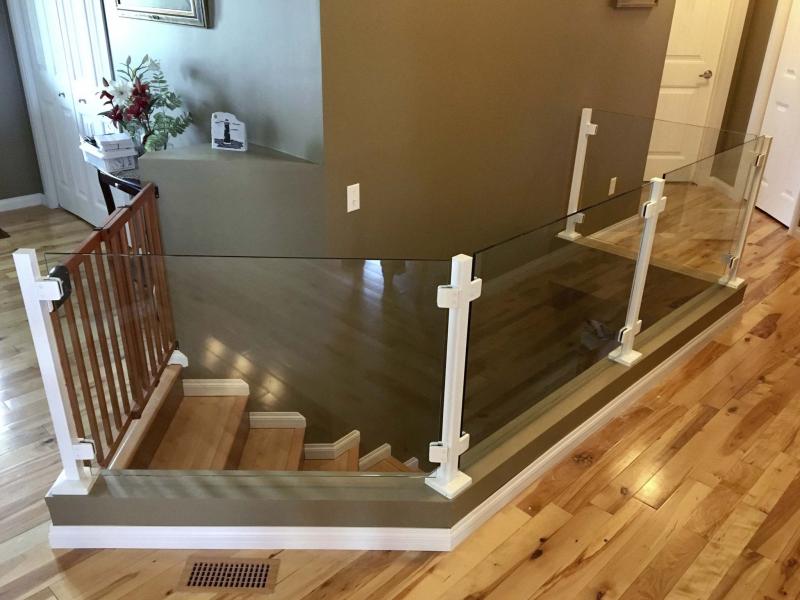
The glass railing acts as a banister along perimeter of staircase opening which leads to basement, lower eight inches of existing banister retained to continue wall color and existing baseboards
The glass railing acts as a banister along perimeter of staircase opening which leads to the basement.
More often than not, initial renovation discussions with a potential client usually involve the following phrase at some point: "I’d like to open things up a bit."
That is exactly what Anne Hebert mentioned to me upon describing her disdain for an existing staircase banister on the main floor.
Hebert’s scorn was warranted — upon walking into her beautiful home, the existing, opaque banister truly did cut off the far end of the hallway, leading to the bedrooms.
"Opening things up" definitely would create a better flow — a glass railing would provide the perfect solution.
The entire staircase needed a facelift. Old panelling sheeted the walls leading to the basement and the stairs themselves were bare plywood, awaiting some sort of covering that matched the existing main floor hardwoods. I recommended that the panelling be removed and the stairwell be properly framed and secured before drywall could be installed, blended to the existing drywall on the main floor.
Because the old banister was to be removed, I also suggested that we keep the lower eight inches of the existing banister along the entire perimeter of the staircase opening — this would enable continuous wall color and baseboards throughout, as well as eliminate the need to address the hardwood flooring finishing issues that would arise from total removal of the old banister. Anne agreed and I got to work.
The initial step involved chopping down the framework of the old banister. I elected to keep both the drywall and framing from the eight-inch mark to the floor by carefully cutting away the drywall above and after sawing down the short studs, the entire perimeter was exactly eight-inches high.
The old banister framework was salvaged, to be used as "temporary railing" until the mudding, corner bead and painting steps were completed. The gaps between each of the chopped banister studs were filled with two-by-four lengths and secured in place — this would provide the solid surface upon which a new banister could be fastened. Once the "kept" portion of the existing banister was painted and ready for baseboards, I shifted gears and turned my attention to the staircase itself.
Before diving into those specific staircase tasks, it was time to order the glass railings. To match the existing trim throughout the house, white powder-coated posts and clips were chosen, with clear glass panels.
Dan Cosens, from Prairie Accent Railing Co., suggested a site visit to ensure that accurate measurements of the required glass panels were taken. With accurate details of the required railing in hand, Dan initiated the ordering process.
While we waited for the railings to be manufactured to our specifications, I focused on installing the stair-top and riser laminates, stair nosing and staircase trim.
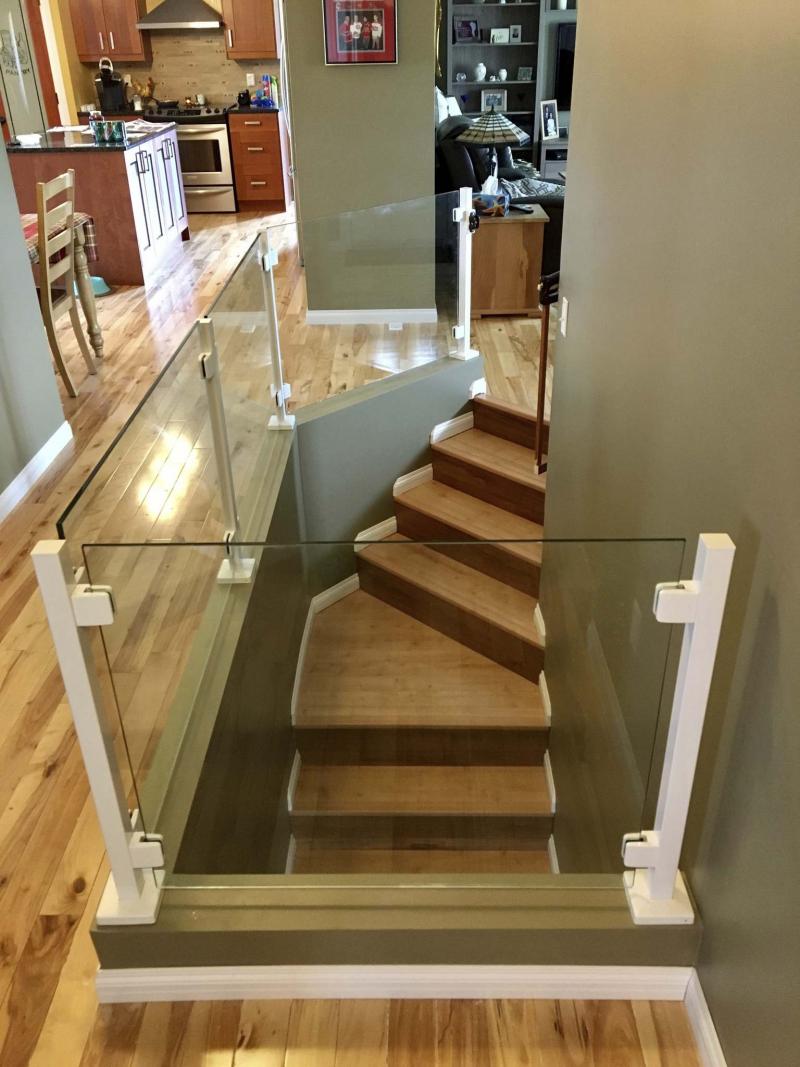
The tops and nosing closely match the hardwoods of the main floor, whereas the laminate chosen for the risers is slightly darker in colour — this technique was used to emphasize the tops of the stairs, creating an illusion of greater nosing depth.
The baseboards were installed on a per-stair basis to tie in the main floor trim, as opposed to one continuous baseboard along the top of an exposed stringer (which in this instance, does not exist — each stair butts up against the stairwell drywall). Within a few days of completing the majority of stairwell finishing tasks, I got the call we were awaiting from Cosens at Prairie Accent — the glass railings were ready!
On glass railing installation day, Cosens generously offered his expertise, which hastened the installation. Much like installing a top-mounted railing for a deck application, the aluminum posts (five in total) were first secured along the top-side of the eight-inch banister, using lag screws, at precise locations based on the glass railings design layout.
The clips for the four glass sections were then secured to each post — one by one, the glass panels were mounted into place, and fastened to the posts with the pre-installed clips.
With the glass railings in place, the full transformation was nearly complete. The final task was to adapt the existing child-proof gate, which prevented unwanted doggie traffic to the basement.
The gate latch and clasps had been salvaged, and were rather easy to mount to the side of the outer-most aluminum post using 3M two-sided indoor/outdoor tape — this tape bonds to any surface, extremely efficiently. To maneuver the lower part of the gate around wider eight-inch drywalled-base of the new glass-railing banister, part of the lower edge of the gate was cut away, just enough to allow the gate to fully close and latch comfortably.
Upon stepping back and looking at the finished project for the first time, the glass railing did not disappoint! Hebert recalled, "That worked out even better than I could have imagined! Not only does the railing let you see directly to the end of the hallway, the glass also lets natural light down into the stairwell.
"This makes me very happy, it’s the way it should have been all along."
We could have chosen to use balusters, in lieu of glass. We could have also chosen to eliminate the old banister altogether. However, one look at the completed project shows it is as it should be.
The glass railing provides no visual obtrusion from anywhere on the main floor, the white aluminum posts tie in nicely with the existing trim and the short eight-inch banister-base that was retained — adorned with white baseboards — gives the entire staircase a cohesiveness that complements the main floor so well that it’s hard to remember what that old opaque banister even looked like.
I suppose that’s the point of a renovation — it’s a new beginning.
BossEnterprise@outlook.com