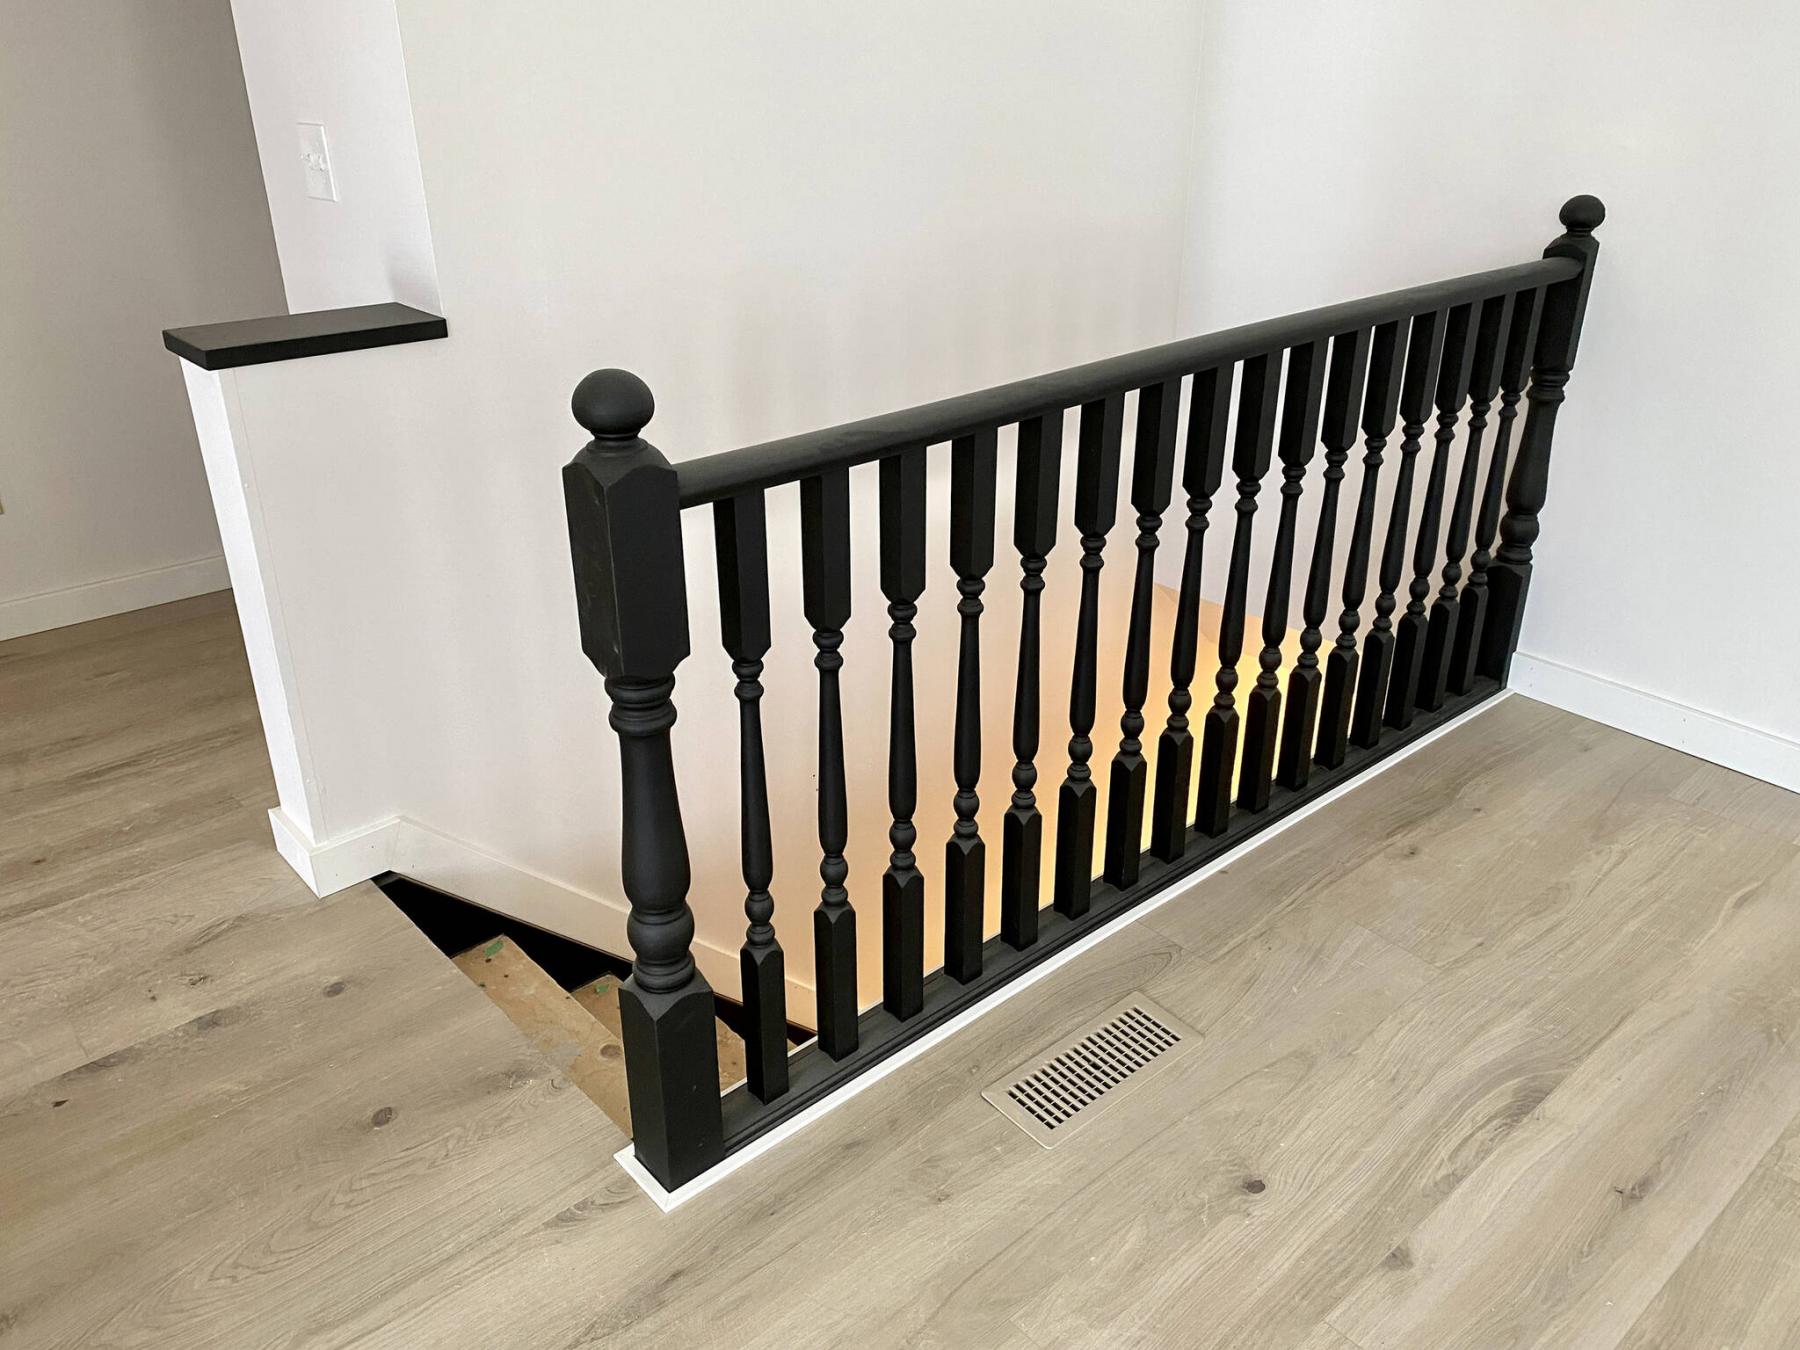

The contrast continues with the decorative stringers in black, with white baseboards along the tops.

The new contrast stairwell and banister is sure to become a main focal point upon completion.
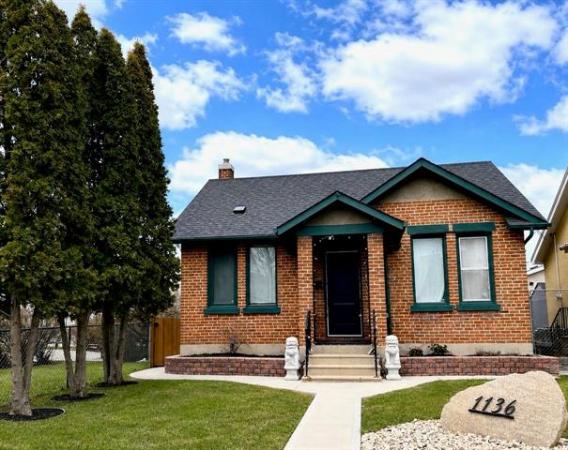
After purchasing their first house, these new homeowners wanted to immediately tackle a few essential upgrades whcih included new vinyl plank flooring throughout the main floor, new bold squared-off baseboards and casings, and contrasting railing and stair stringers to the lower level.
The order in which these separate tasks are implemented is as important as the design approach taken.
Once they took possession it was imperative that the old carpeting on the main level be removed. With the preferred style and colour of new Beckham Brothers vinyl plank with pad chosen, the existing baseboards and casings, as well as the old carpet were completely removed revealing old sub-floor. A few screws here and there lessened or even completely eradicated some annoying squeaks, just prior to laying down the new flooring, which would be of course the first major step to the project.
Starting in the main living room area, with the vinyl plank orientation parallel with the long of the room which also coincides with being parallel with the main hallway to the master bedroom and two other bedrooms, the vinyl plank floor slowly made its way towards the front foyer, opposite the stairwell to the lower level. One by one, the bedrooms were also completed until the final plank was laid in place. The next steps include casings, baseboards, and other trim-work that if achieved in the wrong order, may not produce the desired results — the order is extremely important.
Firstly, the casings must be installed around every doorway. The verticals sides along each doorway provide the border against which the baseboards can be properly installed. The baseboards usually come next. As such, the majority of rooms that received new vinyl were promptly fitted with the appropriate baseboards throughout, mitered joints along all outer corners. As I worked my way from the bedrooms and into the hallway, one area kept creeping into my thoughts — the staircase leading to the basement. Although the new baseboards and casings were a brilliant white, beautifully showcasing the light grey flooring, the homeowner elected to paint the banister a satin black. And to keep things consistent, it would theoretically be necessary to trim the lower edge of the banister adjacent the new flooring with some sort of white trim. Furthermore, and to prevent the black banister from being a colour design anomaly, a continuation of satin black down the staircase would further tie-in the entire area.
As such, prior to beginning the vinyl laminate along the rise and run of each stair, the homeowners also painted the outer decorative stair stringers to the basement satin black. With all black-coloured areas nearly completed, the baseboards were installed throughout the living room and front foyer, with only the stairs to finish. Where the back wall meets the perpendicularly protruding railing, the baseboard along the back wall simply ends at the wall post. From there, an eighth-inch high, three-quarter-inch wide piece of trim wrapped in white vinyl was fitted along the bottom edge of the banister, mitered around the end post at the top of the stairs. A section of casing was affixed to the wall directly below the banister along that side of the stairwell, ensuring the top of the casing would match the elevation of the thin vinyl-wrapped trim mitered around the post. This concluded the banister trim portion of the stairwell trim tasks.
Along the tops of each decorative stair stringer now painted black, white baseboard as a continuation of baseboard along the non-banister side was set along the top, properly mitered at every angle until it reaches the basement doorway into the main rec-room. On the banister side, baseboard is also set along the top of the stringer, cut along the top edge to meet the angle between the stringer and the previously installed casing along the banister base. With the trim now fully installed throughout the staircase area, the rise and run will be subsequently mounted, glued in place with high-bond construction adhesive. The stair nosings can then be cut to a length that allows each nosing to slip in between the stringers, before being permanently glued to each respective stair edge.
Completing the stairwell baseboards and trim along the banister before the vinyl plank is mounted on each rise and run of the stairs ensures that the nosing will be installed with a consistent look on both sides. And by pre-painting the decorative stringers, there is no need to tape off the new vinyl rise and run for painting. Unlike flooring throughout the main level, baseboards hide all flooring edges at every wall whereas the stair tread ends remain visible — establishing the proper order of tasks is key, and deserves a great deal of initial planning. Due diligence has ensured the desired black and white outcome.
RenoBoss.Inc@outlook.com