Photos by Marc LaBossiere / Winnipeg Free Press
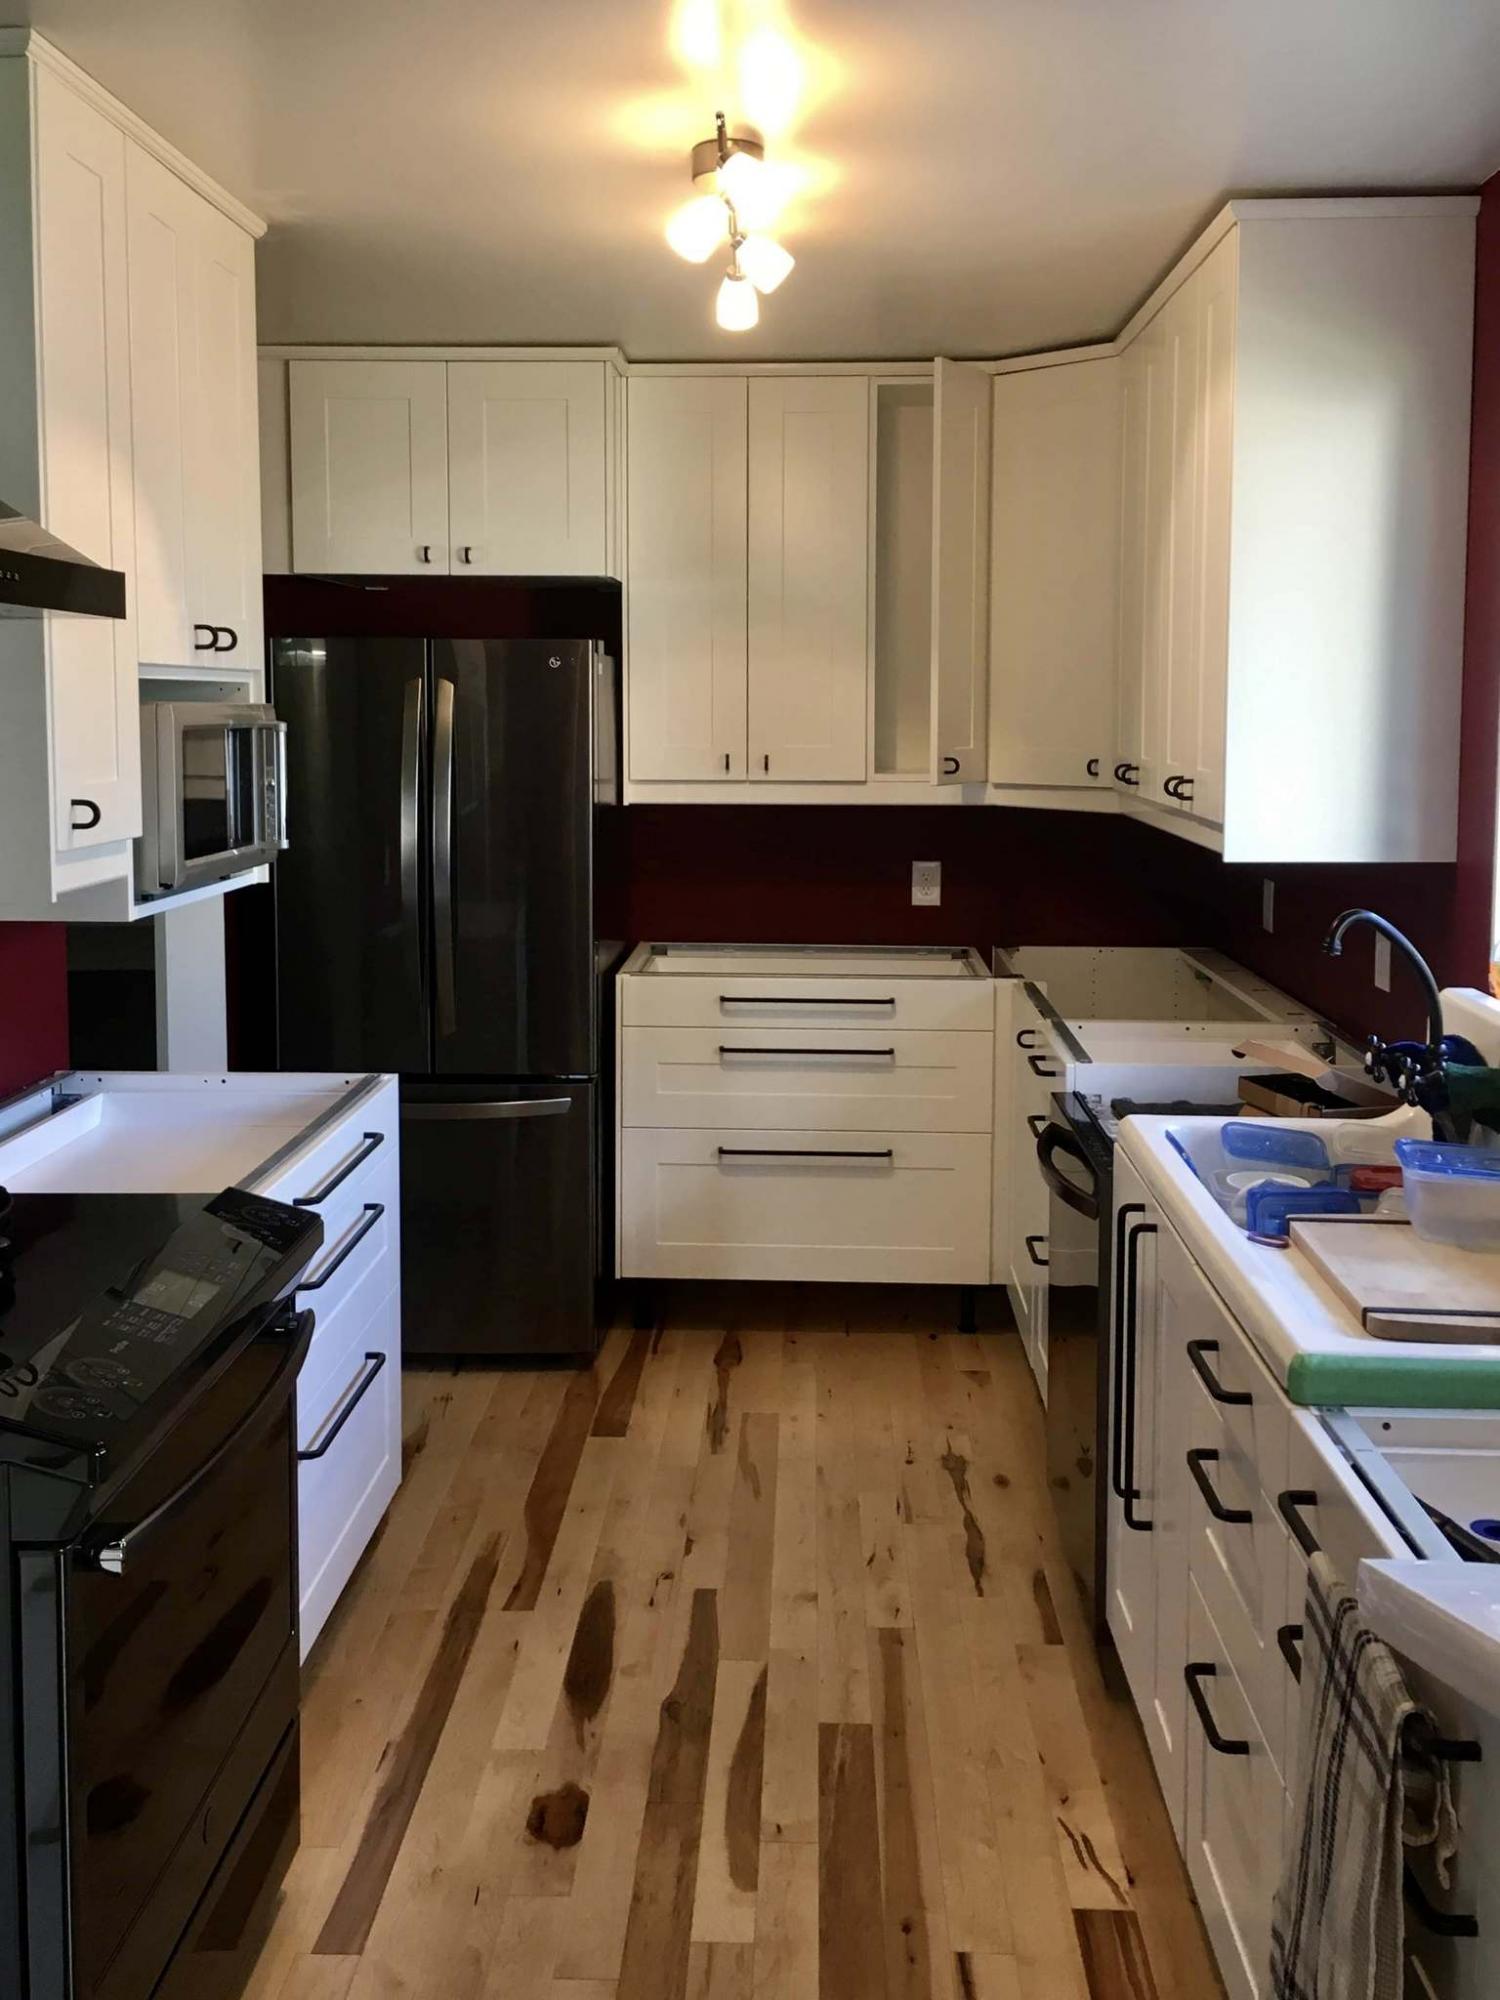
With LaBossiere’s preparation tasks completed, the homeowner did a terrific job finishing his kitchen.
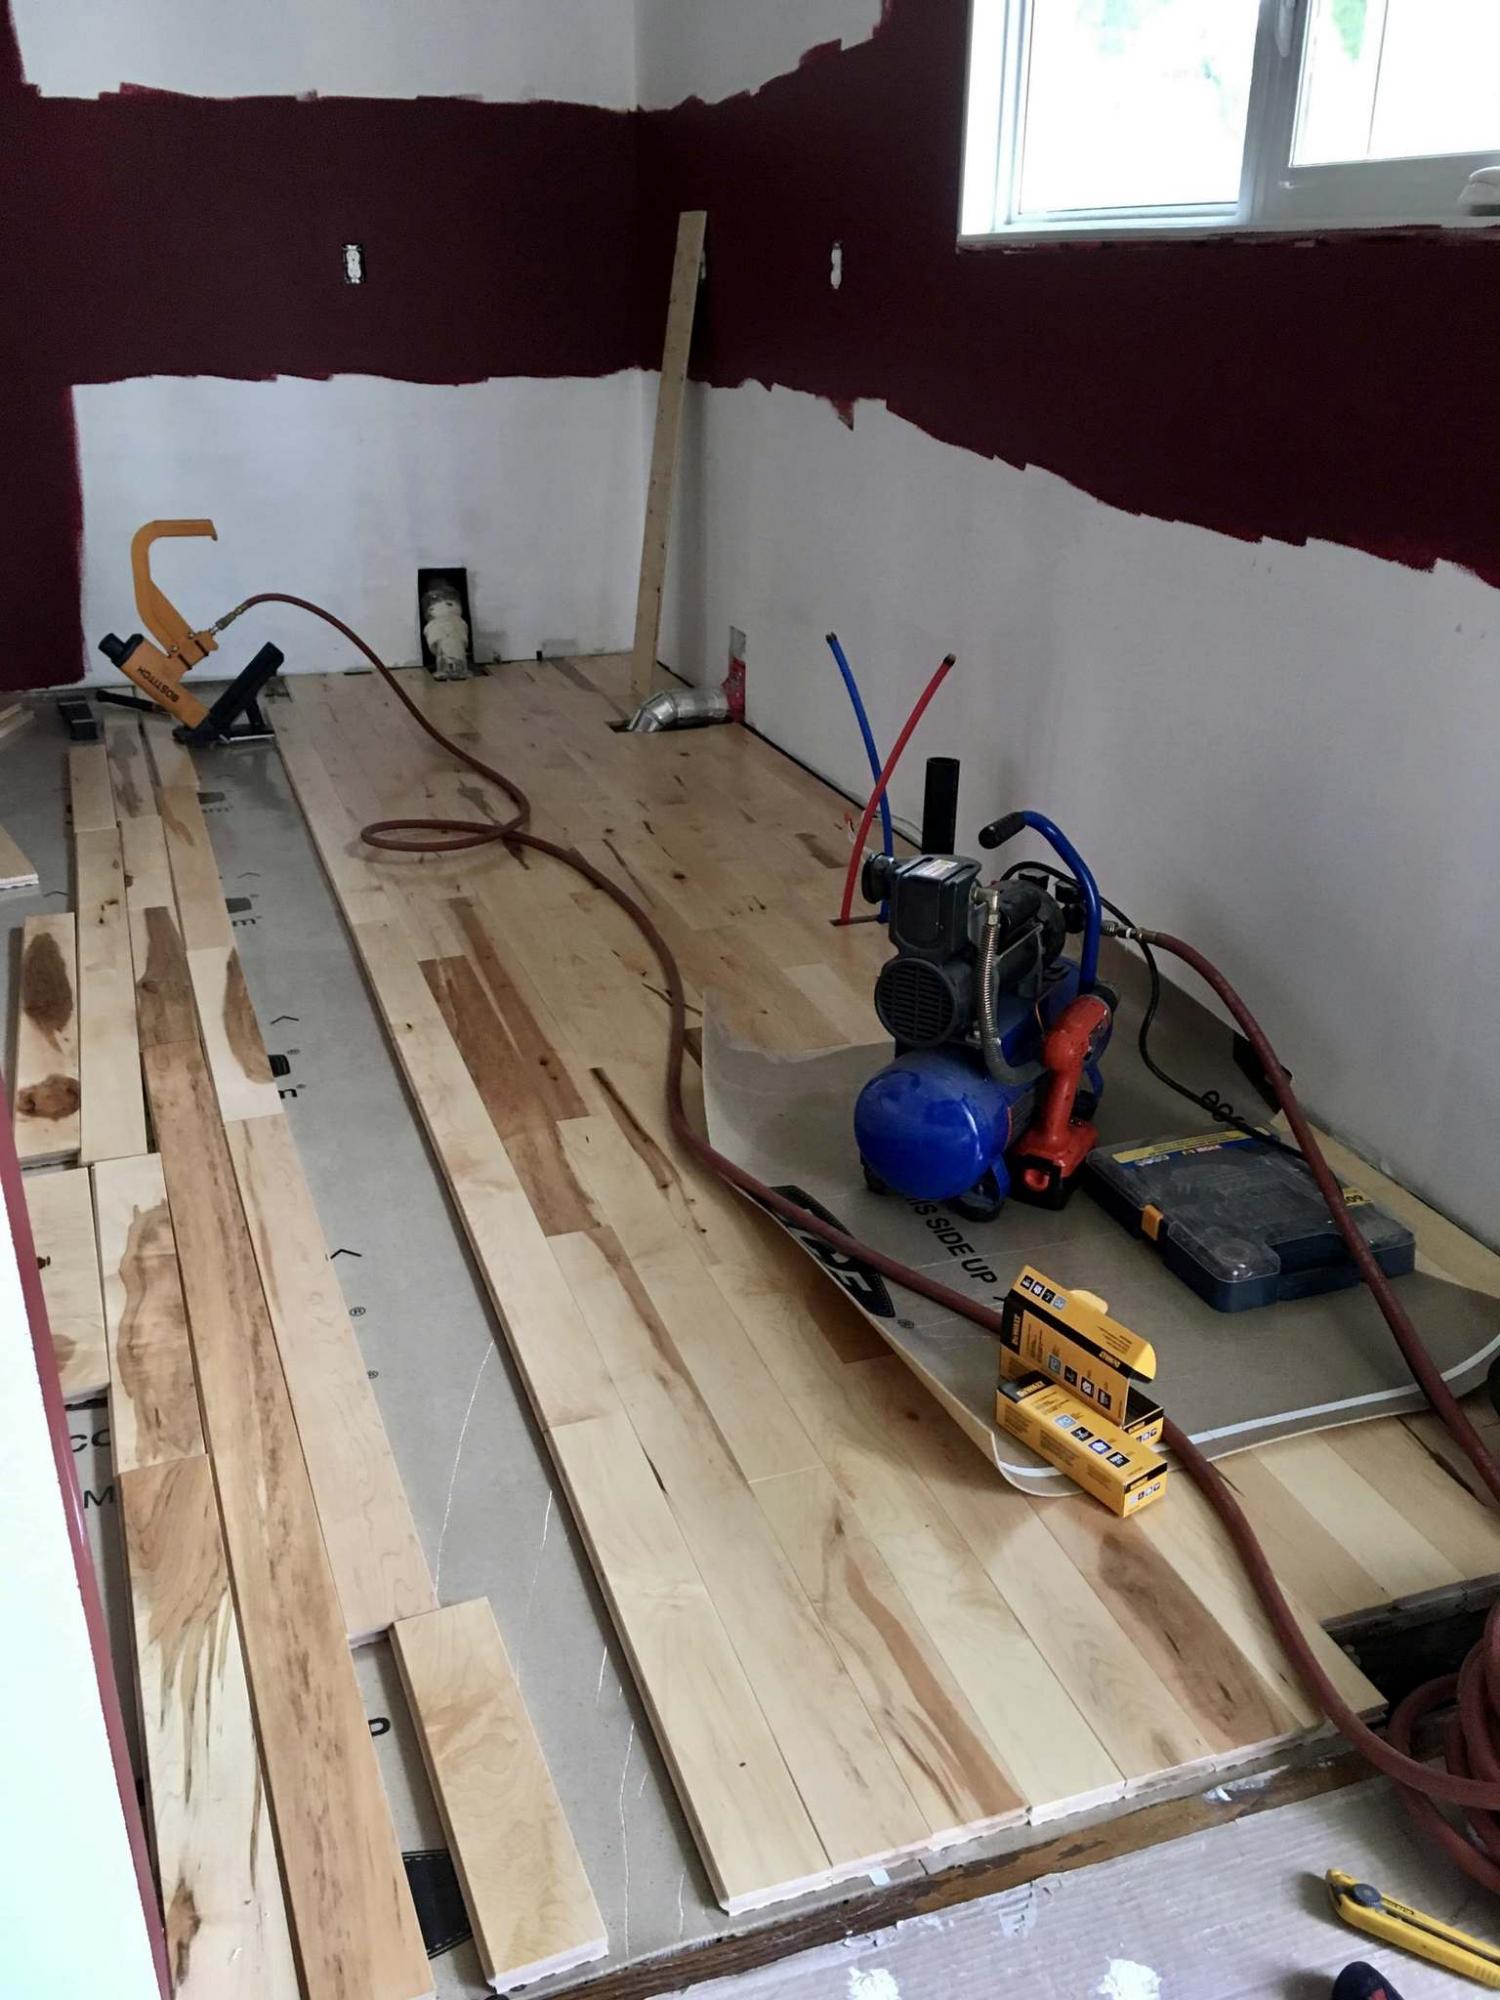
Prepped and sanded — the shell began to transform with a few coats of paint and rustic hardwood flooring.
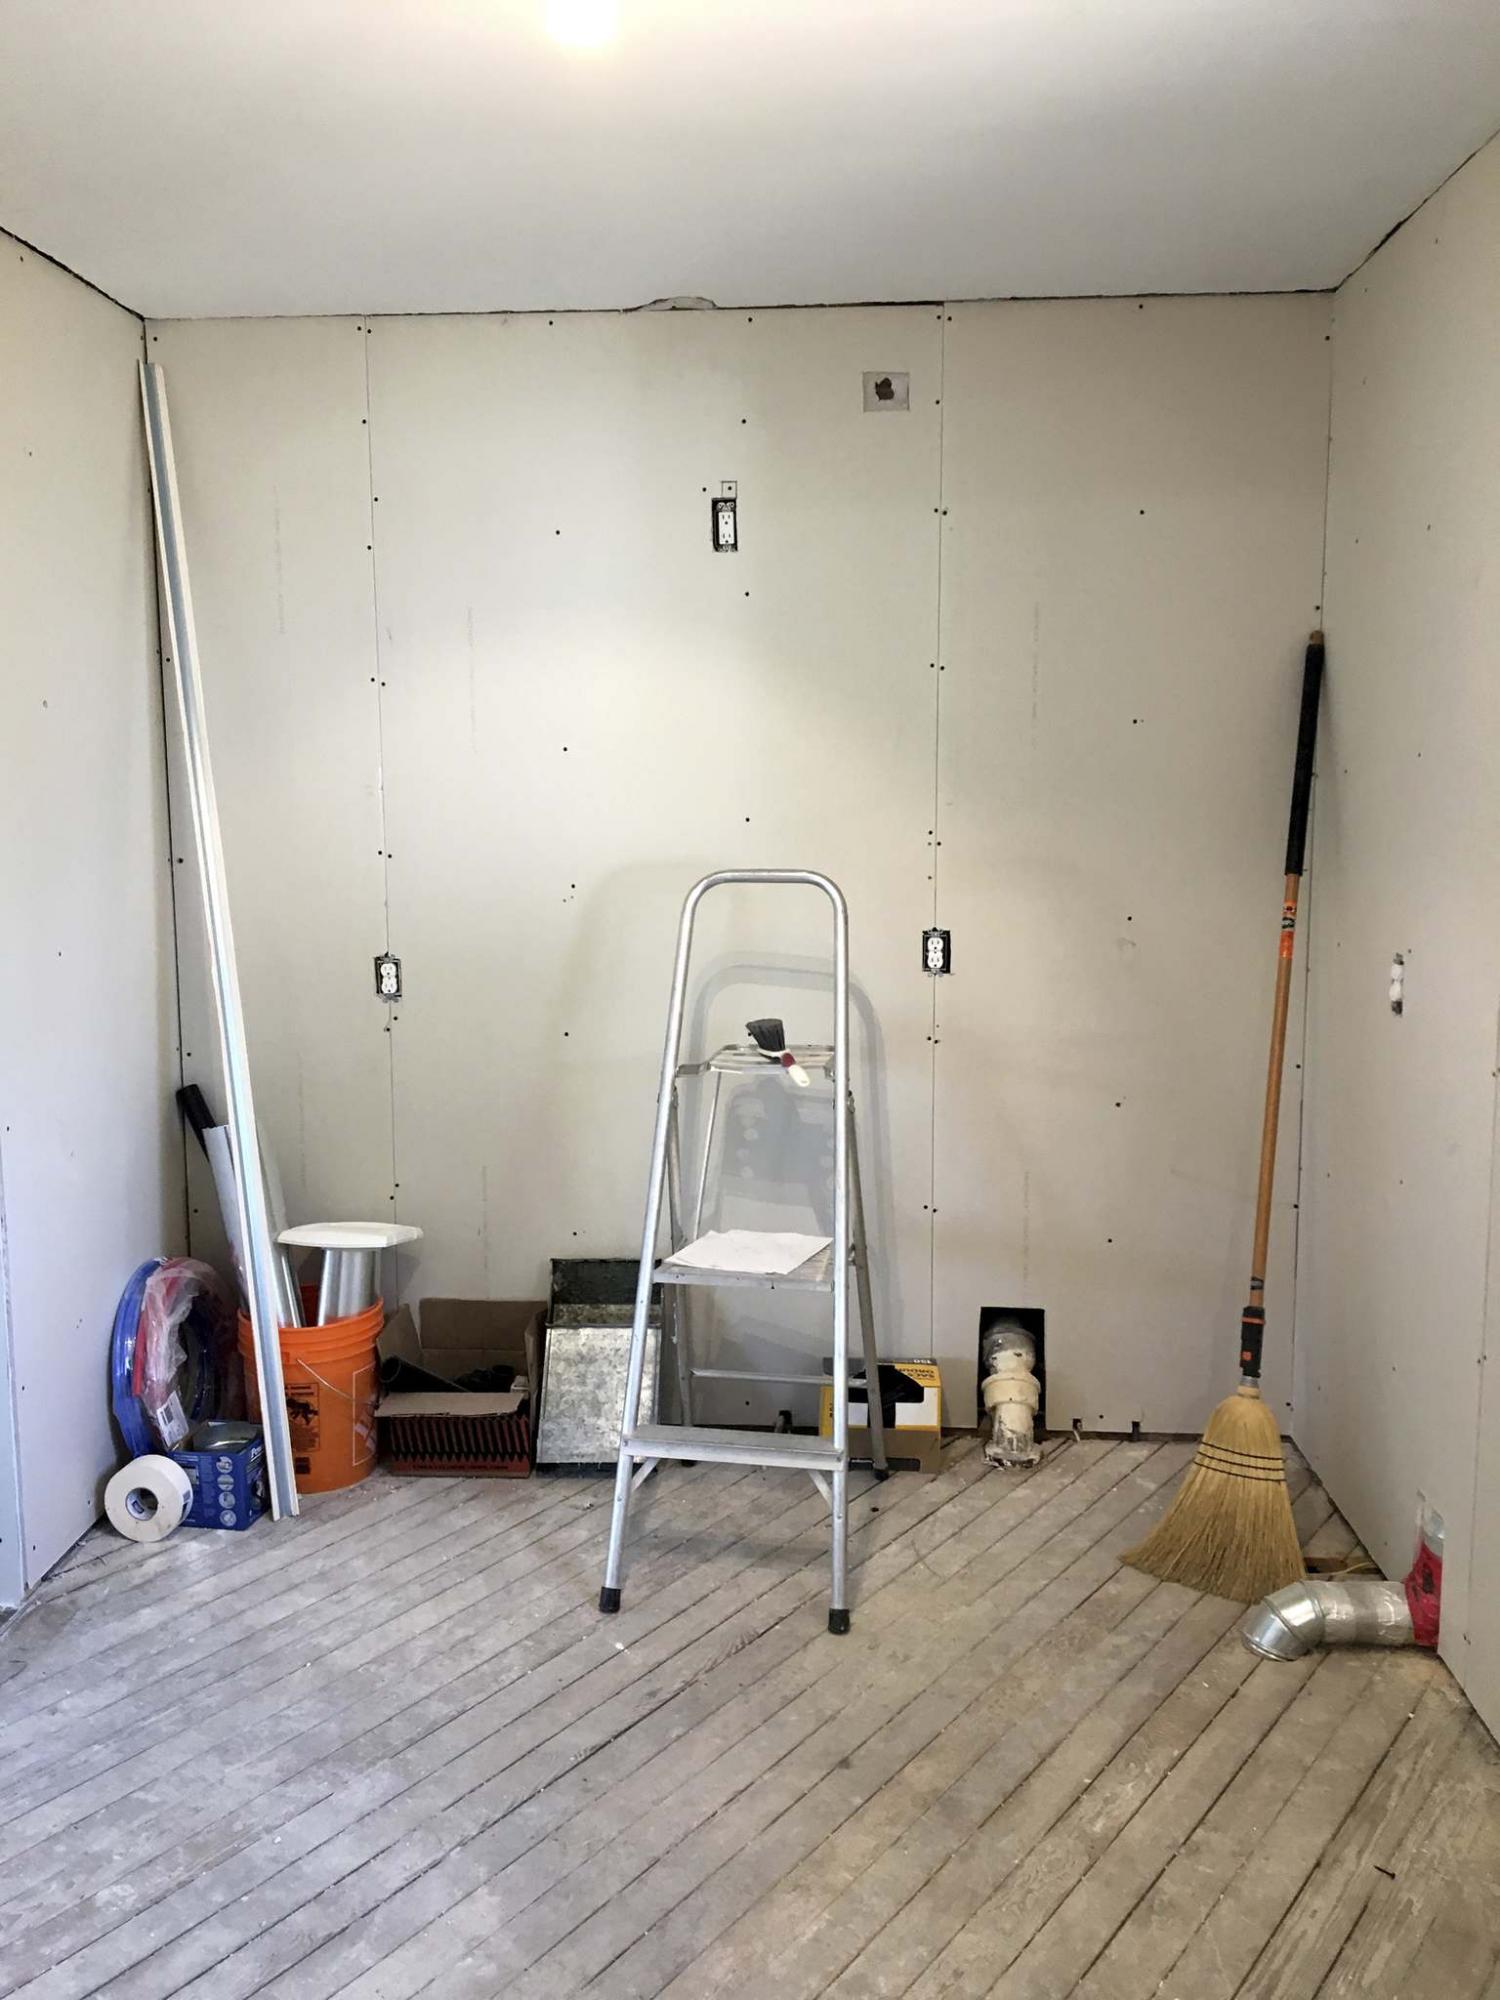
New drywall was hung before the homeowner completed the kitchen upgrade.
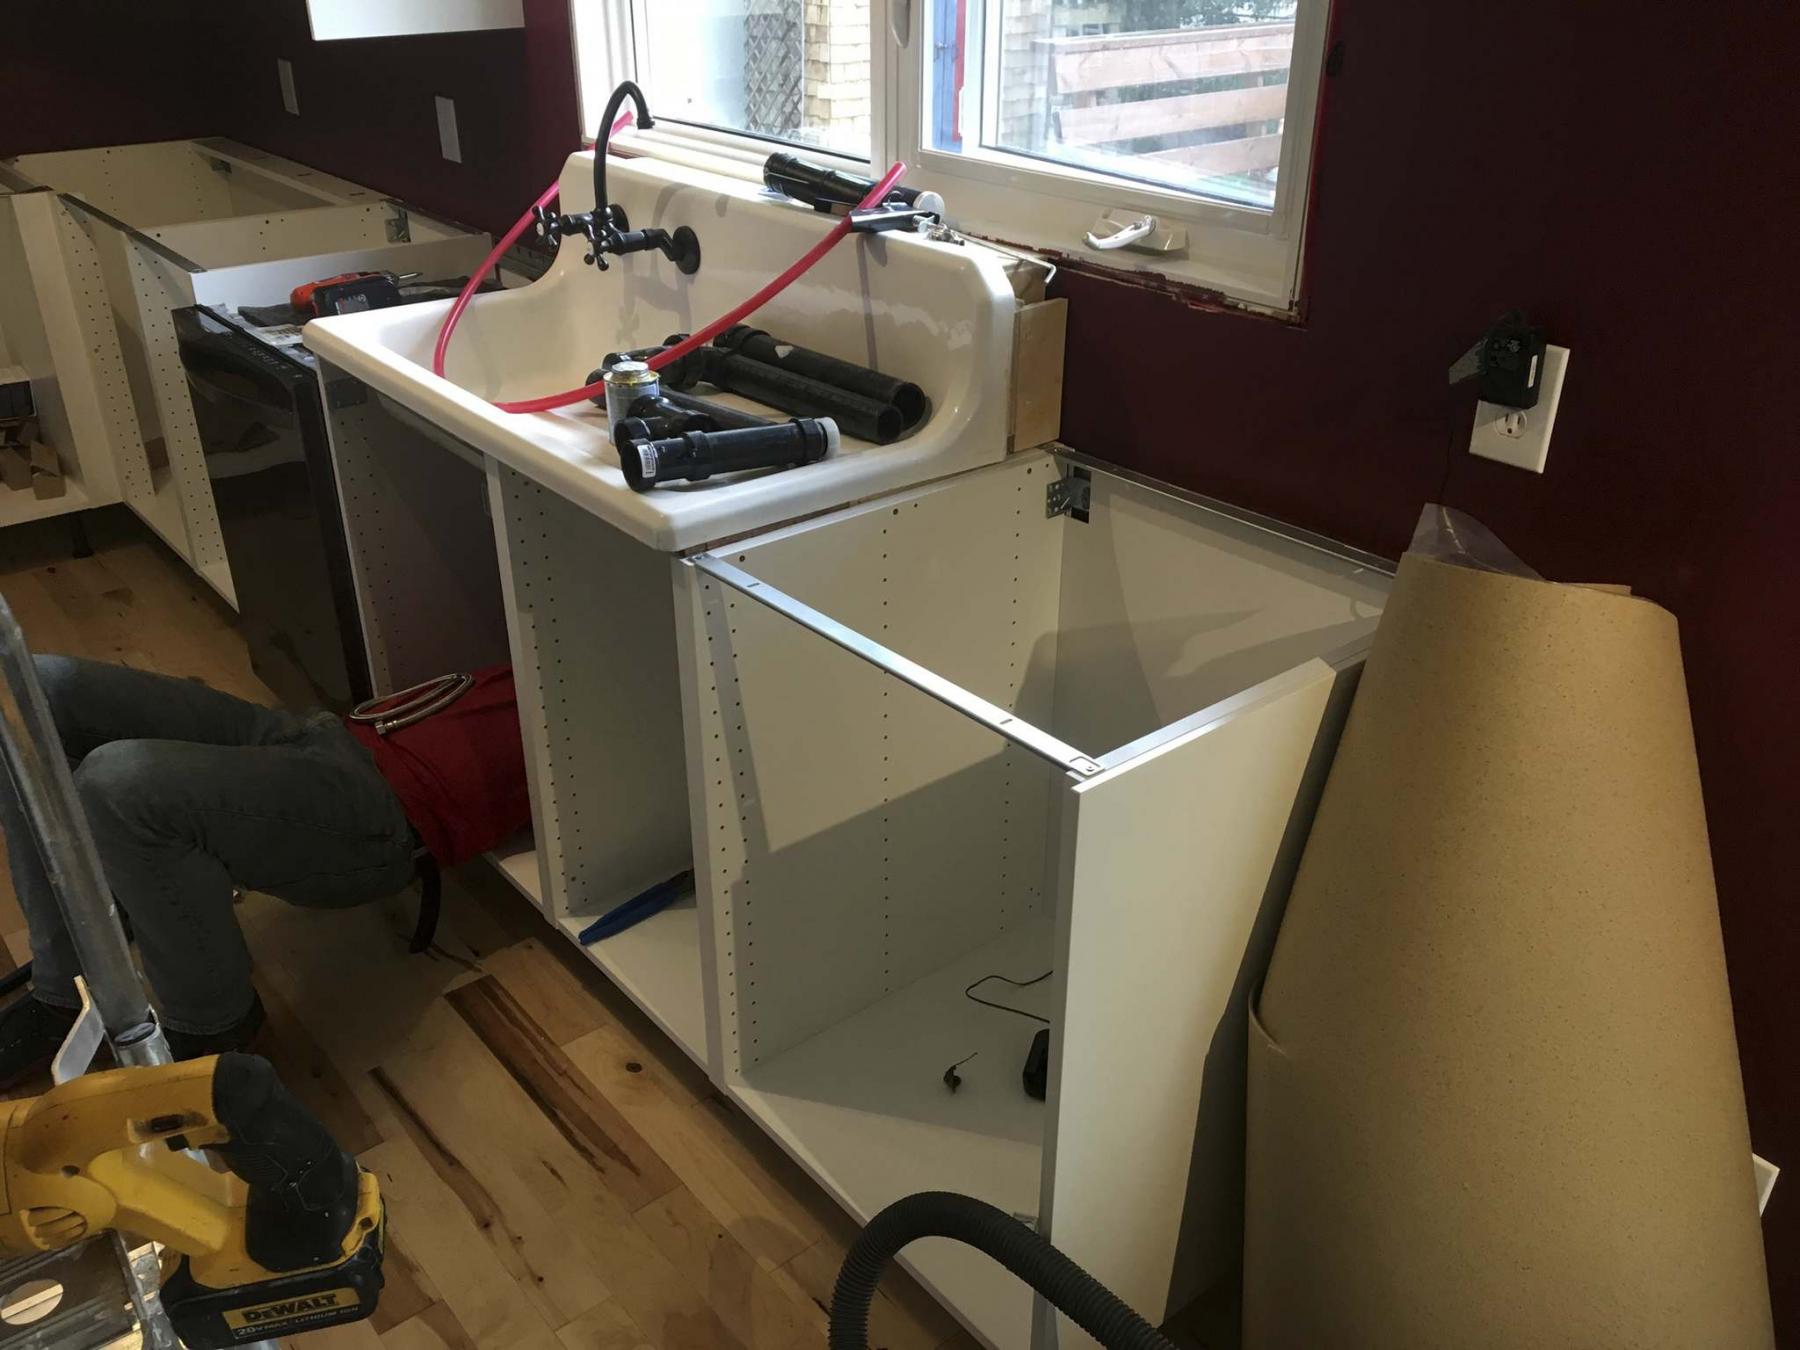
This kitchen reno also included the installation of a new sink and dishwasher.
Although the final steps of a renovation project showcase the aesthetics, those last few tasks only ever account for about 10 per cent of the work achieved — it is the proficiency of the first 90 per cent that most often dictates the results. That is why it is of the utmost importance to pre-plan, and do a run-through of all the steps required before you even begin.
In the spring of 2019, a client wanted to renovate his kitchen. However, it was determined that once the shell prep was achieved, he would take over the reins and populate the space himself. This was unusual for me, in that most projects undertaken include my involvement from start to finish, with all the project’s phases visualized ahead of time to determine the final product. In this case however, the final result was not mine to envision.
There was a slew of services relocations planned. The old cast iron drainpipes would be abandoned topside, and new ABS would tie-in to the stack in the basement to reposition the kitchen sink below the window facing the backyard. The old back door would also be abandoned, framed in completely to allow for continuous countertop along that wall. Furthermore, the existing kitchen electrical was insufficient — several new circuits directly from the electrical panel would be introduced to avoid blowing circuit breakers when using two appliances at once. Others were simply relocated as per the countertop layout. This was all fairly standard during any kitchen upgrade, nothing out of the ordinary.
There was, however, an interesting piece to the electrical puzzle — all of the house’s electrical switches are low-voltage switches. In other words, tiny leads tantamount to doorbell wire send a signal to an RR3 mechanical latching relay wired at the lighting instance, either closing or opening the circuit causing the lights to go on or off, respectively. Although I had never personally encountered such wiring previously (as it is not very common practice these days), it was quite easily adaptable and the appropriate steps were taken to reposition the switches to the proposed locations to suit the new kitchen layout.
With both the electrical components and plumbing elements pre-run to the newly assigned locations, it was time to insulate and vapour barrier the exterior wall, and close up all the walls with new drywall. My final and immediate task would be to add the appropriate mud coats, and sand it all until paint ready.
Upon my return a few weeks later to tie-in the kitchen sink and dishwasher, it was evident the homeowner had been busy readying the space. The ceilings and walls had been primed and painted where required, new hardwood flooring was installed throughout and the lower and upper cupboards were mounted and secured into place. Once the drains and feeds of the sink and dishwasher were tied-in and tested, my involvement would end — and more than a year would elapse before my eyes saw the final results.
Scrolling though the completed kitchen’s photos brought a smile to my face and revealed a beautiful galley kitchen. The burgundy walls, black appliances and dark quartz countertops perfectly contrast with the white cupboards, old-fashioned kitchen sink and ceilings. And the hardwoods contribute a rustic flavour to the space, bringing an almost country feel to an urban setting.
It was a pleasure collaborating on this kitchen — even though my efforts are now hidden. Kudos to the homeowner for a job well done!
BossEnterprise@outlook.com