photos by Marc LaBossiere / Free Press
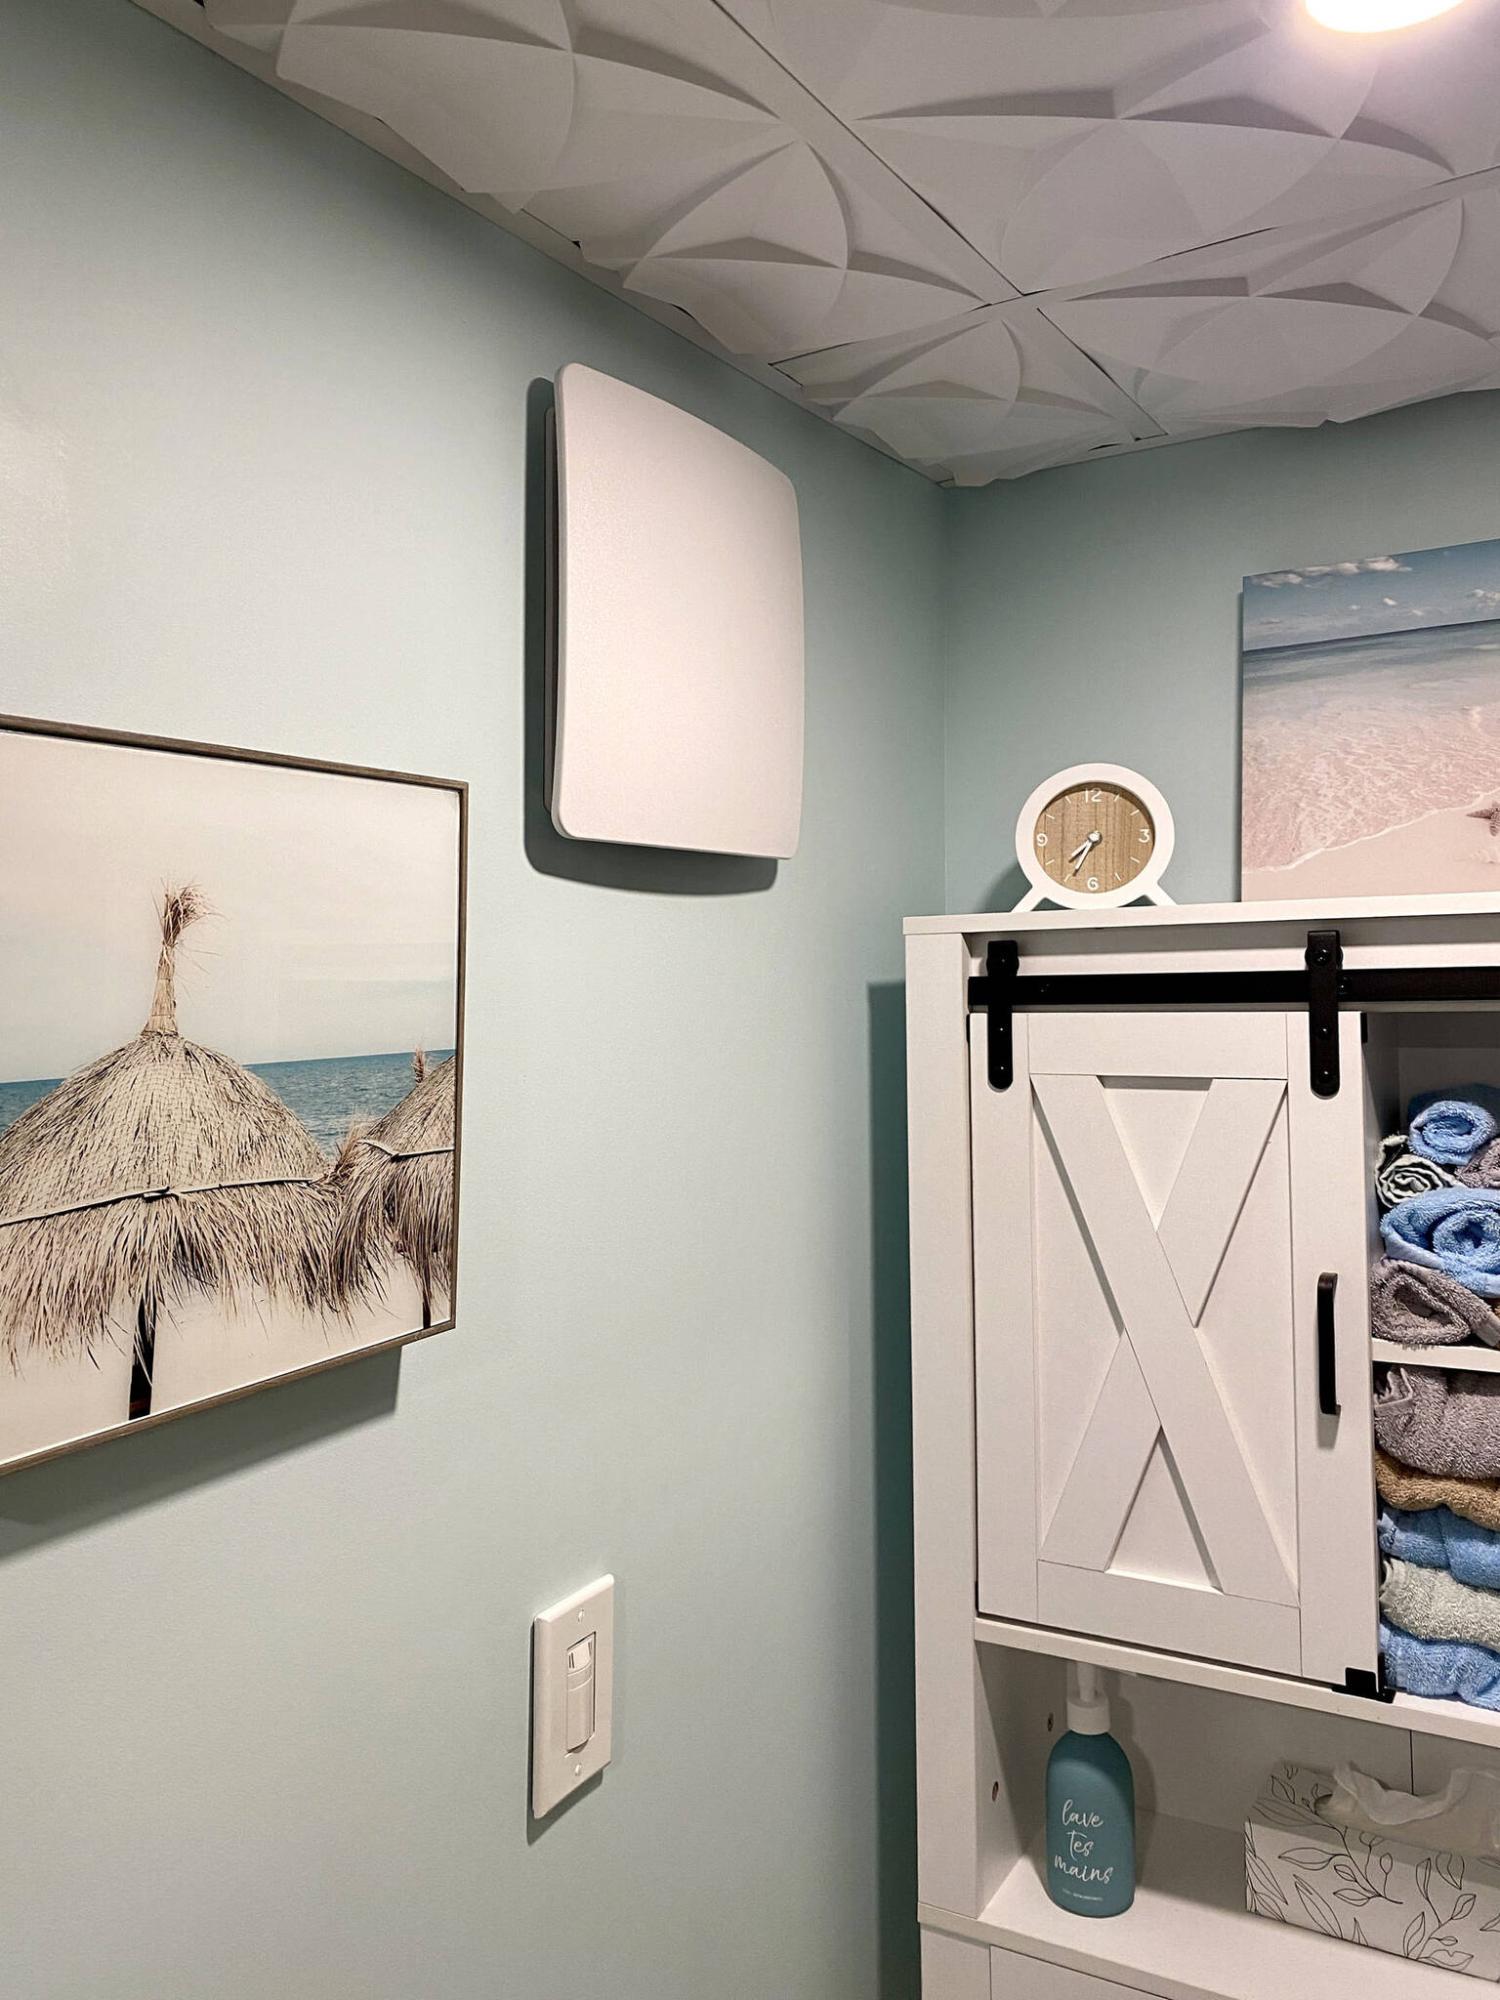
In lieu of a ceiling application, the bathroom exhaust fan is mounted vertically along the top of the wall adjacent the utility room, to allow proper venting.
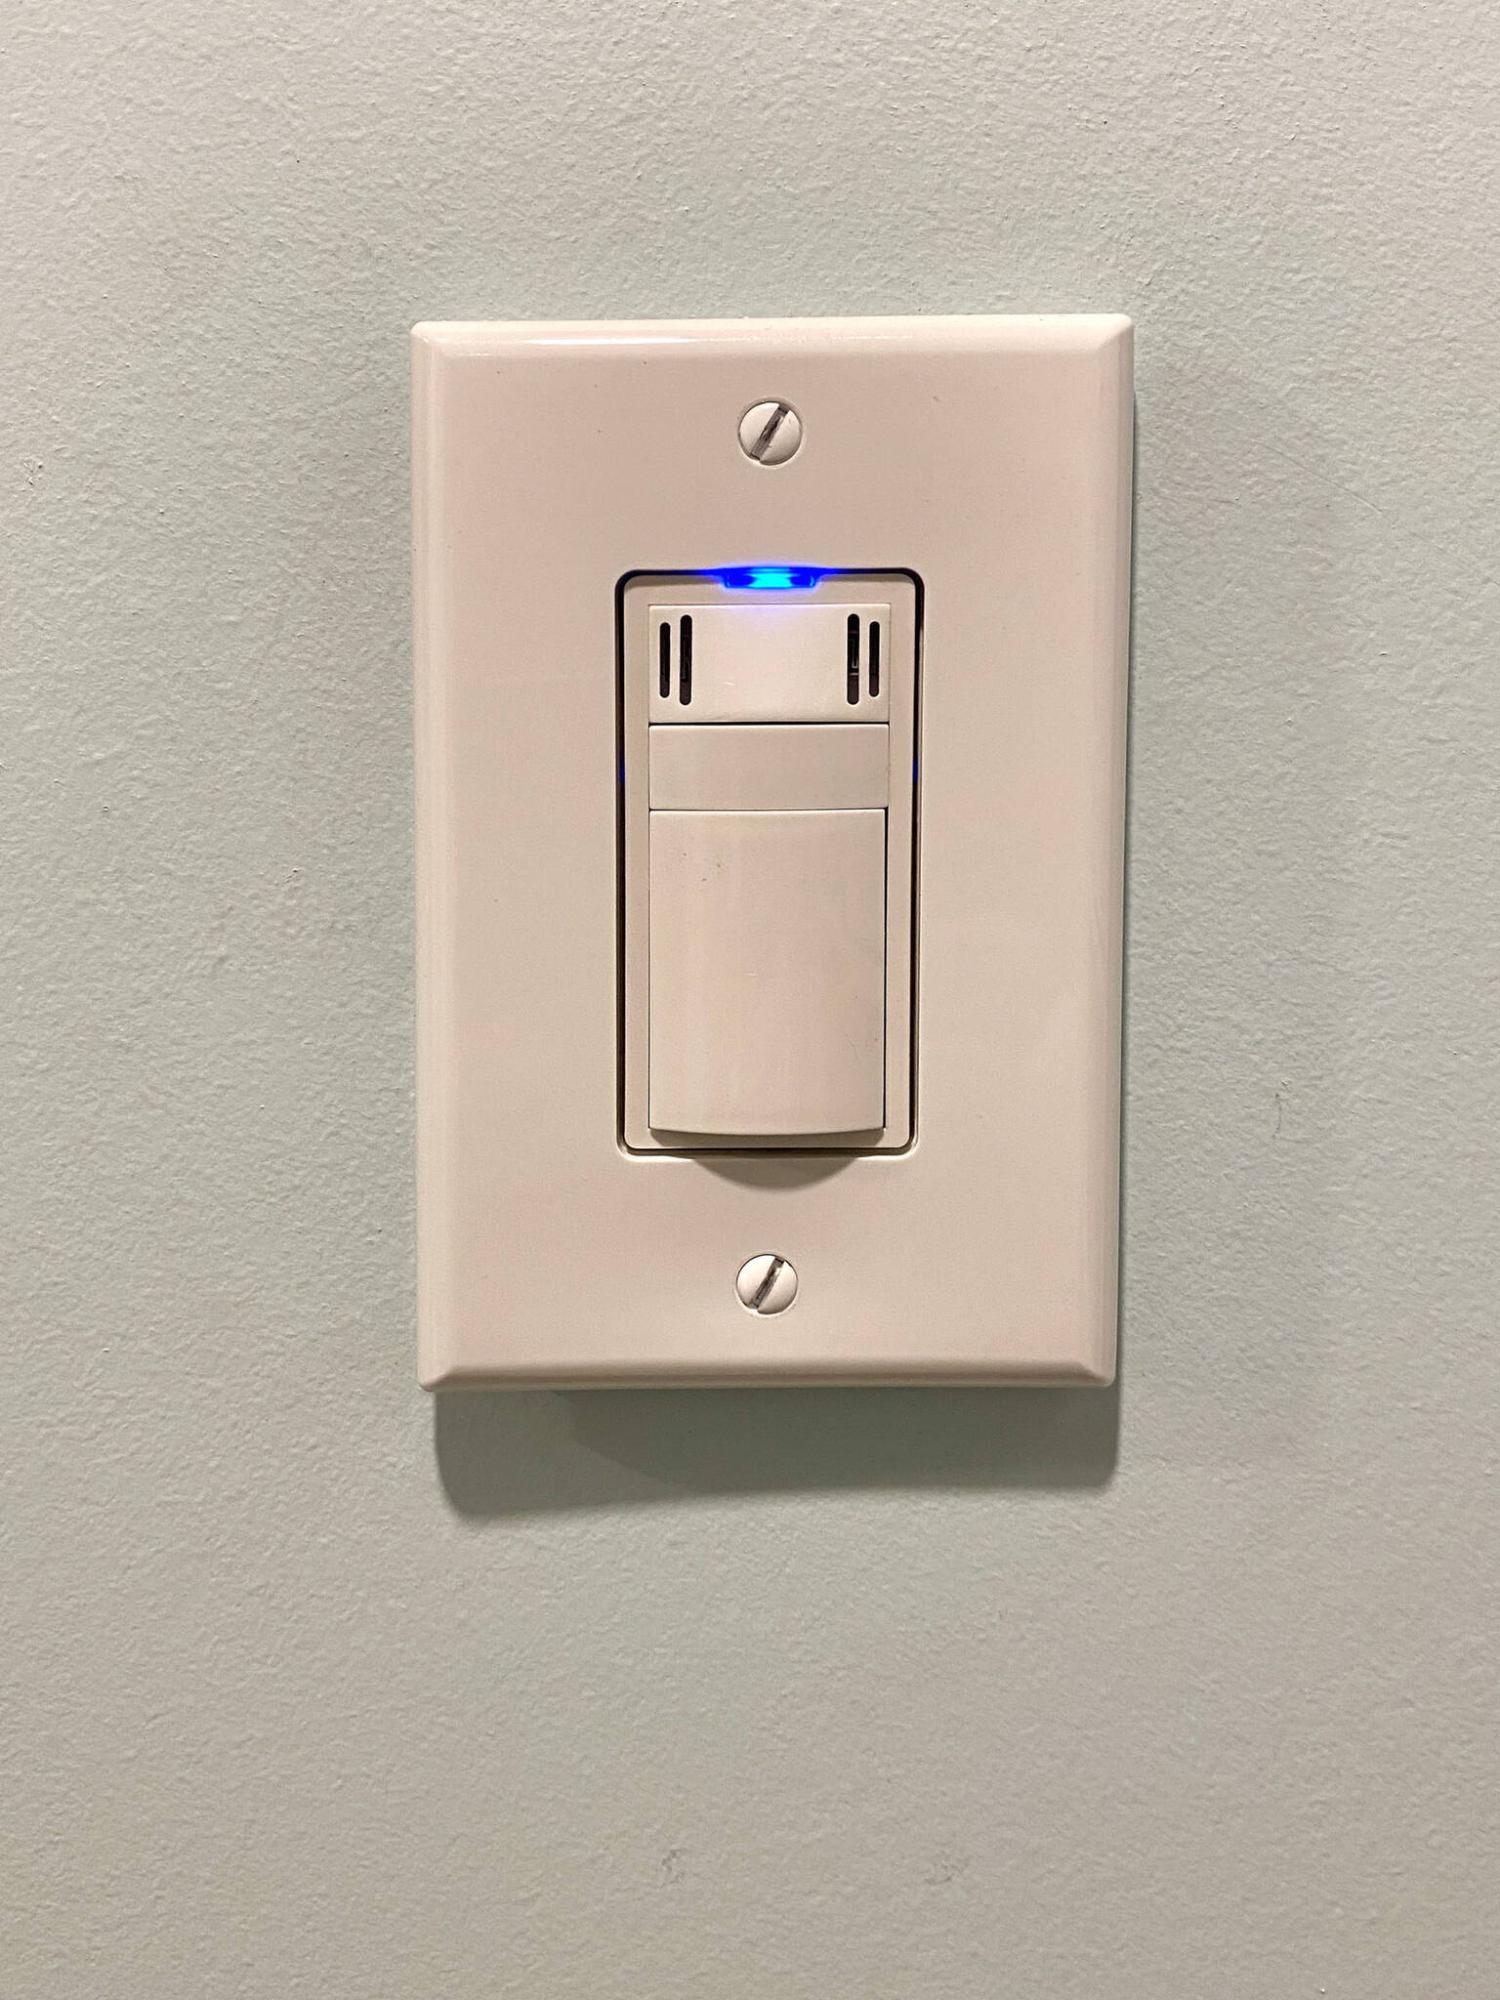
A moisture-sensing, adjustable switch turns on automatically when humidity increases, and shuts off as it dissipates.
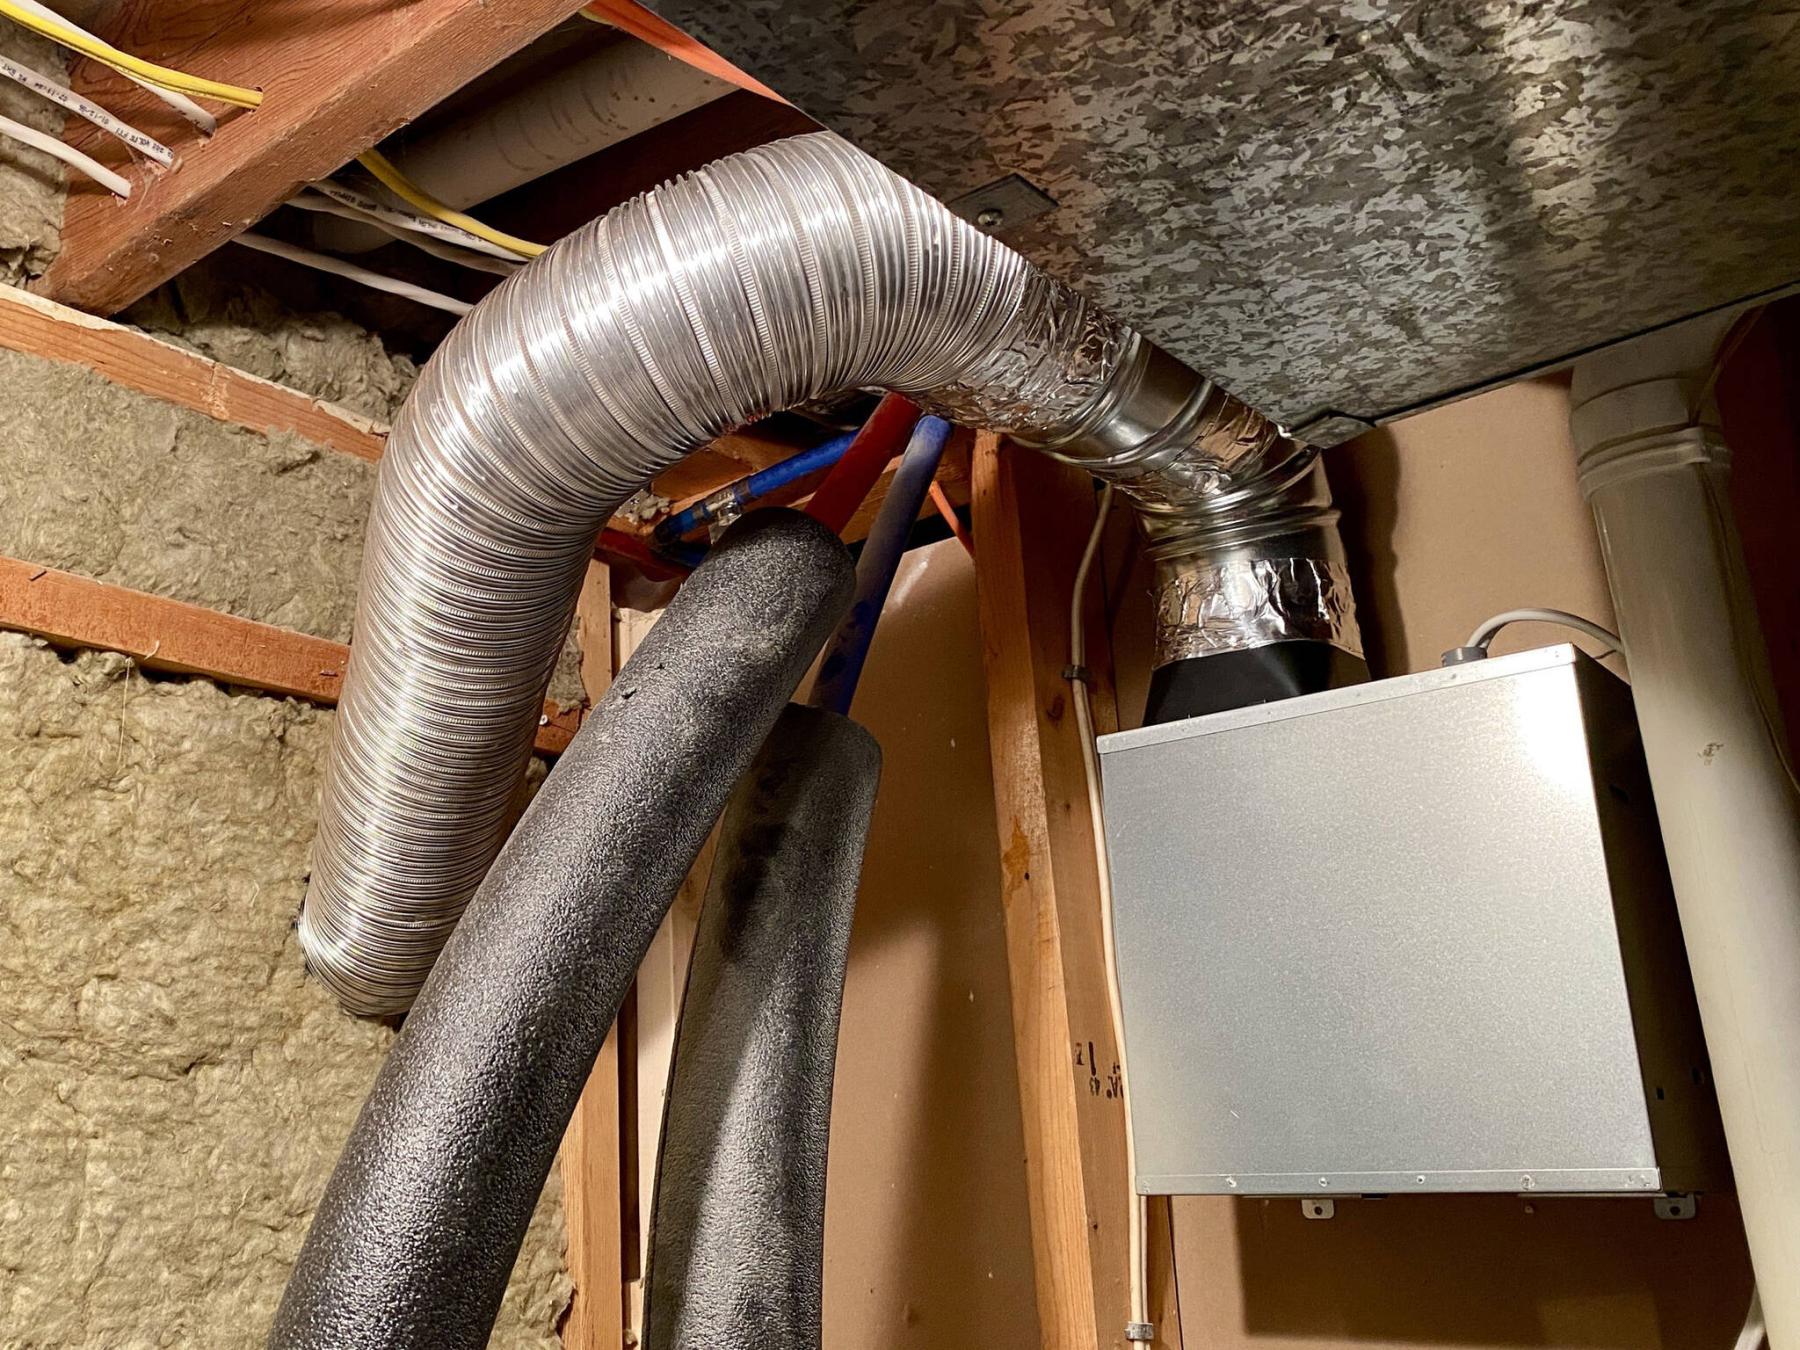
The exhaust-fan housing protrudes along the unfinished wall of the utility room allowing easy venting to the exterior through an abandoned window opening.
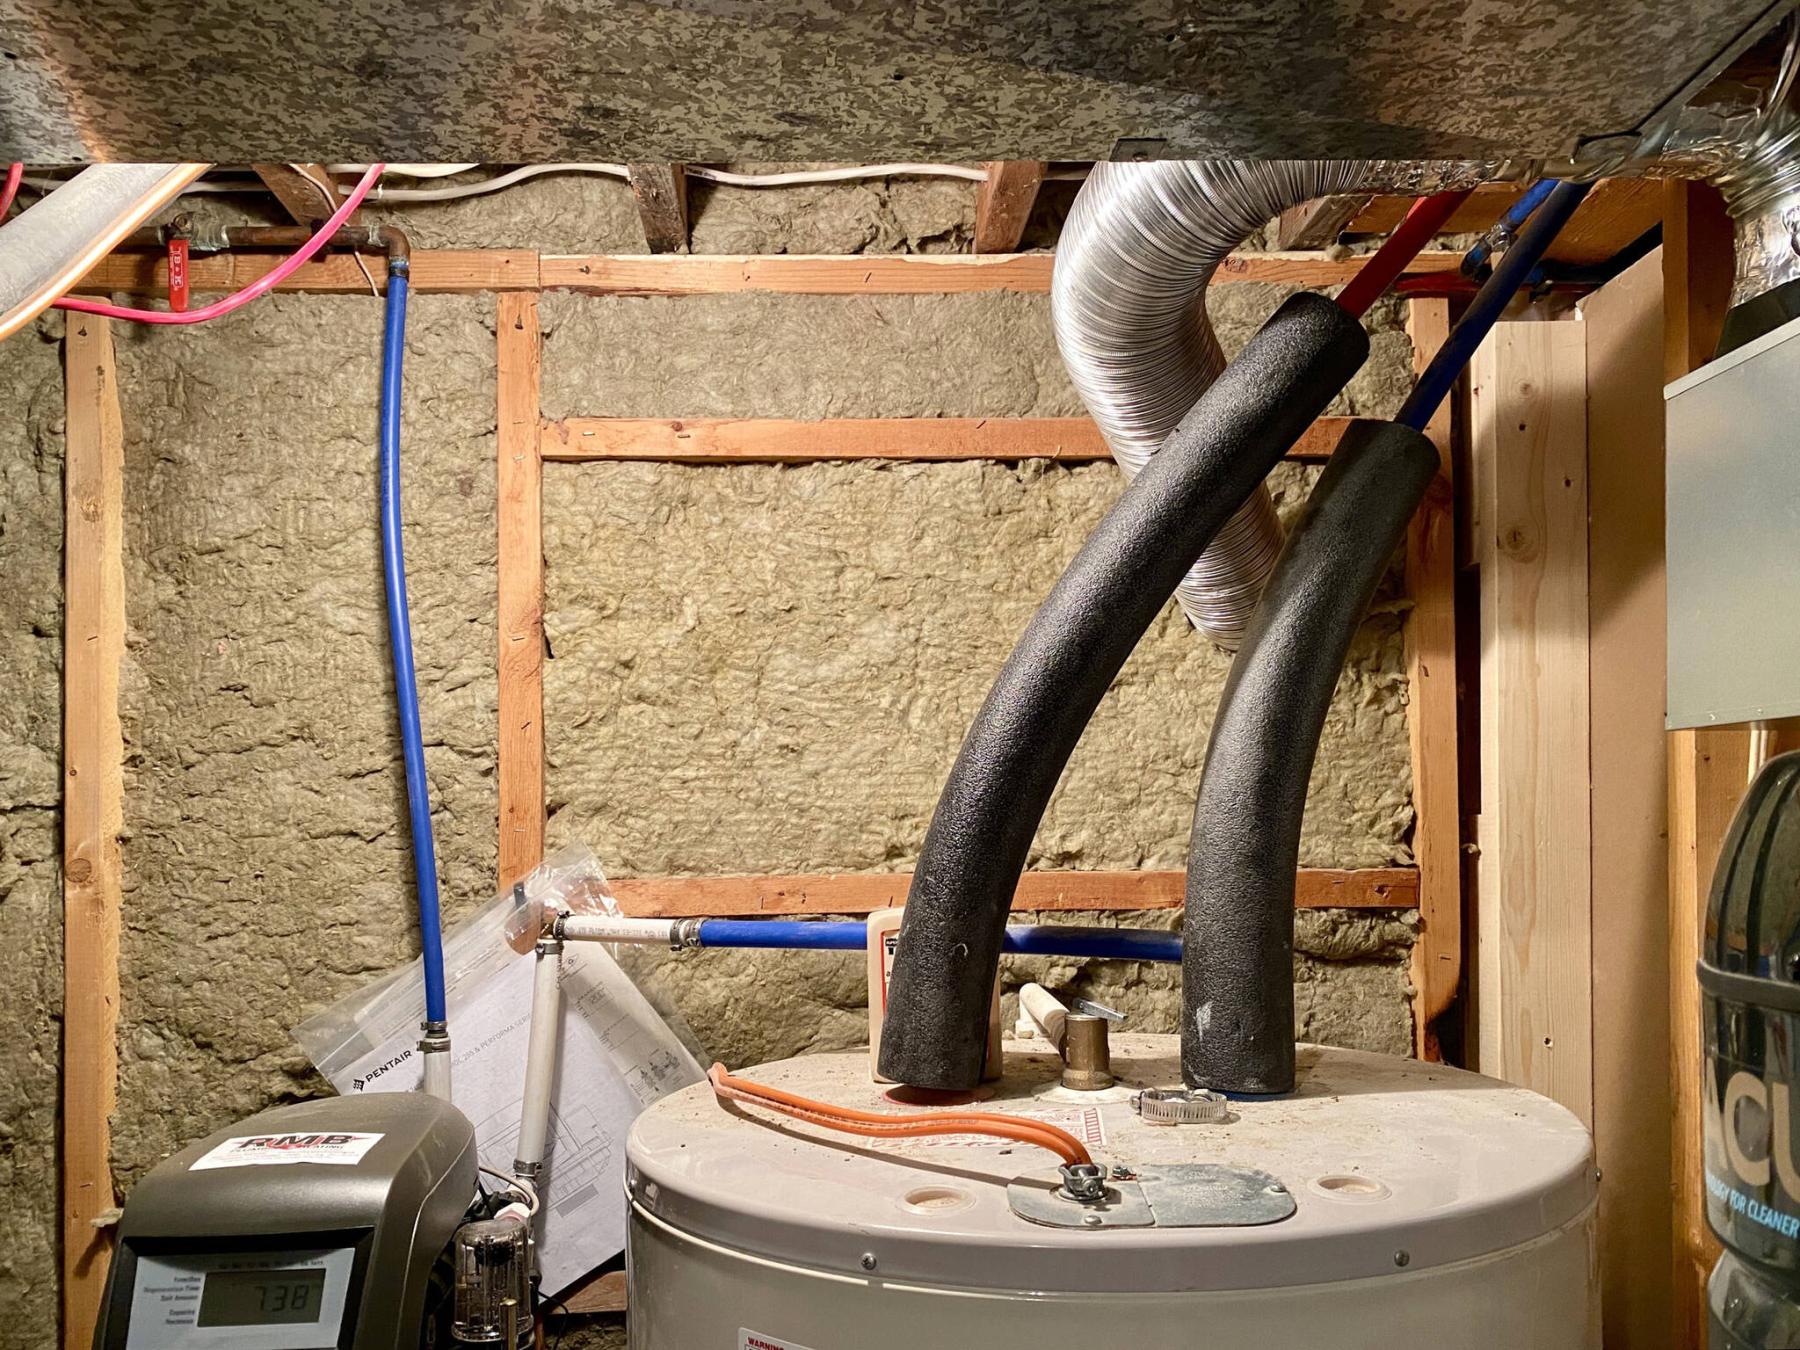
The small window behind the hot-water tank was permanently removed, allowing an easy path for the ducting to vent the new exhaust fan to the exterior.
The introduction of a basement bathroom always presents a few challenges. If the rough plumb for the sink, toilet, tub and/or shower is already present within the concrete floor, most of the cumbersome hurdles simply vanish. However, another aspect can often be overlooked and will undoubtedly cause future issues if not addressed — excess humidity and the necessity of a bathroom exhaust fan.
The basement of my house had been pre-plumbed for a three-piece bathroom during construction in 1984. However, this plumbing prep had remained untouched until very recently. Fortunately, all the drains had been temporarily sealed and work flawlessly, as intended. Within the bathroom space however, there is no window. As such, the prospect of clearing humidity after a long hot shower would fall upon the introduction of an exhaust fan.
With any bathroom exhaust fan, the mechanism is flush-mounted to either the ceiling or top of a wall, in the most convenient area to allow proper ventilation to the exterior. Although the far side of my basement bathroom is an exterior wall, the ceiling is a mosaic of decorative suspended ceiling tiles. As such, the vertical-mount application of an appropriate style of exhaust fan would best suit the space.
However, when deciding upon where to mount the fan housing on the back wall, it became evident venting through the exterior wall was not possible — the concrete footing was too high and ceiling was too low to mount the fan in a manner that was adequate. Moreover, the five-inch hole required to run the ducting from the exhaust fan housing through to the exterior would also require busting through the exterior brick of the house, and end up somewhere midway along the ledger of the rear deck framing.
There must be a better way to introduce this fan.
Once the bathroom was completed, the shower was given its virgin run — as expected, the space fogged up considerably. As such, the need to find a solution to the exhaust-fan dilemma was given the greatest priority.
It wasn’t until I entered the adjacent utility room that a plausible, yet simple solution that would inherently tackle two issues at once presented itself at a glance. The small inward-opening double-pane window behind the hot-water tank was never able to close properly, allowing moisture and dust into the utility room.
With initial intentions to permanently seal it, the revised plan now called for the removal of it altogether, whereby the opening could be permanently sealed off using two layers of three-quarter-inch treated plywood, fastened to new framing along the perimeter of the rough opening.
This sealed breach gave rise to an area along the wall above the concrete footing, and no brickwork, through which the ducting of an exhaust fan could meet an exterior vent cover without any issues. The window was removed and permanently boarded up, fastened to the new framing and then caulked along all exterior seams.
With the new ply up where the window used to be, a five-inch hole was augured through to the interior of the utility room. The exhaust fan was then mounted vertically on the wall perpendicular to the exterior wall, adjacent to the bathroom.
The fan was wired through a moisture-sensing switch, which kicks in at the onset of humidity (it’s adjustable, and can also be turned on manually), vented through a corrugated duct mounted to a vent cover fastened to the plywood on the exterior side of the five-inch hole.
The entire project was completed in half a day, including priming and painting the treated plywood facing the exterior, and adding the required Rockwool insulation within the framed cavity of the old window space along the exterior wall inside the utility room.
The exhaust fan easily mounted to the finished wall of the bathroom, with the exposed housing on the unfinished wall of the utility room rendering the ducting installation extremely efficient, with less than 30 inches of run before exiting the house through the exterior vent cover.
Upon testing the operation of the exhaust fan, as well as adjusting the moisture sensor switch to start the moment humidity became visible on the glass shower doors, the overall volume of humidity was greatly decreased during the period of hot water use. Moreover, the fan continued to run for nearly half an hour afterwards, until the sensor switch shut it off automatically, once moisture levels had dissipated adequately.
Busting through the concrete footing of the house, as well as boring a hole through the existing brickwork had become a very daunting prospect in adding a bathroom exhaust fan. My procrastination kicked in immediately, simply due to the anxiety it produced.
Fortunately, a much easier and more effective solution presented itself haphazardly while entertaining how to tackle another lingering issue. I suppose sometimes it’s best to take pause before rushing into a project mired in uncertainty — it certainly paid off in this scenario.
With the new fan in place, basement showers are still hot, but not as steamy, and that provides me peace of mind.
RenoBoss.Inc@outlook.com