One window is new, while the other was moved slito create symmetry.
Photos by Marc LaBossiere / Free Press
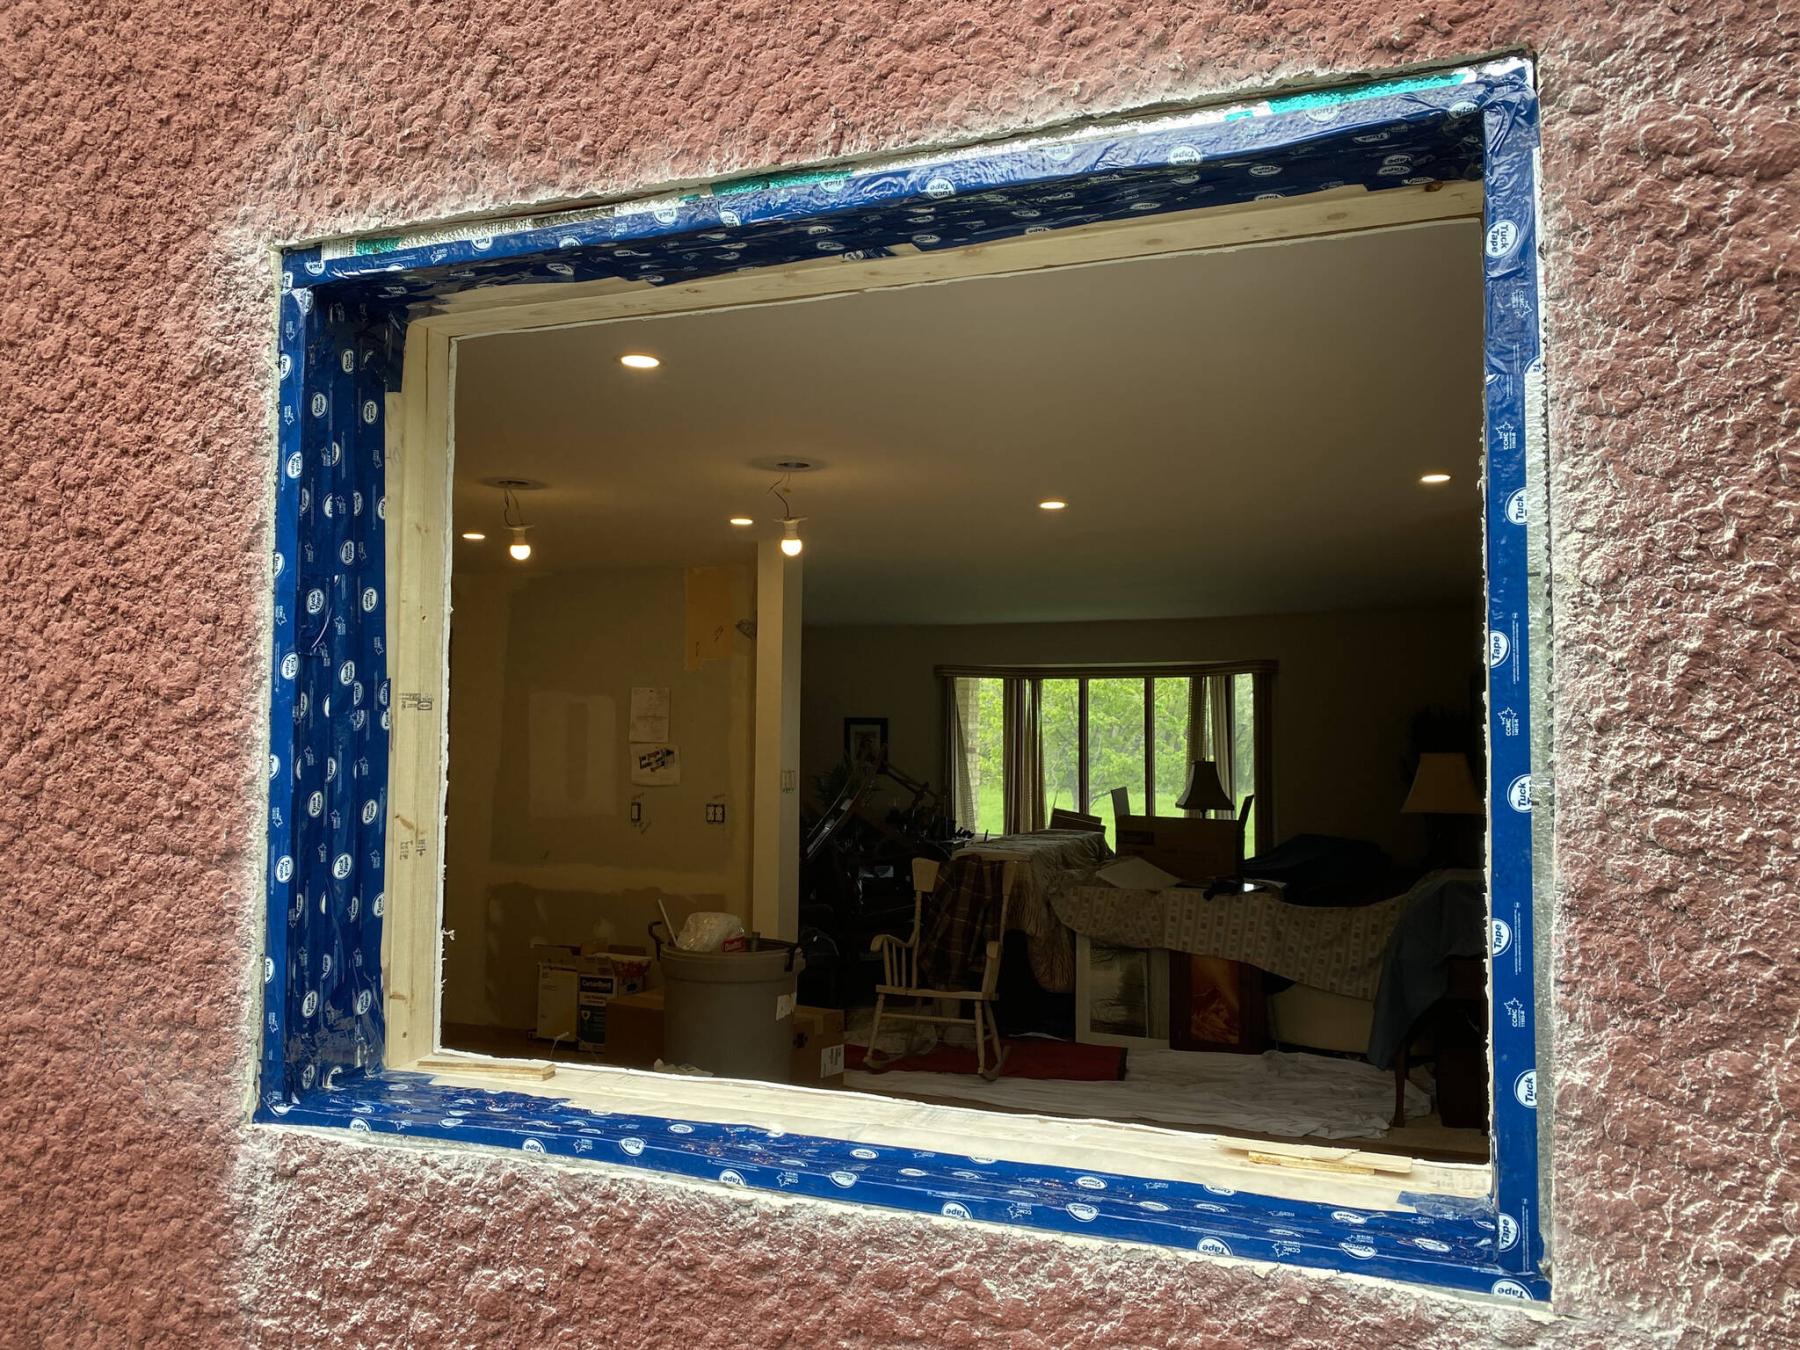
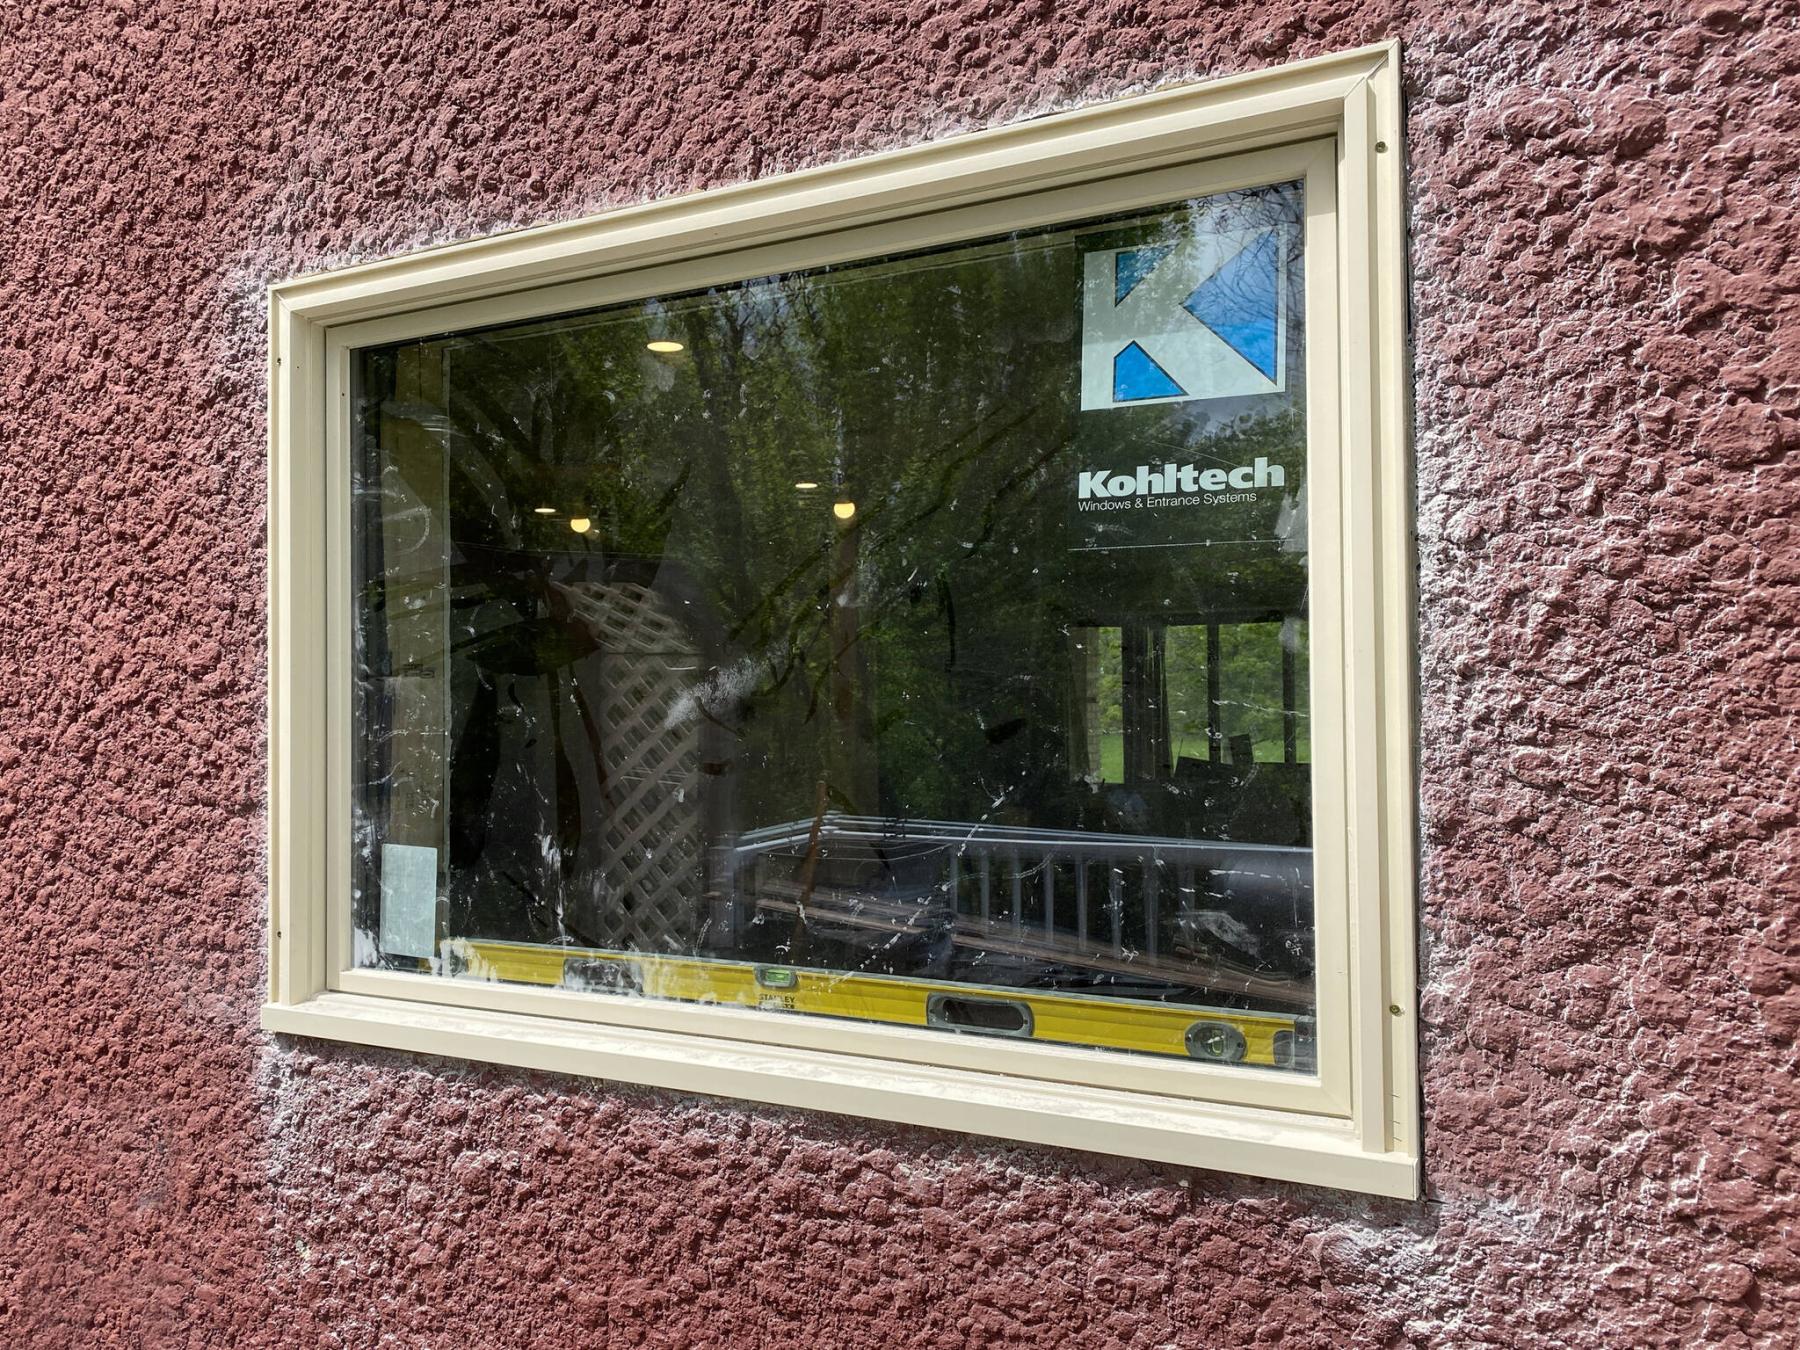
The Kohltech picture window is introduced along the exterior wall of the kitchen expansion, and set into existing stucco.
The introduction of a new window along a finished exterior wall involves many crucial steps. At my current jobsite, the interior kitchen design calls for windows on either side of the stove, to create symmetry along the wall of cabinets. To ensure the measurements were identical on both sides, the existing window also needed to move by a few inches. Because of the exterior finishing stucco, it is imperative the breach be accurate to within roughly 1/4-inch on all sides of both windows.
The openings for both windows were first established by exposing the existing framing, by removing all drywall. Once any and all services were relocated (if required), the window rough openings were pre-marked along the existing framing. In this case, a 2×4 inner framework had been erected along the 2×6 exterior framework. As such, the lintel introduction was only required along the 2×6 framing. Once the inner 2×4 studs were removed at each perspective window location, the 2×10 triple laminated lintel was introduced to ensure proper support below the top plate of the 2×6 framework, without disturbing the existing sheeting of the exterior wall – the true breach would only occur once the windows were on site, and ready to be mounted. The soon-to-be rough opening was then established by framing below the lintel at an inch wider, and an inch taller than the 54-inch-wide by 40-inch-high Kohltech picture windows ordered by the homeowner.
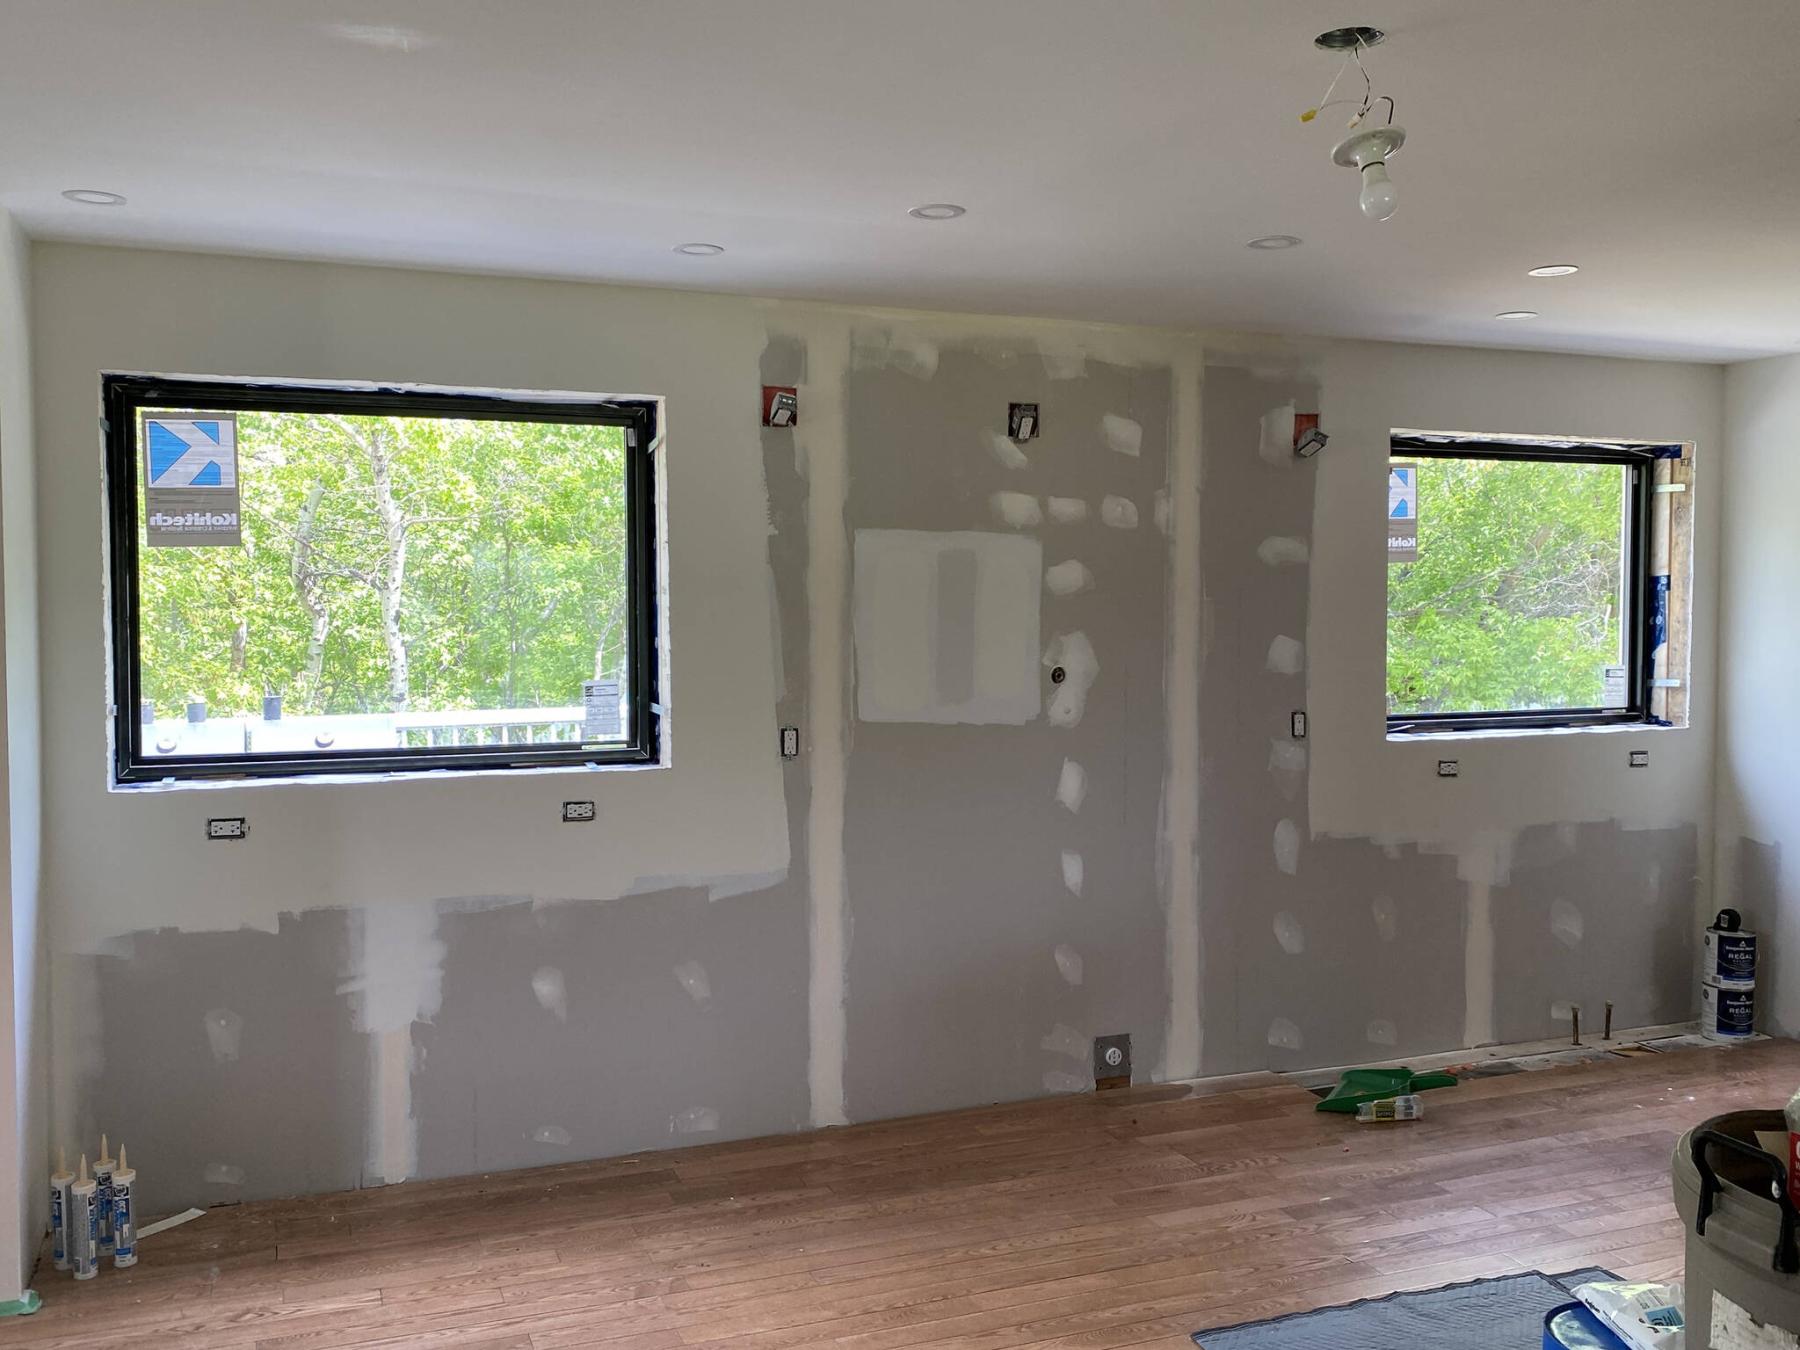
With an ETA of a few weeks, the insulation was placed back into the 2×6 cavities, and the 2×4 inner framing was completed to match the newly fashioned 2×6 framework to accommodate both new windows. Several other tasks, such as the drywall, taping and mud, priming and painting as well as the completion of the hardwood flooring would be achieved before the windows arrived.
Once the windows were on site, a few crucial preliminary tasks were undertaken before the actual installation could begin. Firstly, the actual measurements of the windows were confirmed to fit the rough openings established – and the windows were precisely 54-by-40 inches, as ordered. Secondly, pilot holes were created through the exterior sheeting and stucco, at all four corners of both windows to map the opening along the exterior finishing of the house. Because the windows were ordered with a brickmold, the initial cuts that meet the pilot holes would create the true breach for the window. By temporarily setting the window into the opening and ensuring level, the brickmold location is then traced along every side onto the stucco itself. Only the stucco is then cut away along these marks so that the window brickmold can then be inset within the stucco creating the desired reveal, as well as providing a securing point through to the sheeting behind the brickmold. The exterior sheathing is then sealed using Tuck tape throughout, back towards the vapour barrier of the 2×6 interior framing.
Once the window is again hoisted into place, properly centered and leveled using shims along the bottom of the window at the interior 2×6 framing, four-inch screws were used to fasten the window along the brickmold, which conveniently has decorative snap caps to later hide the screws. Along the interior perimeter of the window, straps provide secondary fastening points and are screwed directly to the framing of the rough opening. The seam between the sides of the exterior brickmold and the stucco are filled with a matching caulk, while expandable foam is used to fill the gaps between the windows and the framed rough openings to guarantee a permanent seal along the entire perimeter of each window.
Although the interior finishing will require several more steps including oak sills and casings, the exterior is basically completed after the caulking stage, and a few stucco fixes to hide the old window location, that moved by a few inches. The two new picture windows vastly improve the natural lighting into the expanded kitchen, and greatly enhance the look and feel of the newly renovated space. This of course was confirmed by the look on the homeowners’ faces as they both showed signs of relief amidst their excitement. Let there be light – feels good when choices are validated by such a successful outcome.
RenoBoss.Inc@outlook.com